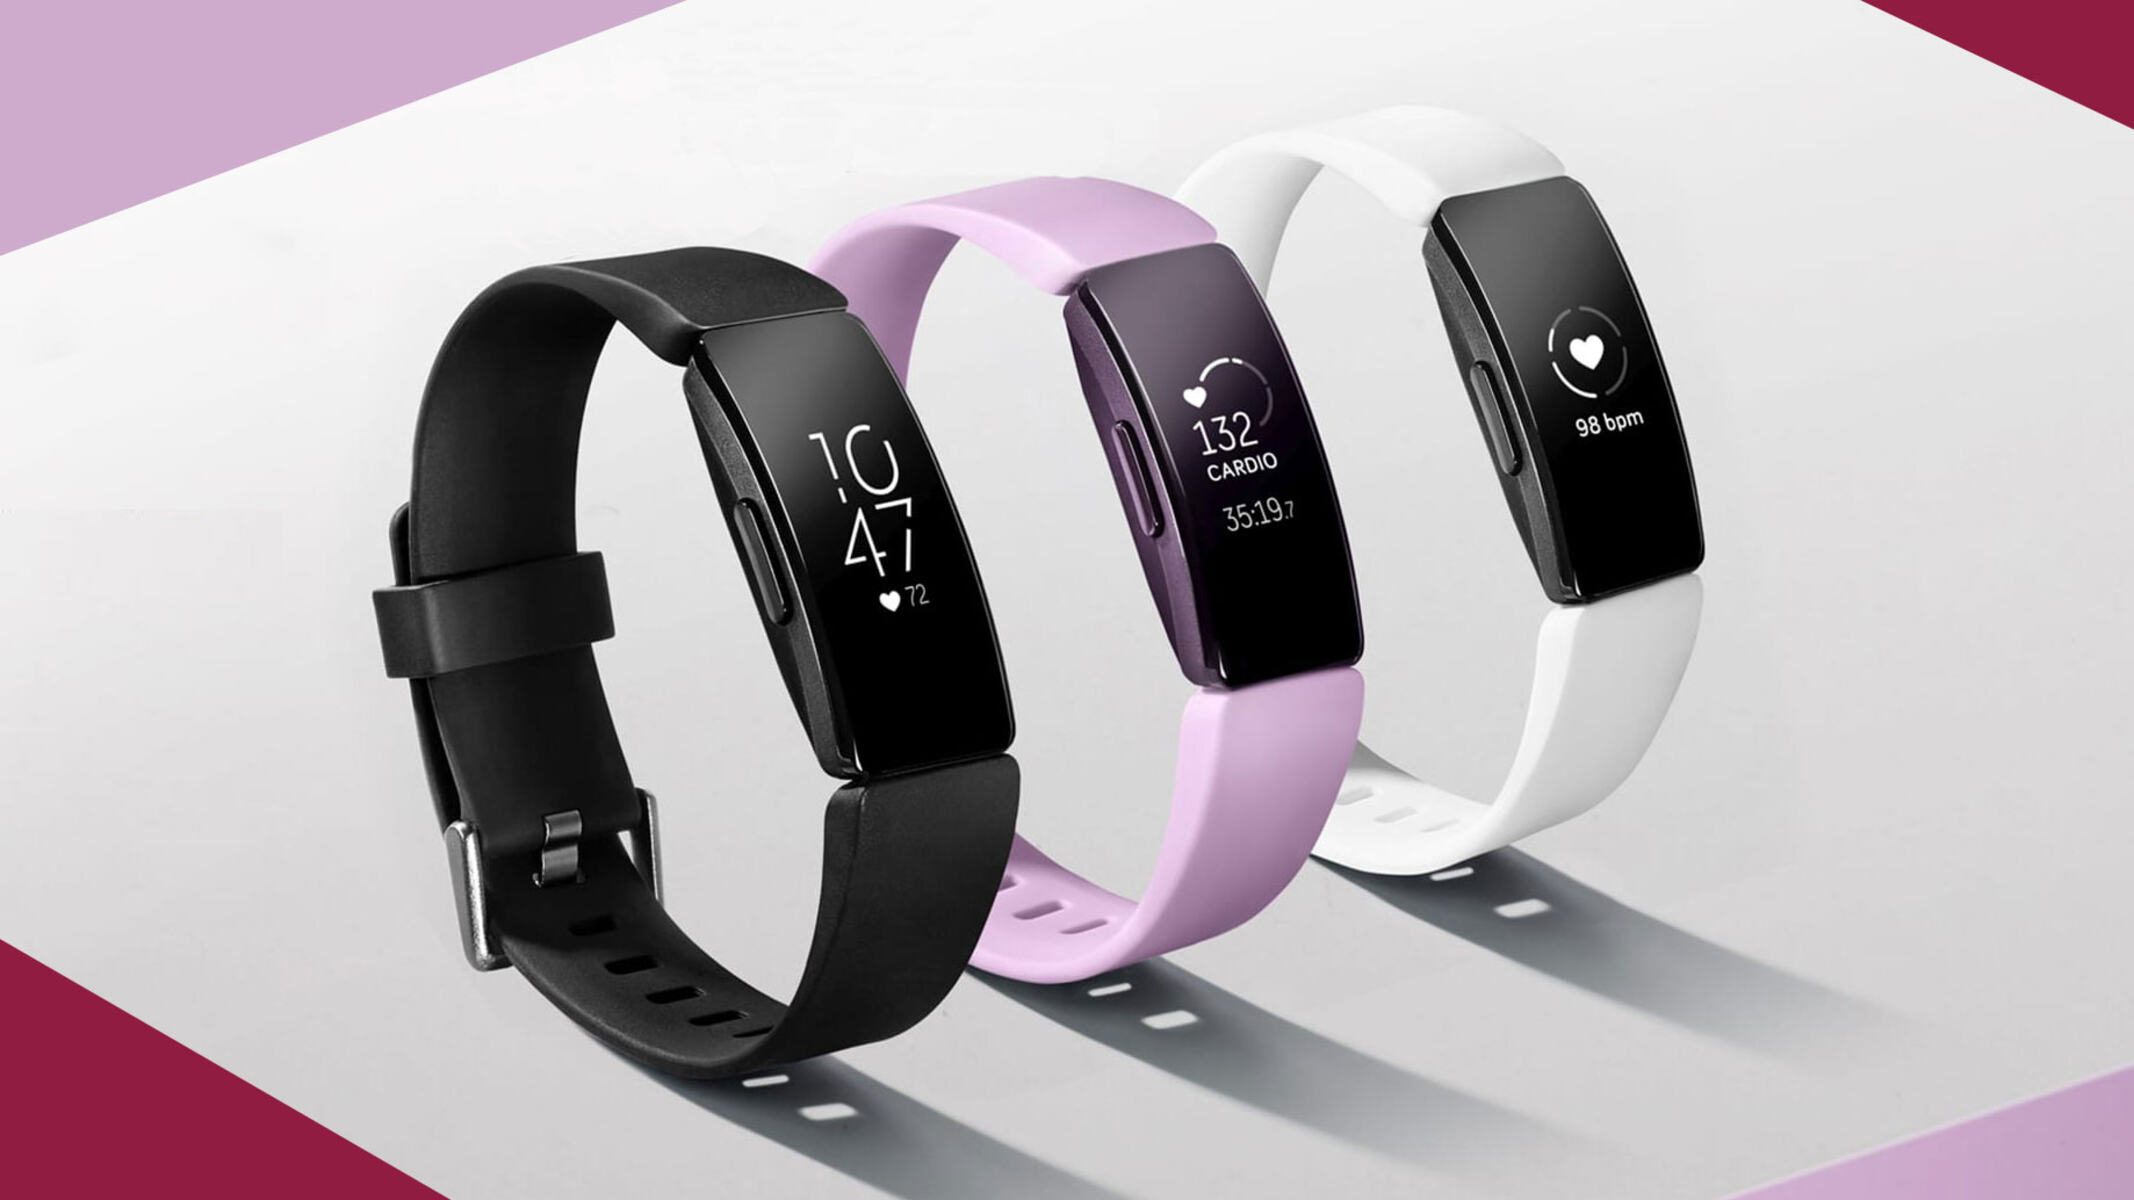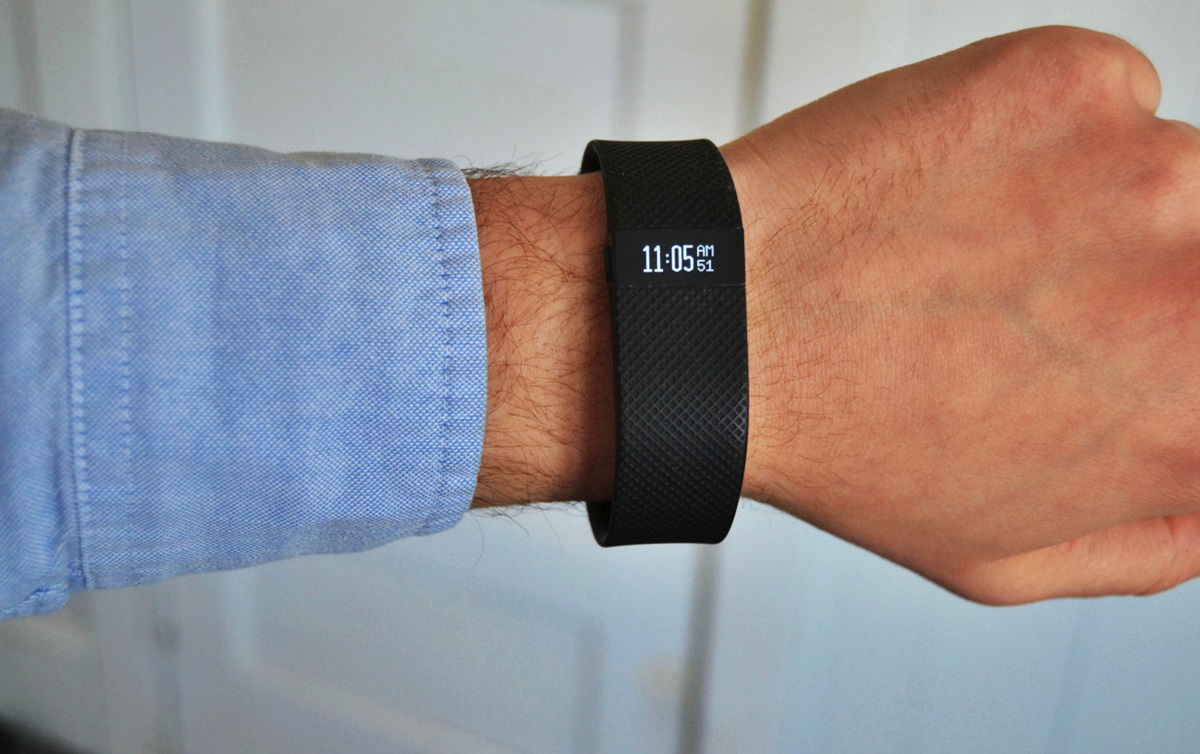
Introduction
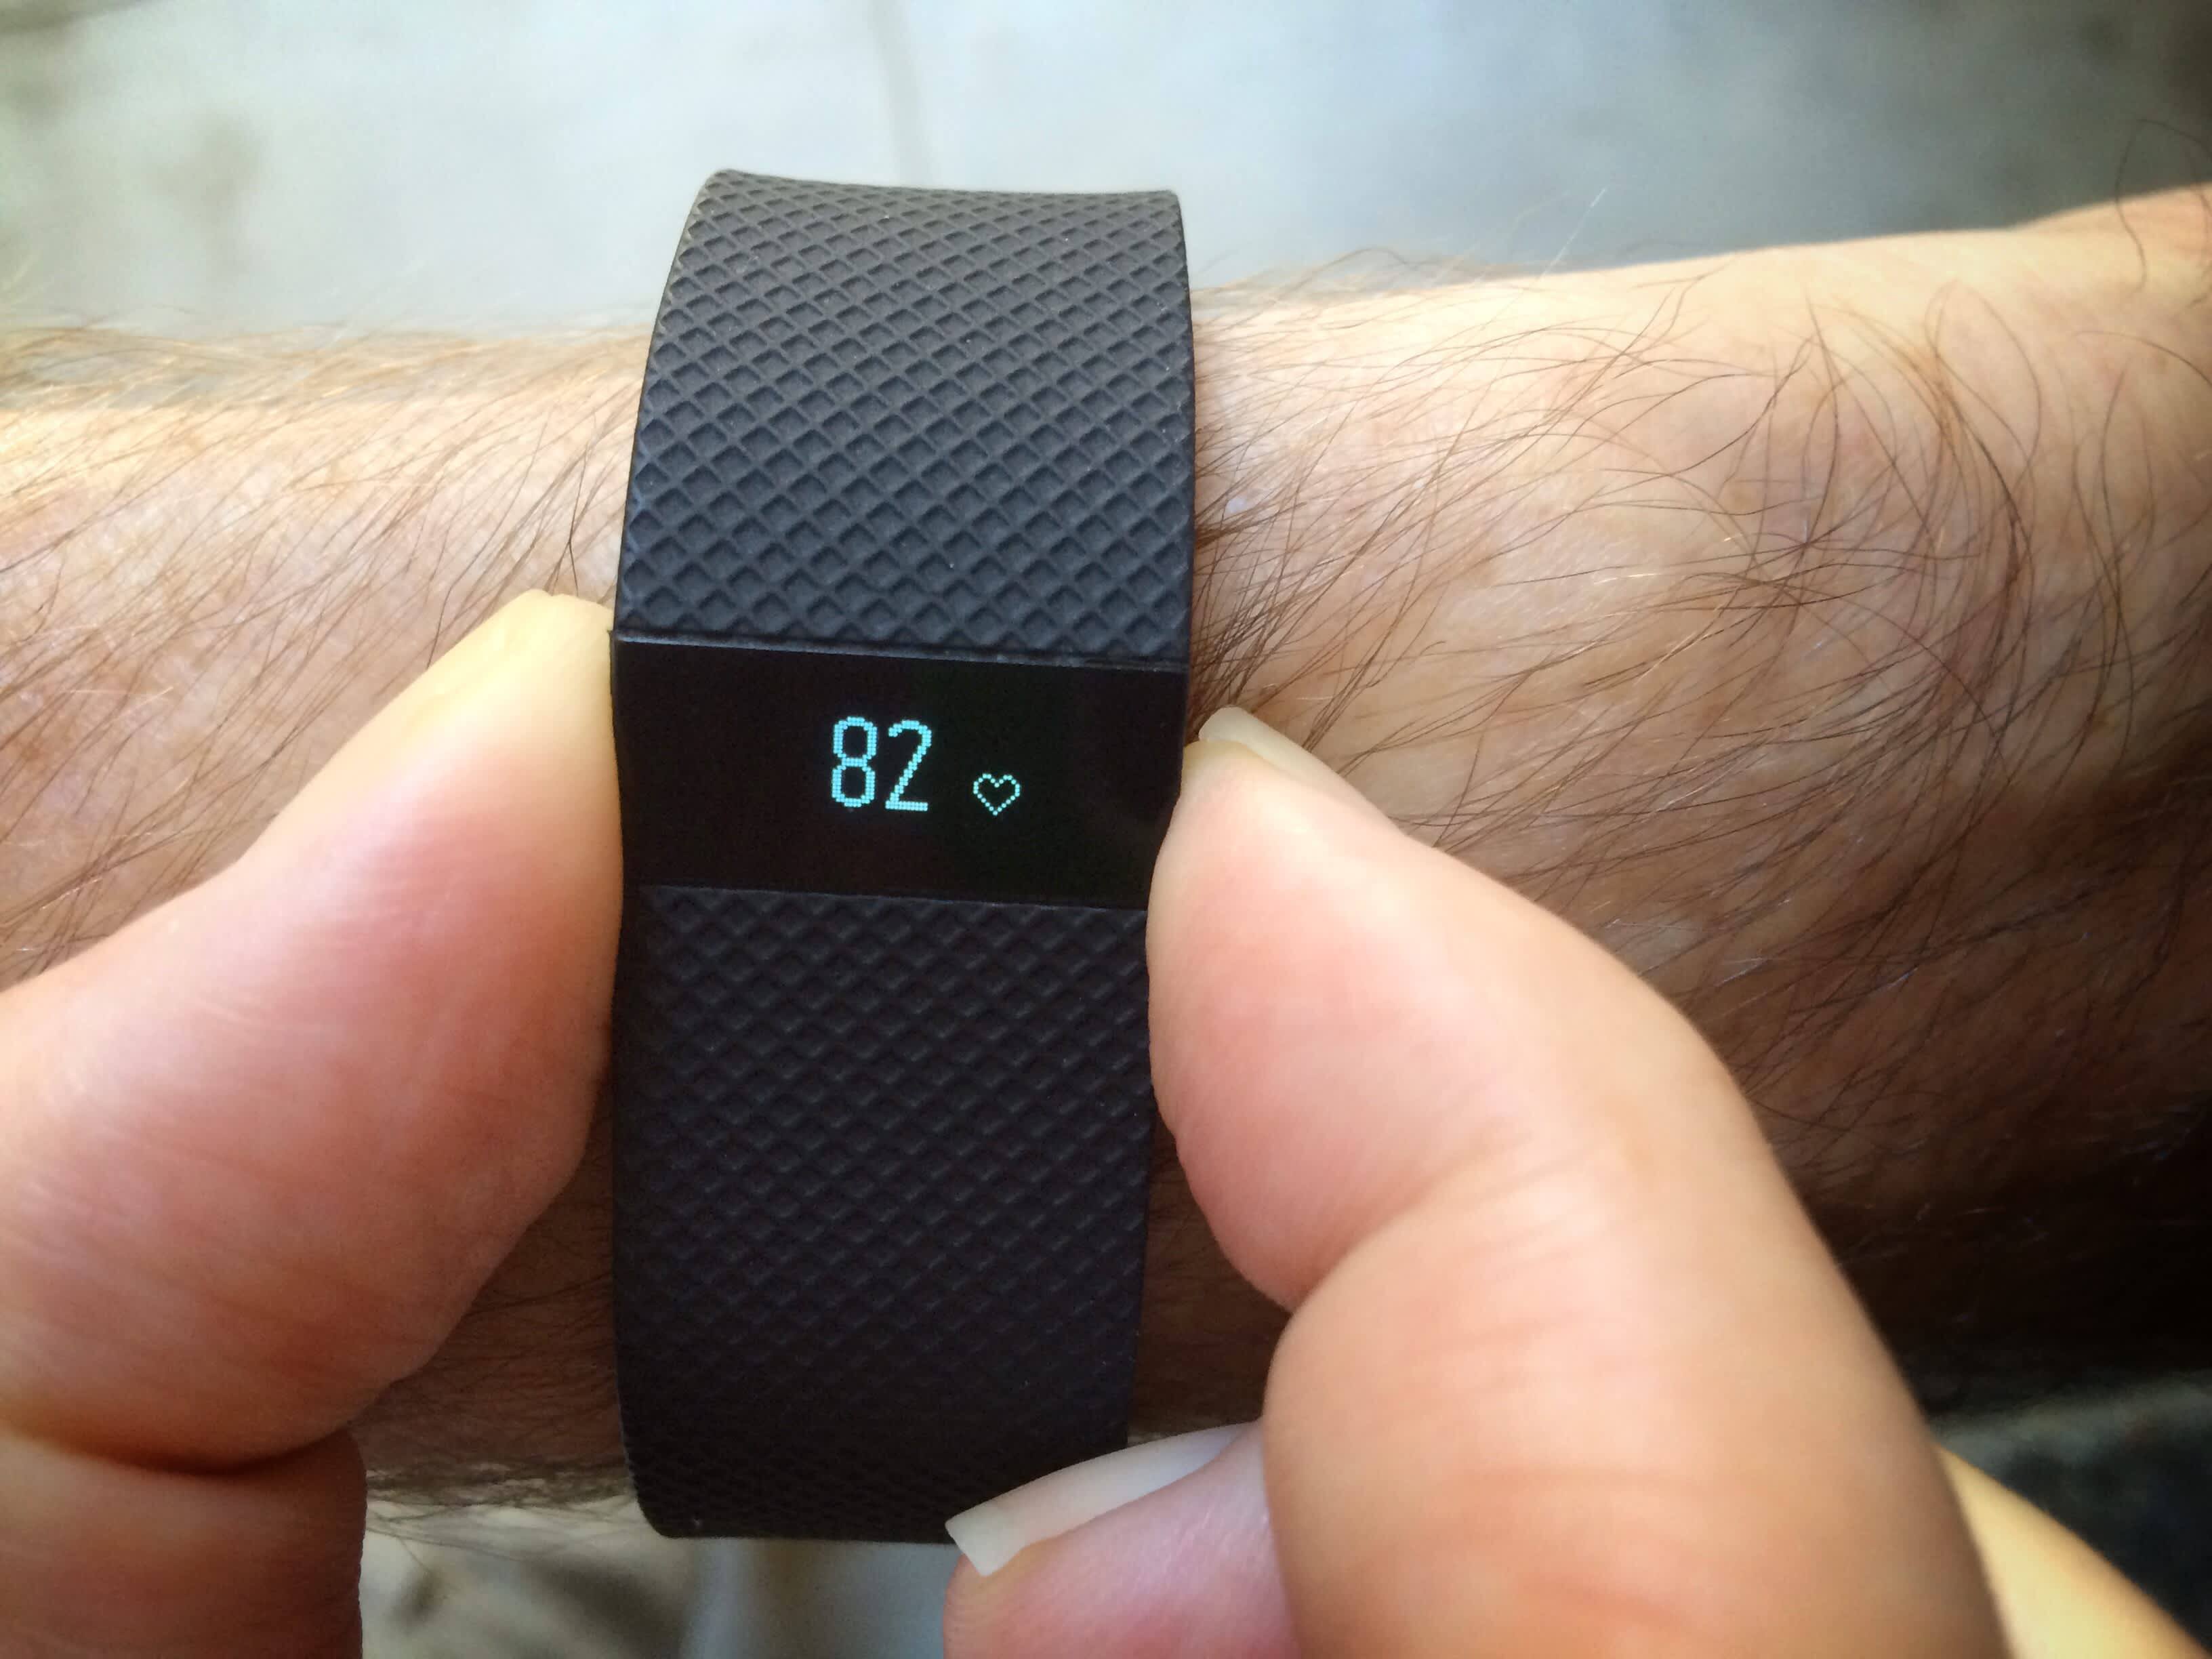
Factory resetting your Fitbit Charge 4 can be a simple yet effective solution to various issues you may encounter, such as unresponsive screens or syncing problems. This comprehensive guide will walk you through the step-by-step process of resetting your device, ensuring that you can do so with confidence and ease.
Whether you're experiencing technical difficulties or simply want to start fresh with your Fitbit Charge 4, performing a factory reset can help resolve many common issues. By following the instructions outlined in this guide, you'll be able to perform the reset process smoothly and efficiently.
In the following steps, you'll learn how to back up your data, access the settings, perform the factory reset, and set up your Fitbit Charge 4 again. With clear and concise instructions, you'll be able to navigate each stage of the process with ease, allowing you to enjoy a seamless experience with your Fitbit device.
By the end of this guide, you'll have the knowledge and confidence to perform a factory reset on your Fitbit Charge 4, empowering you to troubleshoot issues and optimize the performance of your wearable device. So, let's dive in and explore the step-by-step process of resetting your Fitbit Charge 4 to its factory settings.
Step 1: Backing Up Your Data
Before initiating the factory reset process for your Fitbit Charge 4, it's essential to back up your data to ensure that you don't lose any important information. By following these steps, you can preserve your fitness activity history, personal settings, and any other valuable data stored on your device.
-
Sync Your Fitbit Device: Start by syncing your Fitbit Charge 4 with the Fitbit app on your smartphone or computer. This will ensure that the latest data from your device is transferred to the app, allowing you to access it after the reset.
-
Review Your Data: Once the sync is complete, take a moment to review your data within the Fitbit app. This includes your daily activity, exercise history, sleep patterns, and any other metrics tracked by your device. Ensure that all the information is up to date and accurately reflected in the app.
-
Back Up Personal Settings: If you have customized any settings on your Fitbit Charge 4, such as display preferences or notification configurations, take note of these customizations. This will make it easier to reconfigure your device after the reset.
-
Export Additional Data (Optional): If you want to preserve a more comprehensive backup of your data, consider exporting your Fitbit data to a compatible file format, such as a CSV file. This can be done through the Fitbit app or the Fitbit website, providing you with an extra layer of data security.
By following these steps to back up your data, you can ensure that your valuable information is safely preserved before proceeding with the factory reset of your Fitbit Charge 4. This proactive approach will allow you to seamlessly restore your data and settings once the reset is complete, minimizing any potential disruptions to your Fitbit experience.
Step 2: Accessing the Settings
Accessing the settings on your Fitbit Charge 4 is a crucial step in the process of performing a factory reset. By navigating through the device's settings, you'll be able to initiate the reset procedure with precision and confidence. Here's a detailed walkthrough of how to access the settings on your Fitbit Charge 4:
-
Open the Fitbit App: Begin by opening the Fitbit app on your smartphone or accessing the Fitbit website on your computer. Ensure that your Fitbit Charge 4 is within range and connected to the app or website. This connection is essential for seamless communication between your device and the app, enabling you to access and modify its settings remotely.
-
Select Your Device: Once you're logged into the Fitbit app or website, navigate to the "Devices" or "My Device" section, where you'll find a list of connected Fitbit devices. Locate and select your Fitbit Charge 4 from the list to access its specific settings and management options.
-
Navigate to Device Settings: Within the device-specific menu, look for the "Settings" or "Device Settings" option. This is where you'll find a range of configurable settings for your Fitbit Charge 4, including display preferences, activity tracking options, and device management features.
-
Locate the Reset Option: As you delve into the device settings, keep an eye out for the "Reset" or "Factory Reset" option. Depending on the Fitbit app version or website interface, this option may be located within a sub-menu dedicated to device maintenance and troubleshooting. Once you've located the reset option, you're ready to proceed to the next step in the factory reset process.
By following these steps, you can confidently access the settings on your Fitbit Charge 4, paving the way for a seamless transition into the factory reset procedure. Navigating the device settings with precision and clarity will empower you to initiate the reset process with ease, setting the stage for a successful restoration of your Fitbit device to its factory settings.
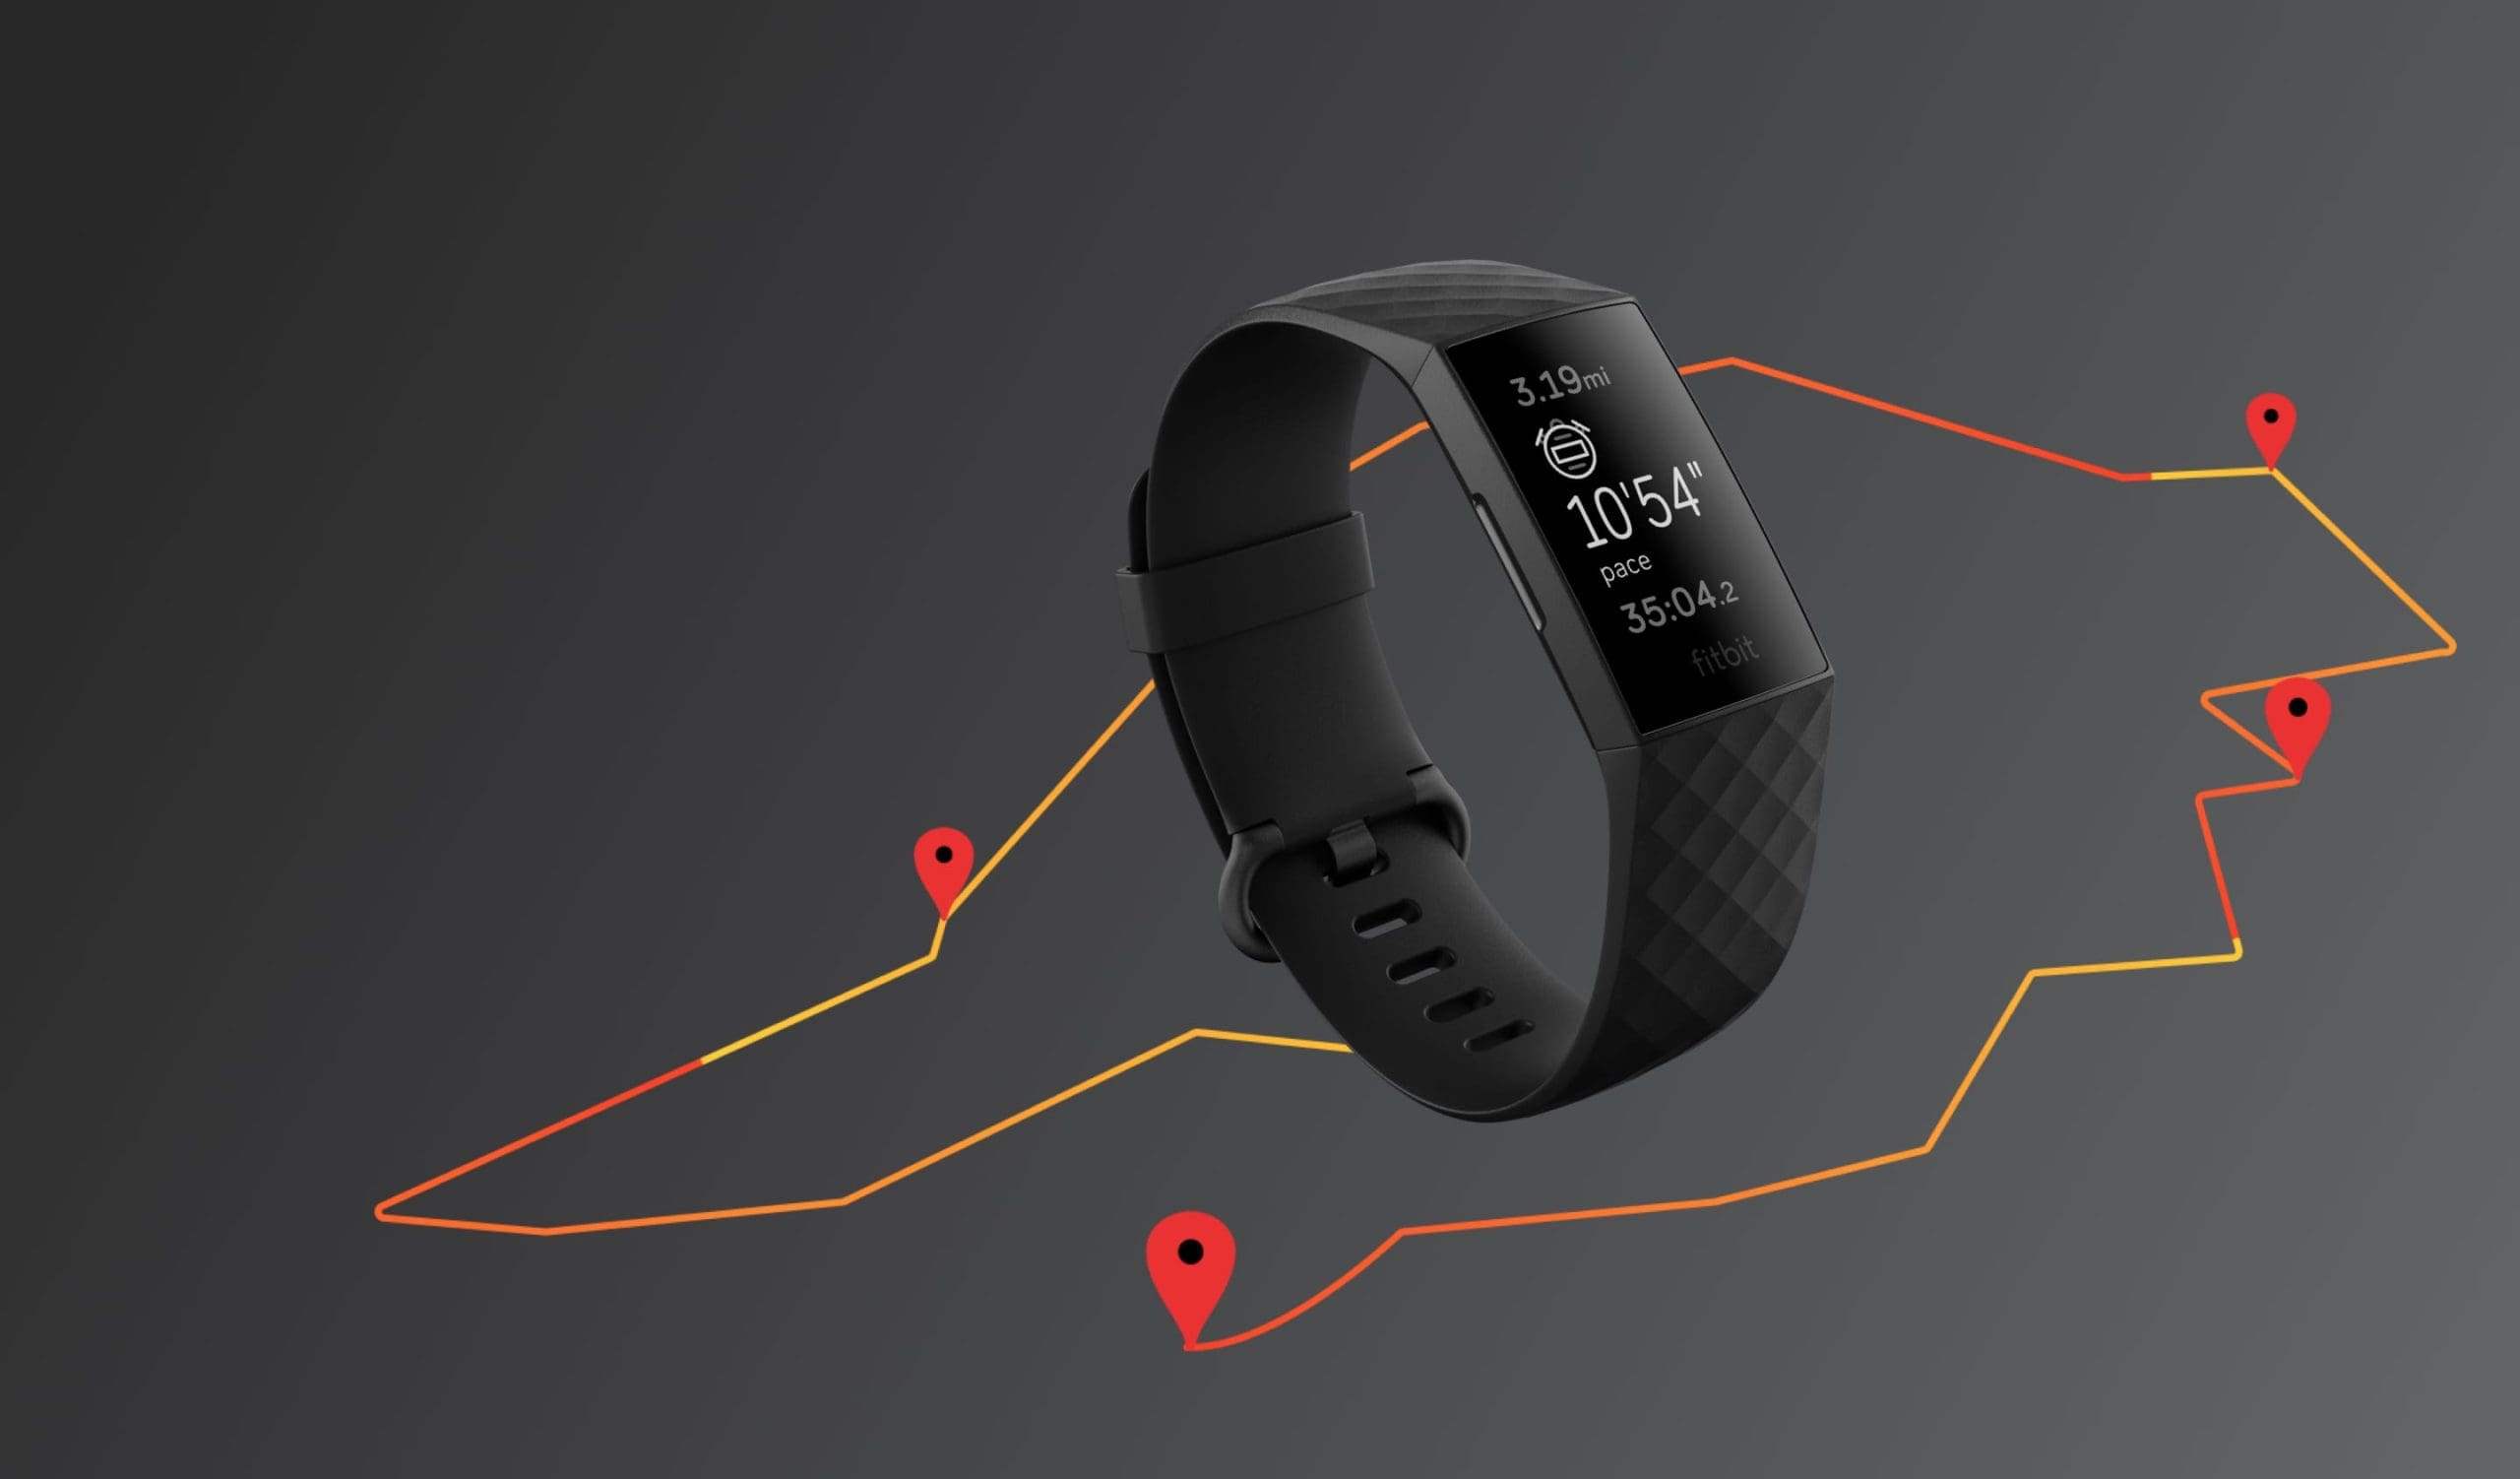
Step 3: Performing the Factory Reset
Performing a factory reset on your Fitbit Charge 4 is a straightforward yet pivotal process that allows you to restore the device to its original settings, effectively clearing any persistent issues or discrepancies. By following the steps outlined below, you can confidently initiate the factory reset procedure, ensuring a seamless transition to the default configuration of your Fitbit Charge 4.
-
Initiating the Reset: Once you've accessed the settings and located the factory reset option, proceed to initiate the reset process. Depending on the specific interface of the Fitbit app or website, you may be prompted to confirm your decision before the reset is executed. This confirmation step serves as a safeguard, ensuring that the reset is intentional and deliberate.
-
Confirming the Reset: After initiating the reset, your Fitbit Charge 4 will begin the restoration process, reverting to its factory default settings. During this phase, it's essential to allow the device ample time to complete the reset procedure. Be patient and avoid interrupting the process, as this can lead to incomplete or inconsistent results.
-
Verifying the Reset Completion: Once the reset process is complete, your Fitbit Charge 4 will restart and display the default setup screens. This signifies that the device has been successfully restored to its factory settings. At this stage, you'll notice that any personalized data or settings previously stored on the device have been cleared, creating a clean slate for you to work with.
-
Ensuring Data Security: As the factory reset removes all personal data and settings from your Fitbit Charge 4, it's important to maintain the security of any sensitive information. By performing the necessary data backups and adhering to best practices for data management, you can safeguard your personal information throughout the reset process.
By following these steps, you can effectively perform a factory reset on your Fitbit Charge 4, streamlining the device's operation and addressing any persistent issues that may have arisen. This proactive approach empowers you to maintain the optimal performance of your Fitbit device, ensuring a seamless and reliable experience in the long run.
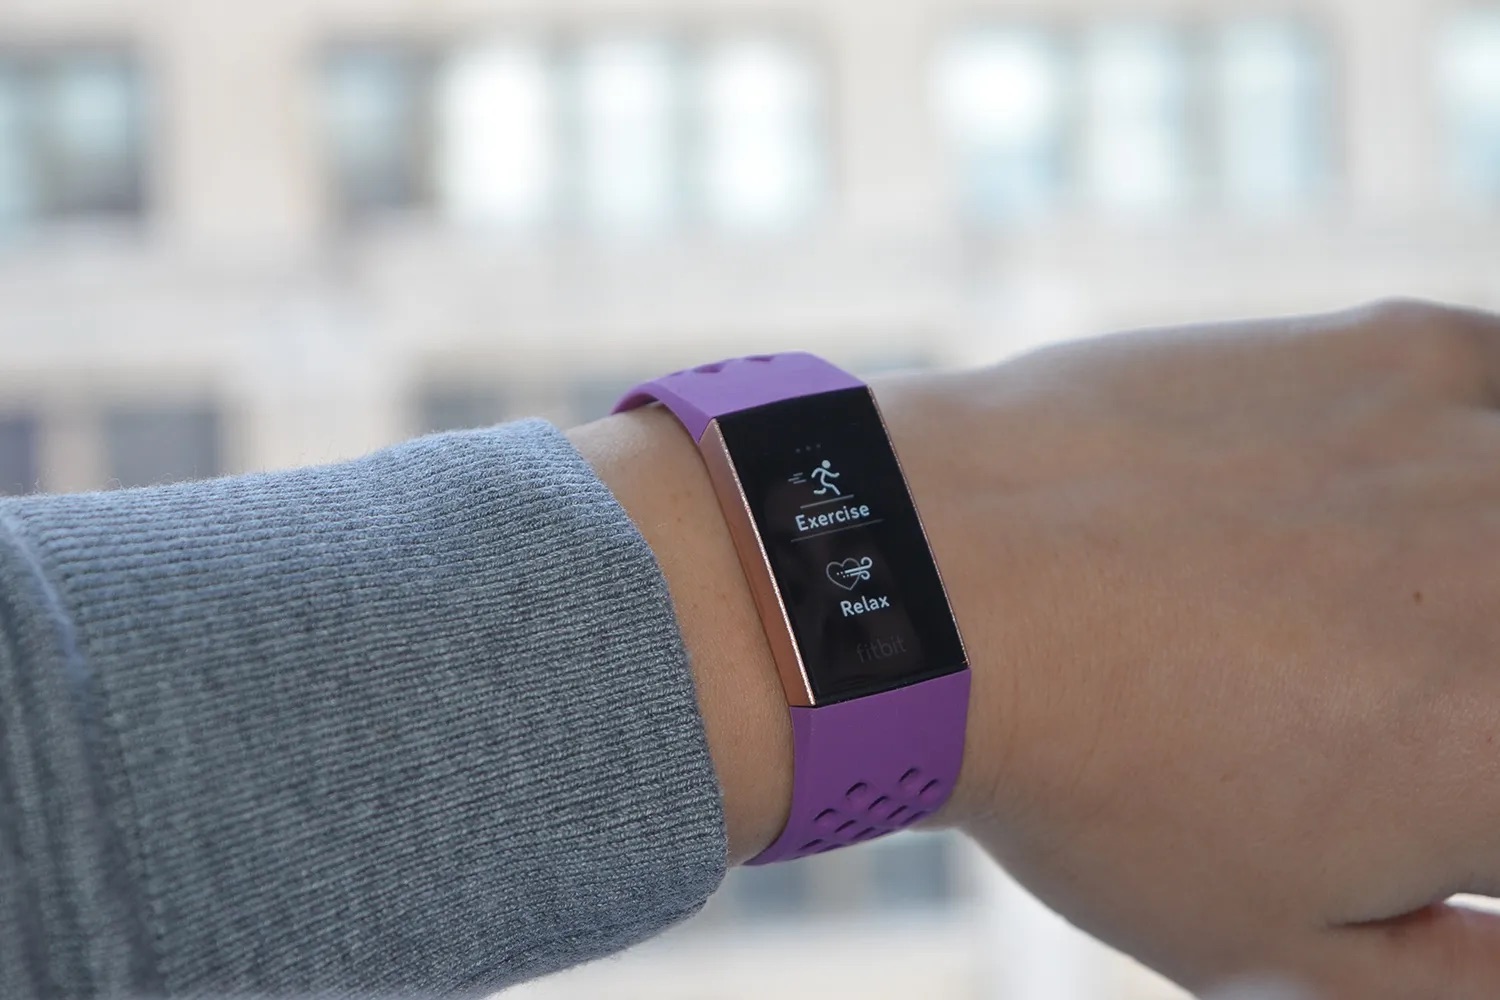
Step 4: Setting Up Your Fitbit Charge 4 Again
After successfully performing a factory reset on your Fitbit Charge 4, the next crucial step is setting up the device again to personalize it according to your preferences. This process involves re-establishing connections, configuring settings, and ensuring that your Fitbit Charge 4 is ready to accompany you on your fitness journey. Here's a detailed walkthrough of how to set up your Fitbit Charge 4 again:
-
Reconnecting to the Fitbit App: Begin by opening the Fitbit app on your smartphone and ensuring that your Fitbit Charge 4 is within range. Follow the on-screen prompts to re-establish the connection between your device and the app. This step is essential for seamless data synchronization and real-time tracking.
-
Syncing Data: Once the connection is established, initiate a data sync between your Fitbit Charge 4 and the Fitbit app. This will ensure that any preserved data from the backup is seamlessly restored to your device, allowing you to pick up where you left off before the factory reset.
-
Personalizing Settings: Navigate to the device settings within the Fitbit app to customize your preferences. This includes configuring display options, activity tracking settings, and any other personalized features that enhance your Fitbit experience. Take the time to tailor the settings to align with your fitness goals and lifestyle.
-
Updating Firmware (if applicable): Check for any available firmware updates for your Fitbit Charge 4 and proceed with the installation if updates are available. Keeping the device's firmware up to date ensures optimal performance and access to the latest features and enhancements.
-
Calibrating Notifications and Alerts: Review and adjust your notification preferences, including call, text, and app alerts, to ensure that you stay informed without unnecessary interruptions. Customizing these settings allows you to strike a balance between staying connected and maintaining focus during workouts or daily activities.
-
Testing Functionality: Once the setup is complete, take a moment to test the functionality of your Fitbit Charge 4. Verify that activity tracking, heart rate monitoring, and other essential features are operating as expected. This step allows you to confirm that the device is ready to support your fitness endeavors effectively.
By following these steps, you can seamlessly set up your Fitbit Charge 4 again after performing a factory reset. This proactive approach ensures that your device is personalized to meet your specific needs, allowing you to make the most of its advanced features and tracking capabilities. With the setup process complete, you can look forward to a renewed and optimized experience with your Fitbit Charge 4.
Conclusion
In conclusion, the process of factory resetting your Fitbit Charge 4 is a valuable troubleshooting tool that empowers you to address technical issues and restore the device to its default state. By following the step-by-step guide outlined in this comprehensive walkthrough, you've gained the knowledge and confidence to navigate each stage of the reset process with precision and ease.
The initial step of backing up your data ensures that your fitness activity history, personal settings, and other valuable information are safeguarded before initiating the factory reset. This proactive approach minimizes the risk of data loss and allows for a seamless restoration of your personalized settings after the reset is complete.
Accessing the settings on your Fitbit Charge 4 is a pivotal phase that sets the stage for initiating the factory reset. By navigating the device-specific settings with clarity and precision, you can confidently locate the reset option and proceed with the restoration process, ensuring a smooth transition to the default configuration of your device.
Performing the factory reset itself is a straightforward yet crucial process that clears any persistent issues and discrepancies, allowing your Fitbit Charge 4 to operate at its optimal capacity. By following the outlined steps and allowing the device ample time to complete the reset, you can ensure that the restoration process is executed effectively, paving the way for a refreshed and reliable Fitbit experience.
Once the factory reset is complete, the process of setting up your Fitbit Charge 4 again allows you to personalize the device according to your preferences. Re-establishing connections, syncing data, and configuring settings ensure that your Fitbit Charge 4 is ready to accompany you on your fitness journey, equipped with the latest updates and personalized features.
By embracing the factory reset process as a proactive troubleshooting tool, you can optimize the performance of your Fitbit Charge 4 and address any persistent issues with confidence. Whether you're seeking to resolve technical challenges or simply refreshing your device to start anew, the factory reset process empowers you to maintain a seamless and reliable experience with your Fitbit Charge 4.
Incorporating the insights and instructions from this guide into your Fitbit maintenance routine will equip you with the skills and knowledge to navigate the factory reset process effortlessly, ensuring that your Fitbit Charge 4 remains a reliable companion on your fitness journey.
Remember, if you encounter any persistent technical challenges or uncertainties during the factory reset process, don't hesitate to seek additional support from the Fitbit customer service team or online resources. Your proactive approach to troubleshooting and device maintenance will contribute to a seamless and optimized experience with your Fitbit Charge 4, allowing you to focus on your fitness goals with confidence and clarity.