Introduction
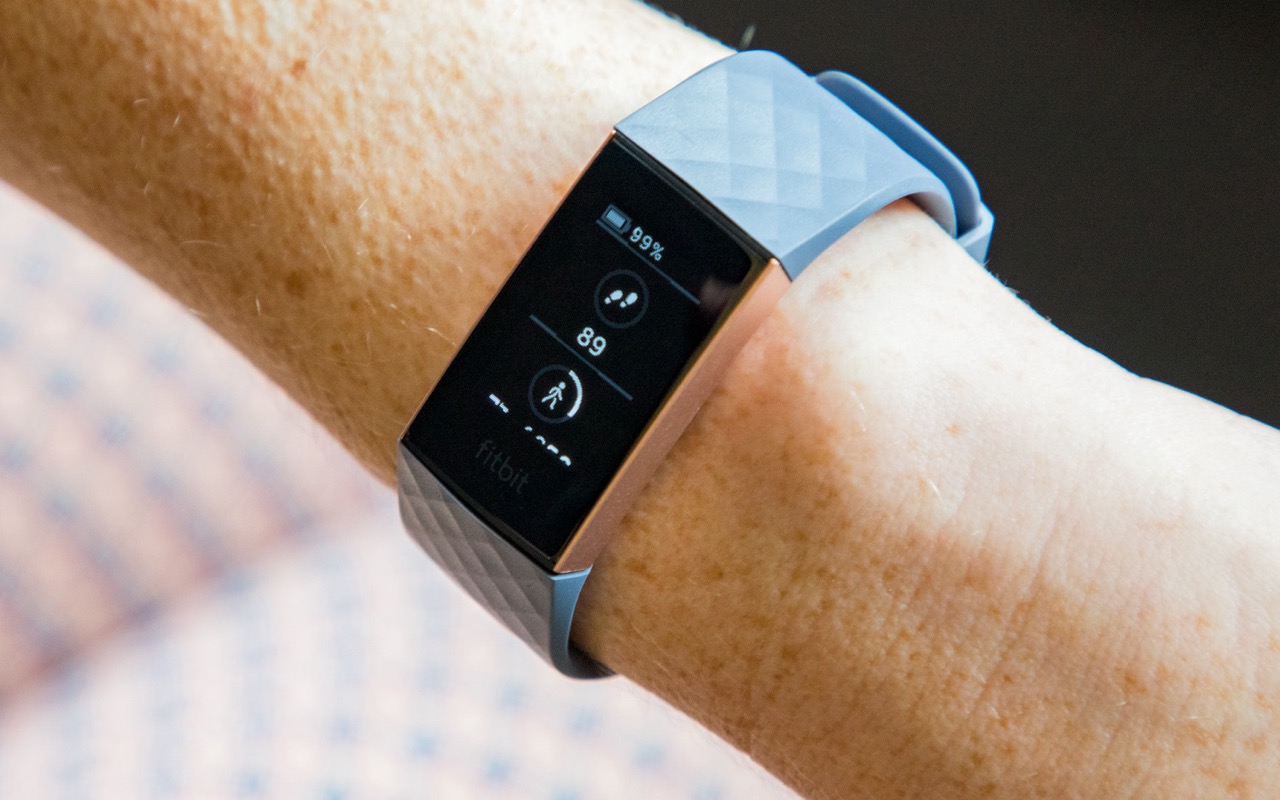
The Fitbit Charge 3 is a popular and versatile wearable device that offers a range of features to help users track their fitness and monitor their overall health. One of the key aspects of the Fitbit Charge 3 is its vibrant and easy-to-read display, which provides essential information at a glance. However, there are instances when users may find it necessary to adjust the brightness of the display to suit their preferences, especially in varying lighting conditions.
In this comprehensive guide, we will delve into the process of changing the brightness on the Fitbit Charge 3. Whether you are looking to conserve battery life, enhance visibility in bright outdoor settings, or simply customize the display to your liking, understanding how to adjust the brightness settings can significantly enhance your overall experience with this remarkable wearable device.
By following the step-by-step instructions provided in this guide, you will gain a deeper understanding of how to navigate the settings on your Fitbit Charge 3 and make the necessary adjustments to optimize the display brightness. Whether you are a fitness enthusiast, a health-conscious individual, or simply someone who appreciates the convenience of wearable technology, mastering the process of changing the brightness on your Fitbit Charge 3 will undoubtedly elevate your user experience.
Now, let's embark on this enlightening journey to uncover the simple yet impactful ways to tailor the brightness settings of your Fitbit Charge 3 to your specific needs and preferences. Let's dive into the details and learn how to effortlessly manage the display brightness on this innovative wearable device.
Step 1: Accessing the Settings
Accessing the settings on your Fitbit Charge 3 is the first crucial step towards customizing the display brightness to your preference. The process is designed to be intuitive and user-friendly, ensuring that you can effortlessly navigate through the device's settings to make the necessary adjustments. Here's a detailed walkthrough of how to access the settings on your Fitbit Charge 3:
-
Wake Up the Device: To begin, wake up your Fitbit Charge 3 by tapping the screen or pressing the side button. This action will activate the display and prompt the device to respond to your input.
-
Swipe Down: Once the device is awake, swipe down on the display from the clock face. This gesture will reveal the quick settings menu, which provides convenient access to various functions and settings.
-
Locate the Settings Icon: Within the quick settings menu, look for the settings icon, which is represented by a gear or cogwheel symbol. This icon signifies the gateway to the device's comprehensive settings menu, where you can fine-tune a multitude of features, including the display brightness.
-
Tap the Settings Icon: Upon locating the settings icon, tap on it to enter the settings menu. This action will transition the display to the main settings interface, presenting you with a range of options to personalize and configure your Fitbit Charge 3 according to your preferences.
By following these simple steps, you can seamlessly access the settings on your Fitbit Charge 3, setting the stage for the subsequent adjustments to the display brightness. With the settings menu readily accessible, you are now poised to embark on the next phase of this enlightening journey, where you will learn how to effectively modify the brightness settings to enhance your overall user experience with the Fitbit Charge 3.
Step 2: Adjusting the Brightness
Now that you have successfully accessed the settings menu on your Fitbit Charge 3, it's time to delve into the process of adjusting the brightness to achieve the optimal display visibility. The ability to fine-tune the brightness settings is a valuable feature that empowers users to adapt the display to various lighting conditions and personal preferences. Here's a detailed walkthrough of how to effortlessly adjust the brightness on your Fitbit Charge 3:
-
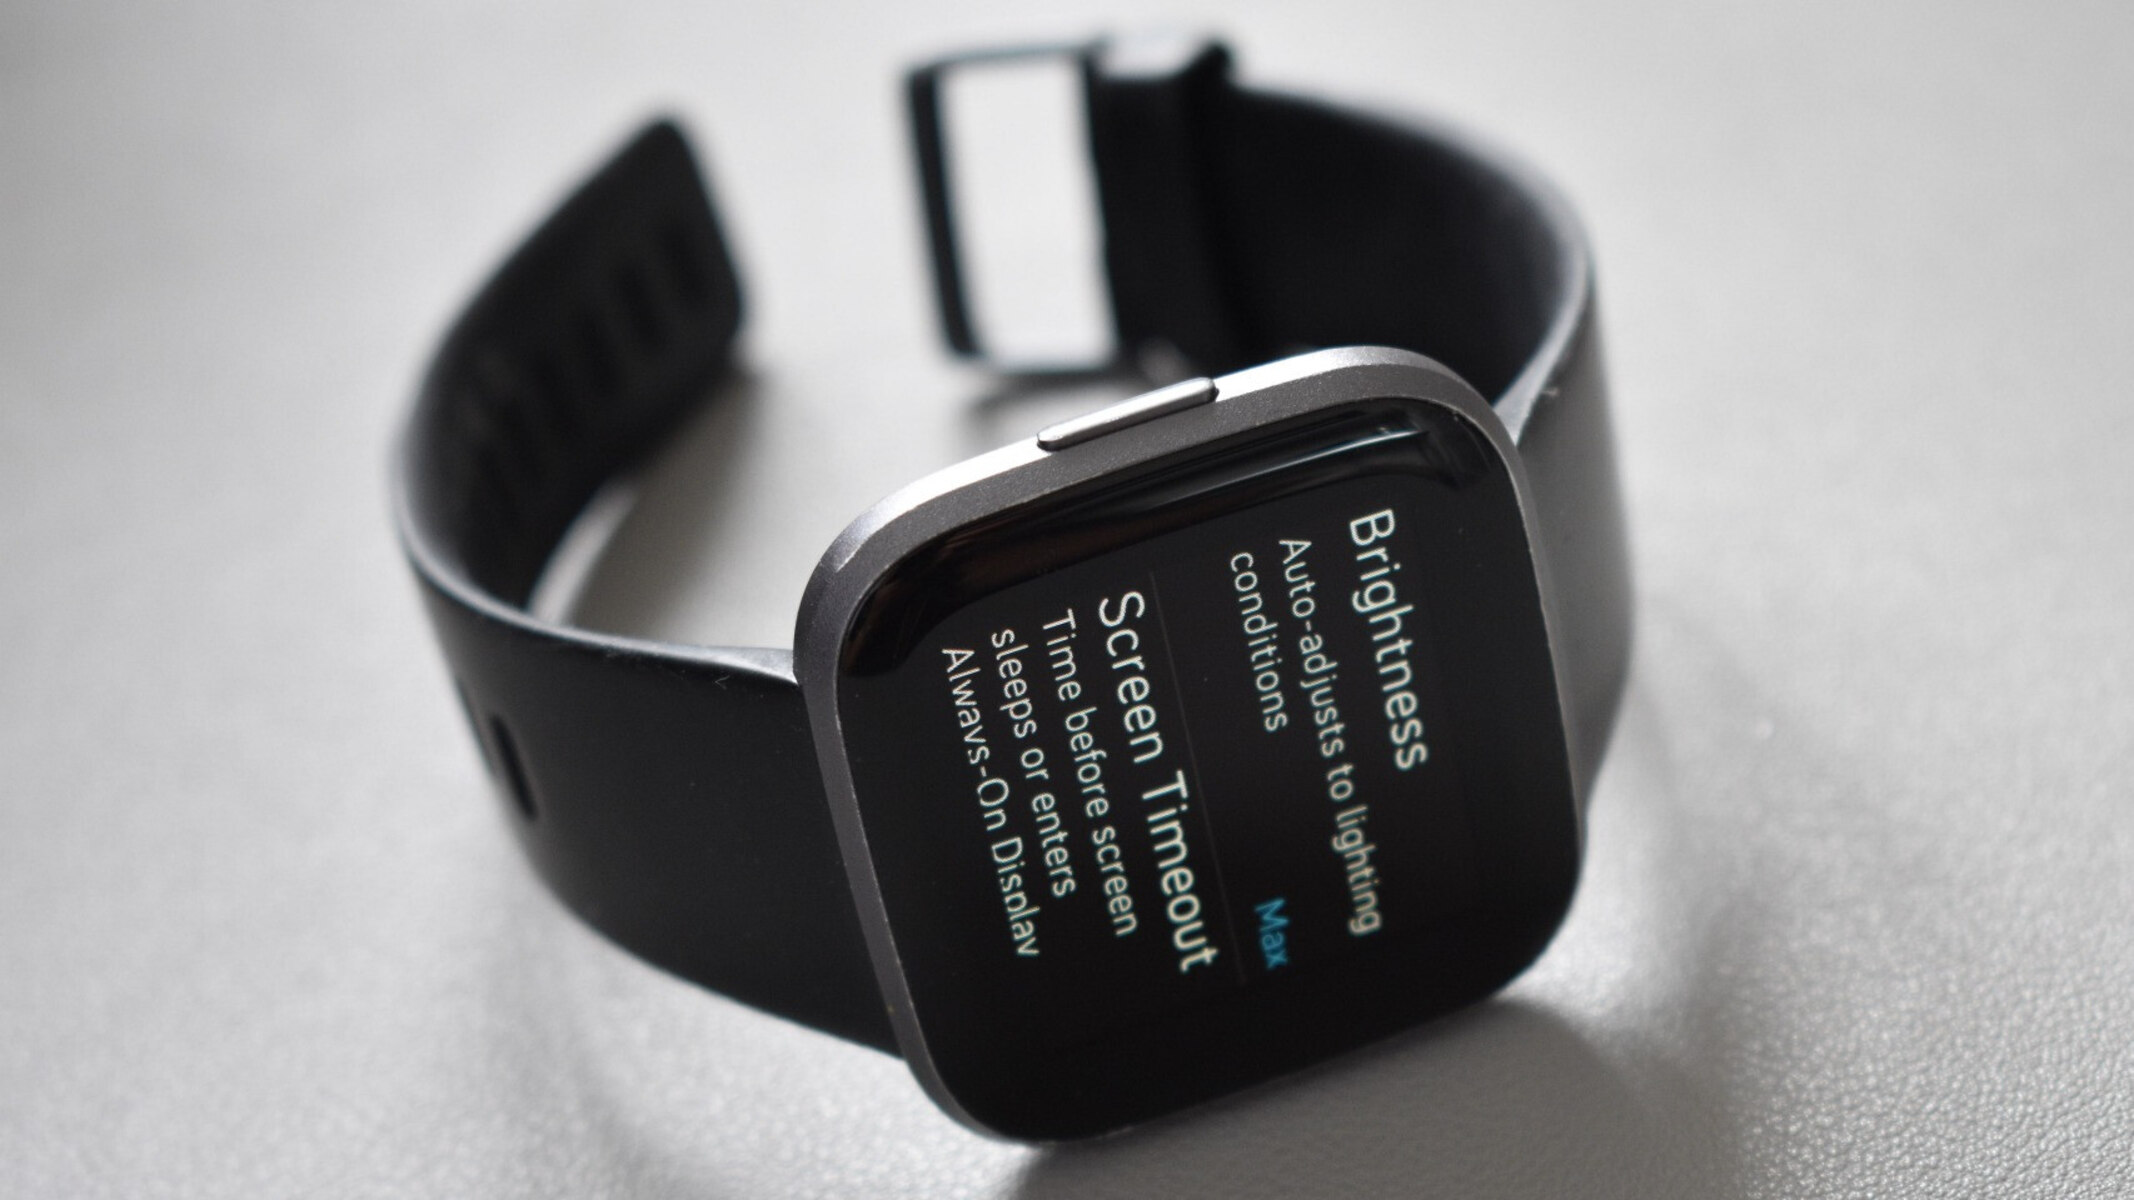
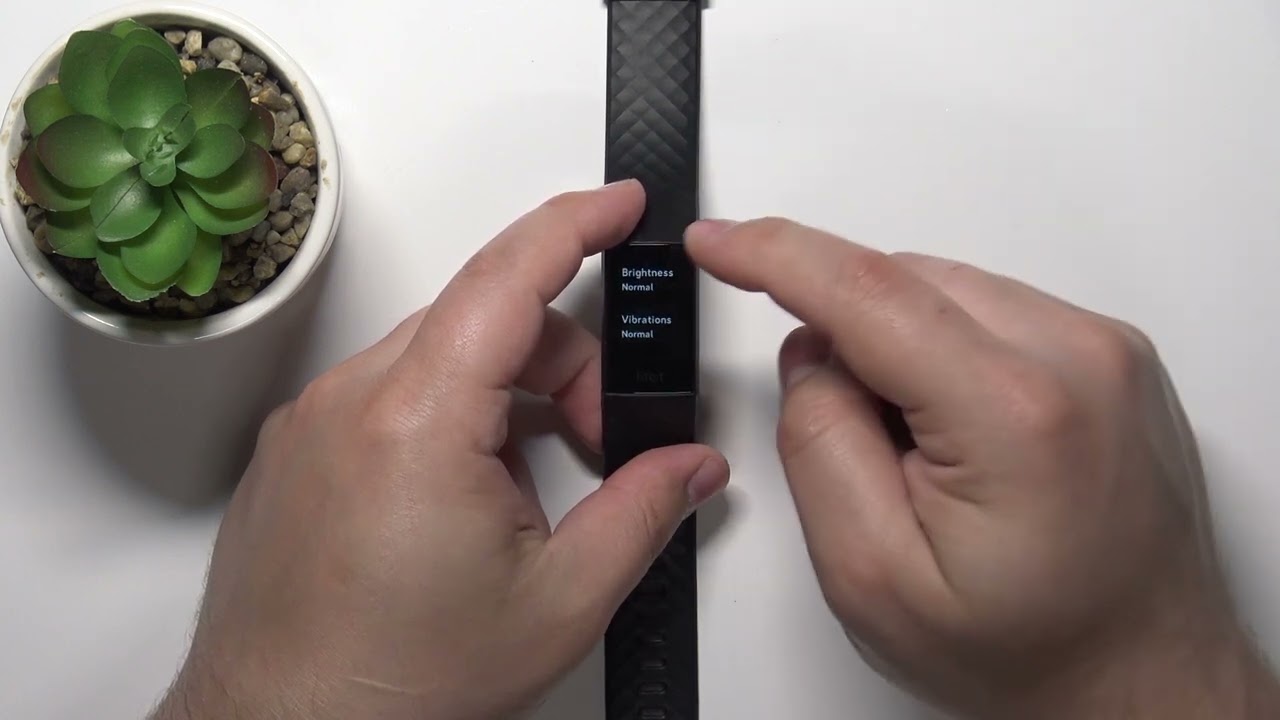
Locate Display Settings: Within the settings menu, navigate to the "Display" or "Clock Face" section. This is where you will find the specific controls and options related to the display settings, including the brightness adjustment feature.
-
Select Brightness: Once you have accessed the display settings, look for the "Brightness" option. Tap on this feature to enter the brightness adjustment interface, where you will have the opportunity to modify the brightness level according to your preference.
-
Adjust Brightness Level: With the brightness adjustment interface displayed, you can now fine-tune the brightness level to suit your specific needs. Depending on the Fitbit Charge 3 model and firmware version, you may encounter different methods for adjusting the brightness. This could involve tapping on the screen to cycle through brightness levels or using the device's physical buttons to increase or decrease the brightness.
-
Preview the Changes: As you make adjustments to the brightness level, take a moment to observe how the changes impact the display. This step allows you to visually assess the brightness level and ensure that it aligns with your requirements, whether you are indoors, outdoors, or in varying lighting environments.
-
Optimize for Comfort and Visibility: Aim to find a balance that offers optimal comfort and visibility. If you primarily use your Fitbit Charge 3 in well-lit environments, you may prefer a lower brightness setting to conserve battery life. Conversely, in bright outdoor settings, increasing the brightness can enhance visibility and readability.
-
Confirm the Adjustment: After determining the ideal brightness level, confirm the adjustment to save your preferences. This action ensures that the display brightness remains set to your desired level until further modifications are made.
By following these straightforward steps, you can effortlessly adjust the brightness on your Fitbit Charge 3, enabling you to tailor the display to your liking and optimize visibility in various scenarios. With the brightness settings now tailored to your preferences, you are poised to experience enhanced readability and comfort while interacting with your Fitbit Charge 3 throughout the day.
Step 3: Saving the Changes
After fine-tuning the brightness settings on your Fitbit Charge 3 to align with your specific preferences, it is essential to ensure that the adjustments are securely saved to maintain the desired display visibility. The process of saving the changes is straightforward and pivotal, as it solidifies your personalized brightness settings, allowing you to enjoy an optimized user experience without the need for frequent readjustments.
Here's a detailed walkthrough of how to seamlessly save the changes made to the brightness settings on your Fitbit Charge 3:
-
Confirm the Adjustment: Once you have adjusted the brightness level to your satisfaction, take a moment to confirm the changes. This step involves reviewing the display to ensure that the modified brightness setting aligns with your visibility and comfort preferences.
-
Navigate to the Save Option: Within the brightness adjustment interface, look for the "Save" or "Confirm" option. This critical feature serves as the gateway to solidifying the changes you have made to the brightness settings, ensuring that your preferences are retained and applied consistently.
-
Tap to Save: Upon locating the "Save" or "Confirm" option, tap on the corresponding button to execute the action. This simple gesture signifies your intent to preserve the adjusted brightness level, effectively locking in your personalized settings for seamless integration into your daily usage of the Fitbit Charge 3.
-
Visual Confirmation: Upon tapping the "Save" or "Confirm" button, you may receive a visual confirmation, such as a brief animation or message on the display, indicating that the brightness settings have been successfully saved. This reassuring feedback underscores the completion of the saving process, providing you with peace of mind that your preferences have been securely retained.
-
Enjoy Consistent Settings: With the changes saved, you can now enjoy consistent brightness settings tailored to your specific needs and environmental requirements. Whether you are engaging in physical activities, monitoring your health metrics, or simply checking the time, the optimized display brightness will seamlessly complement your interactions with the Fitbit Charge 3.
By following these straightforward steps to save the changes made to the brightness settings on your Fitbit Charge 3, you can ensure that your personalized preferences are securely retained, enhancing your overall user experience with this innovative wearable device. With the adjustments securely saved, you can confidently navigate various lighting conditions and activities, knowing that the display brightness is perfectly aligned with your individual comfort and visibility preferences.
Conclusion
In conclusion, mastering the process of changing the brightness on the Fitbit Charge 3 empowers users to personalize their wearable experience and optimize display visibility in diverse environments. By seamlessly accessing the settings, adjusting the brightness, and securely saving the preferred settings, users can tailor the display to their liking, ensuring enhanced readability and comfort throughout their interactions with the device.
The ability to fine-tune the brightness settings on the Fitbit Charge 3 reflects the device's commitment to user-centric customization, acknowledging the varying preferences and environmental considerations that impact user experiences. Whether users seek to conserve battery life, improve visibility in bright outdoor settings, or simply adapt the display to their comfort preferences, the straightforward process outlined in this guide equips them with the knowledge and confidence to effortlessly manage the display brightness to their satisfaction.
Furthermore, the seamless integration of brightness adjustment features underscores Fitbit's dedication to delivering a versatile and adaptable wearable device that aligns with the dynamic lifestyles of its users. This commitment to user-centric design ensures that individuals can engage with their Fitbit Charge 3 seamlessly, with the reassurance that the display brightness can be effortlessly tailored to suit their specific needs, whether they are pursuing fitness goals, monitoring their health metrics, or simply staying connected throughout the day.
By understanding and implementing the steps outlined in this guide, users can unlock the full potential of their Fitbit Charge 3, harnessing the power to customize the display brightness to their exact preferences. This level of personalized control enhances the overall user experience, fostering a deeper sense of connection and usability as individuals engage with the device in various contexts and activities.
Ultimately, the process of changing the brightness on the Fitbit Charge 3 transcends mere technical adjustments; it encapsulates the spirit of user empowerment and seamless integration, ensuring that individuals can derive maximum value and comfort from their interactions with this innovative wearable device. With the knowledge and insights gained from this guide, users are well-equipped to embark on a journey of personalized brightness management, enhancing their overall satisfaction and engagement with the Fitbit Charge 3.
In essence, the ability to effortlessly tailor the brightness settings on the Fitbit Charge 3 epitomizes the device's commitment to user-centric personalization, empowering individuals to curate their wearable experience according to their unique preferences and environmental considerations.