Introduction
Introduction
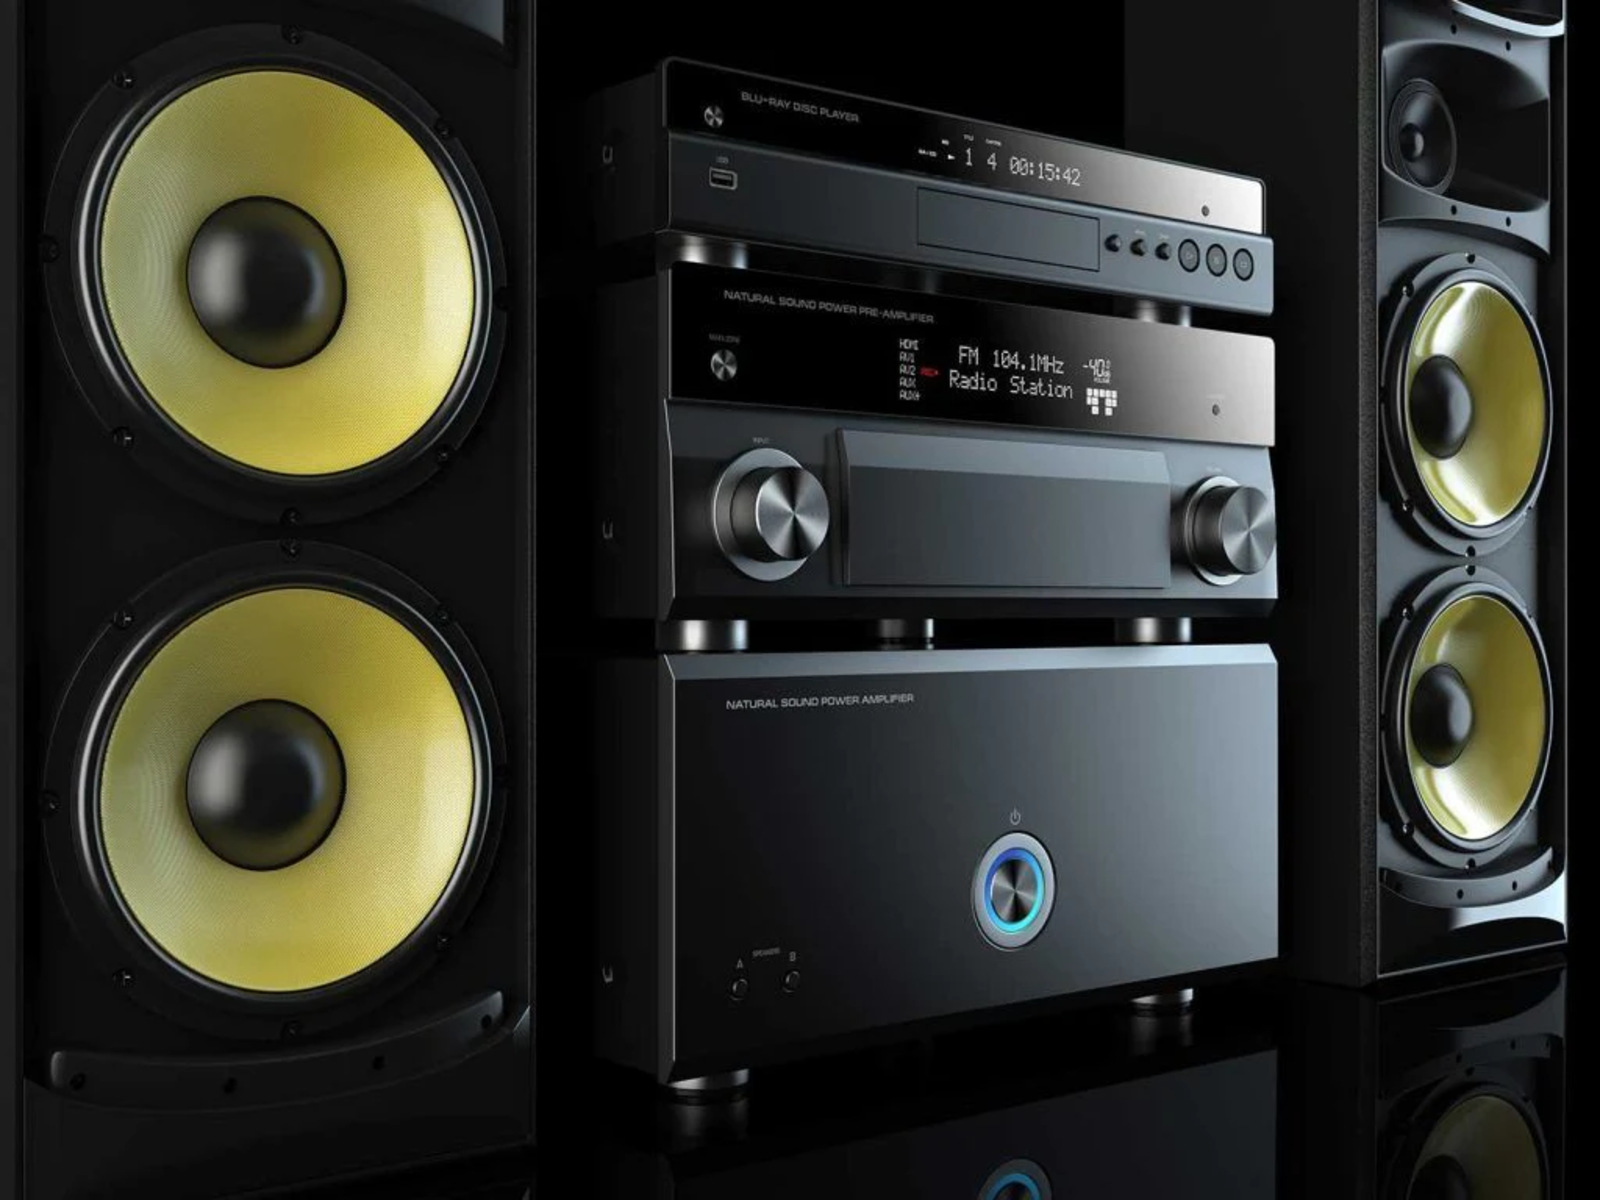
Setting up a surround sound system can significantly enhance your home entertainment experience, immersing you in a rich audio environment that complements the visuals on your screen. Whether you're a movie enthusiast, a gaming aficionado, or a music lover, a well-configured surround sound system can elevate your audio experience to new heights. However, to achieve optimal results, it's crucial to wire the system correctly, ensuring that each speaker and component is seamlessly integrated.
In this comprehensive guide, we will walk you through the step-by-step process of wiring a surround sound system, from selecting the right speaker placement to calibrating the setup for optimal audio performance. By the end of this guide, you will have the knowledge and confidence to set up your surround sound system like a pro, transforming your living space into a captivating audio paradise.
Whether you're a seasoned audiophile or a novice enthusiast, this guide will provide valuable insights and practical tips to help you achieve the best possible audio experience in your home. Let's dive into the world of surround sound wiring and unlock the full potential of your audio equipment.
Choosing the Right Speaker Placement
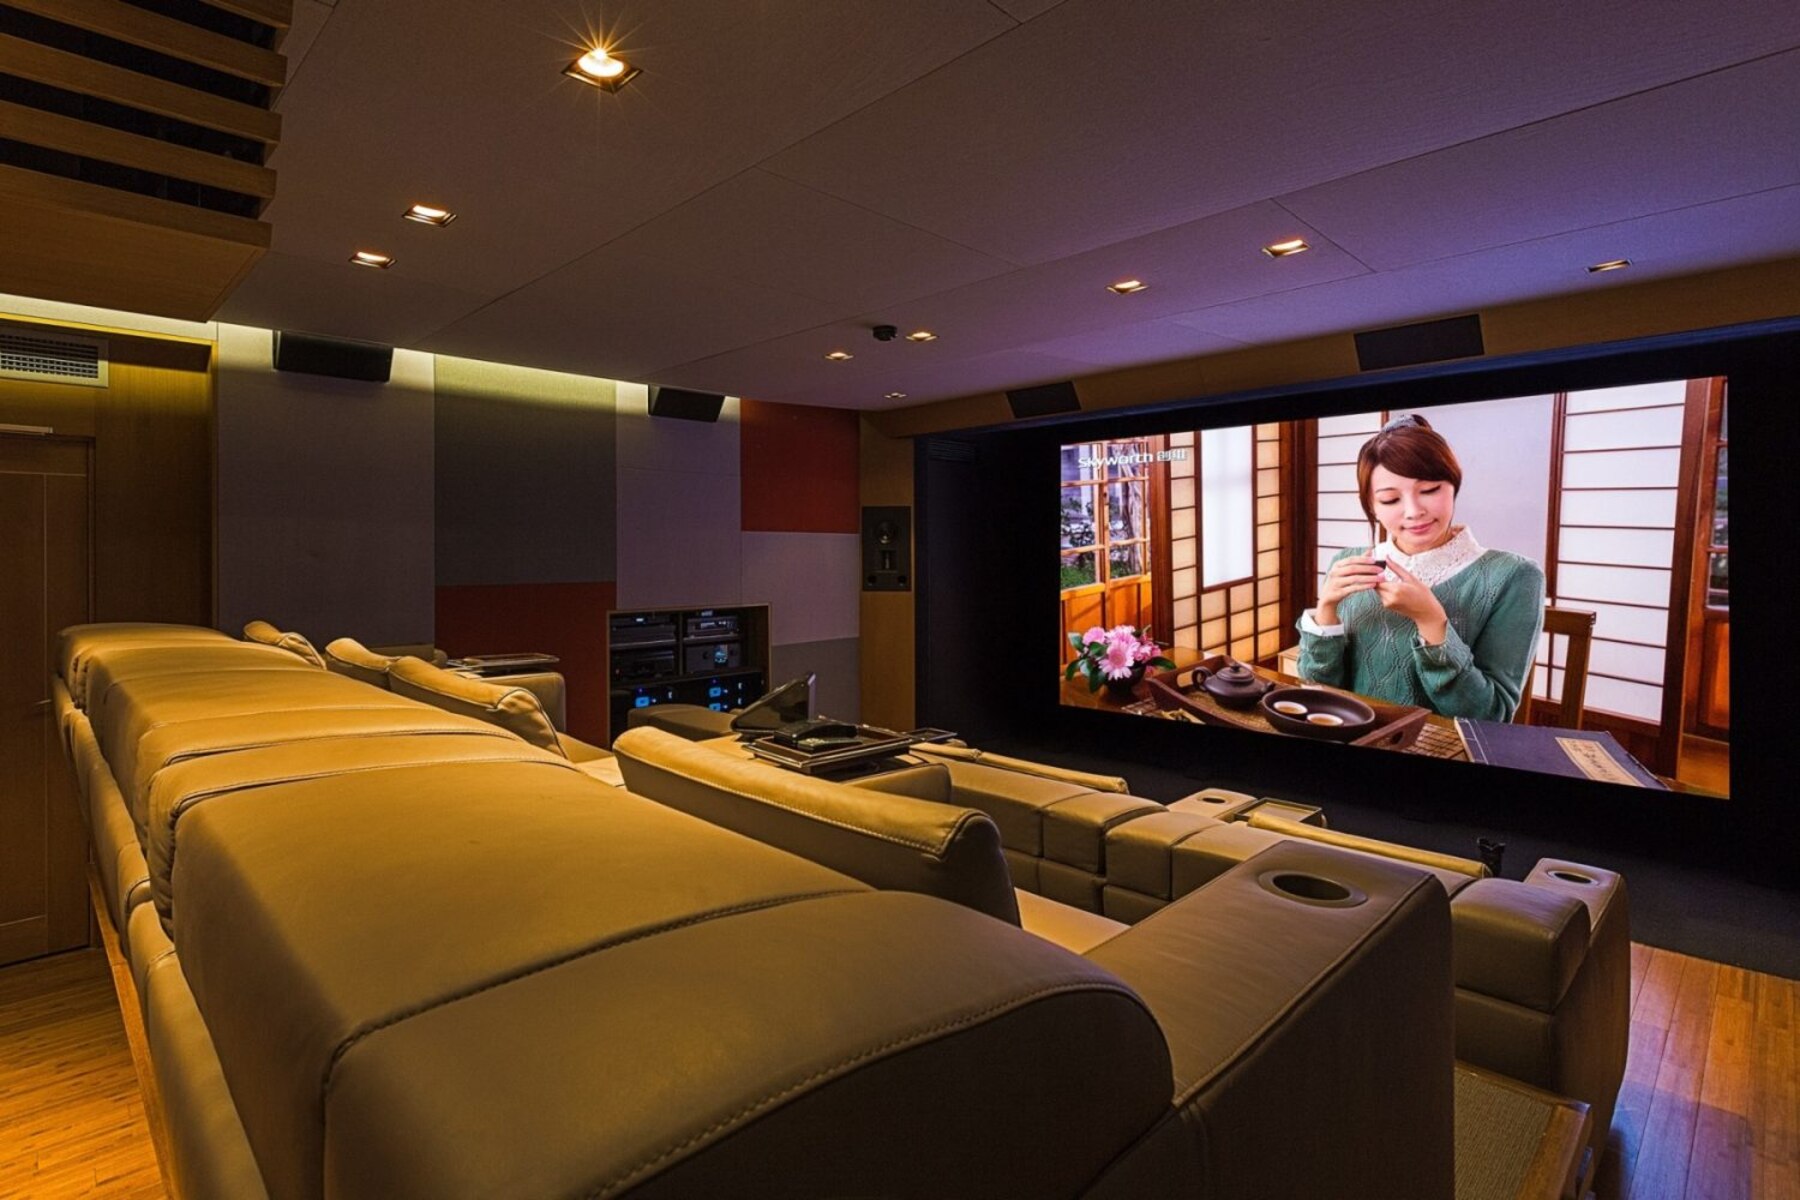
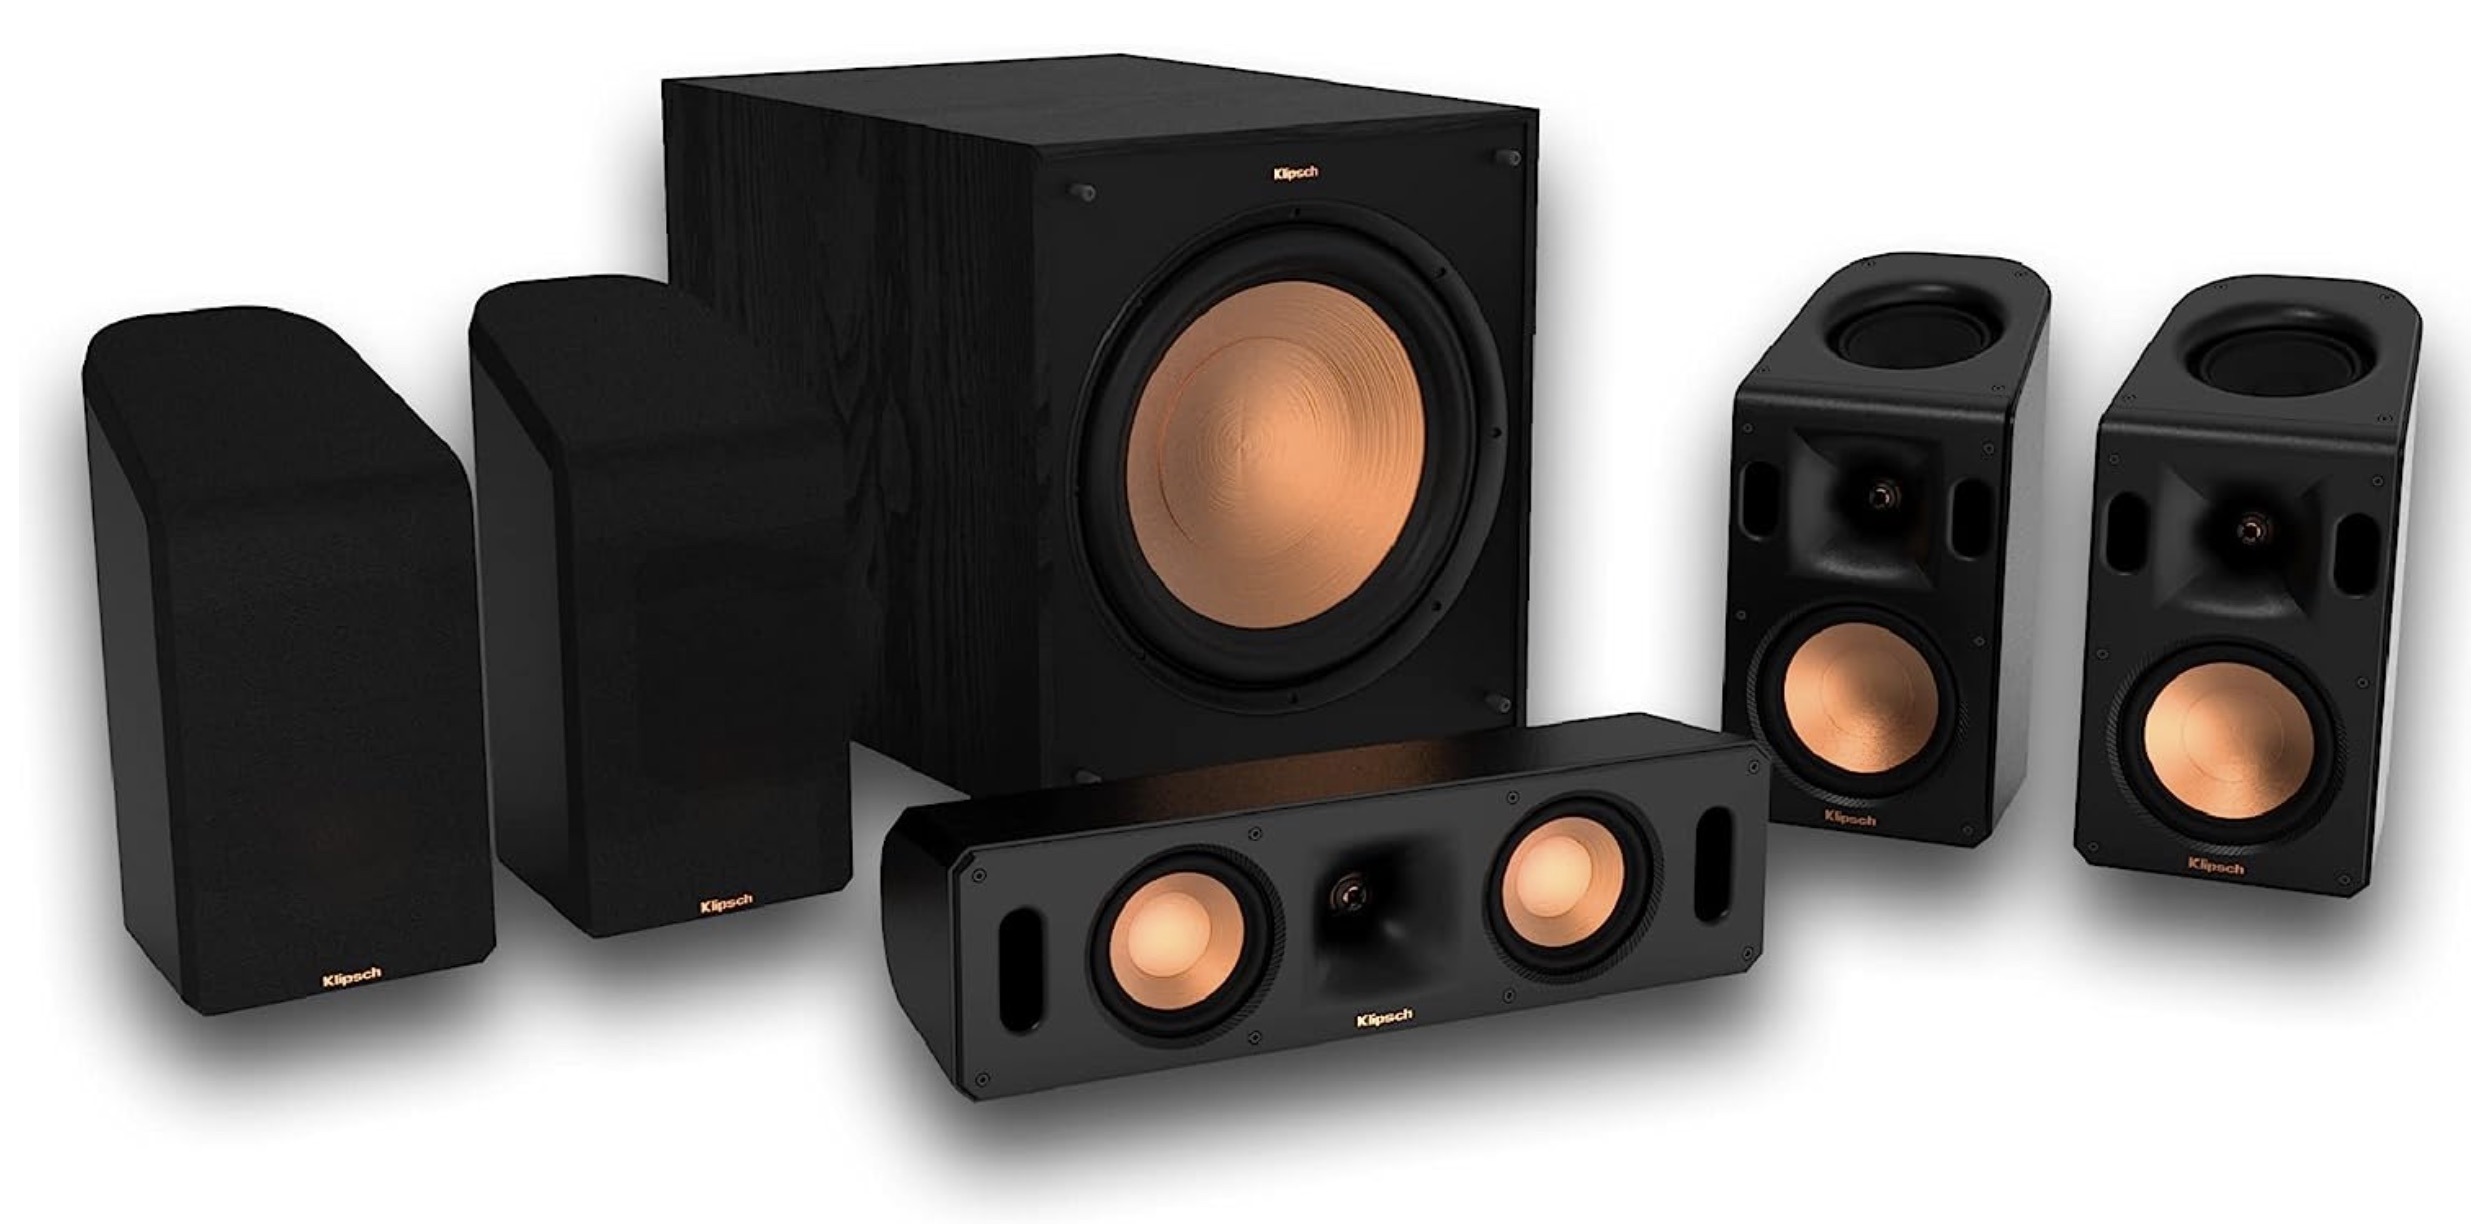
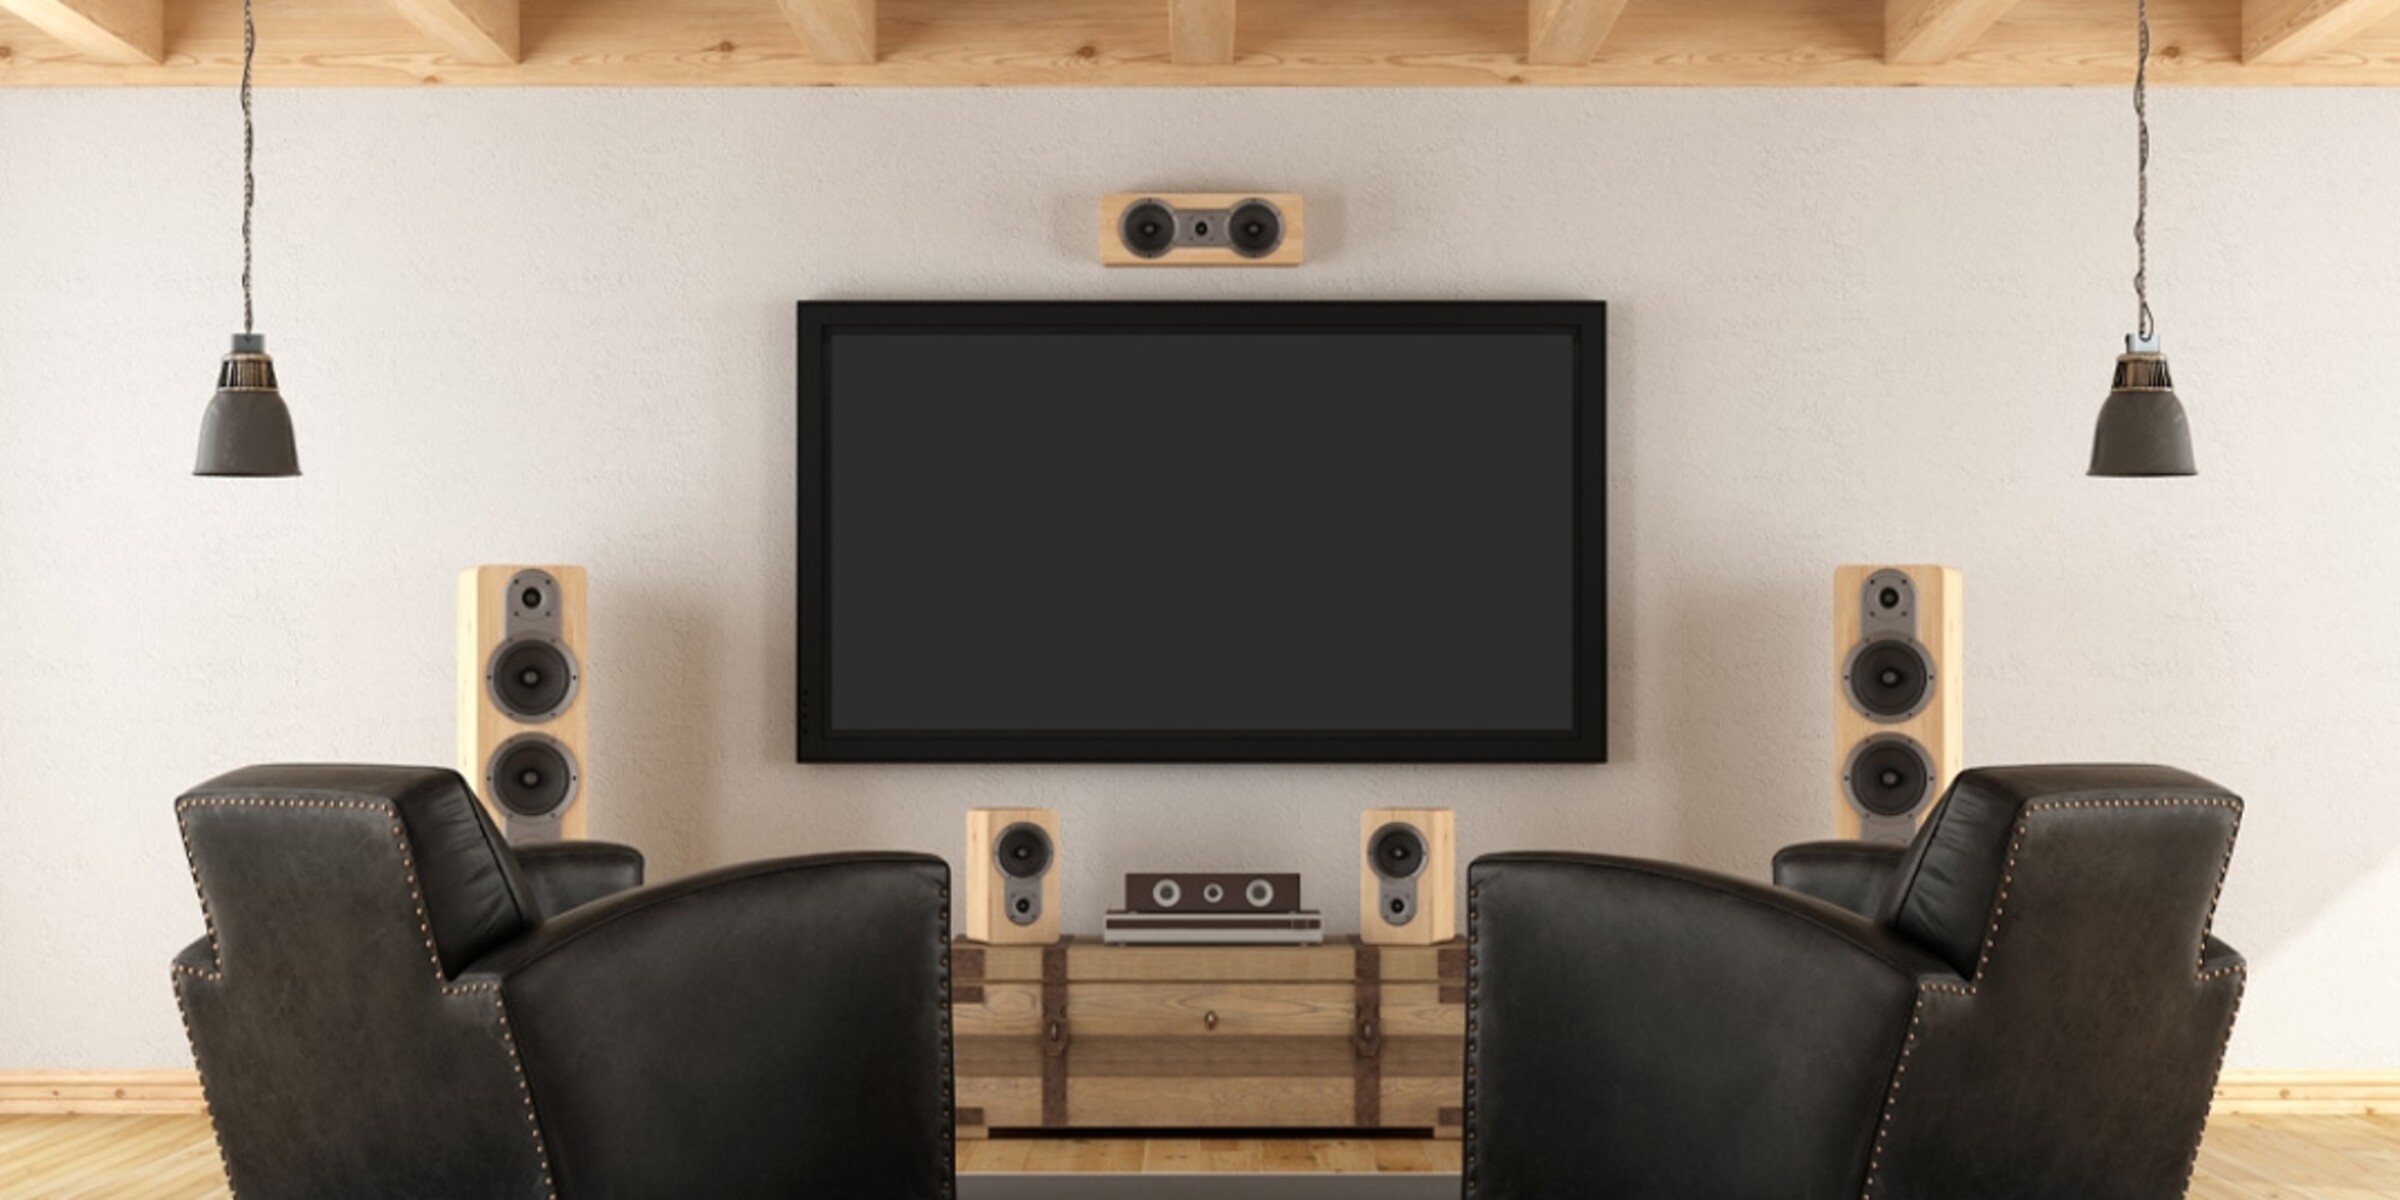
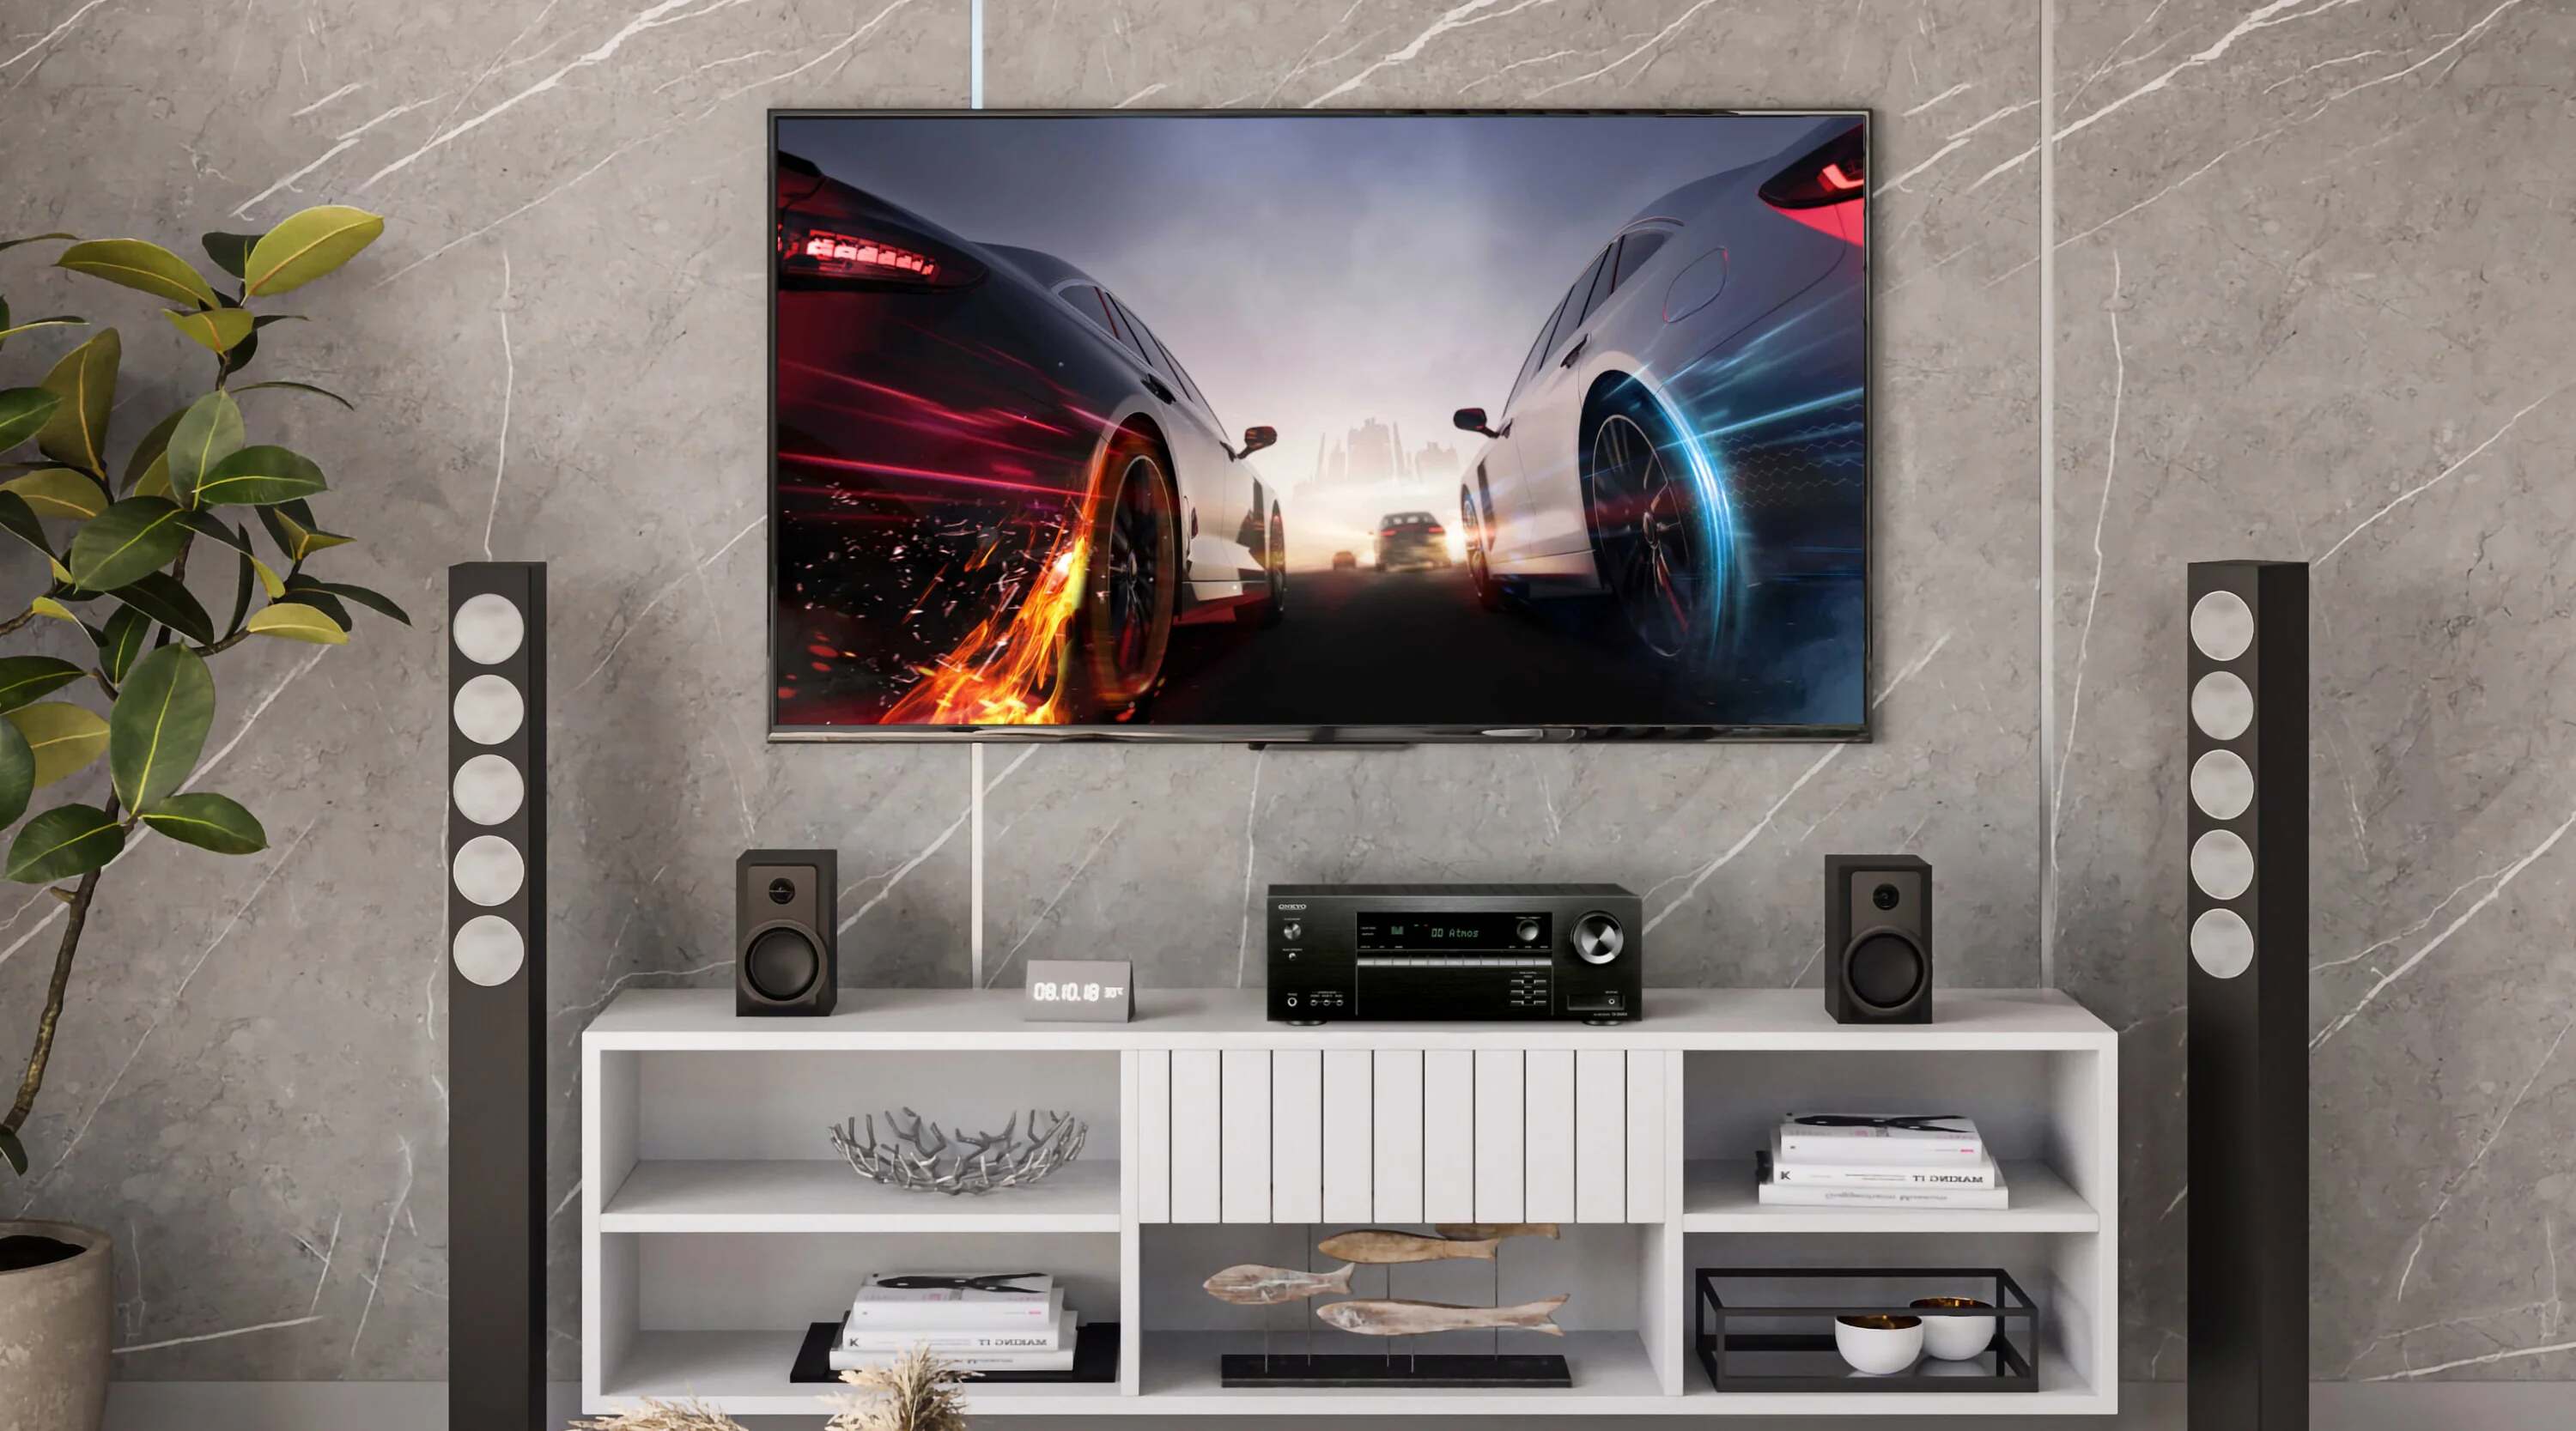
When setting up a surround sound system, the placement of your speakers plays a pivotal role in delivering an immersive audio experience. Each speaker in your setup serves a specific purpose, whether it’s projecting dialogue, ambient sounds, or low-frequency effects. To optimize the audio distribution, it’s essential to strategically position each speaker within your viewing area.
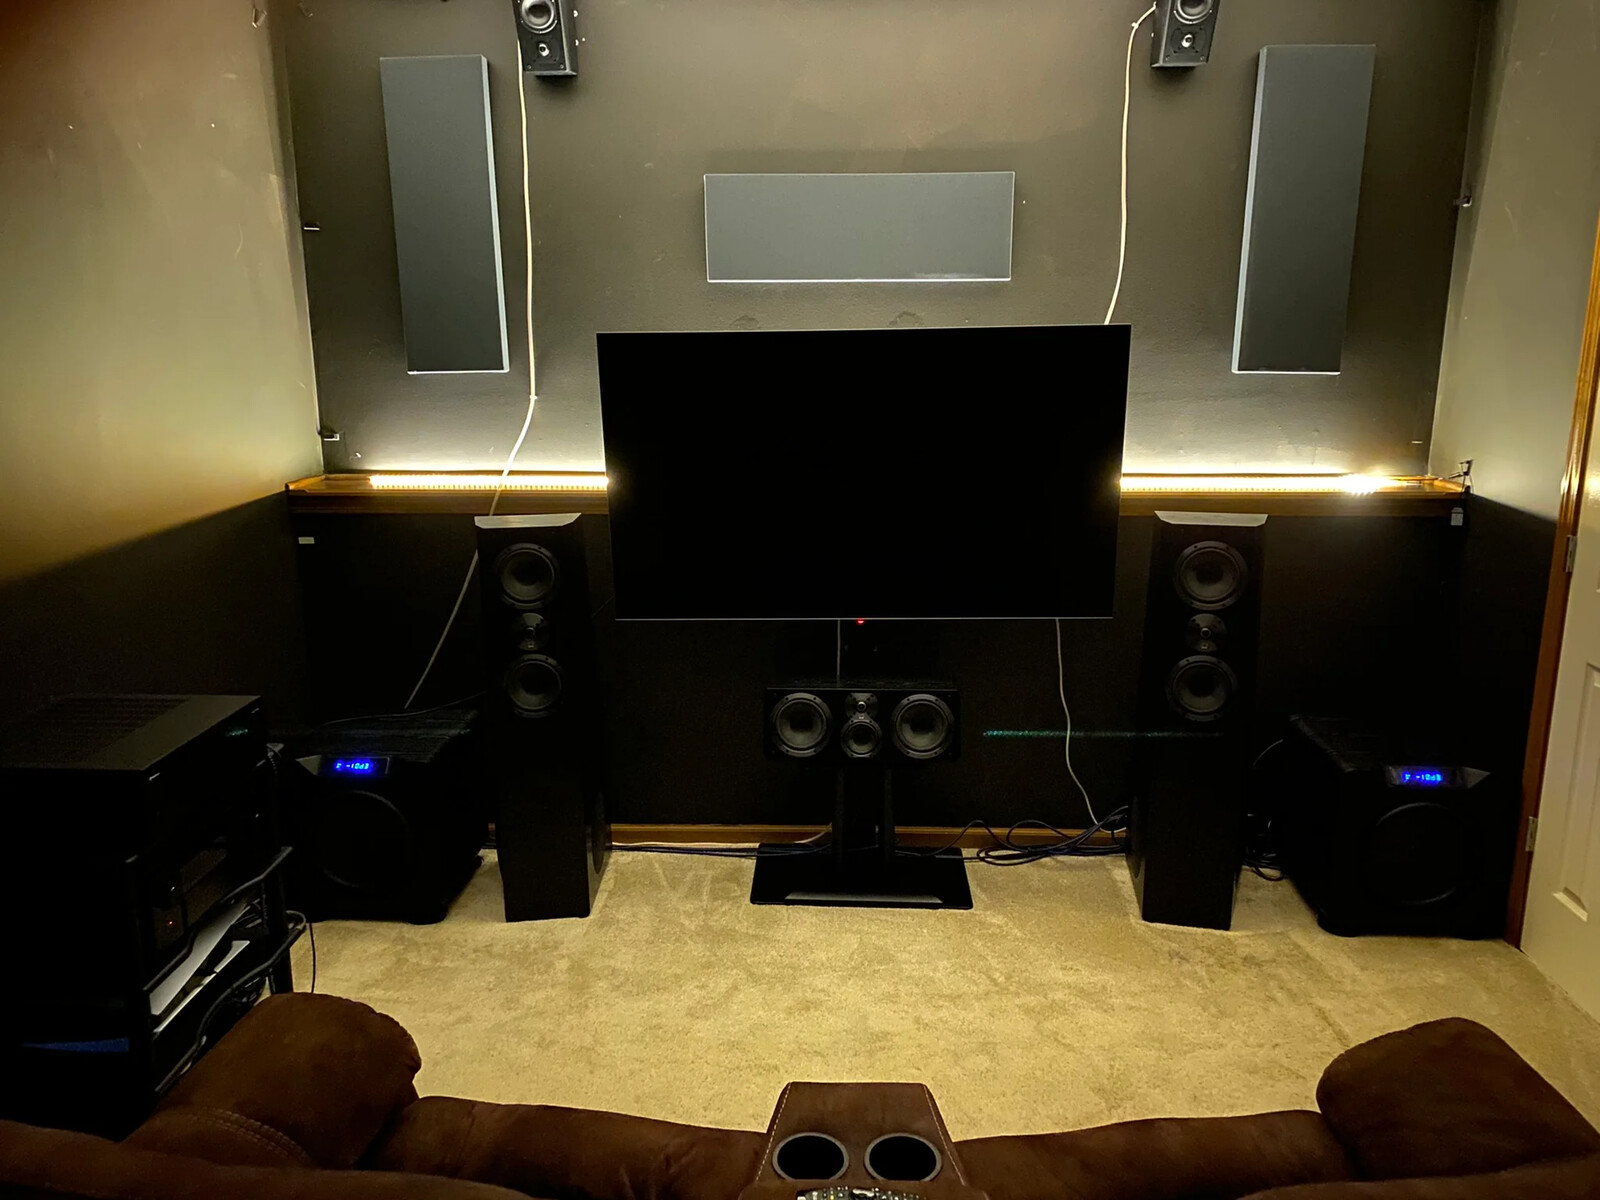
Front Speakers: The front speakers, typically the left, center, and right channels, serve as the foundation of your audio setup. The center speaker should be placed above or below the screen, ensuring that dialogue is accurately localized. The left and right speakers should flank the display, creating a balanced soundstage.
Surround Speakers: The surround speakers, responsible for enveloping the viewer in ambient sound, should be positioned to the sides or slightly behind the primary seating area. By angling these speakers towards the viewers, you can enhance the sense of immersion while maintaining a balanced audio distribution.
Height Speakers: For systems that support height channels, such as Dolby Atmos or DTS:X, the placement of height speakers is crucial. These speakers should be installed above the primary listening area, ideally on the ceiling or using dedicated elevation speakers, to deliver vertical audio effects with precision.
Consider the acoustics of your room when determining speaker placement. Avoid placing speakers in corners or against walls, as this can lead to sound reflections and distortions. Additionally, aim for symmetrical speaker placement to ensure a cohesive audio experience from every seating position.
By carefully selecting and arranging the placement of your speakers, you can create a captivating audio environment that elevates your viewing or listening experience to new heights.
Selecting the Right Speaker Wire
Choosing the appropriate speaker wire is essential for ensuring optimal audio transmission and signal integrity within your surround sound system. The wire you select plays a critical role in delivering the full potential of your speakers, amplifiers, and audio sources. Here are key considerations to keep in mind when selecting speaker wire:
- Gauge: The gauge of the wire refers to its thickness and is typically denoted by a numerical value. Lower gauge numbers indicate thicker wire, which can handle higher power levels with lower resistance. For longer wire runs or higher power applications, a lower gauge wire, such as 12 or 14 gauge, is recommended to minimize signal loss.
- Length: The length of the speaker wire needed for your setup is determined by the distance between the amplifier or receiver and each speaker. Measure the distances accurately to ensure that you have sufficient wire without excess slack, which can lead to clutter and signal interference.
- Material: Speaker wire is commonly available in copper and aluminum variants. Copper wire is the preferred choice due to its superior conductivity and resistance to corrosion. High-quality oxygen-free copper (OFC) wire is an excellent option for minimizing signal loss and preserving audio fidelity.
- Insulation: Insulation quality is crucial for maintaining signal integrity and protecting the wire from environmental factors. Look for speaker wire with durable and flexible insulation that is resistant to damage and easy to route within your entertainment space.
When selecting speaker wire, it’s important to strike a balance between performance and cost. Investing in high-quality wire can yield noticeable improvements in audio clarity and detail, especially in larger or acoustically challenging rooms. Additionally, properly terminated and labeled wire ends can simplify the installation process and minimize the risk of wiring errors.
By carefully considering the gauge, length, material, and insulation of the speaker wire, you can ensure that your surround sound system delivers pristine audio quality while maintaining a tidy and organized wiring configuration.
Connecting the Speakers to the Receiver
Once you have selected the optimal speaker placement and the appropriate speaker wire, the next crucial step in wiring your surround sound system is connecting the speakers to the receiver or amplifier. This process involves establishing secure and reliable electrical connections to ensure that audio signals are accurately transmitted from the amplifier to each speaker. Here’s a step-by-step guide to connecting your speakers:
- Identify Speaker Outputs: On the back of your receiver or amplifier, locate the speaker outputs labeled for each channel, such as front left, front right, center, surround left, and surround right. These terminals are typically color-coded or labeled for easy identification.
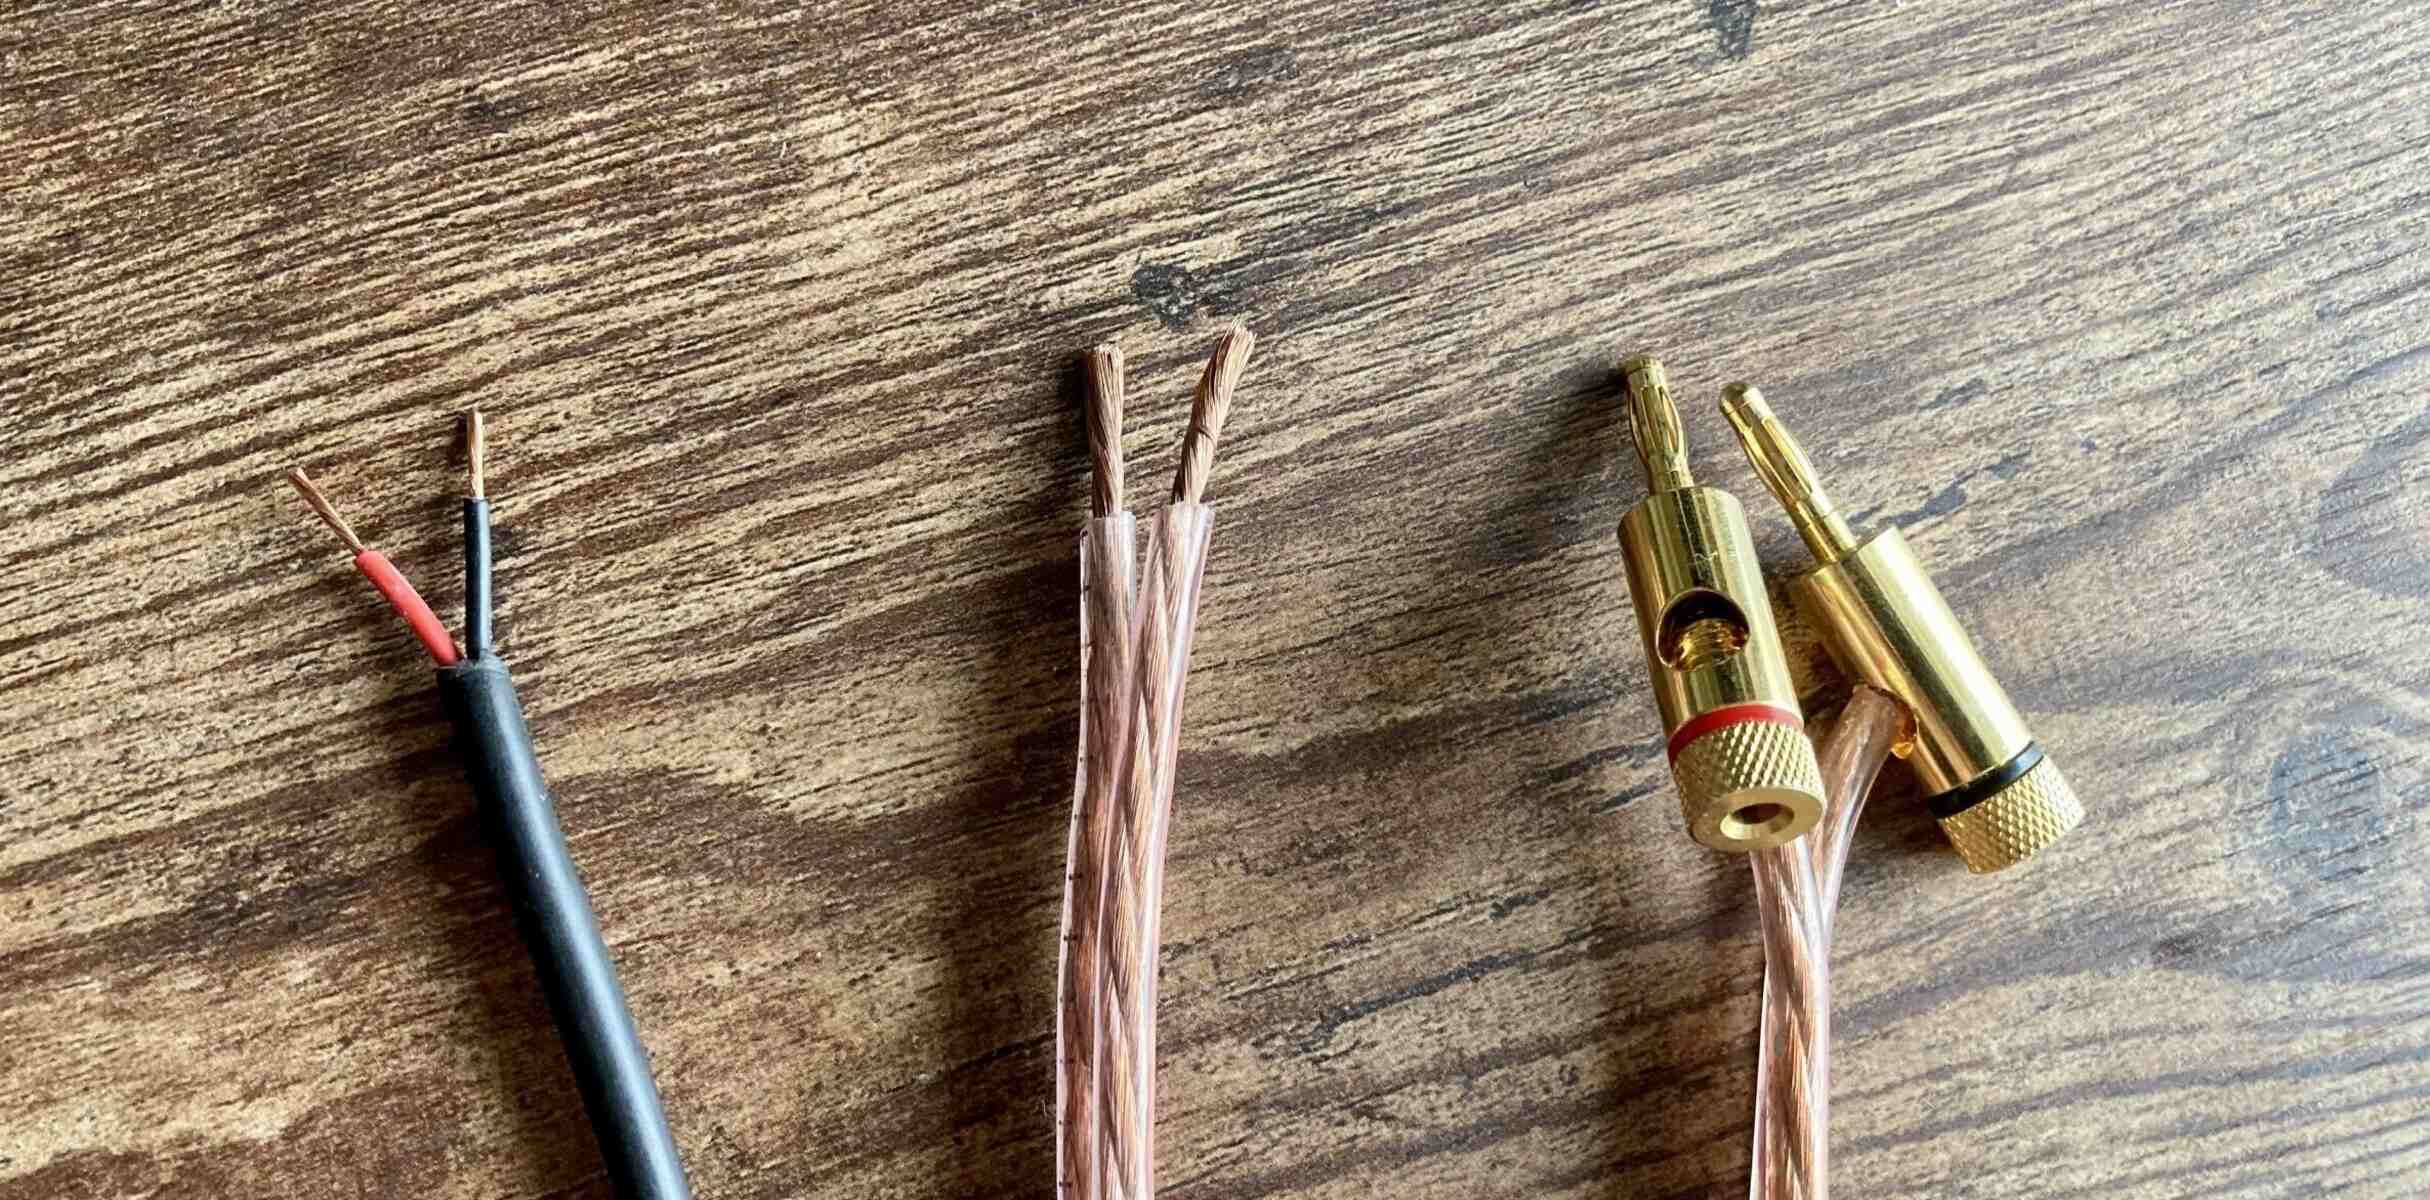
- Prepare the Speaker Wire: Strip a small length of insulation from the end of each speaker wire to expose the bare conductors. If using stranded wire, twist the strands tightly to prevent fraying and ensure a secure connection.
- Match Polarities: It’s crucial to maintain consistent polarity when connecting the speaker wire to the receiver and speakers. The positive terminal on the receiver should be connected to the corresponding positive terminal on the speaker, and the same applies to the negative terminals. This ensures that the speakers move in phase, producing coherent sound waves.
- Secure Connections: Insert the prepared speaker wire into the appropriate terminals on the receiver, ensuring a snug and secure fit. Many receivers feature binding posts, spring clips, or banana plug connectors for easy and reliable speaker wire connections.
- Connect to Speakers: At the other end of the speaker wire, connect the designated positive and negative conductors to the corresponding terminals on each speaker. Ensure that the connections are tight to prevent signal loss or intermittent contact.
After making the connections, double-check each terminal to confirm that the wire is securely fastened and that there are no stray strands that could cause a short circuit. Once all speakers are connected, power on the receiver and initiate a test to verify that each speaker is functioning correctly and producing sound.
By following these steps and exercising care during the wiring process, you can establish reliable and high-quality electrical connections between your receiver and speakers, laying the foundation for an exceptional surround sound experience.
Setting Up the Subwoofer
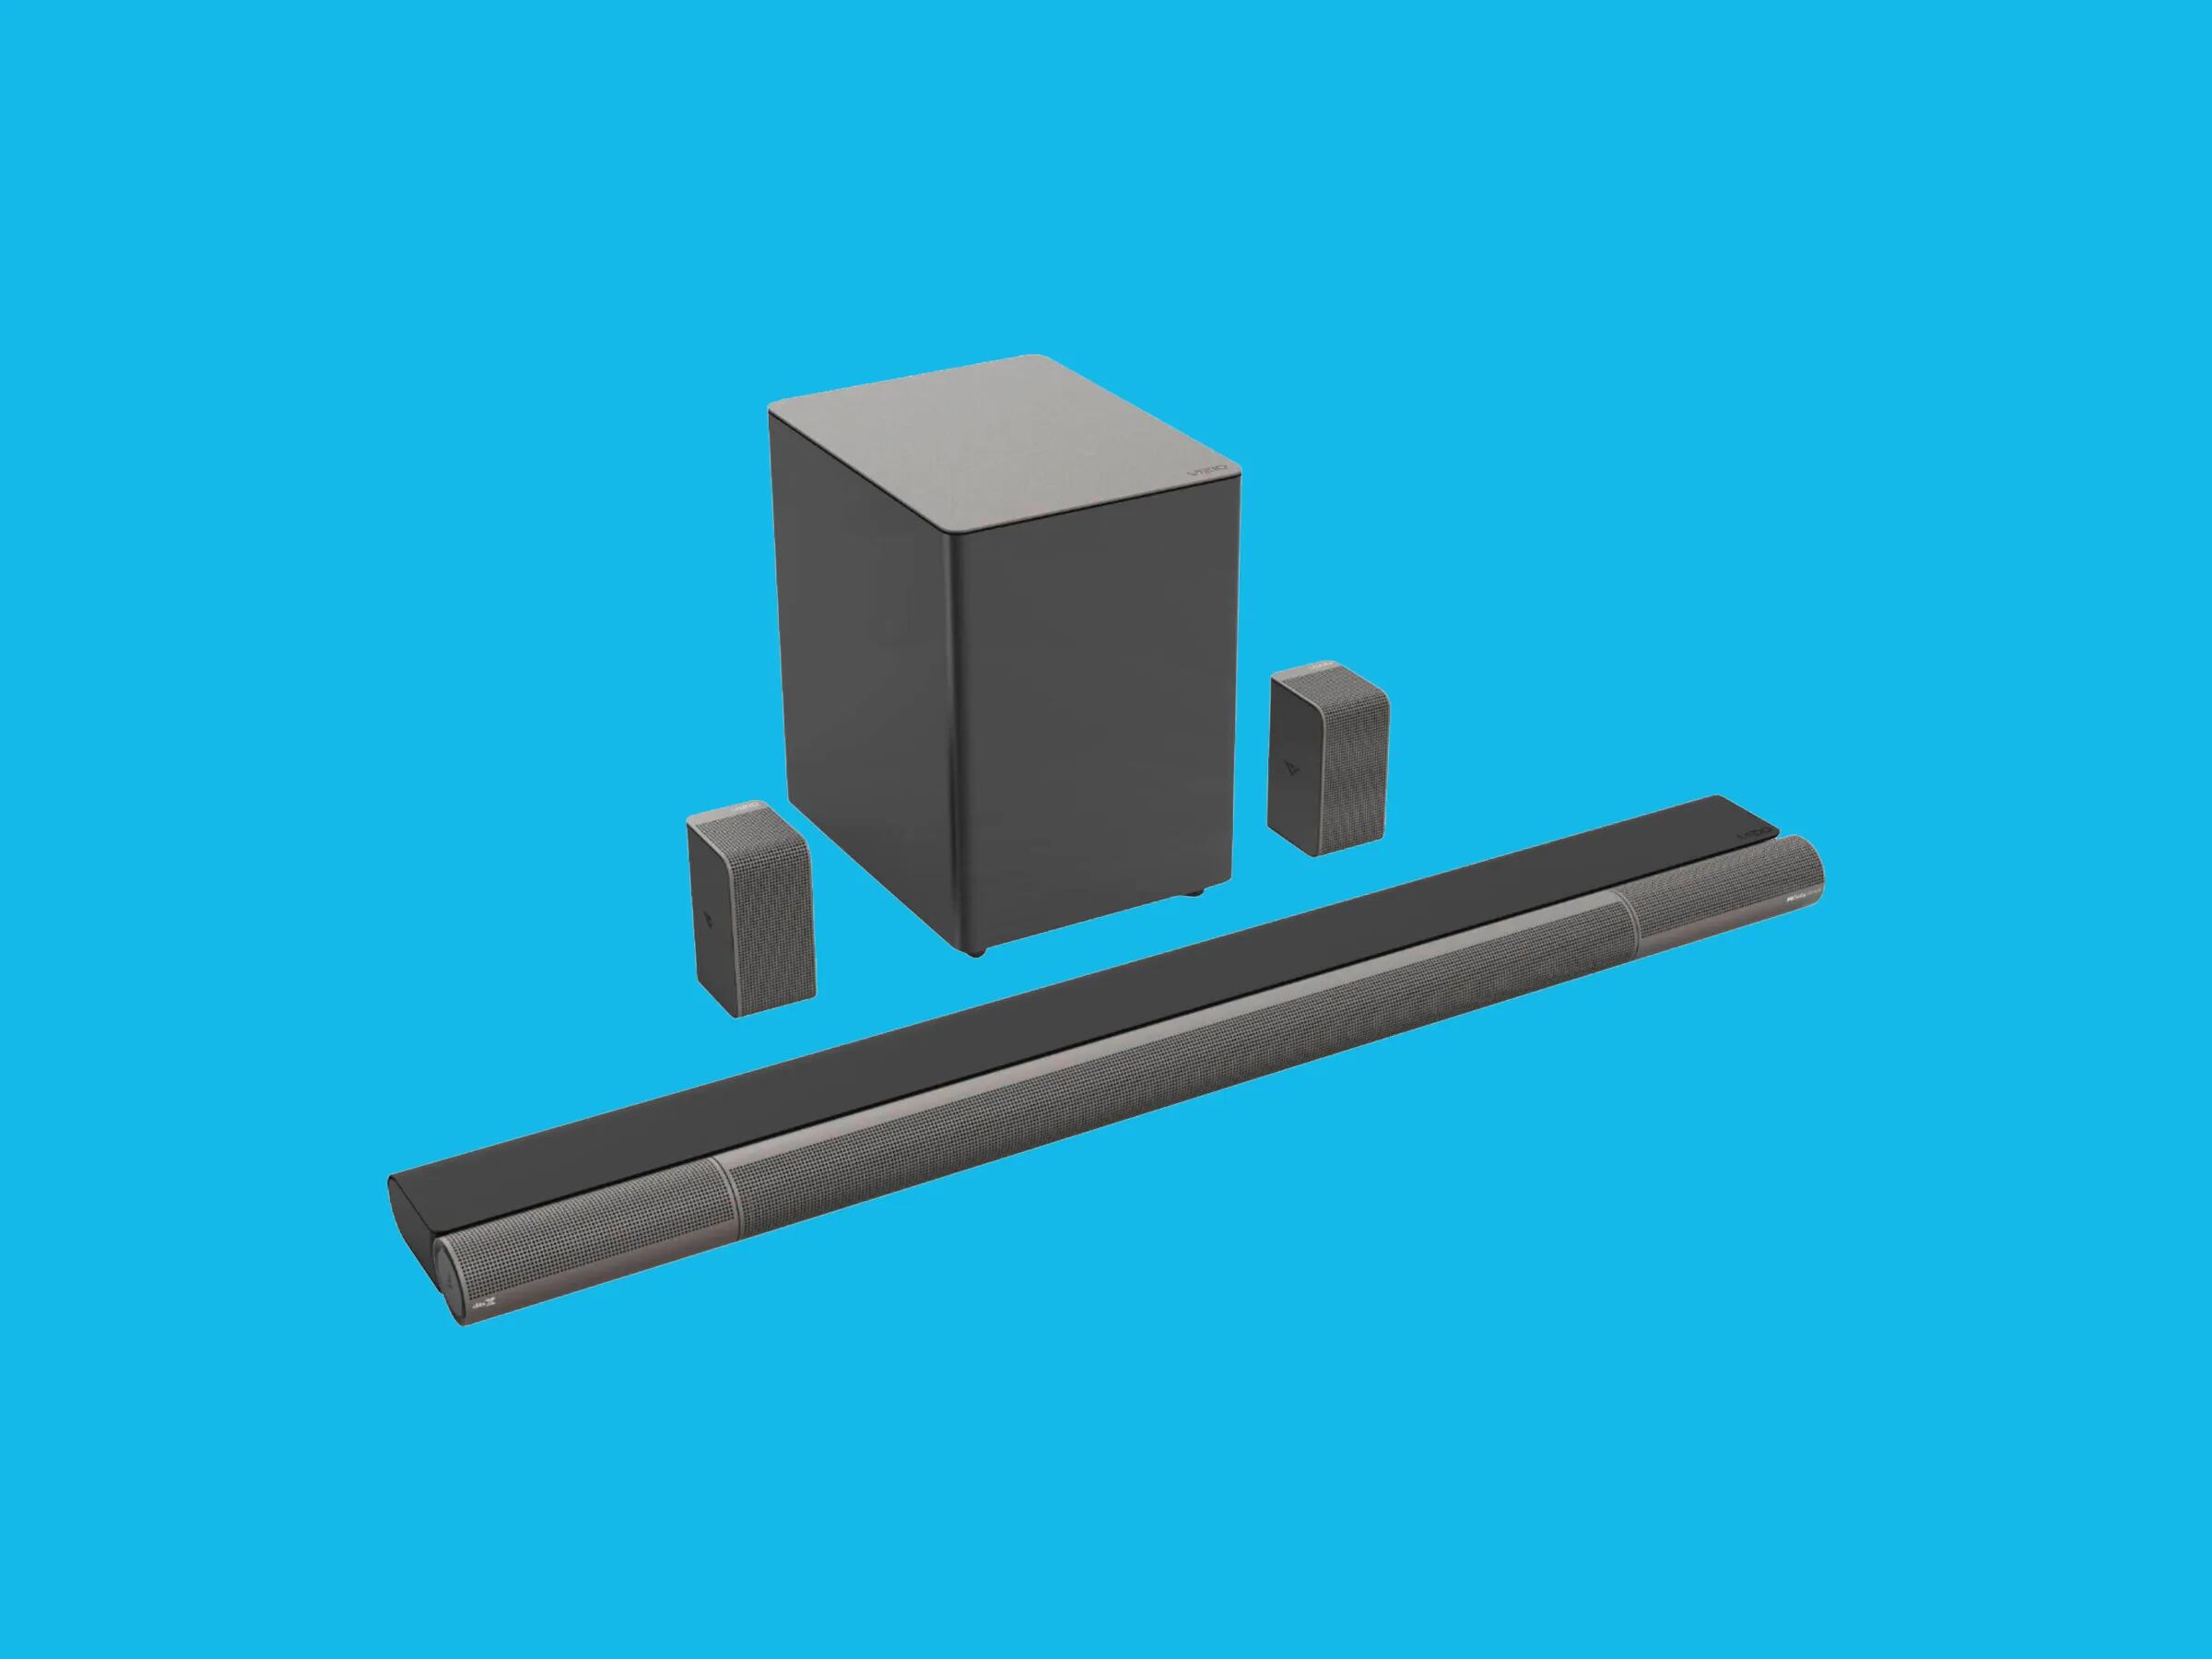
Integrating a subwoofer into your surround sound system is a key element in reproducing deep, impactful bass frequencies that add depth and realism to your audio playback. Properly setting up the subwoofer involves strategic placement and calibration to achieve a seamless blend with the rest of your speaker system. Here’s how to set up your subwoofer for optimal performance:
- Placement: Position the subwoofer within your listening area to achieve balanced bass distribution. While subwoofers are often placed near the front of the room, experiment with different locations to find the spot that delivers the most even bass response. Avoid placing the subwoofer in a corner, as this can result in exaggerated bass and potential localization issues.
- Connection: Using a dedicated subwoofer cable or the LFE (Low-Frequency Effects) output on your receiver, connect the subwoofer to the corresponding input on the back of the subwoofer. Ensure a secure connection to prevent signal loss or interference.
- Phase Adjustment: Some subwoofers feature a phase control that allows you to adjust the timing of the subwoofer’s output to align with the rest of the speakers. This ensures that the bass frequencies integrate seamlessly with the overall soundstage, preventing phase cancellation and muddiness in the low end.
- Crossover Settings: Set the crossover frequency on the subwoofer to complement the capabilities of your main speakers. This ensures that the subwoofer handles the low-frequency content, while the main speakers focus on midrange and high frequencies. The crossover point should facilitate a smooth transition between the subwoofer and the main speakers, preventing frequency gaps or overlaps.
- Calibration: Utilize the receiver’s built-in calibration system or an external calibration tool to fine-tune the subwoofer’s volume level and crossover settings. This process involves playing test tones and measuring the subwoofer’s output to achieve a cohesive and balanced bass response that enhances the overall audio experience.
By carefully placing, connecting, and calibrating your subwoofer, you can enrich your surround sound system with deep, authoritative bass that elevates the impact of movies, music, and games. The seamless integration of the subwoofer with the rest of your speakers ensures a cohesive and immersive audio environment.
Calibrating the Surround Sound System
Once all the speakers and the subwoofer are connected, the final step in setting up your surround sound system involves calibrating the audio parameters to ensure accurate sound reproduction and a cohesive listening experience. Calibration is essential for optimizing speaker levels, distances, and frequency responses to suit your room’s acoustics and your personal preferences. Here’s a comprehensive guide to calibrating your surround sound system:
- Room Calibration: Many modern receivers feature automated room calibration systems that use a calibrated microphone to analyze the acoustic characteristics of your listening space. Follow the on-screen prompts to place the microphone at ear level in multiple seating positions, allowing the system to measure and adjust speaker levels, distances, and frequency responses for optimal performance.
- Speaker Levels and Distances: During the calibration process, the receiver adjusts the relative volume levels of each speaker to ensure a balanced soundstage. Additionally, it measures the distance from each speaker to the primary listening position, compensating for any disparities in arrival times to synchronize the audio output for a cohesive listening experience.
- Crossover Settings: The receiver’s calibration system or manual setup allows you to fine-tune the crossover frequency for each speaker, ensuring that the distribution of frequencies between the speakers and the subwoofer is seamless. This step is crucial for maintaining a coherent audio spectrum across all speakers and optimizing the subwoofer’s contribution to the low end.
- Verification and Adjustment: After the automated calibration is complete, it’s beneficial to verify the settings and make manual adjustments if necessary. Listen to familiar audio content, such as music tracks or movie scenes with diverse sound elements, to assess the overall balance, tonal accuracy, and spatial imaging of the surround sound system.
- Room Acoustics: Consider the impact of room acoustics on the calibration process. If your room features acoustically reflective surfaces or furnishings, such as hardwood floors or large windows, you may need to address acoustic treatments or positioning adjustments to mitigate unwanted reflections and resonances that can affect the calibration results.
By meticulously calibrating your surround sound system, you can achieve a finely tuned audio environment that faithfully reproduces the intended sonic details of your entertainment content. The calibration process ensures that your surround sound system delivers an immersive and accurate audio experience that enhances your enjoyment of movies, music, and games.