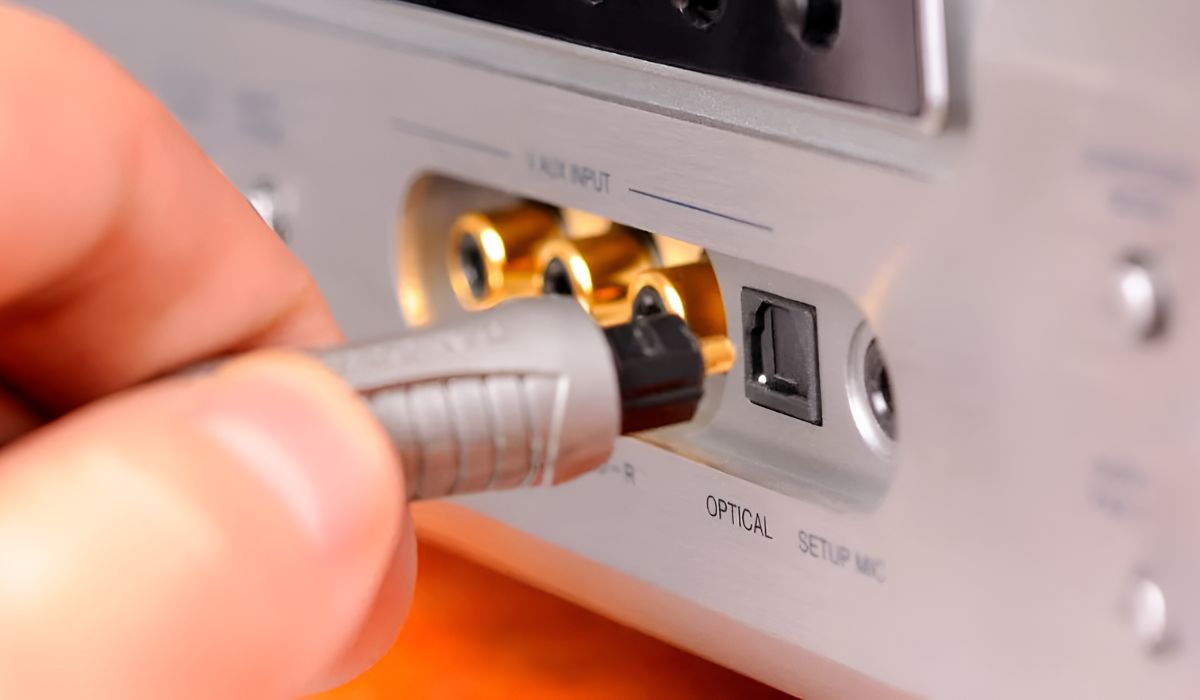
To run sound through an AV receiver with optical audio, connect a TOSLINK cable from your TV or source device to the receiver's optical input, then set both devices to use that digital connection. This method delivers clean stereo or compressed 5.1 surround sound without the electrical interference that can plague analog cables, making it a reliable choice when your receiver lacks HDMI ARC or you prefer a simple, dedicated audio link.
What you need to know before connecting optical audio to an AV receiver
Optical audio, also known as TOSLINK or SPDIF optical, transmits digital audio as pulses of light through a fiber optic core. This design makes it immune to electrical interference, so you get consistent, clean sound even if the cable runs near power cords or other electronics. The format supports uncompressed PCM 2.0 (stereo) and compressed surround formats like Dolby Digital 2.0 to 5.1 and DTS Digital Surround, enough for most TV broadcasts, streaming services, and DVD/Blu-ray discs that use these codecs.
However, optical audio has hard limits. It cannot carry lossless or high-bit-depth formats such as Dolby Digital Plus, Dolby TrueHD, DTS-HD Master Audio, Dolby Atmos, DTS:X, or multi-channel PCM (5.1/7.1). If your source outputs these formats, the TV or receiver will typically downconvert them to a compatible compressed signal or stereo. For most viewers, that trade-off is acceptable, but if you demand object-based or lossless surround, you'll need HDMI ARC or eARC instead.
Step 1: Connect the optical cable between your TV and receiver
Before touching any cables, turn off your TV and AV receiver to protect the ports and avoid any electrical surprises. Then remove the tiny, clear plastic protective caps from both ends of the optical cable, these are easy to miss and will block the signal entirely if left on.
- Locate the "Digital Audio Out (Optical)" port on your TV. It's typically a square port with a small flap or recessed opening.
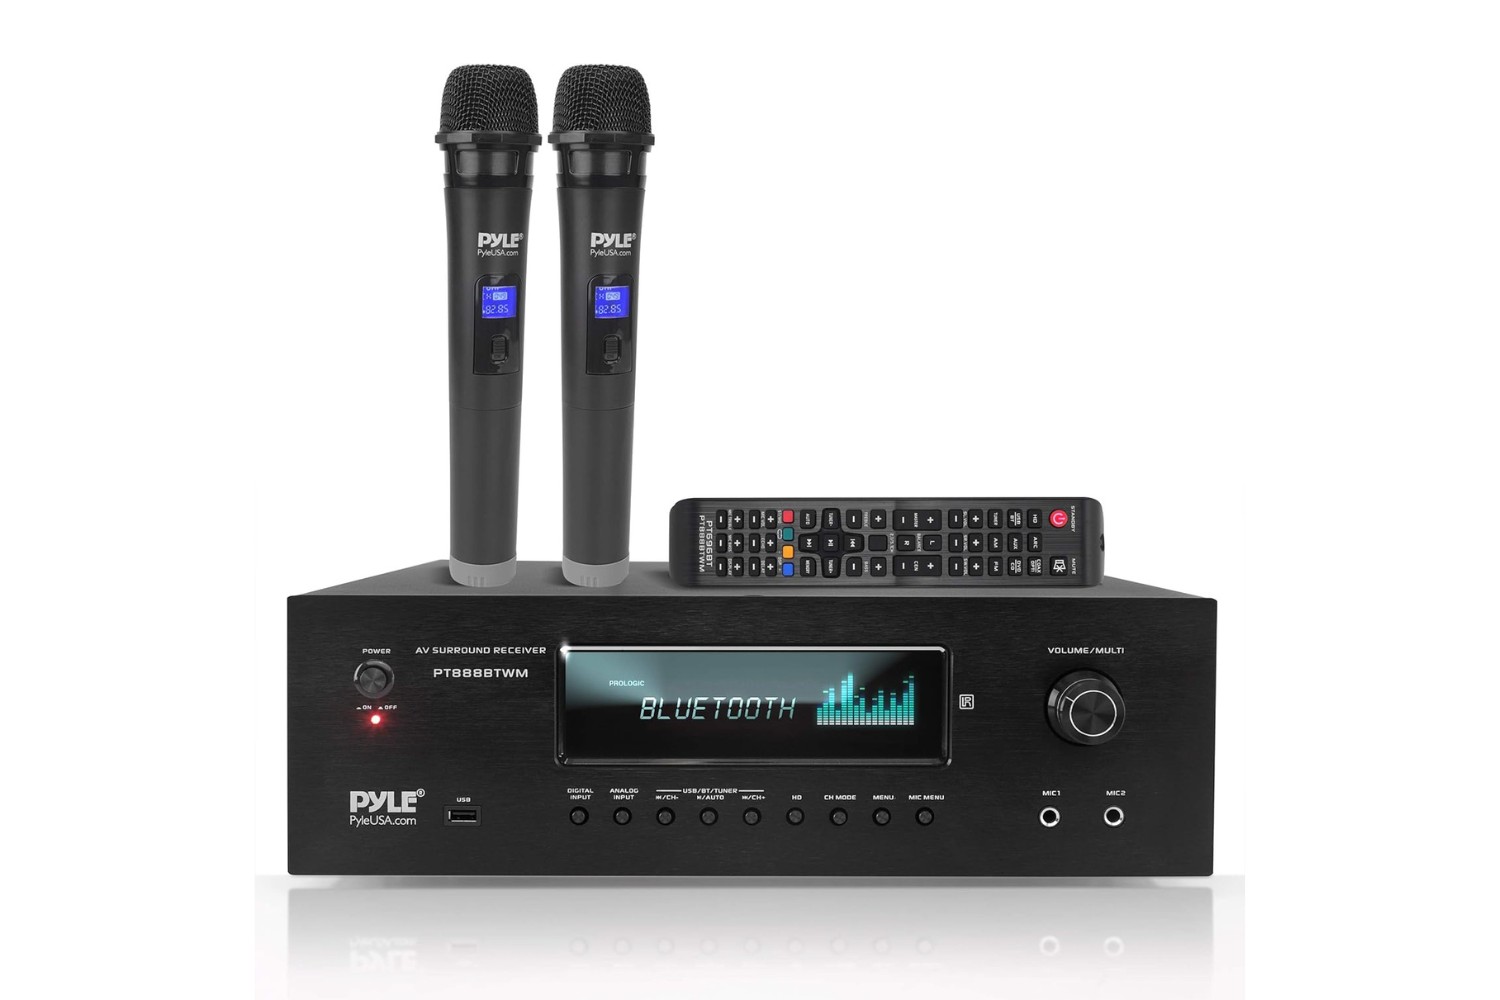
- Find the "Optical In" port on your AV receiver.
- Insert one end of the cable into the TV's optical output, aligning the D-shaped connector with the port's shape.
- Insert the other end into the receiver's optical input, again matching the D-shape.
- Push gently until you hear or feel a click, this confirms the connector is fully seated.
Ensure the cable is long enough to reach without tension, and avoid sharp bends. A tight kink can fracture the fiber inside, permanently degrading or killing the signal. Route the cable away from sharp edges and heavy furniture that could pinch it.
Step 2: Change your TV's audio output settings
With the cable connected, your TV still needs to know where to send the audio. Navigate to your TV's audio settings menu using the remote. Change the sound output from "TV Speakers" to "Optical" or "Digital Audio Out." This tells the TV to route all audio through the optical connection instead of its built-in speakers.
For surround sound, you'll also need to set the digital audio format to "Bitstream" rather than "PCM." Bitstream sends the original compressed Dolby Digital or DTS signal to your receiver, which decodes it into 5.1 channels. PCM, on the other hand, sends uncompressed two-channel audio, it works with any device, but it's stereo-only. If you choose PCM, your receiver will only produce left and right channels, even if the source contains surround information.
For Sony TVs specifically, press the HOME button on the remote, then navigate to [Settings] → [Sound] → [Speakers] → [Audio System]. This selects the optical output as the active audio destination. Other brands follow a similar logic: find the sound output section and pick the optical/digital option.
Step 3: Assign the optical input on your AV receiver
Your receiver won't automatically know that the optical cable carries your TV's audio. Power on the receiver and access its setup menu, usually via an on-screen display or the front panel. Look for an "Input Assign" or "Audio Input" section. Here, you can map the physical optical port (e.g., "Optical 1") to a specific source label, such as "TV," "Cable," or "Blu-ray", that you'll select when watching content.
- Open the receiver's setup menu using the remote or front-panel buttons.
- Navigate to "Input Assign," "Audio Input," or a similarly named submenu.
- Select the source label you want to use (e.g., "TV").
- Assign that source to the optical input you connected (e.g., "Optical 1").
- Save the setting and exit the menu.
Once assigned, select that source on the receiver whenever you want to hear audio from your TV. The receiver will now process the incoming optical signal and send it to your speakers.
No sound? Quick troubleshooting fixes
If you hear nothing after completing the setup, work through these checks in order. First, confirm your TV's audio output is set to Optical, not TV Speakers, this is the most common mistake. If the TV still plays through its own speakers, the optical output is disabled.
Reseat the cable firmly at both ends. A loose connection can drop the signal entirely or cause intermittent crackling. Push each end until it clicks, and make sure the D-shape is aligned correctly, inserting it upside down won't work.
Ensure the receiver is set to the correct input. Cycle through the inputs until you land on the one you configured.
Check for a red light at the cable tip where it enters the receiver. A glowing red light confirms the TV is sending an optical signal. If you see no light, the TV's output is off or the cable is damaged, try a different optical cable if you have one.
If you get sound but it's only stereo when you expect surround, try Bitstream vs. PCM in your TV's audio settings. Switching from PCM to Bitstream allows the receiver to decode Dolby Digital or DTS and produce 5.1 channels. If your TV doesn't offer Bitstream, check the source device (like a Blu-ray player) and set its digital output to Bitstream as well.