Introduction
Pairing an Xfinity remote to a soundbar is a simple and convenient way to enhance your audio experience. By synchronizing these devices, you can control the volume and audio output of your soundbar using the Xfinity remote, eliminating the need for multiple remotes. Whether you’re watching your favorite TV shows, movies, or streaming content, this seamless connection between your Xfinity remote and soundbar will ensure a more immersive and enjoyable entertainment experience.
Before we dive into the step-by-step process of pairing your Xfinity remote to a soundbar, it’s important to note that not all soundbars are compatible with Xfinity remotes. Make sure to check the compatibility of your soundbar and remote before proceeding. If your soundbar supports infrared (IR) control, you should be able to pair it with your Xfinity remote. However, if your soundbar uses a different wireless technology, such as Bluetooth or Wi-Fi, it may not be compatible.
In this guide, we will walk you through the process of pairing an Xfinity remote to a soundbar. We’ll cover everything from finding the correct device code for your soundbar to testing the connection to ensure it works seamlessly. So let’s get started and enhance your audio experience with the convenience of a paired Xfinity remote and soundbar.
Step 1: Ensure Compatibility
Before you begin the process of pairing your Xfinity remote to a soundbar, it’s important to check the compatibility of both devices. This step will ensure that your soundbar can be controlled using the Xfinity remote.
First, make sure your soundbar supports infrared (IR) control. Xfinity remotes use IR signals to communicate with devices such as TVs and soundbars. Check the user manual or the manufacturer’s website of your soundbar to verify its compatibility with IR control.
Next, ensure that your Xfinity remote is capable of controlling external audio devices. Most Xfinity remotes have a dedicated “Audio” or “Sound” button that allows you to adjust the volume and mute functions. If your Xfinity remote doesn’t have these buttons, you may need to use a different remote or consider purchasing a universal remote that is compatible with your soundbar.
Additionally, check if your soundbar has the necessary audio inputs to connect to your TV. Common audio input options include HDMI ARC (Audio Return Channel), optical audio, or RCA inputs. Ensure that your soundbar has at least one of these audio inputs available, as it will be used to establish the connection between your TV and the soundbar.
By verifying the compatibility of your soundbar and Xfinity remote, you can ensure a smooth and successful pairing process. If you’re unsure about the compatibility of your devices, consult the user manuals or contact the manufacturers for further assistance.
Step 2: Power on the Soundbar and Remote
Before we proceed with pairing the Xfinity remote to your soundbar, ensure that both devices are powered on and ready for the setup process.
First, make sure your soundbar is connected to a power source and turned on. Double-check all the connections, including the power cord and any audio cables, to ensure they are properly plugged in. If your soundbar has a power button, press it to turn on the device. Some soundbars may turn on automatically when they detect an audio signal from the TV.
Next, ensure that your Xfinity remote has fresh batteries and is functioning properly. Replace the batteries if necessary, following the instructions in the remote’s user manual. Make sure there is a clear line-of-sight between the remote and the soundbar, as obstructions can affect the infrared signals.
If your Xfinity remote has a power button specifically for the soundbar, press it to turn on the soundbar. If there isn’t a dedicated power button, use the “Power” or “On/Off” button on your Xfinity remote to turn on both the TV and soundbar simultaneously. This will ensure that both devices are synced and ready for pairing.
Remember, proper power-on procedures for both the soundbar and Xfinity remote are essential for a successful pairing process. Once both devices are powered up, we can move on to the next step of finding the correct device code for the soundbar.
Step 3: Find the Soundbar’s Device Code
In order to pair your Xfinity remote to the soundbar, you’ll need to find the correct device code that corresponds to your specific soundbar model. The device code allows the Xfinity remote to communicate with and control the soundbar effectively.
Here’s how you can find the device code for your soundbar:
- Refer to the user manual: The first place to look for the device code is the user manual that came with your soundbar. Check the section on remote control setup or programming to see if it lists the corresponding code for your soundbar.
- Check the manufacturer’s website: Visit the manufacturer’s website and search for your specific soundbar model. Look for any support or troubleshooting information related to remote control setup. The manufacturer may provide a list of device codes or a tool to help you find the correct code for your soundbar.
- Try common codes: If you couldn’t find the device code through the user manual or the manufacturer’s website, you can try using common codes that are often used for soundbars. Refer to the Xfinity remote’s user manual for a list of common soundbar codes. Try entering these codes one by one until you find the one that successfully controls your soundbar.
Once you have identified the correct device code for your soundbar, make a note of it as you will need it in the next step to program the Xfinity remote.
It’s important to note that the device codes may vary depending on the soundbar model and your specific Xfinity remote model. Be sure to use the correct codes to ensure successful pairing and control of your soundbar using the Xfinity remote.
Step 4: Program the Remote Using the Code
Now that you have the correct device code for your soundbar, it’s time to program your Xfinity remote to communicate with and control the soundbar. Follow these steps to program your remote:
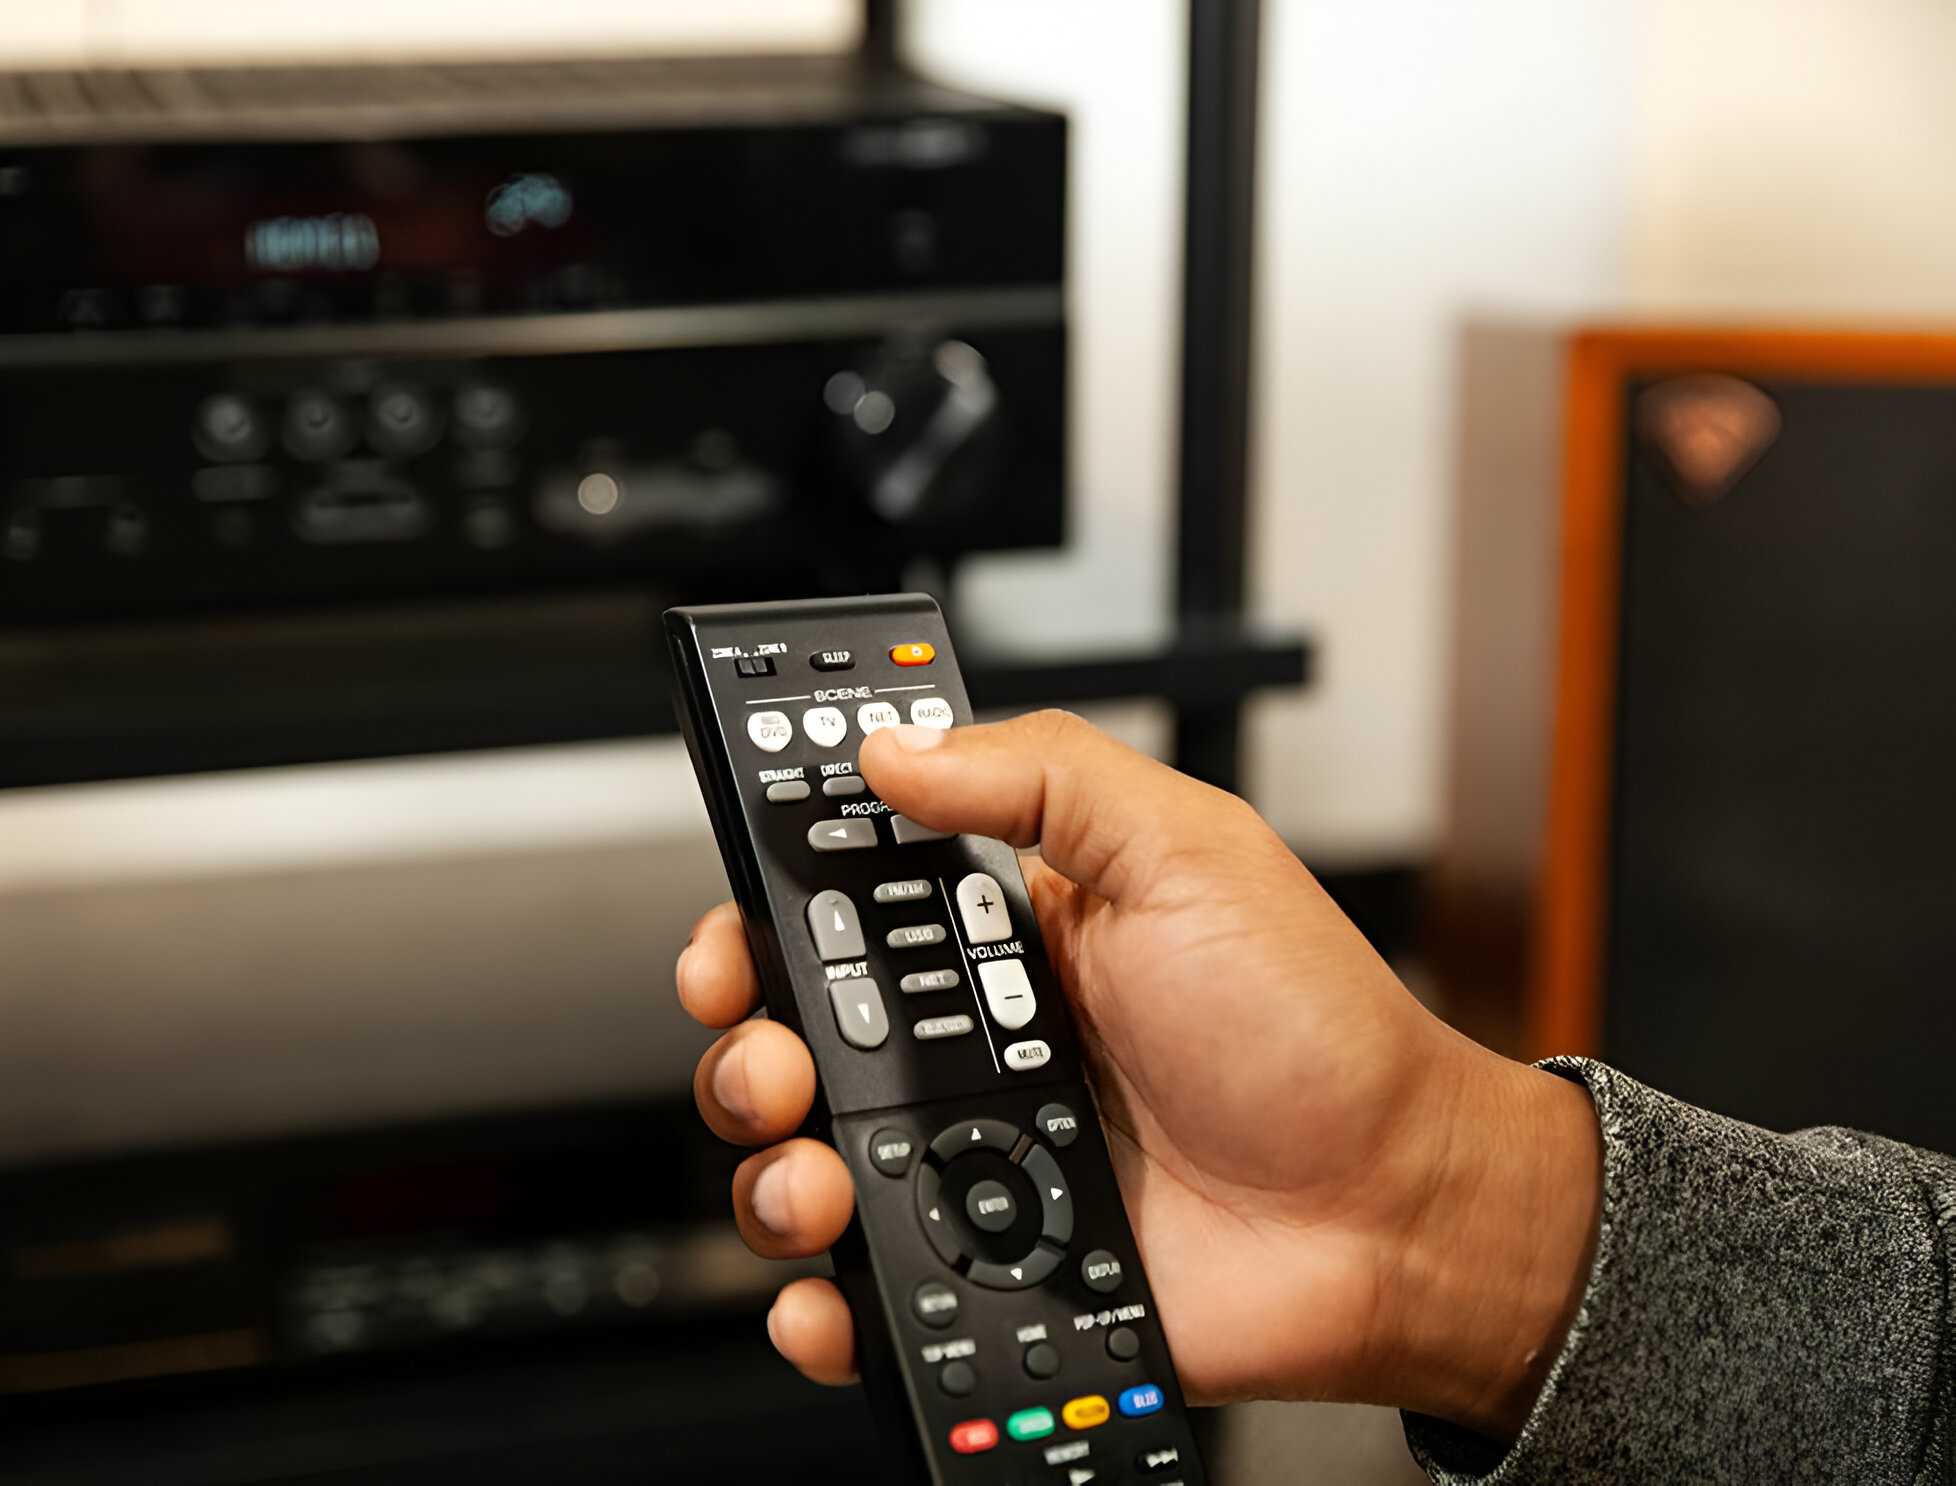
- Press the “Setup” button on your Xfinity remote. This button is usually located at the top of the remote, near the Xfinity logo or function buttons.
- Enter the 3-digit code for your soundbar using the number keypad on the remote. Each number should be entered consecutively.
- After entering the code, the “TV” button on the remote will blink twice to indicate that the code has been accepted.
- Test the control by using the volume buttons on the Xfinity remote. Adjust the volume and check if the soundbar responds accordingly. If the volume control doesn’t work, repeat the steps and ensure that you are using the correct device code.
- If the initial code you entered doesn’t work and the volume control is not functioning, try programming the remote using another code from the list of soundbar codes provided in the Xfinity remote’s user manual.
- Once you find the code that successfully controls the soundbar, make sure to save the code by pressing the “Setup” button again. The TV button on the remote will blink twice to indicate that the code has been saved.
After successfully programming the remote, you should be able to control the soundbar’s volume and mute functions using the respective buttons on the Xfinity remote. This eliminates the need for separate remotes and provides you with convenient control over your audio experience.
Remember, if you ever change or upgrade your soundbar, you may need to repeat the programming process using the new device code. Keep this in mind to ensure seamless control of your soundbar using the Xfinity remote.
Step 5: Test the Connection
After programming your Xfinity remote with the correct device code, it’s time to test the connection between the remote and the soundbar to ensure everything is working as expected. By conducting a simple test, you can verify that the soundbar is responding to the remote’s commands.
Follow these steps to test the connection:
- Select a media source: Choose a media source, such as a TV show, movie, or music, that you want to play through the soundbar.
- Turn on your TV and soundbar: Use the power button on your Xfinity remote to turn on the TV and soundbar simultaneously. This will ensure that both devices are properly synced.
- Adjust the volume: Using the volume buttons on your Xfinity remote, adjust the volume up and down. Pay attention to your soundbar to see if it responds by increasing or decreasing the volume accordingly.
- Mute and unmute: Press the mute button on your Xfinity remote to see if it effectively mutes the sound coming from the soundbar. Press it again to unmute and restore the audio.
- Test other functions: Explore the other functions on your Xfinity remote, such as changing audio settings or switching between inputs. Ensure that these commands are properly communicated to the soundbar.
If all the tests indicated that the soundbar is responding to the remote’s commands, congratulations! You have successfully paired your Xfinity remote to the soundbar. Enjoy the convenience of controlling your soundbar’s audio output using a single remote.
However, if the tests revealed any issues or the soundbar is not responding as expected, double-check the device code and reprogram your Xfinity remote following the previous steps. Ensure that you’re using the correct code and that there are no obstructions between the remote and the soundbar.
By testing the connection between the Xfinity remote and the soundbar, you can ensure a seamless audio experience while enjoying your favorite content.
Troubleshooting Tips
While pairing your Xfinity remote to a soundbar is generally a straightforward process, you may encounter some issues along the way. Here are a few troubleshooting tips to help you resolve any potential problems:
- Check the batteries: Ensure that the batteries in your Xfinity remote are fresh and properly inserted. Weak or depleted batteries can affect the remote’s signal and limit its functionality.
- Clear line-of-sight: Make sure there are no obstructions between the Xfinity remote and the soundbar. Objects like furniture, walls, or other devices can block the infrared (IR) signals, causing connectivity issues.
- Verify the device code: Double-check that you have entered the correct device code for your specific soundbar model. Refer to the user manual or the manufacturer’s website for accurate information.
- Reset the remote: If you’ve been experiencing persistent issues, try performing a factory reset on your Xfinity remote. Consult the remote’s user manual or contact Xfinity support for instructions on how to perform a reset.
- Reposition the soundbar: If the soundbar is not responding properly, try repositioning it closer to the TV or in a more central location. This can improve the line-of-sight and enhance signal reception.
- Update firmware: Check if there are any firmware updates available for your soundbar. Updating the firmware can address compatibility issues and improve overall performance.
- Contact support: If you have followed all the troubleshooting steps and are still experiencing difficulties, reach out to the manufacturer’s support team or Xfinity’s customer support. They will be able to provide specific guidance based on your soundbar and remote models.
Remember, troubleshooting steps may vary depending on your specific soundbar and Xfinity remote models. It’s always recommended to consult the user manuals and contact customer support for accurate and personalized assistance.
By utilizing these troubleshooting tips, you can overcome any challenges that may arise during the pairing process and enjoy the convenience of controlling your soundbar with your Xfinity remote.


