Introduction
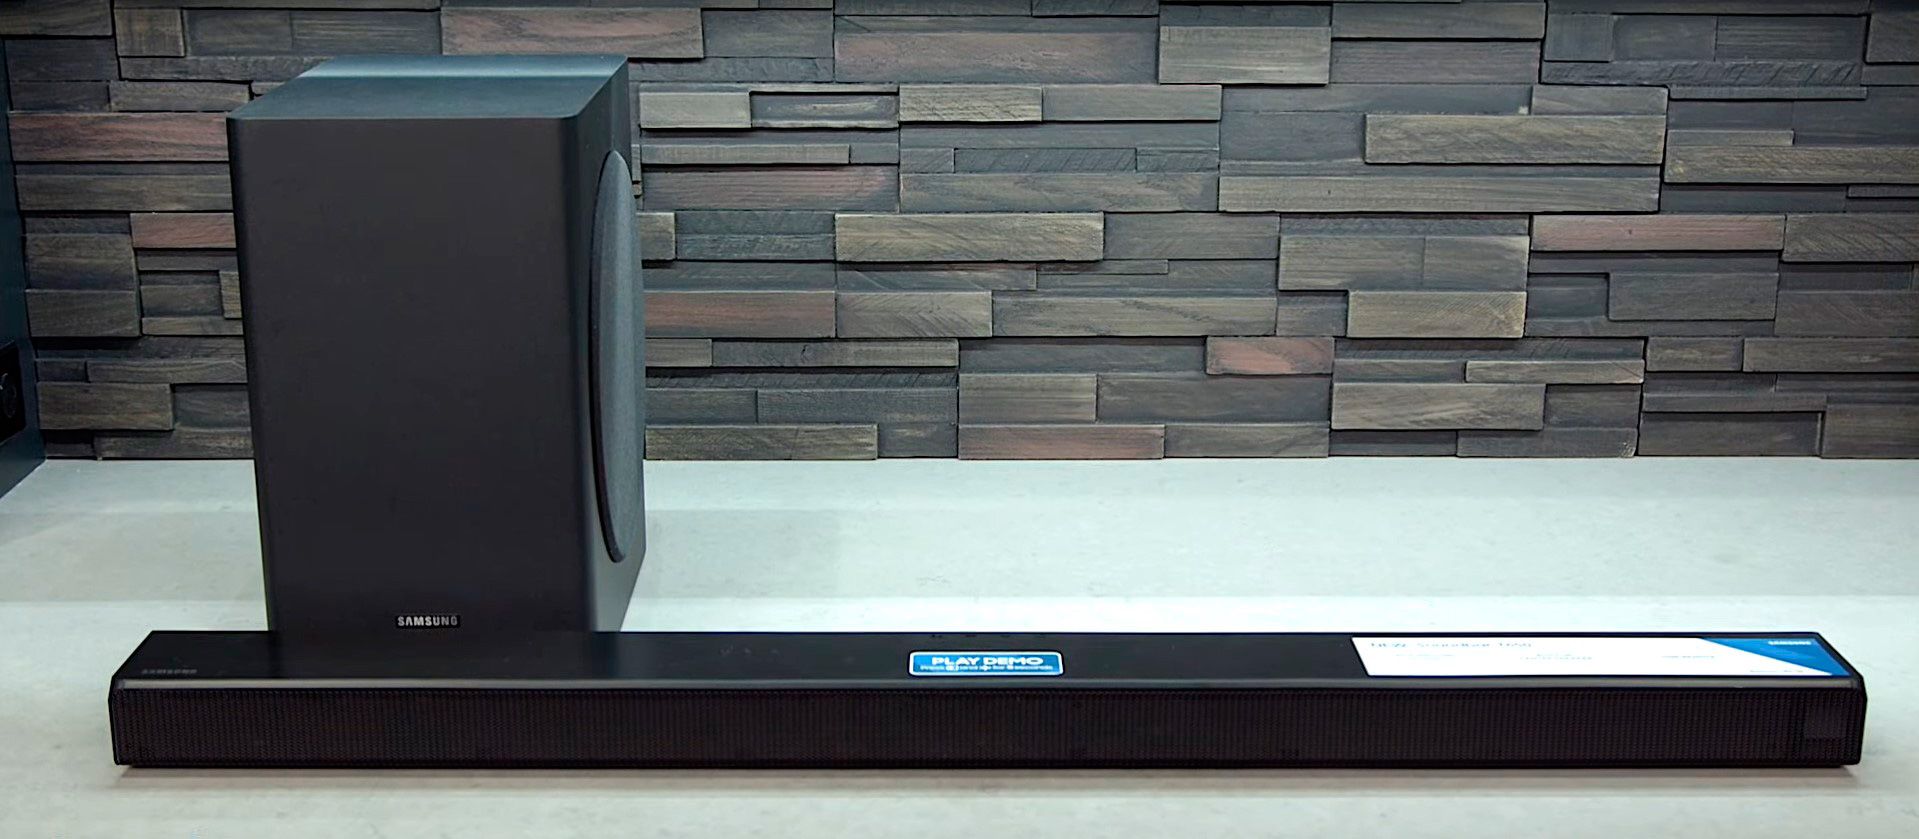
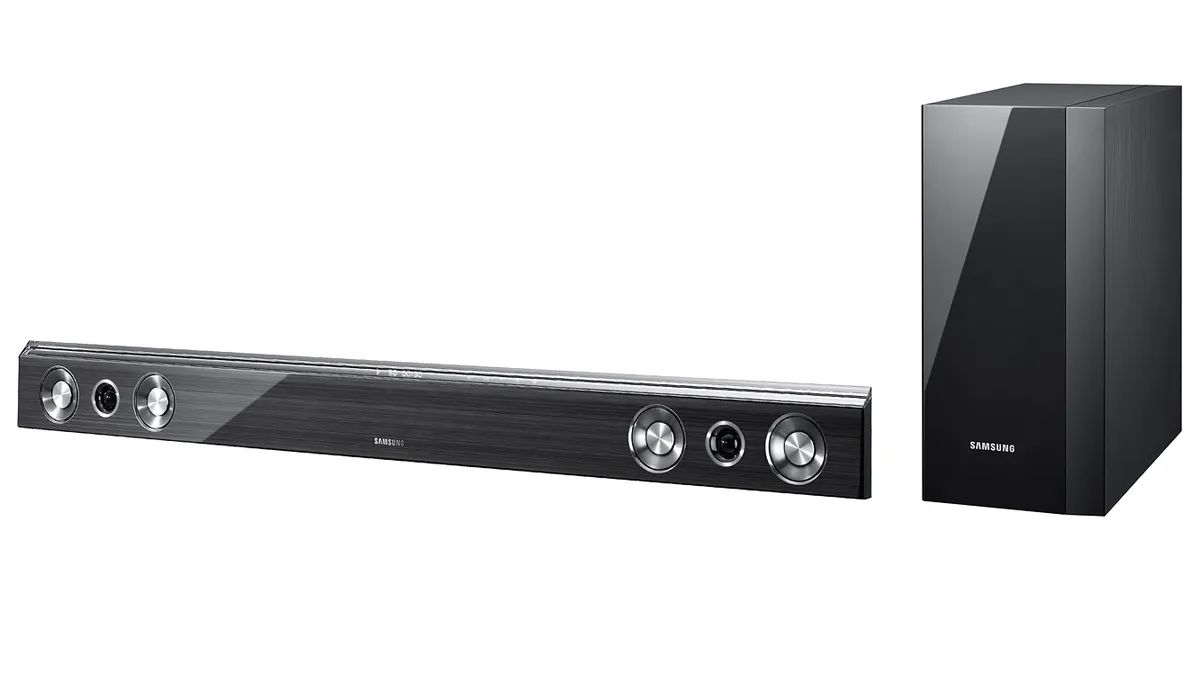
Welcome to the world of immersive audio experiences with the Samsung Soundbar and Subwoofer. If you’re looking to enhance your home entertainment system, the combination of a soundbar and subwoofer is the perfect solution. By linking these two components, you can enjoy a richer, more dynamic sound that will elevate your movie nights, gaming sessions, and music listening experiences to new heights.
In this guide, we will walk you through the step-by-step process of linking your Samsung Soundbar and Subwoofer. Whether you’re a tech-savvy enthusiast or a beginner, rest assured that setting up this audio duo is a breeze.
Before we delve into the detailed steps, it’s important to note that each model of Samsung Soundbar and Subwoofer may have slight variations in the setup process. Therefore, it is recommended to refer to the user manual specific to your models for any device-specific instructions. However, the general steps outlined in this guide should apply to most Samsung Soundbar and Subwoofer combinations.
So, without further ado, let’s get started unpacking, connecting, and pairing your Samsung Soundbar and Subwoofer for an immersive audio experience like never before!
Step 1: Unpack the Samsung Soundbar and Subwoofer
Before you can begin enjoying the amazing sound quality of your Samsung Soundbar and Subwoofer, you need to unpack them. This step might seem obvious, but it’s essential to ensure that you have all the necessary components and accessories.
Start by locating the box containing the Samsung Soundbar and Subwoofer. Carefully open the box, making sure not to damage any of the contents. Inside, you will find the soundbar, subwoofer, power cables, remote control, batteries, and any additional accessories that come with your specific model.
Remove each component from its packaging, and take a moment to inspect them for any visible damage. If you notice any signs of damage or missing parts, it’s essential to contact Samsung customer support or the place of purchase for assistance.
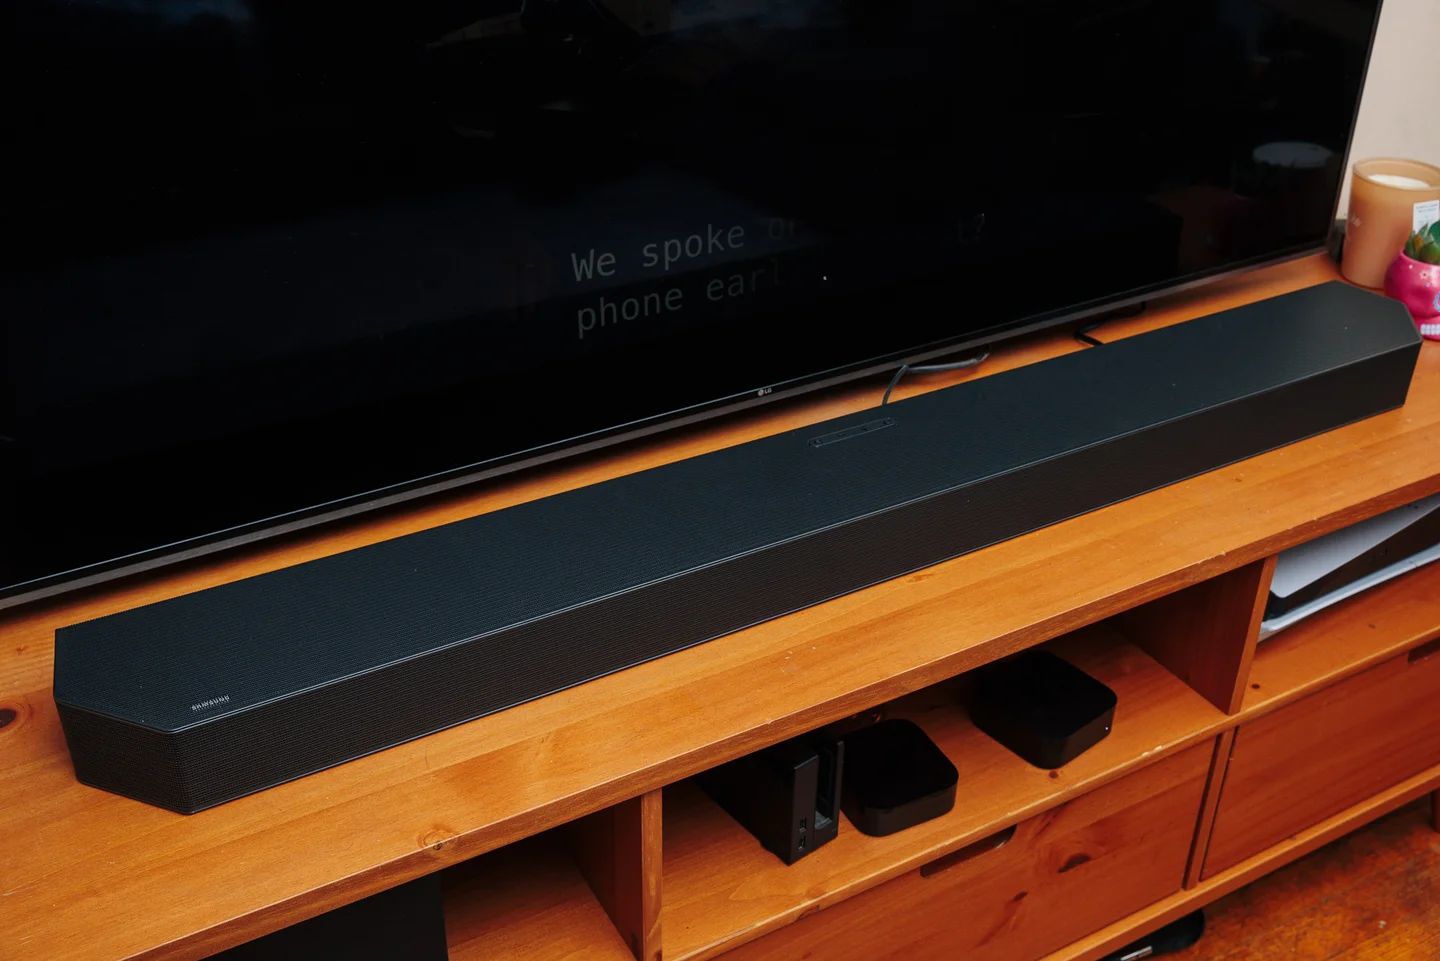
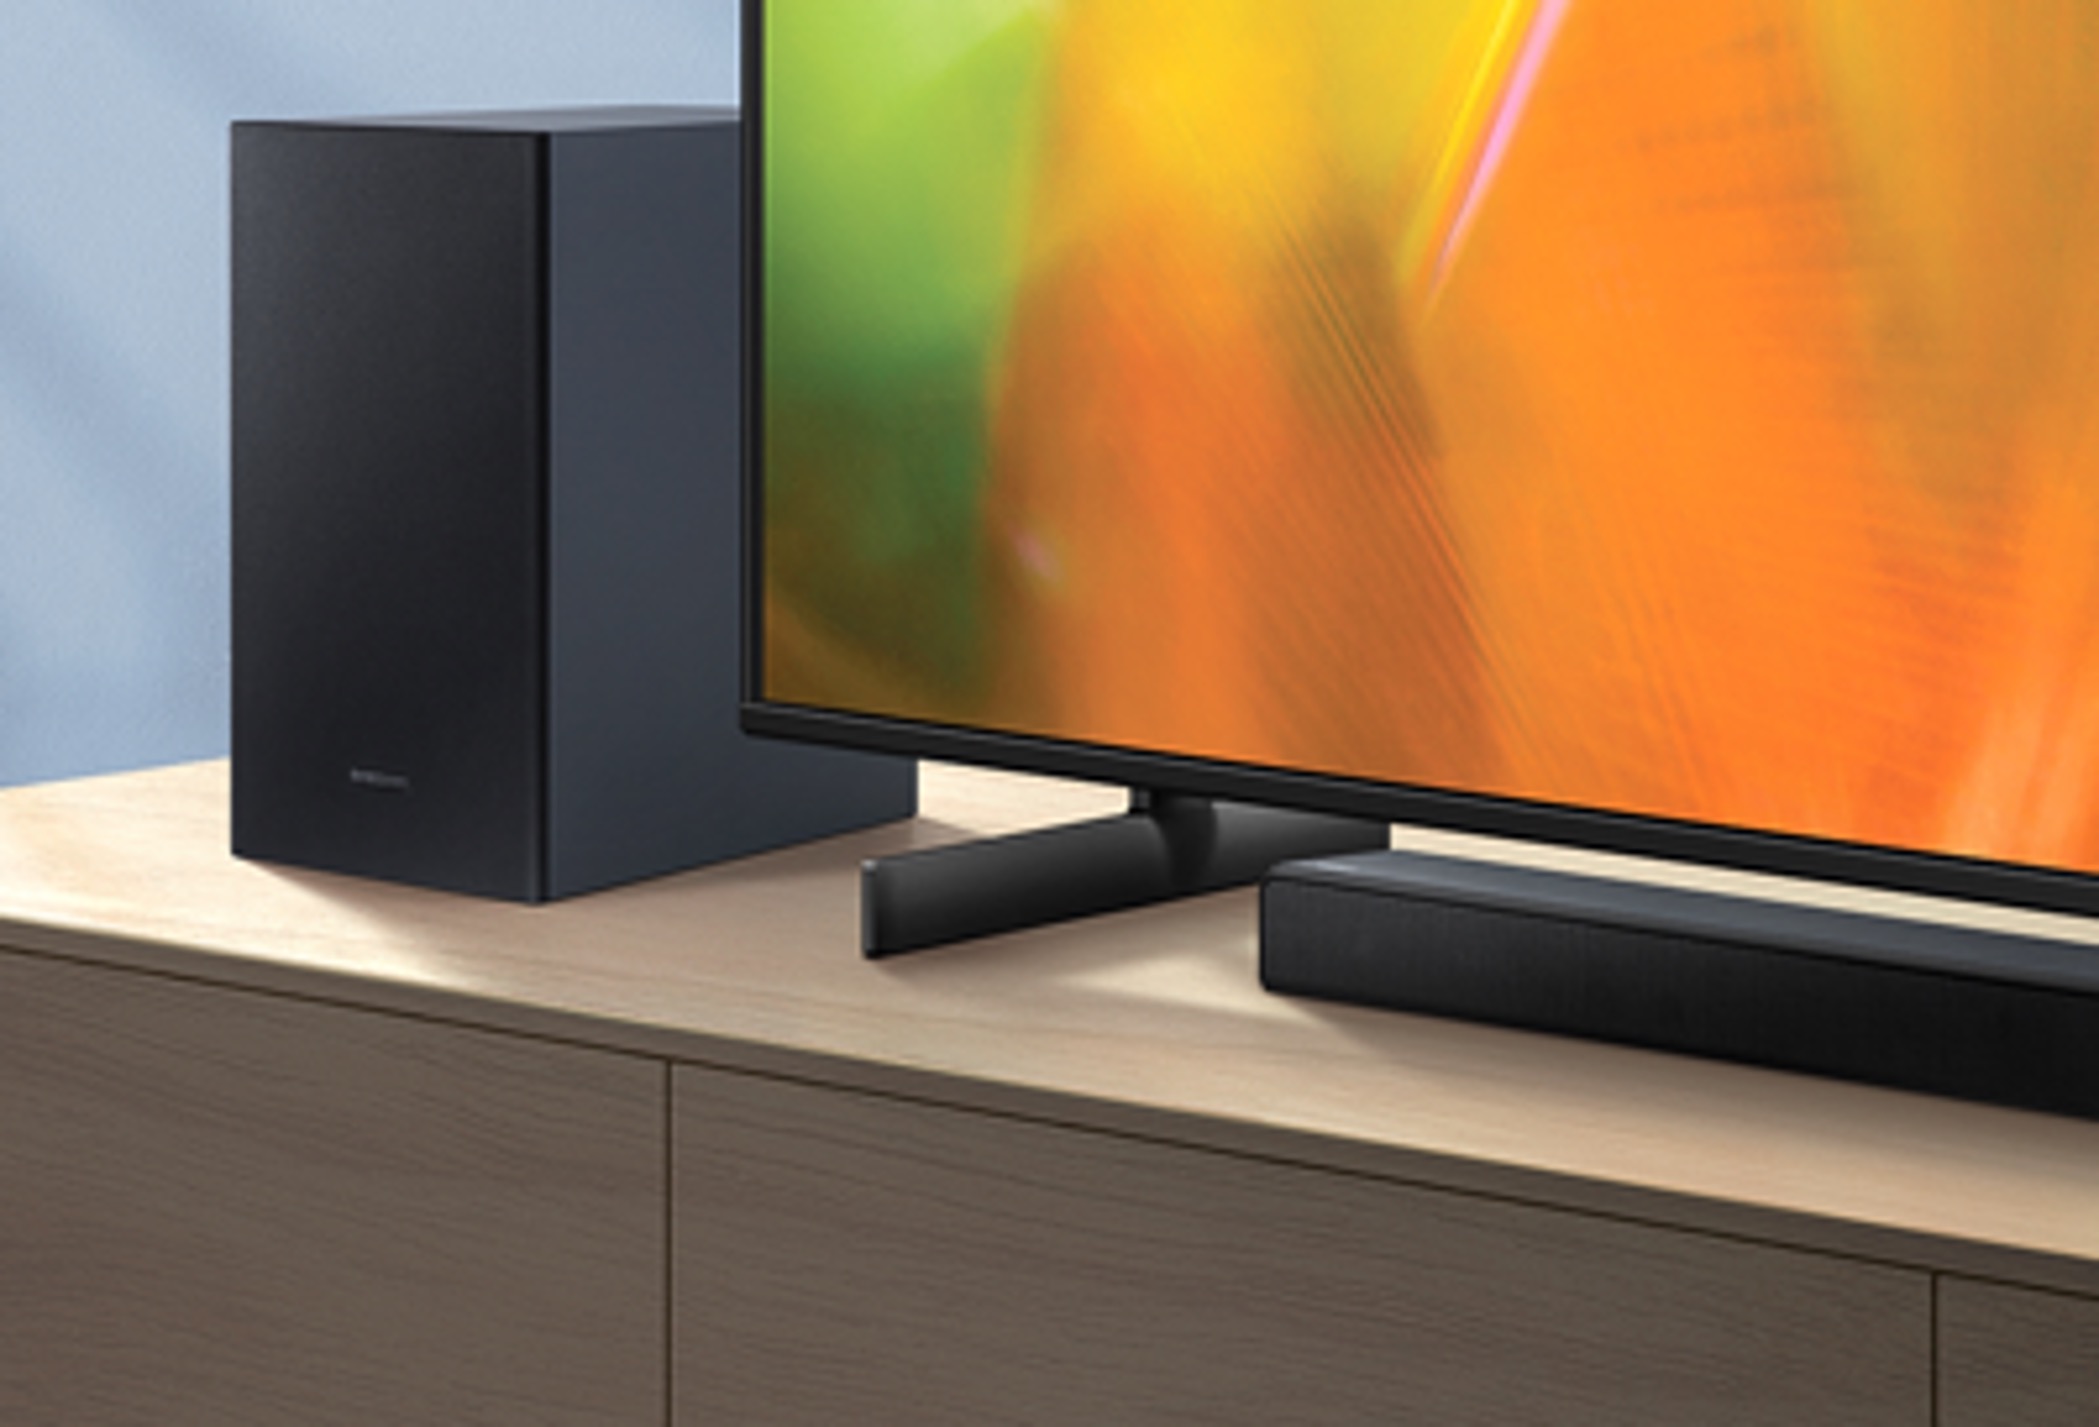
Next, find a suitable location for your soundbar and subwoofer setup. Consider factors such as the dimensions of the room, available space, and the overall aesthetic of your home. Keep in mind that the soundbar is usually placed in front of or below the television, while the subwoofer can be positioned anywhere within the room to maximize bass response.
Once you have chosen the ideal spots for your soundbar and subwoofer, you’re ready to move on to the next step of the setup process. Ensuring that all the components are present and in good condition is an important first step to guarantee a smooth and successful setup process.
Step 2: Connect the Soundbar to a Power Source
Now that you have unpacked your Samsung Soundbar and Subwoofer, it’s time to connect the soundbar to a power source. This step is crucial as it provides the necessary electrical power for the soundbar to function.
First, locate the power cable that came with your soundbar. Plug one end of the power cable into the power port on the back of the soundbar. Make sure it is securely inserted.
Next, find an available power outlet near your soundbar setup. Plug the other end of the power cable into the outlet. Ensure that the outlet is functioning correctly by testing it with another device if necessary.
Once you have connected the power cable to the soundbar and the power outlet, you can turn on the soundbar using either the dedicated power button on the soundbar itself or the remote control that came with it.
Take a moment to confirm that the soundbar is receiving power by checking the LED indicator on the front panel. Most Samsung soundbars have a power indicator light that illuminates when the soundbar is turned on.
It is important to note that some soundbars have a separate power adapter instead of a direct power cable. In this case, you would connect the power adapter to the soundbar and then plug it into a power outlet. Ensure that the power adapter is properly connected and that the outlet is working before proceeding.
With your soundbar connected to a power source, you have completed the second step of the setup process. It’s time to move on to the next step and position the subwoofer for optimal performance.
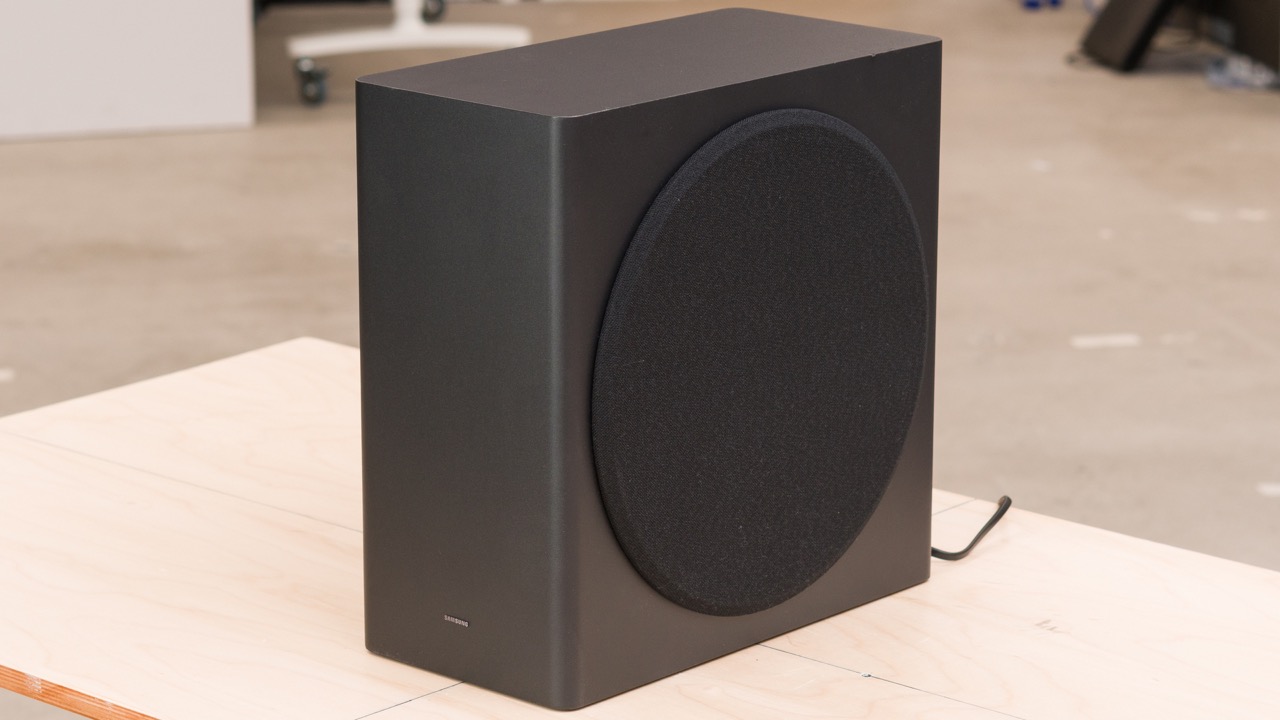
Step 3: Position the Subwoofer
Now that your Samsung Soundbar is connected to a power source, it’s time to position the subwoofer. The subwoofer is responsible for reproducing deep bass frequencies, adding richness and depth to your audio experience.
When it comes to subwoofer placement, there are a few important factors to consider. First, ensure that the subwoofer is placed within the recommended distance from the soundbar. This distance can vary depending on the specific model, so it’s essential to refer to the user manual for guidelines.
Next, consider the acoustics of your room. Ideally, the subwoofer should be positioned in a corner or against a wall to take advantage of the room’s natural resonance. Experiment with different placements to find the spot that yields the best bass response.
It’s important to avoid placing the subwoofer on the floor if possible, as this can hinder its performance. Instead, use a dedicated subwoofer stand or place it on a sturdy piece of furniture that helps to isolate vibrations and improve sound quality.
Once you have found the optimum position for your subwoofer, ensure that it is securely connected to a power source. Double-check the power cable connection to the subwoofer and plug it into an available power outlet. The subwoofer should power on and be ready to synchronize with the soundbar.
Keep in mind that wireless subwoofers may require an initial pairing process with the soundbar. If your subwoofer is wireless, refer to the user manual for instructions on how to pair it with the soundbar. This step is crucial to establish a connection between the subwoofer and the soundbar for seamless audio playback.
With the subwoofer positioned correctly and connected to a power source, you are now one step closer to enjoying immersive sound with your Samsung soundbar and subwoofer setup. Let’s proceed to the next step and enable Bluetooth on the soundbar.
Step 4: Enable Bluetooth on the Soundbar
Now that you have positioned the subwoofer, it’s time to enable Bluetooth on your Samsung Soundbar. Bluetooth connectivity allows you to wirelessly stream audio from your mobile devices or other compatible sources directly to the soundbar.
Start by turning on your Samsung Soundbar if it is not already powered on. You can do this using the power button on the soundbar itself or the remote control that came with it.
Once the soundbar is powered on, locate the Bluetooth button on either the soundbar or the remote control. It is usually represented by the Bluetooth symbol (a stylized “B”). Press and hold the Bluetooth button until you see a Bluetooth pairing indicator on the soundbar’s display panel or hear a confirmation sound.
At this point, your soundbar’s Bluetooth connection is active and ready to pair with your Bluetooth-enabled devices. On your smartphone, tablet, or computer, go to the Bluetooth settings menu and enable Bluetooth if it is not already turned on.
Within the Bluetooth settings menu, search for available devices to pair with. Your Samsung soundbar should appear in the list of available devices. Select it to initiate the pairing process.
Wait for a few moments while your device establishes a connection with the soundbar. Once the pairing is successful, you will receive a notification on your device confirming the connection. Some soundbars may also display a pairing confirmation on their display panel.
It’s important to note that the process for enabling Bluetooth and pairing may vary slightly depending on the specific model of your Samsung soundbar. If you encounter any difficulties or require more detailed instructions, consult the user manual for your specific model.
With Bluetooth successfully enabled on your soundbar and paired with your preferred device, you can now start wirelessly streaming music, podcasts, or any other audio content directly to your Samsung soundbar and subwoofer setup.
Step 5: Pair the Soundbar and Subwoofer
Now that you have enabled Bluetooth on your Samsung Soundbar, it’s time to pair it with the subwoofer. Pairing the soundbar and subwoofer ensures that they communicate and synchronize with each other for cohesive audio playback.
Typically, Samsung soundbars and subwoofers come pre-paired from the factory. However, if for any reason they are not connected or you need to re-establish the connection, follow these steps:
- Ensure both the soundbar and subwoofer are powered on and within range of each other. The recommended range is generally around 10-15 feet.
- Locate the pairing button on the back of the subwoofer. Press and hold this button for a few seconds until the pairing indicator starts flashing.
- Now, on the soundbar or the remote control, press and hold the pairing button until the soundbar detects the subwoofer and establishes a connection. This process may take a few seconds.
- Once the pairing is successful, the pairing indicator on both the soundbar and the subwoofer will stop flashing and remain solid. You may also see a confirmation message on the soundbar’s display panel.
It’s important to note that the specific location of the pairing button and the process may vary depending on the model of your Samsung soundbar and subwoofer. If you are unsure, refer to the user manual for your specific model for detailed instructions on how to pair the devices.
After successfully pairing the soundbar and subwoofer, take a moment to play some audio content to ensure that the sound is coming from both the soundbar and the subwoofer. If you notice any issues with the audio playback or synchronization, double-check the connection and repeat the pairing process if necessary.
Congratulations! You have now successfully paired your Samsung soundbar and subwoofer. The next step is to test the connection and ensure that the soundbar and subwoofer are working together seamlessly.
Step 6: Test the Soundbar and Subwoofer Connection
After pairing your Samsung soundbar and subwoofer, it’s crucial to test the connection and ensure that they are working together harmoniously. Testing the soundbar and subwoofer connection will give you peace of mind and allow you to make any necessary adjustments for optimal audio performance.
Start by playing some audio content, such as your favorite song, movie scene, or any other media that showcases a wide range of sound frequencies. As the audio plays, pay attention to the sound coming from both the soundbar and subwoofer.
First, listen for the presence of bass and low-frequency sounds. The subwoofer is specifically designed to handle these frequencies, so you should notice a significant difference in the depth and richness of the bass compared to when listening through the soundbar alone.
Next, focus on the sound coming from the soundbar. Ensure that the channels are balanced, and the audio is clear and crisp. Pay attention to any potential audio delays or distortions, which can indicate a poor connection between the soundbar and subwoofer.
If you notice any issues during the testing process, there are a few steps you can take to troubleshoot the connection:
- Ensure that there are no obstructions between the soundbar and subwoofer that could interfere with the wireless signal. Move any objects that may impede the signal, such as large furniture or walls.
- Check the distance between the soundbar and subwoofer. If they are too far apart, it may result in a weak or unstable connection. Move the subwoofer closer to the soundbar within the recommended range.
- Ensure that both the soundbar and subwoofer are fully updated with the latest firmware. Consult the user manual or the Samsung website for instructions on how to update the firmware for your specific model.
- If you are still experiencing issues, consider resetting the soundbar and subwoofer to their factory settings. Refer to the user manual for instructions on how to perform a factory reset.
By testing the soundbar and subwoofer connection and troubleshooting any issues that arise, you can ensure that you are experiencing the full potential of your Samsung sound system. Once you are satisfied with the connection and audio performance, you can move on to the final step of adjusting the sound settings on the soundbar.
Step 7: Adjust Sound Settings on the Soundbar
Now that you have successfully tested the soundbar and subwoofer connection, it’s time to fine-tune the sound settings on your Samsung soundbar. Adjusting the sound settings will allow you to customize the audio output according to your preferences and the specific content you are experiencing.
Most Samsung soundbars offer a variety of sound modes and equalizer settings that cater to different genres of music, movie genres, and audio content. These settings can enhance clarity, optimize bass response, and provide a more immersive listening experience.
To adjust the sound settings on your soundbar, start by accessing the soundbar’s on-screen display menu or using the remote control that came with it. Navigate through the menu options and look for the sound settings or audio settings section.
Within the sound settings, you may find options such as sound modes, equalizer presets, dialogue enhancement, bass adjustment, and more. Experiment with these settings to find the configuration that best suits your audio preferences.
For example, if you’re watching an action-packed movie, you may want to select a sound mode that emphasizes surround sound effects and boosts bass. If you’re listening to acoustic music, you might prefer a mode that enhances the clarity of vocals and instruments.
Additionally, some Samsung soundbars support advanced features like virtual surround sound, adaptive sound, or object-based audio technologies. Explore these features and enable them if desired to further enhance your audio experience.
It’s important to note that the specific sound settings and features available will depend on the model of your Samsung soundbar. Refer to the user manual or consult the Samsung website for detailed information on the sound settings and features of your specific model.
As you adjust the sound settings, take note of the changes in audio output and listen to different types of content to gauge the impact. Don’t hesitate to experiment and fine-tune the settings based on your personal preference and the specific content you are enjoying.
With the sound settings adjusted to your liking, you have completed the final step in setting up your Samsung soundbar and subwoofer. Sit back, relax, and indulge in the immersive audio experience that your soundbar and subwoofer combination provides.
Conclusion
Congratulations on successfully setting up your Samsung Soundbar and Subwoofer! By following the step-by-step process outlined in this guide, you have transformed your home entertainment system into an immersive audio experience.
From unpacking the soundbar and subwoofer to adjusting the sound settings, each step was designed to ensure a seamless setup process. With the soundbar connected to a power source, the subwoofer properly positioned, Bluetooth enabled, and the devices paired, you can now enjoy high-quality audio wirelessly.
Remember, while the steps in this guide provide a general overview, it’s important to refer to the user manual specific to your models for any device-specific instructions or additional features that your Samsung Soundbar and Subwoofer may offer.
Now, sit back, relax, and immerse yourself in the captivating sound that your Samsung Soundbar and Subwoofer deliver. Whether you’re watching movies, playing games, or listening to your favorite music, you’ll appreciate the enhanced audio experience.
If you encounter any issues during the setup process or while using your Samsung Soundbar and Subwoofer, don’t hesitate to reach out to Samsung customer support or consult their online resources for assistance.
Thank you for choosing Samsung and enjoy your enhanced audio experience with your new soundbar and subwoofer setup!