Introduction
Welcome to the world of smart home technology! Installing an Ecobee Smart Thermostat is a great way to enhance the energy efficiency and comfort of your home. By replacing your old thermostat with this innovative device, you can enjoy precise temperature control, convenient scheduling, and seamless integration with smart home ecosystems. Whether you're a tech enthusiast or simply looking to optimize your home's heating and cooling system, the Ecobee Smart Thermostat offers a user-friendly solution that can transform your living space into a more efficient and comfortable environment.
In this guide, we'll walk you through the step-by-step process of installing and setting up your Ecobee Smart Thermostat. From unboxing the device to connecting it to your Wi-Fi network, we'll cover everything you need to know to ensure a smooth and successful installation. Additionally, we'll provide troubleshooting tips to address any potential issues that may arise during the setup process. By the end of this guide, you'll be ready to take full advantage of the features and benefits offered by your new Ecobee Smart Thermostat.
Before we dive into the installation process, it's important to note that the Ecobee Smart Thermostat is designed to be compatible with a wide range of heating and cooling systems. Whether you have a traditional HVAC system, a heat pump, or a multi-stage furnace, the Ecobee Smart Thermostat is engineered to work seamlessly with these setups. Additionally, the intuitive interface of the Ecobee app makes it easy to monitor and adjust your home's temperature settings from anywhere, providing you with greater control and flexibility.
So, if you're ready to embark on this journey to a more efficient and comfortable home, let's get started with unboxing your Ecobee Smart Thermostat and preparing for the installation process. Get ready to experience the convenience and energy savings that come with owning a smart thermostat!
Step 1: Unboxing the Ecobee Smart Thermostat
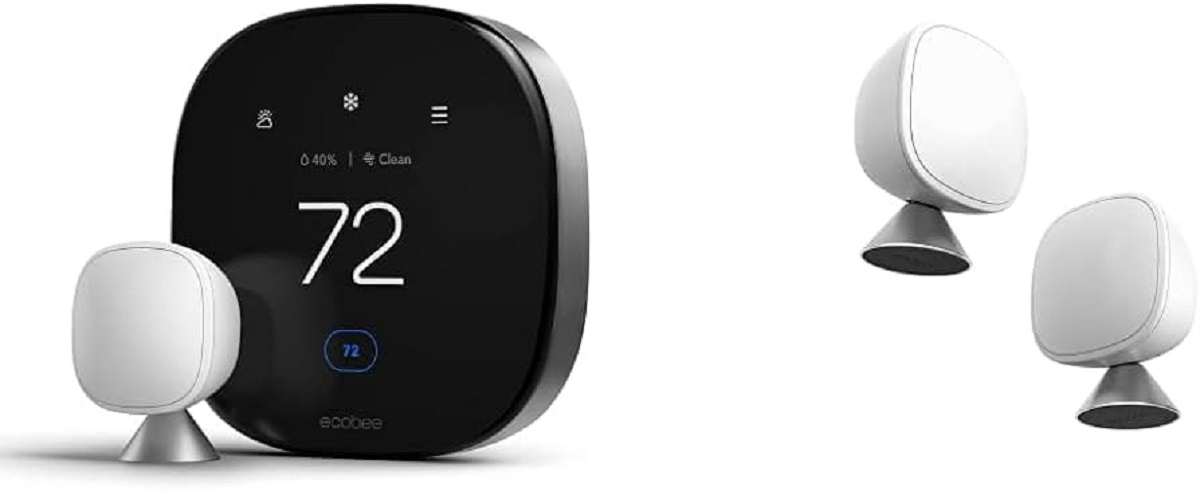
Before you begin the installation process, it's essential to unbox your Ecobee Smart Thermostat and familiarize yourself with its components. The contents of the package may vary slightly depending on the specific model you have, but typically, you can expect to find the following items:
- The Ecobee Smart Thermostat unit
- Backplate and trim plate
- Power Extender Kit (PEK) (if required for your HVAC system)
- Wire labels
- Screws and drywall plugs
- Quick start guide and user manual
Once you have all the components laid out, take a moment to review the quick start guide and the user manual. These resources will provide valuable insights into the installation process and help you understand the functionality of your new smart thermostat. Familiarizing yourself with the contents of the package and the accompanying documentation will set the stage for a smooth and successful installation experience.
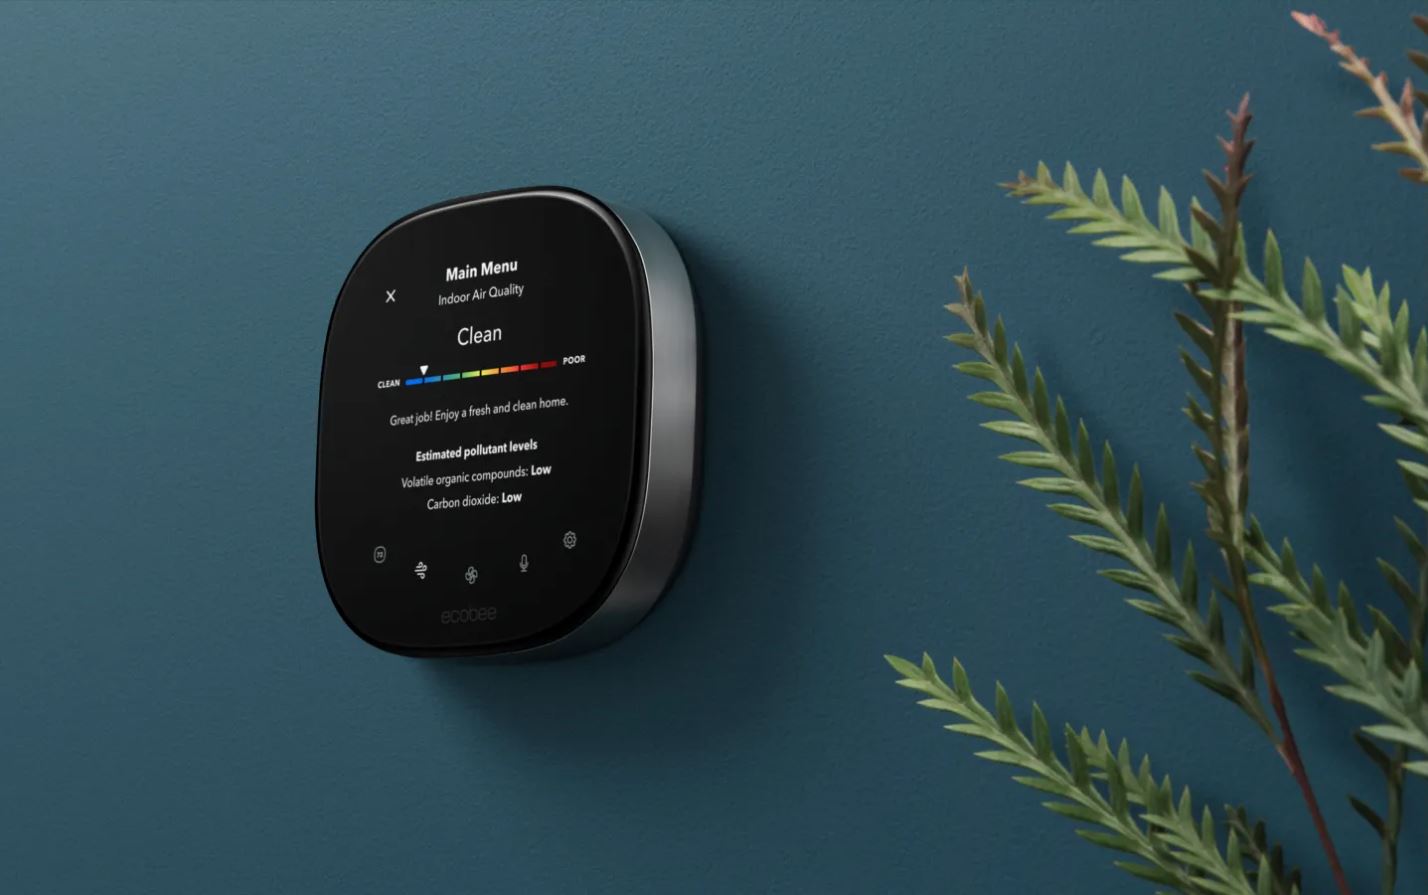
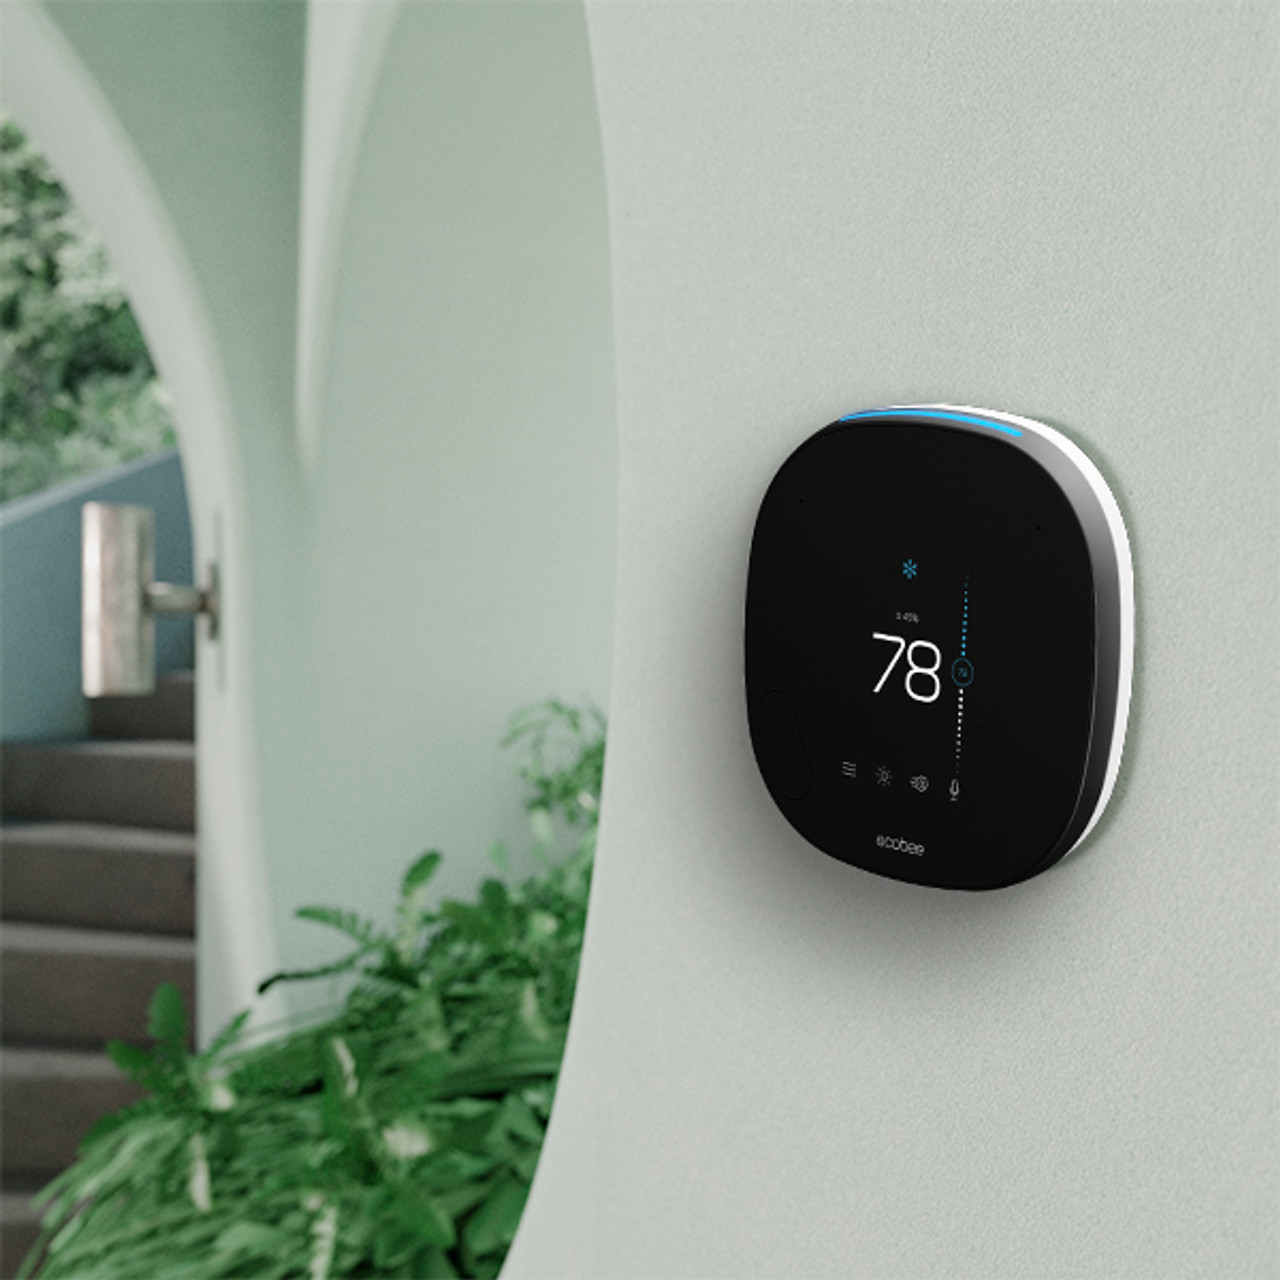
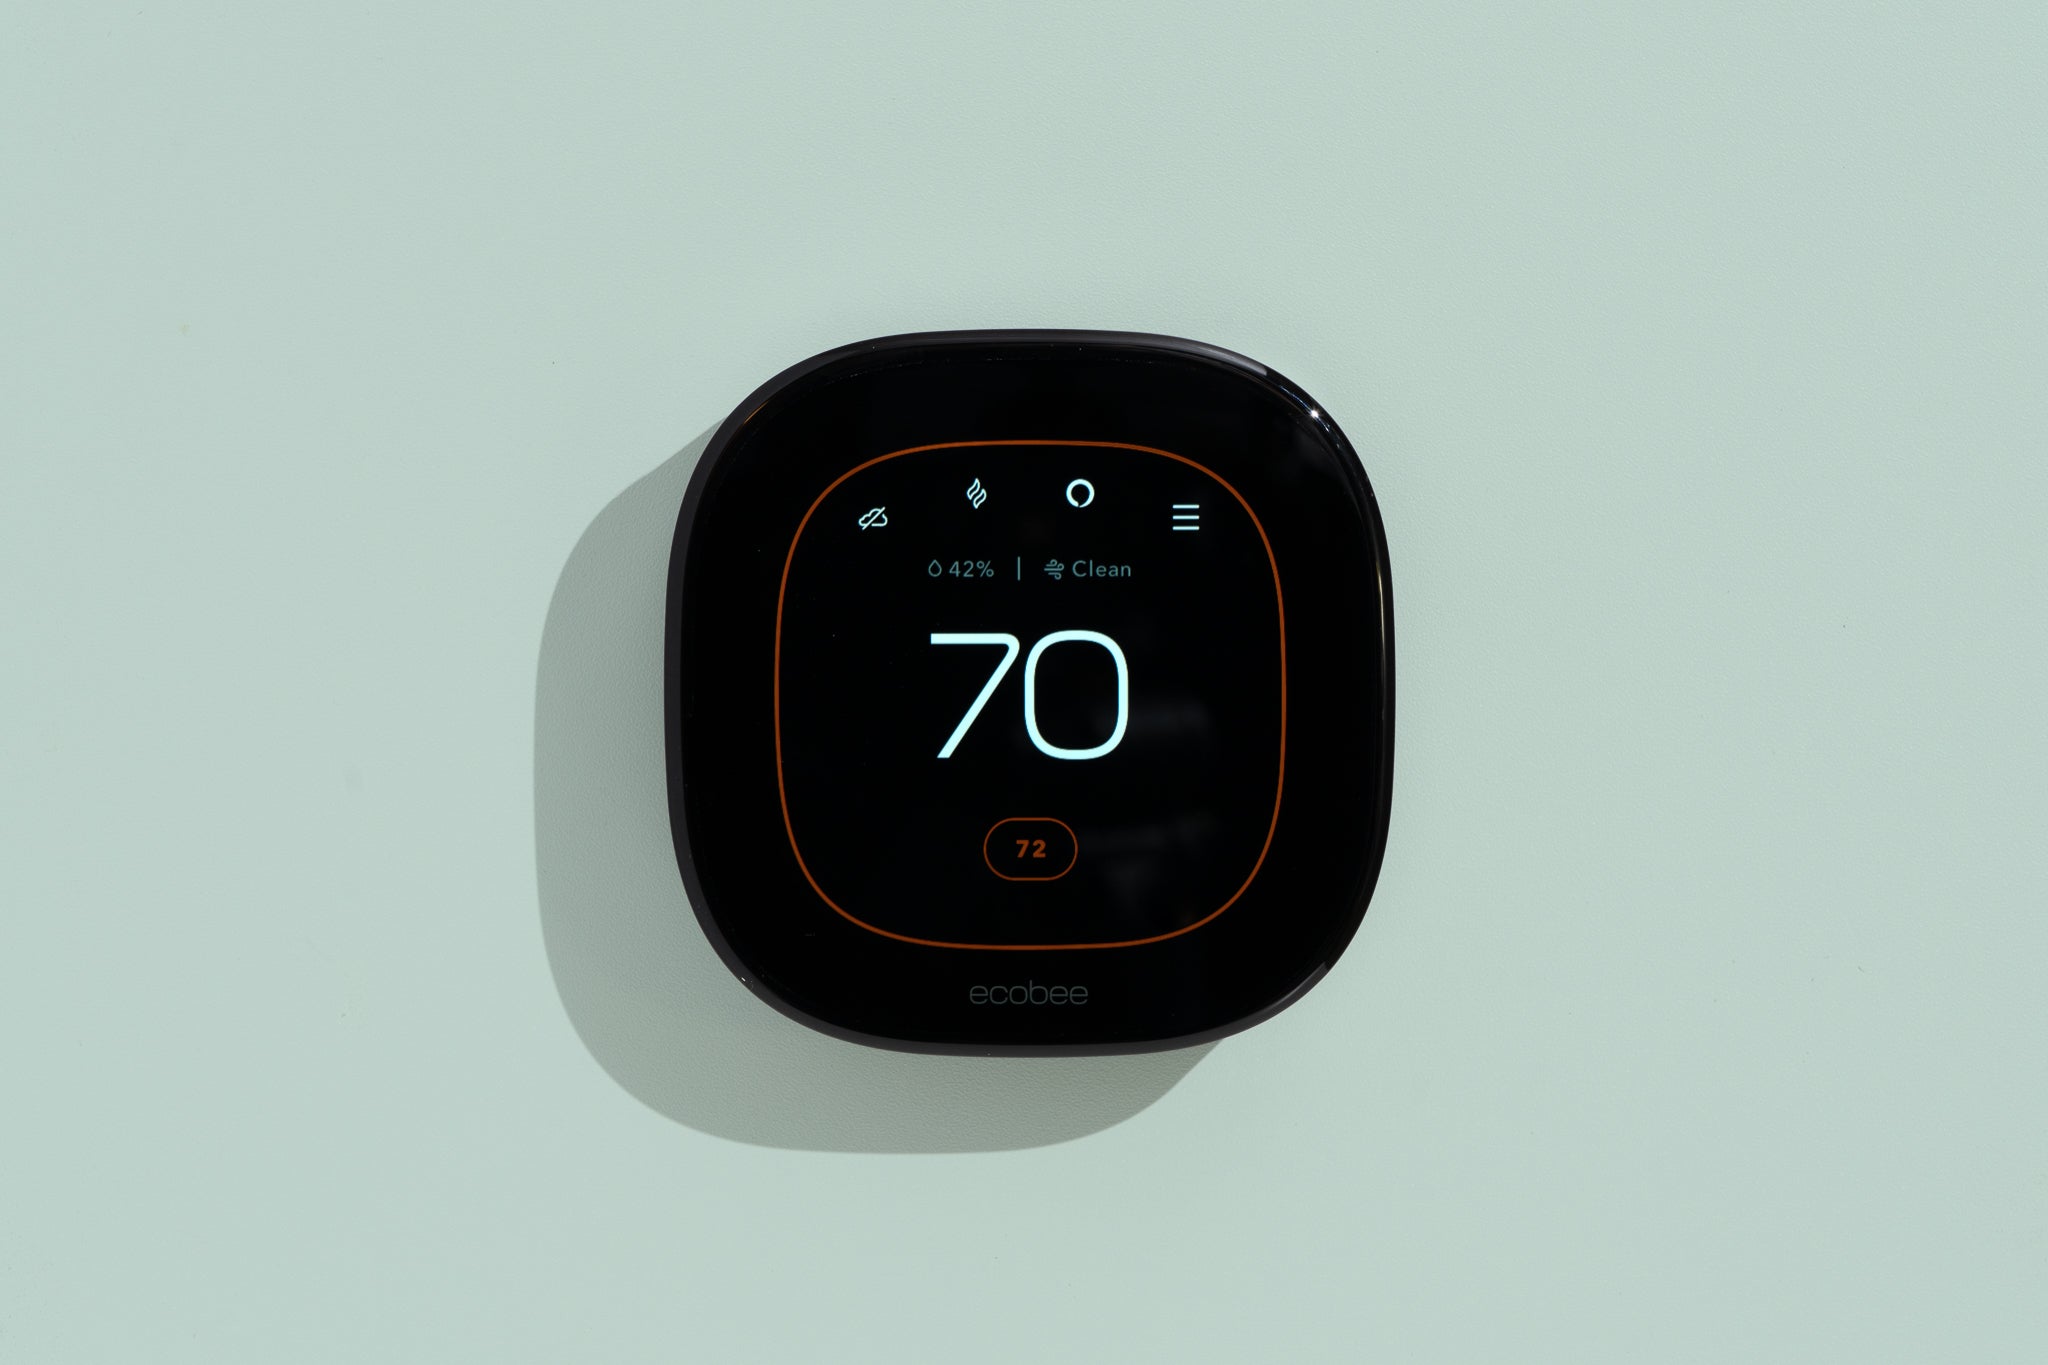
As you handle the Ecobee Smart Thermostat unit, take note of its sleek design and intuitive interface. The high-resolution display and touch-sensitive controls embody the modern approach to home climate control, offering a seamless user experience. Additionally, the inclusion of the Power Extender Kit underscores Ecobee's commitment to compatibility, ensuring that even homes with older HVAC systems can benefit from the advanced features of the smart thermostat.
Before proceeding to the next step, it's a good idea to ensure that you have all the necessary tools on hand, such as a screwdriver and a level. These basic tools will come in handy during the installation process, allowing you to securely mount the thermostat and achieve a professional-looking result. With the Ecobee Smart Thermostat unboxed and the tools at the ready, you're now prepared to move on to the next phase of the installation: removing the old thermostat.
Step 2: Removing the Old Thermostat
Before you can install your new Ecobee Smart Thermostat, you’ll need to remove the existing thermostat from your wall. This process involves safely disconnecting the wires and detaching the old thermostat from its mounting plate. Here’s a step-by-step guide to help you navigate this crucial phase of the installation:
- Turn Off Power: Begin by turning off the power to your heating and cooling system at the circuit breaker. This precautionary measure ensures your safety as you work with the thermostat wiring.
- Remove the Faceplate: Most thermostats have a faceplate that can be easily removed by gently pulling it away from the wall. This will expose the wiring and mounting plate underneath.
- Label the Wires: Carefully label each wire connected to the thermostat terminals. This step is crucial for ensuring the correct reconnection of wires to the new Ecobee thermostat. Use the provided wire labels or create your own system for easy identification.
- Disconnect the Wires: Using a screwdriver, loosen the terminal screws and carefully disconnect the wires from the old thermostat. Take note of the wire colors and the terminals to which they were attached.
- Remove the Mounting Plate: Once the wires are disconnected, remove the mounting plate from the wall. This may require unscrewing the plate from the wall or releasing it from a locking mechanism, depending on the type of thermostat you have.
- Inspect the Wiring: With the old thermostat removed, take a moment to inspect the exposed wiring. Look for any signs of wear or damage, and ensure that the wires are long enough to reach the terminal block on the new thermostat.
By following these steps, you’ll effectively prepare the wall for the installation of your Ecobee Smart Thermostat. Taking the time to label the wires and disconnect the old thermostat safely sets the stage for a smooth transition to the next phase of the installation process. With the old thermostat removed and the wiring prepared, you’re now ready to proceed with installing your new Ecobee Smart Thermostat and bringing the future of home climate control into your living space.
Step 3: Installing the Ecobee Smart Thermostat
With the old thermostat removed and the wiring prepared, you’re now ready to install your new Ecobee Smart Thermostat. This phase of the installation process involves mounting the thermostat to the wall, connecting the wires, and configuring the settings to ensure seamless integration with your heating and cooling system. Follow these steps to complete the installation:
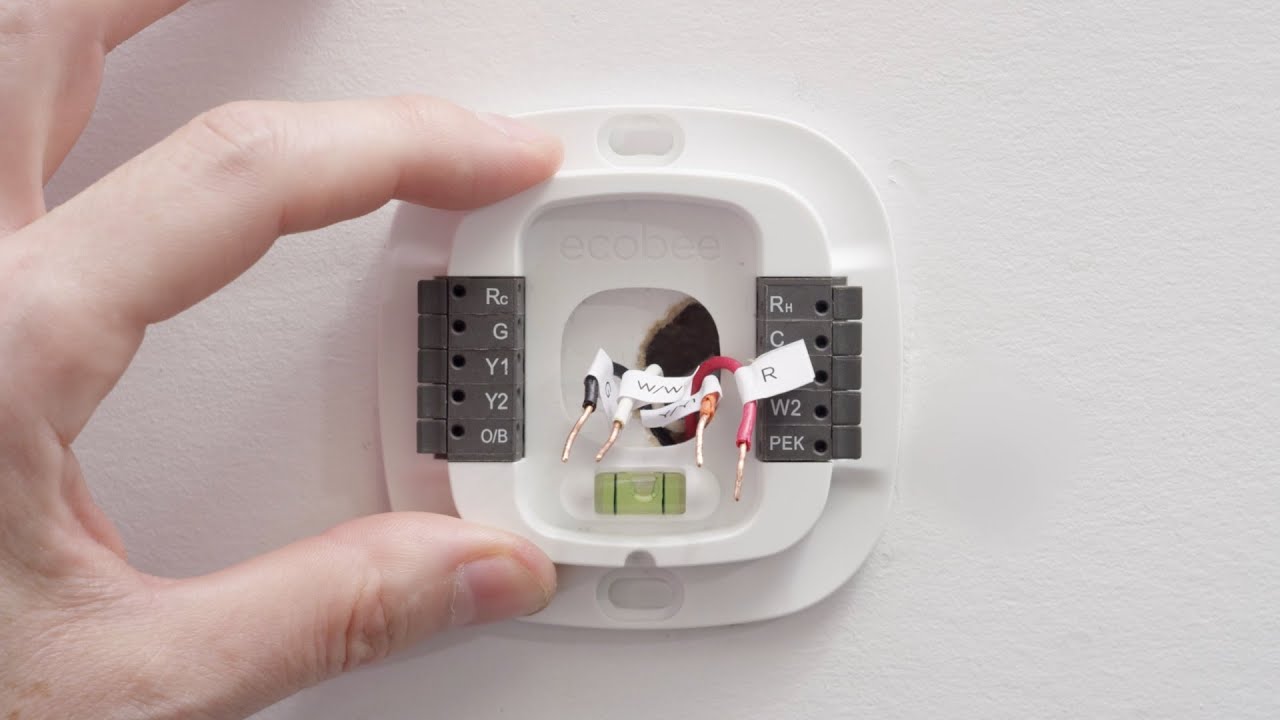
- Mounting the Backplate: Begin by attaching the backplate to the wall using the provided screws and drywall plugs. Use a level to ensure that the backplate is mounted straight and securely. This step is crucial for ensuring a professional and aesthetically pleasing installation.
- Connect the Wires: Carefully connect the labeled wires from your HVAC system to the corresponding terminals on the backplate. The Ecobee Smart Thermostat’s terminal block is designed to accommodate a wide range of wiring configurations, providing you with flexibility and compatibility for various heating and cooling setups.
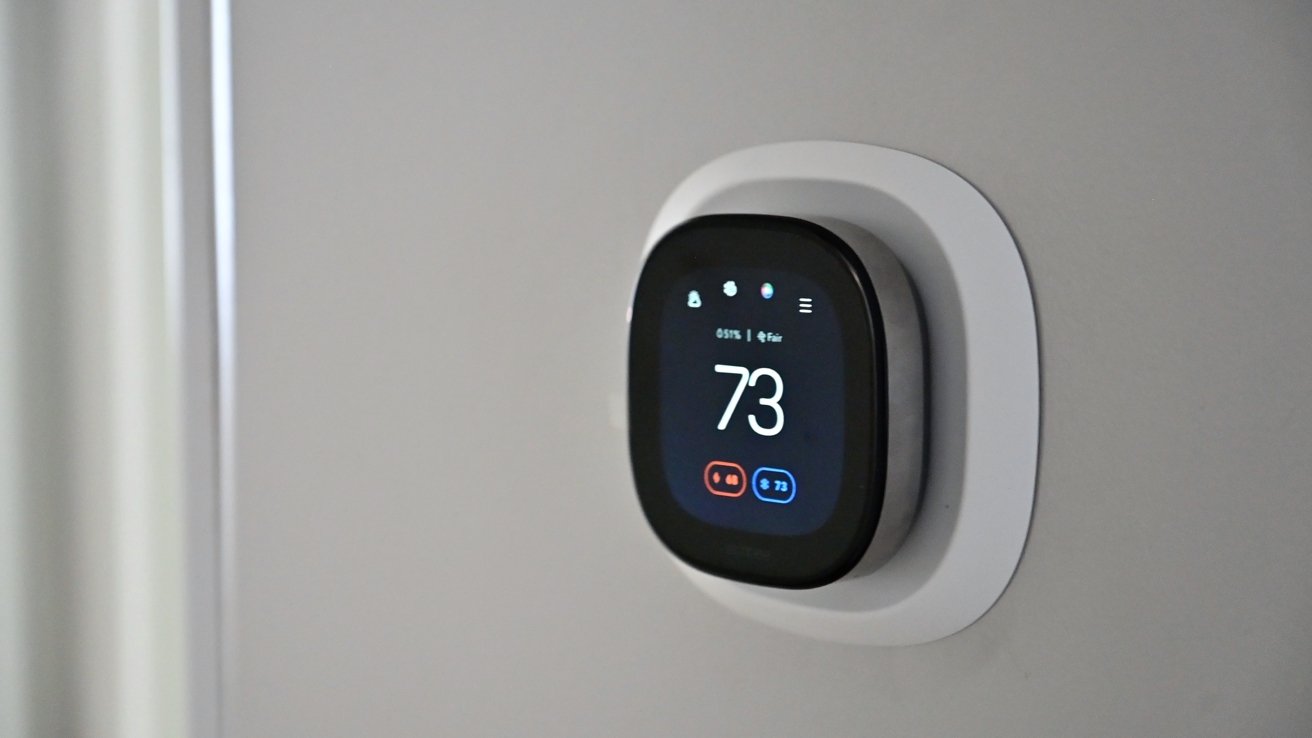
- Attach the Thermostat: Gently align the Ecobee Smart Thermostat unit with the backplate and press it into place until it clicks securely. This intuitive mounting mechanism ensures a hassle-free installation process, allowing you to effortlessly attach the thermostat to the backplate.
- Power Up the System: Restore power to your heating and cooling system at the circuit breaker. The Ecobee Smart Thermostat should power up and display the initial setup screen, indicating that it’s ready to be configured and connected to your Wi-Fi network.
- Follow the On-Screen Setup: The Ecobee Smart Thermostat’s on-screen prompts will guide you through the initial setup process, prompting you to connect to your Wi-Fi network and configure basic settings such as date, time, and location. Follow these prompts to ensure that your thermostat is ready to be integrated into your smart home ecosystem.
By following these steps, you’ll successfully install your Ecobee Smart Thermostat and position it for seamless integration with your home’s heating and cooling system. The thoughtful design of the thermostat and the user-friendly installation process contribute to a rewarding experience, allowing you to enjoy the benefits of smart climate control in no time.
With the Ecobee Smart Thermostat securely installed and powered up, you’re now ready to proceed to the next phase of the setup process: connecting the thermostat to your Wi-Fi network and configuring the Ecobee app for remote access and control.
Step 4: Connecting to Wi-Fi and Setting Up the Ecobee App
Once your Ecobee Smart Thermostat is installed, the next crucial step is to connect it to your Wi-Fi network and set up the Ecobee app. This will enable you to control and monitor your home’s climate settings remotely, access energy usage reports, and take advantage of advanced features such as geofencing and smart home integrations. Follow these steps to complete the setup process:
- Access the Wi-Fi Settings: Using the touchscreen interface of your Ecobee Smart Thermostat, navigate to the Wi-Fi settings and select your home network from the available options. Enter your network password when prompted to establish a secure connection.
- Download the Ecobee App: On your smartphone or tablet, download the Ecobee app from the App Store (for iOS devices) or the Google Play Store (for Android devices). Once installed, open the app to begin the setup process.
- Create an Ecobee Account: If you don’t already have an Ecobee account, you’ll need to create one to access the full range of features offered by the app. This account will serve as your gateway to remote thermostat control, energy reports, and personalized settings.
- Pair the Thermostat with the App: Follow the on-screen instructions in the Ecobee app to pair your thermostat with your account. This process typically involves scanning a QR code displayed on the thermostat’s screen, establishing a secure connection between the device and the app.
- Customize Settings and Preferences: Once the thermostat is paired with the app, take some time to explore the app’s features and customize settings to suit your preferences. You can create heating and cooling schedules, set energy-saving preferences, and even integrate the thermostat with other smart home devices for seamless automation.
By connecting your Ecobee Smart Thermostat to your Wi-Fi network and setting up the Ecobee app, you unlock a new level of control and convenience in managing your home’s climate. The ability to adjust temperature settings, monitor energy usage, and receive alerts and reminders from anywhere enhances your overall home comfort and efficiency.
With the thermostat successfully connected to Wi-Fi and the app configured to your liking, you’re now ready to explore the full potential of your Ecobee Smart Thermostat and enjoy the benefits of a seamlessly integrated smart home climate control system.
Step 5: Testing and Troubleshooting
After completing the installation and setup of your Ecobee Smart Thermostat, it’s important to perform thorough testing to ensure that the device is functioning as intended. Additionally, being aware of potential troubleshooting steps can help address any unexpected issues that may arise during the initial setup. Here are the essential steps for testing and troubleshooting your Ecobee Smart Thermostat:
- Verify Temperature Control: Test the thermostat’s temperature control capabilities by adjusting the set temperature and ensuring that your heating and cooling systems respond accordingly. Monitor the changes in temperature to confirm that the thermostat is effectively communicating with your HVAC equipment.
- Check Remote Access: Use the Ecobee app to remotely adjust the temperature settings and observe how the thermostat responds. This test confirms that the app’s connectivity and remote control features are functioning properly, allowing you to manage your home’s climate from anywhere.
- Review Energy Reports: Explore the energy usage reports provided by the Ecobee app to gain insights into your home’s heating and cooling patterns. Understanding your energy consumption can help you make informed decisions about optimizing your thermostat settings for efficiency.
- Addressing Common Issues: Familiarize yourself with common troubleshooting steps for issues such as Wi-Fi connectivity problems, sensor malfunctions, or unresponsive touchscreens. Ecobee’s support resources and online guides can provide valuable insights into resolving these issues effectively.
- Seeking Support: If you encounter persistent issues that cannot be resolved through basic troubleshooting, don’t hesitate to reach out to Ecobee’s customer support. Their team can provide personalized assistance and guidance to address more complex technical challenges.
By conducting thorough testing and familiarizing yourself with potential troubleshooting steps, you’ll gain confidence in the functionality of your Ecobee Smart Thermostat and be better equipped to address any unexpected issues that may arise. The ability to proactively test and troubleshoot the thermostat ensures a smooth transition to enjoying the benefits of smart climate control in your home.
With the testing and troubleshooting phase successfully completed, you can now embark on a journey of enhanced comfort, energy efficiency, and convenience with your Ecobee Smart Thermostat. By leveraging its advanced features and intuitive controls, you’re poised to experience the transformative impact of smart home climate management.
Conclusion
Congratulations! By following this comprehensive guide, you have successfully installed and set up your Ecobee Smart Thermostat, ushering in a new era of intelligent climate control in your home. The journey from unboxing the thermostat to connecting it to your Wi-Fi network and troubleshooting any potential issues has equipped you with the knowledge and confidence to fully embrace the benefits of a smart home climate management system.
With your Ecobee Smart Thermostat in place, you now have the power to effortlessly adjust temperature settings, monitor energy usage, and enjoy the convenience of remote access through the intuitive Ecobee app. The seamless integration of this innovative device with your heating and cooling systems empowers you to optimize comfort and energy efficiency in your living space.
As you embark on this new chapter of smart home technology, remember to explore the full range of features offered by your Ecobee Smart Thermostat. Take advantage of customizable schedules, energy-saving preferences, and the potential for integration with other smart home devices to create a truly connected and efficient living environment.
Should you encounter any challenges or have questions about maximizing the capabilities of your Ecobee Smart Thermostat, don’t hesitate to leverage the resources and support provided by Ecobee’s customer service team. Their expertise and guidance can further enhance your experience and ensure that you derive maximum value from your smart thermostat investment.
By embracing the power of the Ecobee Smart Thermostat, you are not only enhancing the comfort and efficiency of your home but also contributing to a more sustainable and environmentally conscious lifestyle. The energy-saving features and precise climate control capabilities of the Ecobee Smart Thermostat align with the collective effort to reduce energy consumption and minimize environmental impact.
With your Ecobee Smart Thermostat seamlessly integrated into your home, you are poised to enjoy a new level of comfort, convenience, and control. Embrace the possibilities that smart climate management offers, and revel in the transformative impact it brings to your daily life.