Introduction
Connecting your DirecTV receiver to an AV (audio/video) receiver can significantly enhance your home entertainment experience. By doing so, you can enjoy high-quality audio and video output, creating a more immersive viewing and listening experience. Whether you're a movie buff, a sports enthusiast, or a music lover, this connection allows you to experience your favorite content in a whole new way.
The AV receiver acts as the central hub for audio and video processing, providing advanced sound decoding and amplification capabilities. By connecting your DirecTV receiver to the AV receiver, you can take advantage of these advanced features, including multi-channel surround sound and support for various audio and video formats.
In this guide, you'll learn how to seamlessly connect your DirecTV receiver to an AV receiver, unlocking the full potential of your home entertainment system. We'll walk you through the necessary equipment, the step-by-step connection process, and how to set up the AV receiver to optimize your audio and video output. By the end of this guide, you'll be ready to enjoy an immersive and captivating entertainment experience right in the comfort of your own home.
So, let's gather the necessary equipment and dive into the process of connecting your DirecTV receiver to an AV receiver to elevate your home entertainment to the next level.
Step 1: Gather the Necessary Equipment
Before you begin the process of connecting your DirecTV receiver to an AV receiver, it’s essential to gather the necessary equipment to ensure a smooth and successful setup. Here’s a list of the items you’ll need:
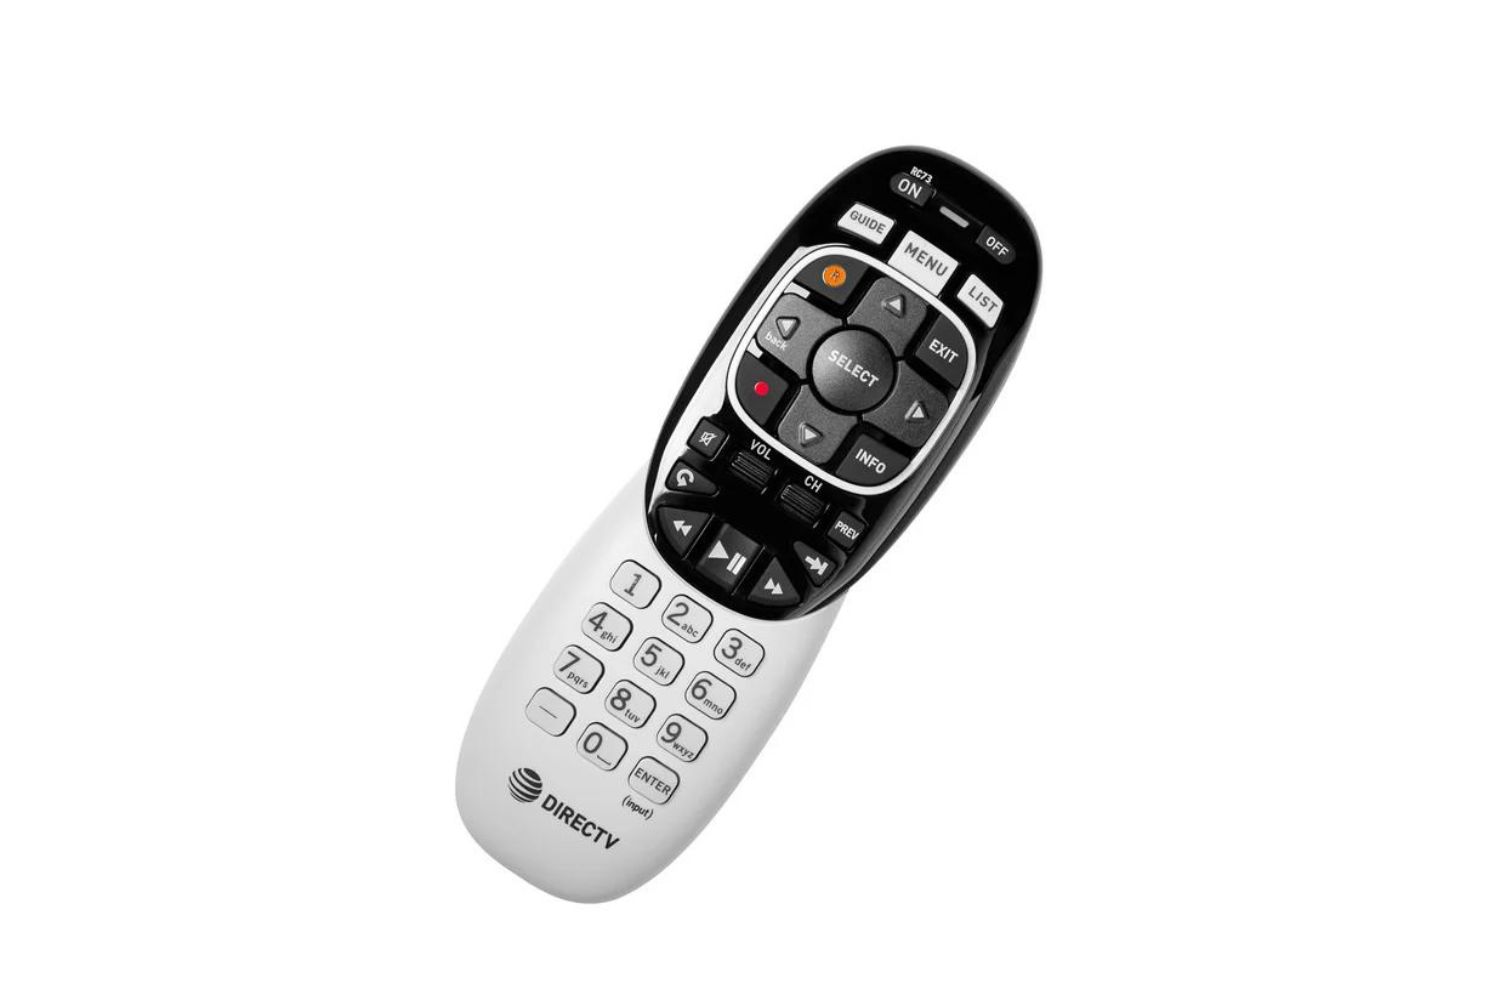
- DirecTV Receiver: This is the primary satellite receiver that captures the DirecTV signal and decodes it into audio and video content.
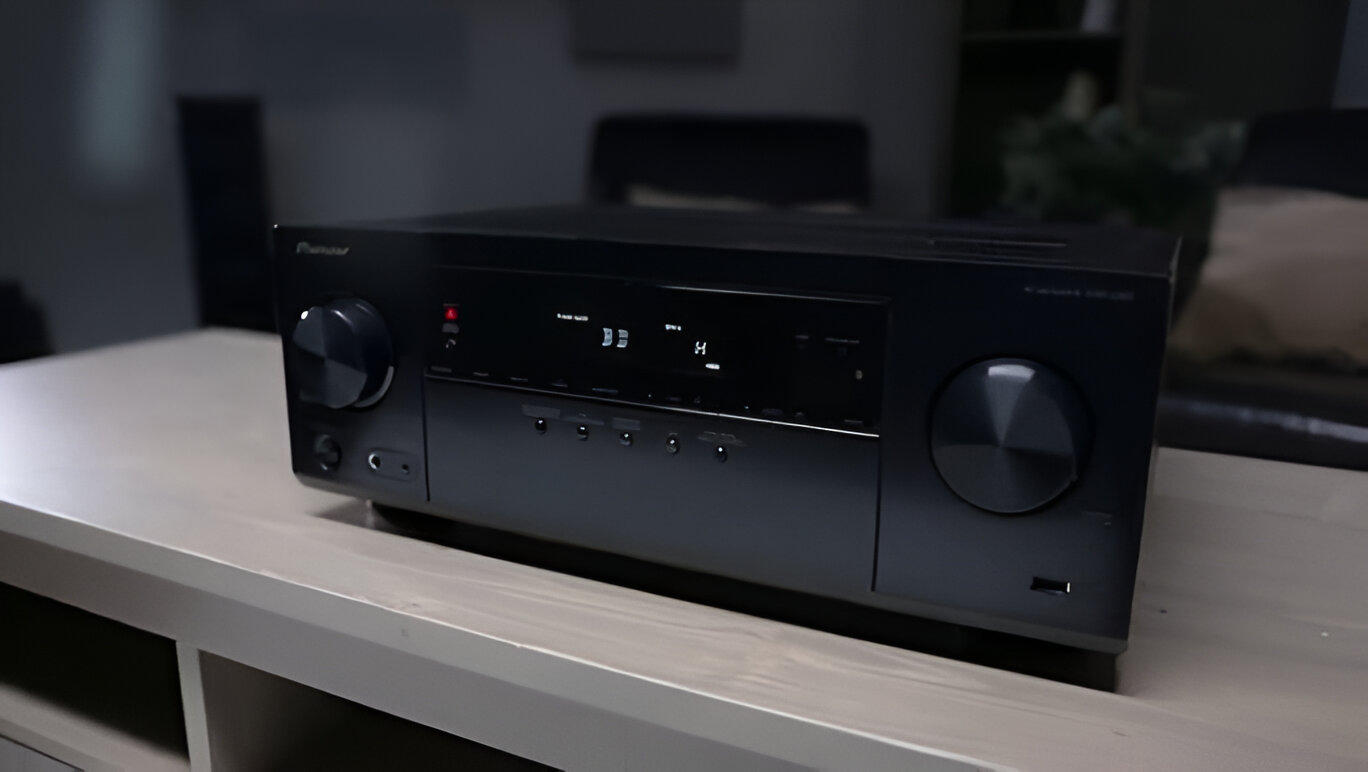
- AV Receiver: Also known as a surround sound receiver, this device serves as the central hub for audio and video processing, providing advanced sound decoding, amplification, and input/output connectivity.
- HDMI Cable: A high-quality HDMI cable is essential for transmitting both high-definition video and audio signals between the DirecTV receiver and the AV receiver.
- Power Cables: Ensure that you have the necessary power cables for both the DirecTV receiver and the AV receiver to supply them with electricity.
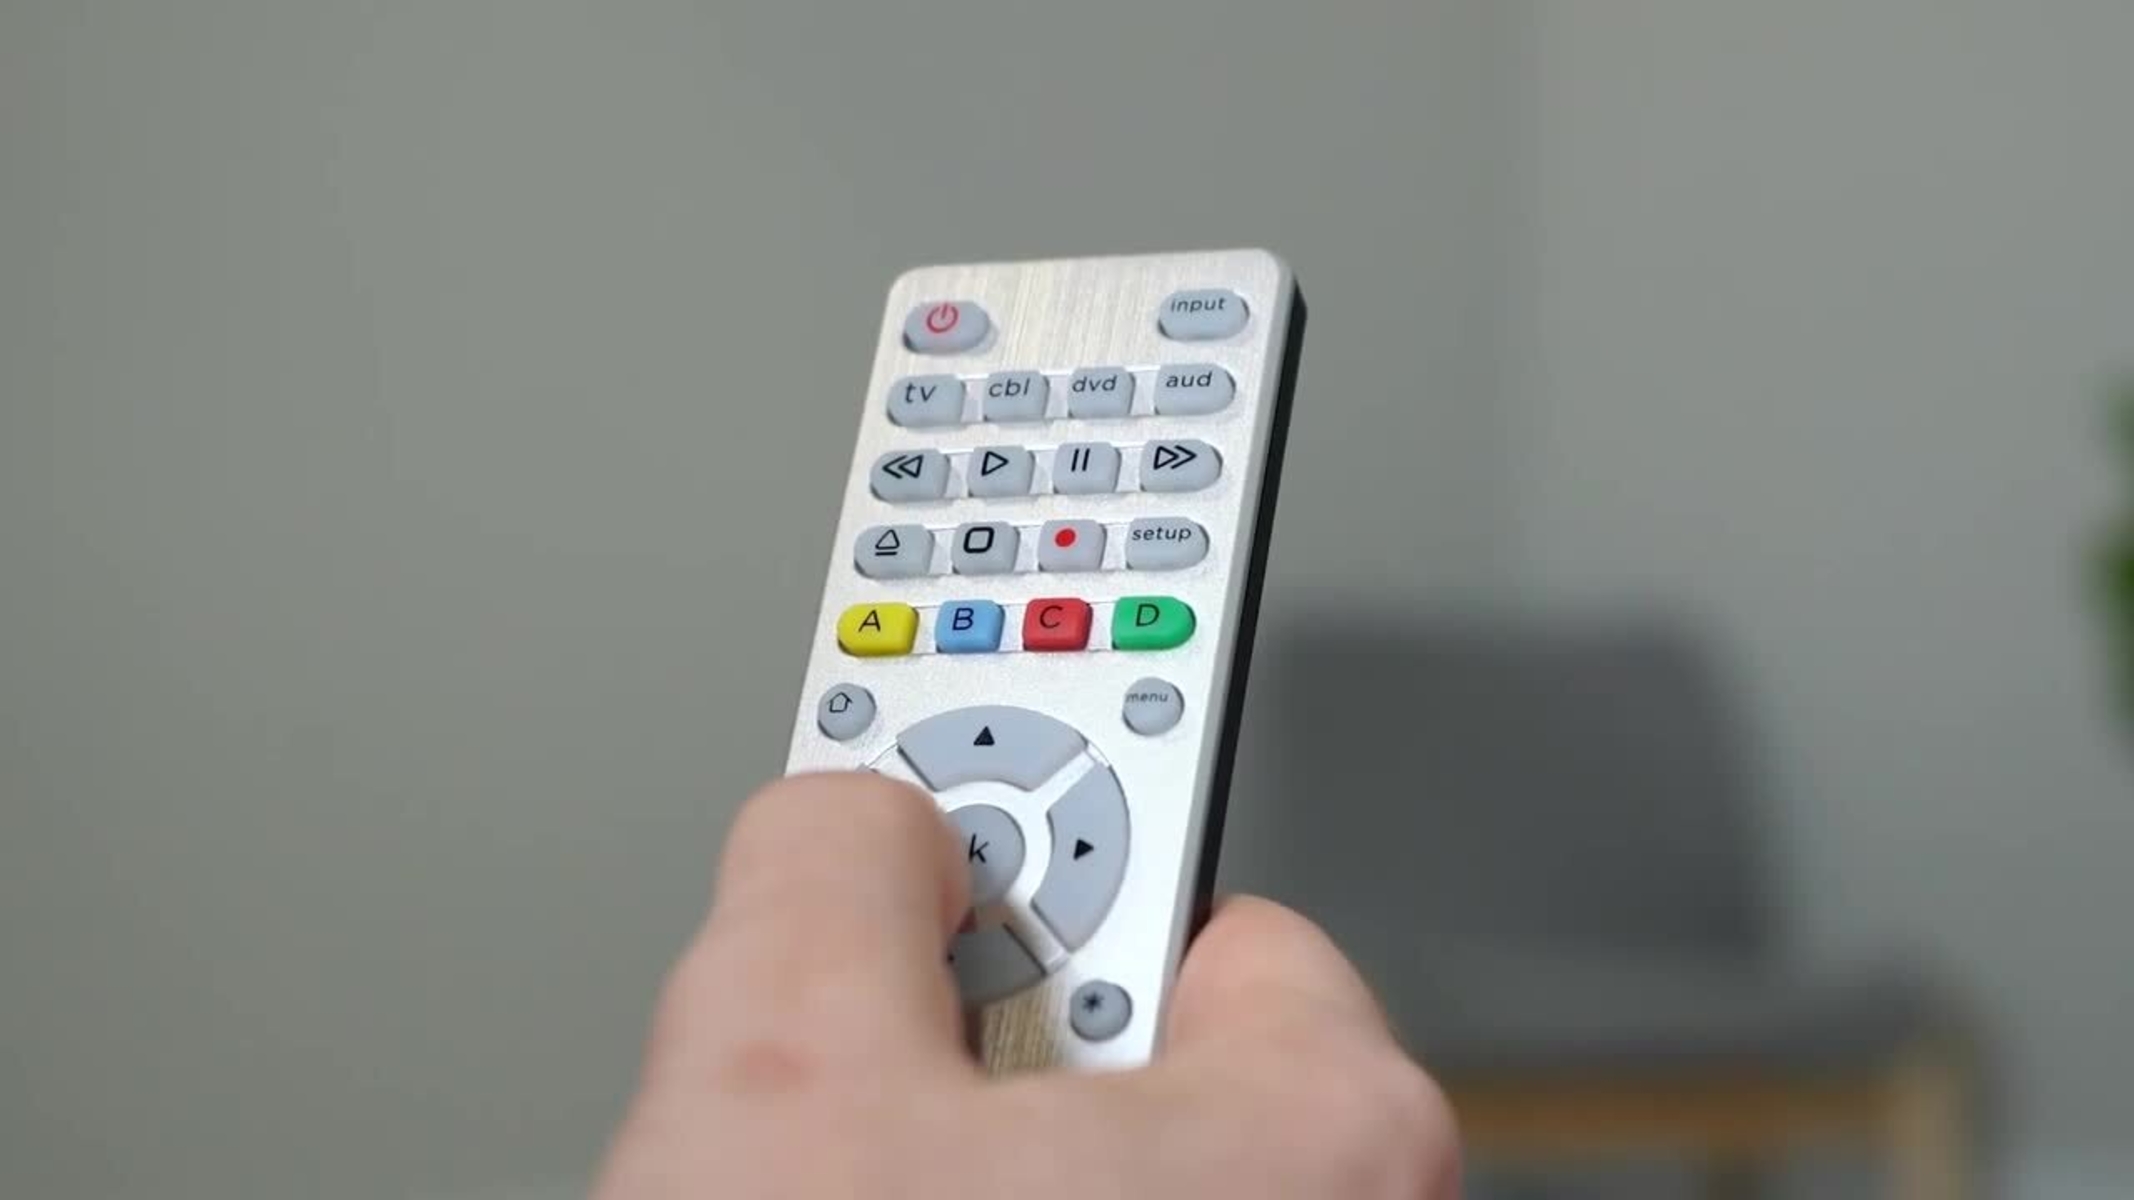
- Remote Controls: The remote controls for both the DirecTV receiver and the AV receiver will be needed for the setup and testing process.
- TV Screen: A television or display screen is required to test the connection and ensure that the audio and video signals are properly routed through the AV receiver.
By ensuring that you have all the required equipment on hand, you can proceed with confidence to the next step of connecting your DirecTV receiver to the AV receiver. With the necessary components at your disposal, you’ll be well-prepared to create a seamless and integrated home entertainment system that delivers exceptional audio and video quality.
Step 2: Connect the DirecTV Receiver to the AV Receiver
Now that you have gathered all the necessary equipment, it’s time to proceed with connecting your DirecTV receiver to the AV receiver. Follow these step-by-step instructions to establish the connection:
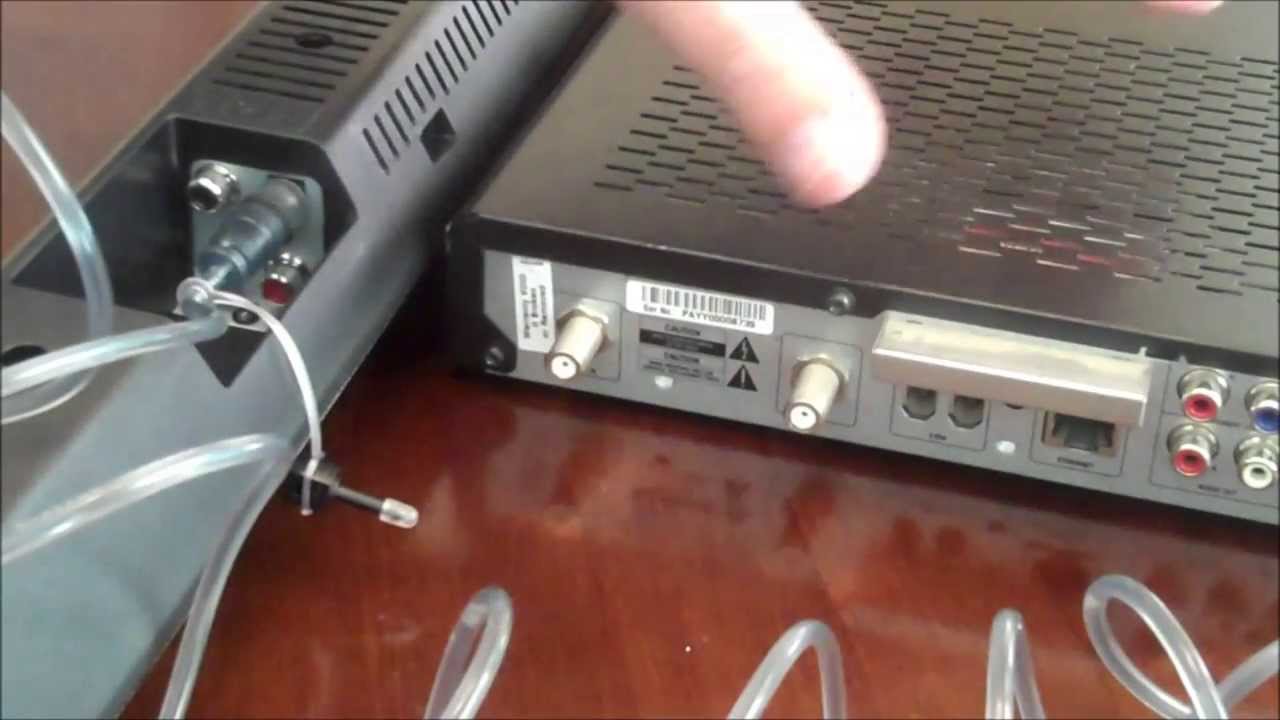
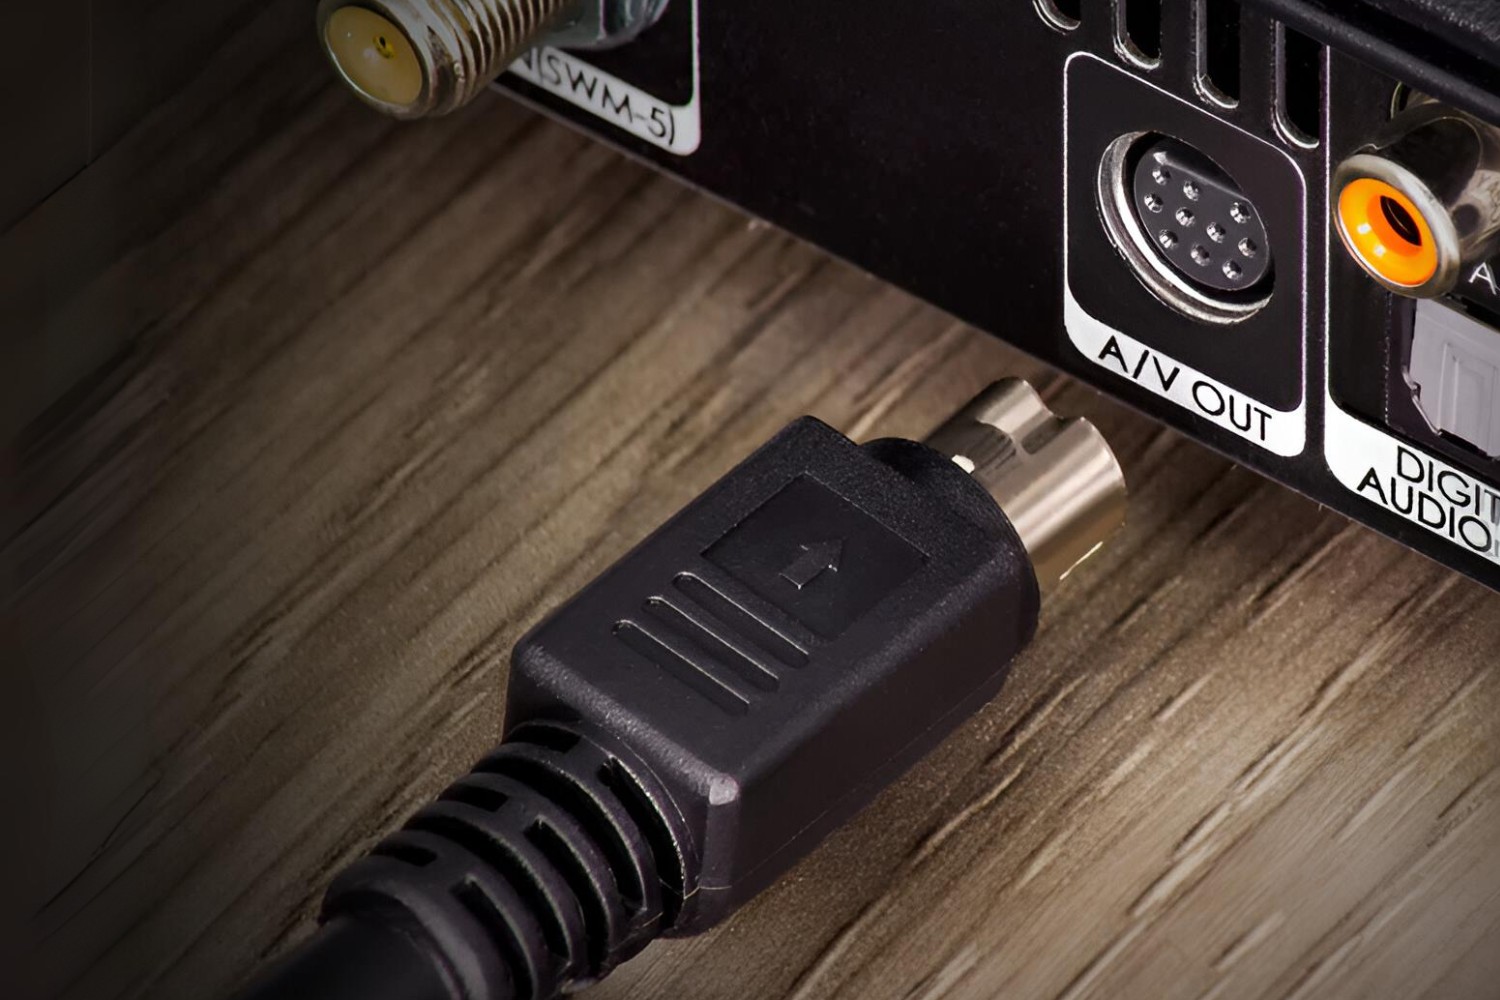
- Locate the HDMI Ports: Identify the HDMI output port on the back of your DirecTV receiver and the HDMI input port on your AV receiver. These ports are typically labeled for easy identification.
- Connect the HDMI Cable: Take the HDMI cable and plug one end into the HDMI output port of the DirecTV receiver and the other end into an available HDMI input port on the AV receiver. Ensure a secure connection to avoid signal loss or interference.
- Power On the Devices: Power on both the DirecTV receiver and the AV receiver using their respective power cables. Make sure the devices are properly connected to a power source and turned on.
- Select the Input Source: On the AV receiver, select the input source corresponding to the HDMI port used to connect the DirecTV receiver. This allows the AV receiver to receive the audio and video signals from the DirecTV receiver.
- Check the TV Display: Turn on your TV screen and select the input source that corresponds to the HDMI output of the AV receiver. You should now see the DirecTV receiver’s output displayed on the TV screen, indicating a successful connection.
By following these steps, you have effectively connected your DirecTV receiver to the AV receiver, establishing a seamless audio and video pathway between the two devices. This connection sets the stage for optimizing your home entertainment system’s audio and video output, providing a more immersive and enjoyable viewing and listening experience.
With the physical connection in place, the next step involves setting up the AV receiver to ensure that it is configured to deliver the best audio and video performance for your specific home entertainment setup.
Step 3: Set up the AV Receiver
After successfully connecting your DirecTV receiver to the AV receiver, it’s crucial to configure and optimize the settings of the AV receiver to ensure optimal audio and video performance. Follow these essential steps to set up the AV receiver:
- Speaker Configuration: Access the AV receiver’s speaker setup menu and configure the speaker settings based on your home theater layout. This includes specifying the number of speakers, their sizes, and their placement in the room.
- Audio Calibration: Many modern AV receivers feature automatic audio calibration systems. Utilize this feature to optimize the audio output based on your room’s acoustics. This process involves using a calibrated microphone to analyze and adjust the audio settings for optimal sound quality.
- Input Assignments: Assign the HDMI input used for the DirecTV receiver to a specific input source on the AV receiver. This allows you to easily switch to the DirecTV input when accessing content from the satellite receiver.
- Audio and Video Settings: Explore the AV receiver’s audio and video settings to customize the output based on your preferences. This may include adjusting the audio equalization, surround sound modes, video upscaling, and other advanced features.
- Network and Streaming Setup: If your AV receiver supports network connectivity and streaming services, configure the network settings and log in to your preferred streaming platforms to access a wide range of audio and video content.
By carefully configuring the AV receiver’s settings, you can tailor the audio and video output to suit your specific preferences and home theater environment. This step is crucial in maximizing the potential of your AV receiver and ensuring that you experience the full range of audio and video capabilities it offers.
With the AV receiver now set up and optimized, you’re ready to proceed to the next step: testing the connection between the DirecTV receiver and the AV receiver to confirm that everything is functioning as intended.
Step 4: Test the Connection
Before finalizing the setup, it’s crucial to test the connection between the DirecTV receiver and the AV receiver to ensure that the audio and video signals are properly routed and that the devices are functioning as intended. Follow these steps to test the connection:
- Power On and Select Input: Ensure that both the DirecTV receiver and the AV receiver are powered on. Select the appropriate input source on the AV receiver to receive the signal from the DirecTV receiver.
- Check Audio Output: Play a piece of audio content through the DirecTV receiver, and verify that the audio is being processed and output through the connected speakers. Ensure that the audio is clear and that the correct speakers are producing sound based on the configured speaker setup.
- Test Video Output: Play a video or TV channel through the DirecTV receiver and observe the video output on the TV screen. Confirm that the video signal is being transmitted through the AV receiver to the TV without any issues, such as distortion or loss of quality.
- Verify Remote Control Functionality: Use the remote control for the DirecTV receiver to change channels, adjust the volume, and navigate through the content. Similarly, test the AV receiver’s remote control to adjust audio settings and input sources. Ensure that both remote controls are functioning as expected.
- Check Surround Sound: If your AV receiver supports surround sound, play content that is encoded with multi-channel audio and ensure that the surround sound effects are accurately reproduced through the connected speakers. Verify that the audio is spatially distributed as intended.
By systematically testing the connection and functionality of the DirecTV receiver and the AV receiver, you can identify and address any potential issues or configuration errors before finalizing the setup. This ensures that you can enjoy a seamless and immersive home entertainment experience without interruptions or technical hitches.
If everything checks out during the testing phase, congratulations! You have successfully connected your DirecTV receiver to an AV receiver and optimized your home entertainment system for exceptional audio and video performance.
Conclusion
By following the step-by-step process outlined in this guide, you have successfully connected your DirecTV receiver to an AV receiver, unlocking the full potential of your home entertainment system. This seamless integration allows you to experience high-quality audio and video output, creating a captivating and immersive viewing and listening experience right in the comfort of your own home.
Through the careful gathering of necessary equipment, the precise connection of devices, the meticulous setup of the AV receiver, and the thorough testing of the connection, you have established a robust audio and video pathway that enhances the way you enjoy your favorite content. Whether you’re watching movies, sports events, or listening to music, the combined capabilities of the DirecTV receiver and the AV receiver elevate your entertainment experience to new heights.
With the AV receiver optimized to deliver superior audio performance, including customized speaker configurations, audio calibration, and advanced surround sound capabilities, you can immerse yourself in a rich audio environment that brings your content to life. The video output, seamlessly processed through the AV receiver, ensures that you experience stunning visual clarity and quality on your TV screen.
As you navigate through the channels, stream your favorite shows, or enjoy a movie night at home, the connection between the DirecTV receiver and the AV receiver provides a seamless and intuitive experience. The convenience of consolidating your audio and video sources through the AV receiver simplifies your home entertainment setup and enhances accessibility to a wide range of content.
By embracing the capabilities of your AV receiver and leveraging its advanced features, you have transformed your home entertainment system into a dynamic and immersive environment that caters to your audio and video preferences. With the connection successfully established, you’re now ready to enjoy countless hours of entertainment with unparalleled audio and video quality.
Congratulations on completing the process of connecting your DirecTV receiver to an AV receiver. Your dedication to optimizing your home entertainment setup ensures that you can indulge in a captivating and immersive audiovisual experience, bringing your favorite content to life in a whole new way.