Introduction
Welcome to our guide on how to connect your Chromecast to a soundbar. If you’re looking to enhance your audio experience while streaming your favorite shows or movies, connecting your Chromecast to a soundbar is a great option. Soundbars are designed to provide better sound quality than your TV’s built-in speakers, offering a more immersive and cinematic experience.
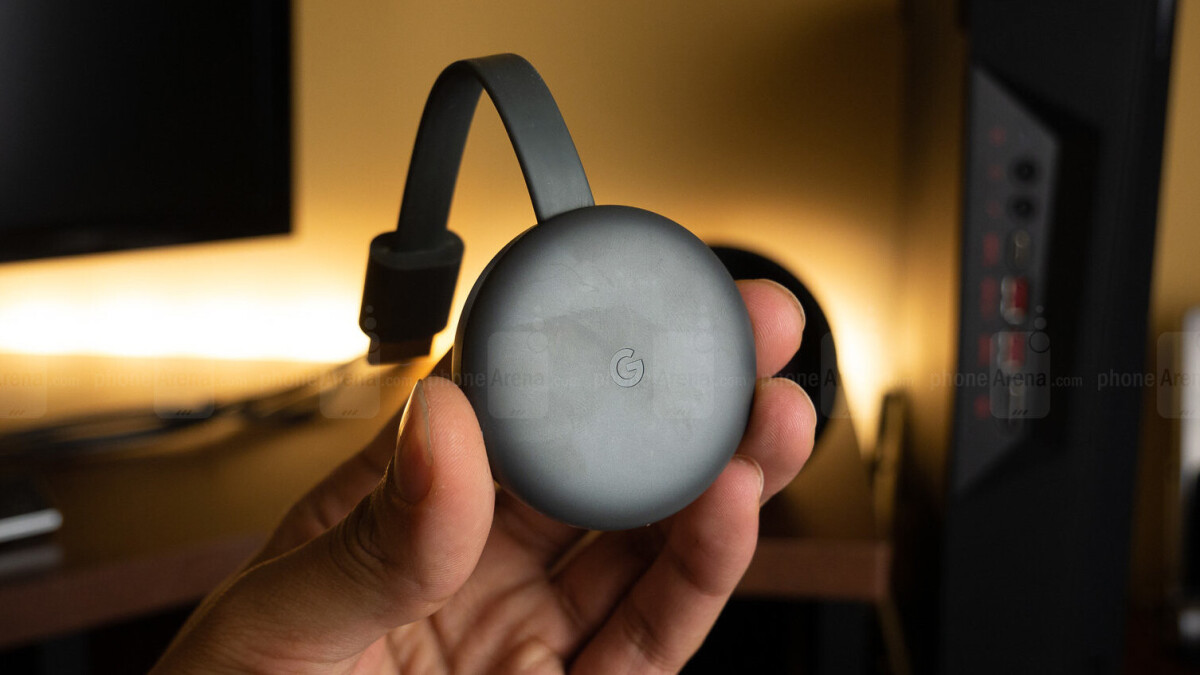
Chromecast, developed by Google, is a popular streaming device that allows you to cast content from your mobile device or computer directly to your TV. It’s a convenient and affordable way to access a wide range of streaming platforms, such as Netflix, YouTube, and Spotify, on the big screen.
By connecting your Chromecast to a soundbar, you can take your audio experience to the next level. Whether you want to enjoy a movie night with surround sound or listen to your favorite songs with enhanced audio quality, connecting your Chromecast to a soundbar will greatly enhance your entertainment setup.
In this guide, we will walk you through the various methods of connecting your Chromecast to a soundbar. We’ll cover the necessary compatibility and requirements, as well as step-by-step instructions for each connection method. Additionally, we’ll provide troubleshooting tips to help you overcome any issues you may encounter during the setup process.
So, if you’re ready to elevate your audio experience and make the most out of your Chromecast, let’s dive into the different ways you can connect it to a soundbar.
Understanding Chromecast and Soundbar
Before we dive into the process of connecting your Chromecast to a soundbar, let’s take a moment to understand these two devices and how they work together to enhance your entertainment setup.
Chromecast is a streaming device that allows you to cast content from your smartphone, tablet, or computer onto your TV screen. It works by connecting to your home’s Wi-Fi network and receiving streaming commands from your mobile device or computer. With Chromecast, you can stream your favorite TV shows, movies, music, and more, from popular streaming platforms directly to your TV.
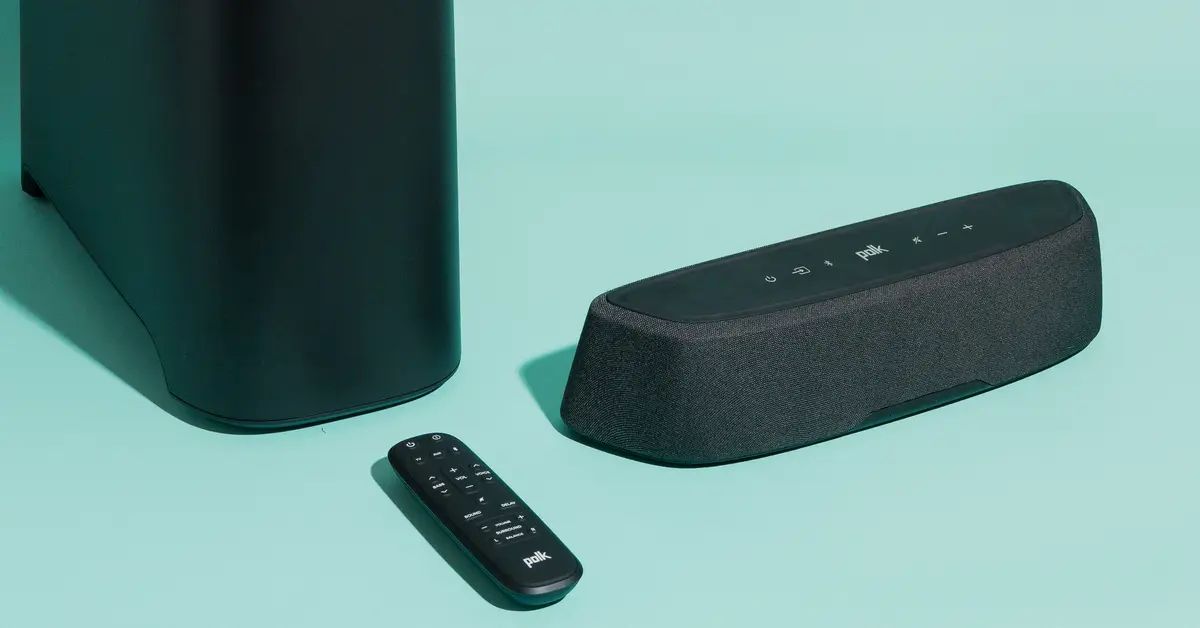
On the other hand, a soundbar is a compact speaker system specifically designed to improve the audio quality of your TV. Soundbars are a popular choice for those looking to enhance the sound experience without the need for a full surround sound system. They come in a sleek design and are easy to set up, making them a convenient solution for upgrading your TV’s audio performance.
By connecting your Chromecast to a soundbar, you can enjoy a more immersive and engaging audio experience while streaming your favorite content. The soundbar will provide a richer and fuller sound compared to your TV’s built-in speakers, making it feel as if you’re in a movie theater.
It is important to note that not all soundbars are compatible with Chromecast. To ensure a seamless connection and compatibility, it’s essential to check the specifications of your soundbar and Chromecast to determine if they can be connected. Most modern soundbars come equipped with HDMI ARC (Audio Return Channel) or optical inputs, which are the two main connection options we will explore in the upcoming sections.
Now that we have a basic understanding of Chromecast and soundbars, let’s move on to the next section, where we will discuss the compatibility and requirements for connecting your Chromecast to a soundbar.
Check Compatibility and Requirements
Before you proceed with connecting your Chromecast to a soundbar, it’s essential to ensure that both devices are compatible and that you have the necessary requirements in place. This will ensure a successful and hassle-free setup process.
Firstly, check the specifications of your soundbar to determine if it has the necessary ports for connecting your Chromecast. Most modern soundbars come equipped with either HDMI ARC (Audio Return Channel) or optical inputs. These are the two main connection options we will be discussing in the upcoming sections. Make sure your soundbar has at least one of these inputs.
Secondly, make sure your Chromecast is set up and connected to your TV. If you haven’t already set up your Chromecast, refer to the user manual or follow the on-screen prompts to complete the setup process. Ensure that your Chromecast is connected and functioning properly before attempting to connect it to the soundbar.
Next, determine the type of audio connection you want to use. HDMI ARC provides a convenient single cable solution that can transmit both audio and video signals. If your soundbar and TV support HDMI ARC, this is generally the recommended option. However, if your soundbar doesn’t have HDMI ARC, you can use an optical cable, which will transmit audio signals from your TV to the soundbar.
Additionally, prepare the necessary cables for your chosen connection method. If you opt for HDMI ARC, ensure you have an HDMI cable that supports ARC. For optical connection, you’ll need an optical cable that is compatible with your devices. Make sure the cables are of good quality and in good condition.
Lastly, ensure that both your TV and soundbar are powered on and set to the correct input source. Depending on your soundbar model, you may need to adjust the sound settings or enable certain audio features to optimize the audio output. Refer to your soundbar’s user manual for specific instructions on adjusting the settings.
By checking compatibility and having the necessary requirements in place, you will be ready to proceed with connecting your Chromecast to the soundbar. In the next sections, we will discuss the step-by-step instructions for connecting your Chromecast to a soundbar using HDMI ARC, optical cable, or a combination of both.
Connect Chromecast to Soundbar using HDMI ARC (Audio Return Channel)
If both your TV and soundbar support HDMI ARC (Audio Return Channel), this is often the easiest and most convenient way to connect your Chromecast to the soundbar. HDMI ARC allows for the transmission of both audio and video signals through a single HDMI cable.
Here are the step-by-step instructions to connect your Chromecast to your soundbar using HDMI ARC:
- Ensure that your soundbar and TV are both powered off.
- Connect one end of an HDMI cable to the HDMI ARC port on your soundbar.
- Connect the other end of the HDMI cable to the HDMI ARC port on your TV.
- Power on your soundbar and set it to the HDMI ARC input source.
- Power on your TV and set it to the HDMI ARC input source corresponding to the soundbar.
- Set up and configure your Chromecast on your TV as you would normally.
- Once your Chromecast is set up, go to the audio settings on your TV. Usually, this can be found in the settings menu.
- Select the audio output or audio format settings and choose the HDMI ARC or HDMI-CEC option.
- Test the audio by casting content to your Chromecast. The audio should now play through your soundbar.
By following these steps, your Chromecast will be connected to your soundbar using HDMI ARC, allowing you to enjoy enhanced audio quality while streaming your favorite content.
If you encounter any issues during the setup process, make sure that your TV and soundbar firmware is up to date. Additionally, check the manufacturer’s website or user manual for specific instructions related to HDMI ARC functionality on your devices.
Now that you’ve successfully connected your Chromecast to your soundbar using HDMI ARC, you’re ready to enjoy an immersive audio experience. In the next section, we will explore an alternative method – connecting your Chromecast to the soundbar using an optical cable.
Connect Chromecast to Soundbar using Optical Cable
If your soundbar doesn’t have HDMI ARC support or if you prefer using an optical connection, you can connect your Chromecast to the soundbar using an optical cable. The optical cable will transmit audio signals from your TV to the soundbar, providing improved sound quality for your streaming content.
Follow these step-by-step instructions to connect your Chromecast to your soundbar using an optical cable:
- Ensure that your soundbar and TV are both powered off.
- Locate the optical audio output port on your TV, usually labeled as “Optical Out” or “Digital Audio Out”.
- Connect one end of the optical cable to the optical audio output port on your TV.
- Connect the other end of the optical cable to the optical audio input port on your soundbar.
- Power on your soundbar and set it to the optical input source.
- Power on your TV and set it to the appropriate input source that corresponds to the soundbar’s optical connection.
- Set up and configure your Chromecast on your TV as usual.
- Access the audio settings on your TV, typically found in the settings menu.
- Select the audio output or audio format settings and choose the optical audio option.
- Test the audio by casting content to your Chromecast. The audio should now play through your soundbar.
By following these instructions, your Chromecast will be successfully connected to your soundbar using an optical cable. You can now enjoy improved sound quality while streaming your favorite movies, shows, and music.
If you encounter any audio issues or the sound quality does not meet your expectations, ensure that the optical cable is securely connected to both the TV and soundbar. Additionally, check the soundbar’s user manual for any specific settings or adjustments that need to be made for optimal audio performance.
Now that you’ve successfully connected your Chromecast to your soundbar using an optical cable, you’re ready to immerse yourself in a captivating audio experience. However, if you want to maximize the audio potential, you can consider connecting your Chromecast to both the soundbar and TV simultaneously using both HDMI and optical cables, which we will discuss in the next section.
Connect Chromecast to Soundbar using HDMI and Optical Cable
If you want to harness the best of both worlds and take full advantage of both HDMI ARC and optical connections, you can connect your Chromecast to both the soundbar and TV simultaneously. This setup allows for flexibility in audio output options and can help you achieve the optimum sound quality for your streaming content.
Here’s a step-by-step guide to connecting your Chromecast to both the soundbar and TV using HDMI and optical cables:
- Ensure that your soundbar, TV, and Chromecast are all powered off.
- Connect one end of an HDMI cable to the HDMI ARC port on your soundbar.
- Connect the other end of the HDMI cable to the HDMI ARC port on your TV.
- Locate the optical audio output port on your TV, labeled as “Optical Out” or “Digital Audio Out”.
- Connect one end of the optical cable to the optical audio output port on your TV.
- Connect the other end of the optical cable to the optical audio input port on your soundbar.
- Power on your soundbar and set it to the appropriate input source for HDMI ARC.
- Power on your TV and set it to the HDMI ARC input source corresponding to the soundbar.
- Set up and configure your Chromecast on your TV as usual.
- Access the audio settings on your TV, typically found in the settings menu.
- Choose the audio output or audio format settings and select the optical audio option.
- Test the audio by casting content to your Chromecast. The audio should now play through your soundbar.
By following these instructions, your Chromecast will be connected to both the soundbar and TV, utilizing HDMI ARC for video and audio transmission and optical cable for audio specifically. This setup allows you to enjoy enhanced sound quality while still utilizing the HDMI ARC functionality for video signal transmission.
If you encounter any issues during the setup process or experience audio problems, ensure that all cables are securely connected and that the settings on your TV and soundbar are configured correctly. Refer to the user manuals or contact the manufacturers for further assistance if necessary.
Now that you’ve successfully connected your Chromecast to both the soundbar and TV using both HDMI and optical cables, you can sit back and enjoy a truly immersive audio experience while streaming your favorite content.
Troubleshooting Tips
While connecting your Chromecast to a soundbar is a straightforward process, you may encounter some challenges along the way. Here are some troubleshooting tips to help you overcome common issues:
- Ensure that all connections are secure: Check that all cables are properly connected to both the Chromecast, TV, and soundbar. A loose connection can result in no audio or low-quality sound.
- Verify the power supply: Make sure that all devices, including the Chromecast, TV, and soundbar, are receiving power. Check the power cables and outlets to ensure they are functioning correctly.
- Update firmware: Check for firmware updates for your TV, soundbar, and Chromecast. Outdated firmware can cause compatibility issues or audio inconsistencies. Visit the manufacturer’s websites to download and install any available updates.
- Check input settings: Ensure that the TV and soundbar are set to the correct input sources. Sometimes, the audio will not play through the soundbar if the input is not selected correctly.
- Adjust sound settings: Access the sound settings on your TV and soundbar to adjust the audio output and sound modes. Experiment with different settings to find the best sound quality for your preferences.
- Test with different cables: If you’re experiencing audio issues, try using different cables. Sometimes, a faulty or low-quality cable can cause audio problems.
- Reset devices: If all else fails, try resetting your Chromecast, TV, and soundbar to their factory settings. Refer to the user manuals for specific instructions on how to perform a reset.
- Seek technical support: If you’ve tried all the troubleshooting steps and are still experiencing issues, reach out to the support teams of your TV, soundbar, or Chromecast manufacturer. They may be able to provide additional guidance or solutions.
Remember, troubleshooting steps may vary depending on the specific models and brands of your devices. Consult the user manuals or contact the manufacturers for device-specific troubleshooting tips if necessary.
By following these troubleshooting tips, you should be able to resolve most common issues that you may encounter when connecting your Chromecast to a soundbar.
With that said, we’ve covered the essential steps and troubleshooting tips to successfully connect your Chromecast to a soundbar. Now, you’re fully equipped to enjoy an enhanced audio experience while streaming your favorite content!
Conclusion
Connecting your Chromecast to a soundbar is a simple and effective way to elevate your audio experience while streaming your favorite content. Whether you choose to use HDMI ARC or an optical cable, both methods provide improved sound quality and immersion compared to your TV’s built-in speakers.
Throughout this guide, we have discussed the different connection methods, such as HDMI ARC and optical cables, to connect your Chromecast to a soundbar. We’ve also explored troubleshooting tips to help you overcome any challenges you may encounter during the setup process.
Remember to check the compatibility and requirements of your soundbar and Chromecast to ensure a seamless connection. Ensure all cables are securely connected, power on the devices, and select the correct input sources on your TV and soundbar. Adjust sound settings and update firmware when necessary to optimize the audio experience.
By following the step-by-step instructions and troubleshooting tips provided in this guide, you can successfully connect your Chromecast to a soundbar and enjoy enhanced sound quality while streaming your favorite movies, TV shows, and music.
Now, it’s time to sit back, relax, and immerse yourself in a truly captivating audio experience. Enjoy your newfound audio upgrade and make the most out of your Chromecast and soundbar combination!


