Introduction
Connecting a TV remote to a Bose Soundbar is a convenient way to streamline your entertainment experience. With this setup, you can control both your TV and soundbar using just one remote, eliminating the need for multiple remotes cluttering up your living room. However, the process may differ slightly depending on your TV model and the specific features of your Bose Soundbar.
Before diving into the steps, it’s important to ensure that your TV remote is compatible with your Bose Soundbar. Most modern TVs and soundbars use HDMI-CEC (Consumer Electronics Control) technology, allowing devices to communicate and share commands over an HDMI connection. However, not all TV remotes support this feature, so it’s crucial to check the compatibility beforehand.
In this article, we will guide you through the process of connecting a TV remote to a Bose Soundbar. We will cover the steps to power on the devices, enable the CEC function on your TV, pair the remote with the soundbar, and test the connection to ensure everything is functioning properly.
Whether you’re a tech enthusiast or just looking for an easier way to control your TV and sound system, this step-by-step guide will help you connect your TV remote to your Bose Soundbar seamlessly. So let’s get started and make your entertainment experience more efficient and enjoyable.
Step 1: Check TV Remote Compatibility
Before proceeding with the setup process, it is essential to check if your TV remote is compatible with your Bose Soundbar. Most modern TVs and soundbars utilize HDMI-CEC (Consumer Electronics Control) technology, which allows devices to communicate and share commands over an HDMI connection.
To determine if your TV remote supports HDMI-CEC, refer to your TV’s manual or visit the manufacturer’s website for information on its features and specifications. Look for terms such as “HDMI-CEC,” “Anynet+,” “Bravia Sync,” or “Simplink.” These are common names used by different manufacturers to indicate HDMI-CEC functionality.
If your TV remote supports HDMI-CEC, ensure that your Bose Soundbar also has this feature. Check the soundbar’s manual or visit the manufacturer’s website to confirm its compatibility with HDMI-CEC. Additionally, make sure that both your TV and soundbar have HDMI ports available for the connection.
If your TV remote does not support HDMI-CEC or if your Bose Soundbar lacks this feature, connecting the TV remote to the soundbar may not be possible. In this case, you might need to consider alternative methods, such as using a universal remote or utilizing the soundbar’s dedicated remote.
Furthermore, it’s worth mentioning that different TV models and brands may have slight variations in their HDMI-CEC implementation or use different names for the feature. It is recommended to consult your TV and soundbar manuals for specific information related to your devices.
By checking the compatibility of your TV remote with your Bose Soundbar, you can ensure a smoother setup process and avoid any potential issues or limitations that may arise. Once you have confirmed the compatibility, you can proceed to the next steps to connect your TV remote to your Bose Soundbar.
Step 2: Power on the Bose Soundbar and TV
To establish a connection between your TV remote and the Bose Soundbar, both devices need to be powered on. Follow the steps below to ensure they are properly turned on:
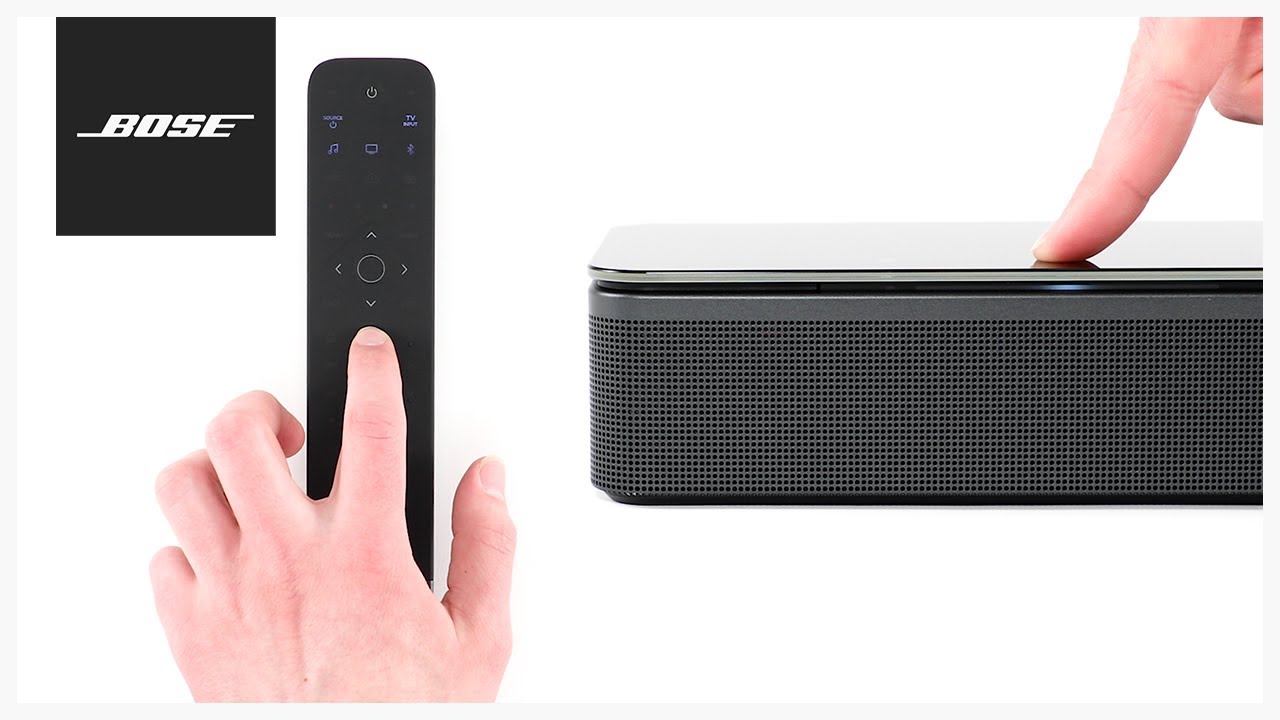
- Locate the power buttons on both your TV and Bose Soundbar. These buttons are typically located either on the front panel or on the remote control.
- Press the power button on your TV to turn it on. Wait for the TV to fully boot up and display the home screen or input source selection.
- Next, press the power button on your Bose Soundbar to power it on. Make sure the soundbar is connected to a power source and that all necessary cables are properly plugged in.
- Once the soundbar is powered on, you should see an indicator light or display on the front panel, confirming that it is operational.
It’s important to note that the order in which you power on the TV and soundbar might affect the connection process. In some cases, powering on the TV first and then the soundbar ensures a smoother connection establishment. However, this can vary depending on the specific devices and their HDMI-CEC implementation.
If you are unsure about the order, follow the steps above, and if necessary, we will address any specific order requirements in the subsequent steps.
Once both the TV and soundbar are powered on, you are ready to proceed to the next step, which involves enabling the CEC function on your TV.
Step 3: Enable CEC Function on TV
In order to establish the connection between your TV remote and the Bose Soundbar, you need to enable the CEC (Consumer Electronics Control) function on your TV. CEC allows devices connected via HDMI to control each other using a single remote.
Follow the steps below to enable CEC on your TV:
- Using the TV remote, navigate to the Settings or Menu option on your TV. The location of these options may vary depending on the TV brand and model.
- Look for the CEC or HDMI-CEC option in the settings menu. It may be listed under different names such as Anynet+, Bravia Sync, VIERA Link, or simplink, depending on the TV manufacturer.
- Select the CEC option and toggle it to enable or turn it on. This will activate the CEC functionality on your TV.
- If available, choose the option to automatically detect and activate CEC on connected devices. This will ensure that your TV recognizes and communicates with your Bose Soundbar.
- Save the changes and exit the settings menu.
Enabling the CEC function on your TV allows it to send control commands to other CEC-enabled devices, including your Bose Soundbar. This will enable you to control the soundbar’s volume, power, and other functions using your TV remote.
Note that some older TV models or budget-friendly options may not have the CEC feature. If you can’t find the CEC option in your TV’s settings menu or if it is not available, it may indicate that your TV does not support HDMI-CEC or uses a different name for the feature.
Once you have successfully enabled CEC on your TV, you can proceed to the next step, which involves pairing the TV remote with your Bose Soundbar.
Step 4: Pair the TV Remote with the Bose Soundbar
Now that your TV and soundbar are powered on and the CEC function is enabled on your TV, it’s time to pair the TV remote with your Bose Soundbar. Follow the steps below to complete the pairing process:
- On your TV remote, press the dedicated CEC or HDMI-CEC button, if available. This button is typically represented by a logo or label indicating CEC or HDMI-CEC.
- If your TV remote does not have a dedicated CEC button, refer to your TV’s manual or consult the manufacturer’s website for the specific key combination used to access the CEC control menu.
- In the CEC control menu, look for the option to search for or add a new device. The location and wording may vary depending on your TV’s brand and model. It could be listed as “Add Device,” “Device Discovery,” or something similar.
- Ensure that your Bose Soundbar is turned on and in pairing mode. Refer to the soundbar’s manual for instructions on how to activate pairing mode.
- Once the TV detects the Bose Soundbar, select it from the list of available devices.
- Follow any additional on-screen prompts or instructions to complete the pairing process.
Upon successful pairing, your TV remote will be able to control various functions of the Bose Soundbar, such as adjusting volume, muting, and powering on/off. You can also test the functionality by pressing the volume buttons or the power button on your TV remote and verifying if the soundbar responds accordingly.
It’s important to note that some TV models might require additional steps or settings configuration to establish a seamless connection between the TV remote and the soundbar. Refer to your TV’s manual or the manufacturer’s website for any specific instructions related to your device.
With the TV remote successfully paired with the Bose Soundbar, you’re almost ready to enjoy the convenience of controlling both devices with just one remote! In the next step, we will test the connection and functionality to ensure everything is working as expected.
Step 5: Test the Connection and Functionality
After pairing the TV remote with your Bose Soundbar, it’s important to test the connection and functionality to ensure that everything is working as expected. Follow the steps below to perform a quick test:
- Using the TV remote, adjust the volume up and down. Verify that the volume on the Bose Soundbar responds accordingly. If the volume changes on the soundbar, it indicates that the connection is successful.
- Test the power control by pressing the power button on your TV remote. Check if the soundbar powers on or off in sync with your TV. This confirms that the devices are properly linked.
- If your TV remote has additional buttons for functions like mute, input selection, or playback control, test these functions as well to ensure they are working correctly on the soundbar.
- Verify that the soundbar is producing audio output from the connected TV source. Play some content on your TV and ensure that the sound is coming from the soundbar speakers instead of the TV speakers.
- Repeat these tests several times to ensure consistent performance.
If any of the functions do not work as expected, double-check the steps you followed in the previous sections. Make sure that both the TV and soundbar are properly connected, powered on, and that you have enabled the CEC function on your TV. Additionally, consult the manuals or online resources provided by the manufacturer for troubleshooting steps specific to your devices.
Successfully completing these tests confirms that the TV remote is successfully connected to the Bose Soundbar, allowing you to control the soundbar’s functions seamlessly using your TV remote.
If everything is functioning as intended, you can now sit back, relax, and enjoy your favorite movies, shows, and music with the convenience of a single remote control for both your TV and soundbar!
Conclusion
Connecting your TV remote to a Bose Soundbar can greatly enhance your home entertainment experience by simplifying the control process and eliminating the need for multiple remotes. By following the steps outlined in this guide, you can successfully pair your TV remote with your Bose Soundbar and enjoy the convenience of a unified control experience.
Throughout the process, it is essential to ensure compatibility between your TV remote and the soundbar. Checking for HDMI-CEC functionality and ensuring that both devices have this feature is crucial to establish a seamless connection.
Powering on both the TV and soundbar is the first step, followed by enabling the CEC function on your TV. This allows the devices to communicate and control each other via the HDMI connection.
Next, pairing the TV remote with the soundbar is accomplished through the CEC control menu on your TV. This step establishes the connection and enables control of the soundbar using your TV remote.
Finally, it’s important to test the connection and functionality to ensure everything is working correctly. By adjusting the volume, testing power control, and verifying audio playback, you can confirm that the TV remote is successfully linked and controlling the soundbar.
Remember that specific steps may vary depending on your TV model and the features of your Bose Soundbar. It is always recommended to consult the product manuals or online resources provided by the manufacturers for detailed instructions and troubleshooting guidance.
By successfully connecting your TV remote to a Bose Soundbar, you can enjoy a simplified and streamlined entertainment experience. Say goodbye to the hassle of juggling multiple remotes and enjoy the convenience of controlling your TV and soundbar with just one device.