Introduction
Welcome to the world of vinyl records! If you’re a music enthusiast looking to connect your turntable to a soundbar, you’ve come to the right place. Connecting a turntable to a soundbar allows you to experience the warm, rich sound of vinyl records while enjoying the convenience of a modern audio setup.
In this guide, we will walk you through the step-by-step process of connecting your turntable to a soundbar. Whether you’re a seasoned audiophile or a newcomer to the world of vinyl, this article will provide you with the necessary information to achieve a seamless and optimal audio experience.
Before we dive into the process, it’s important to note that the specific steps may vary depending on the make and model of your soundbar and turntable. However, the general principles discussed here should apply in most cases.
Now, let’s gather the necessary equipment and get started on your journey towards enjoying your vinyl records through a soundbar!
Step 1: Gather the necessary equipment
Before you begin connecting your turntable to a soundbar, it’s essential to ensure you have all the required equipment. Here’s a list of what you’ll need:
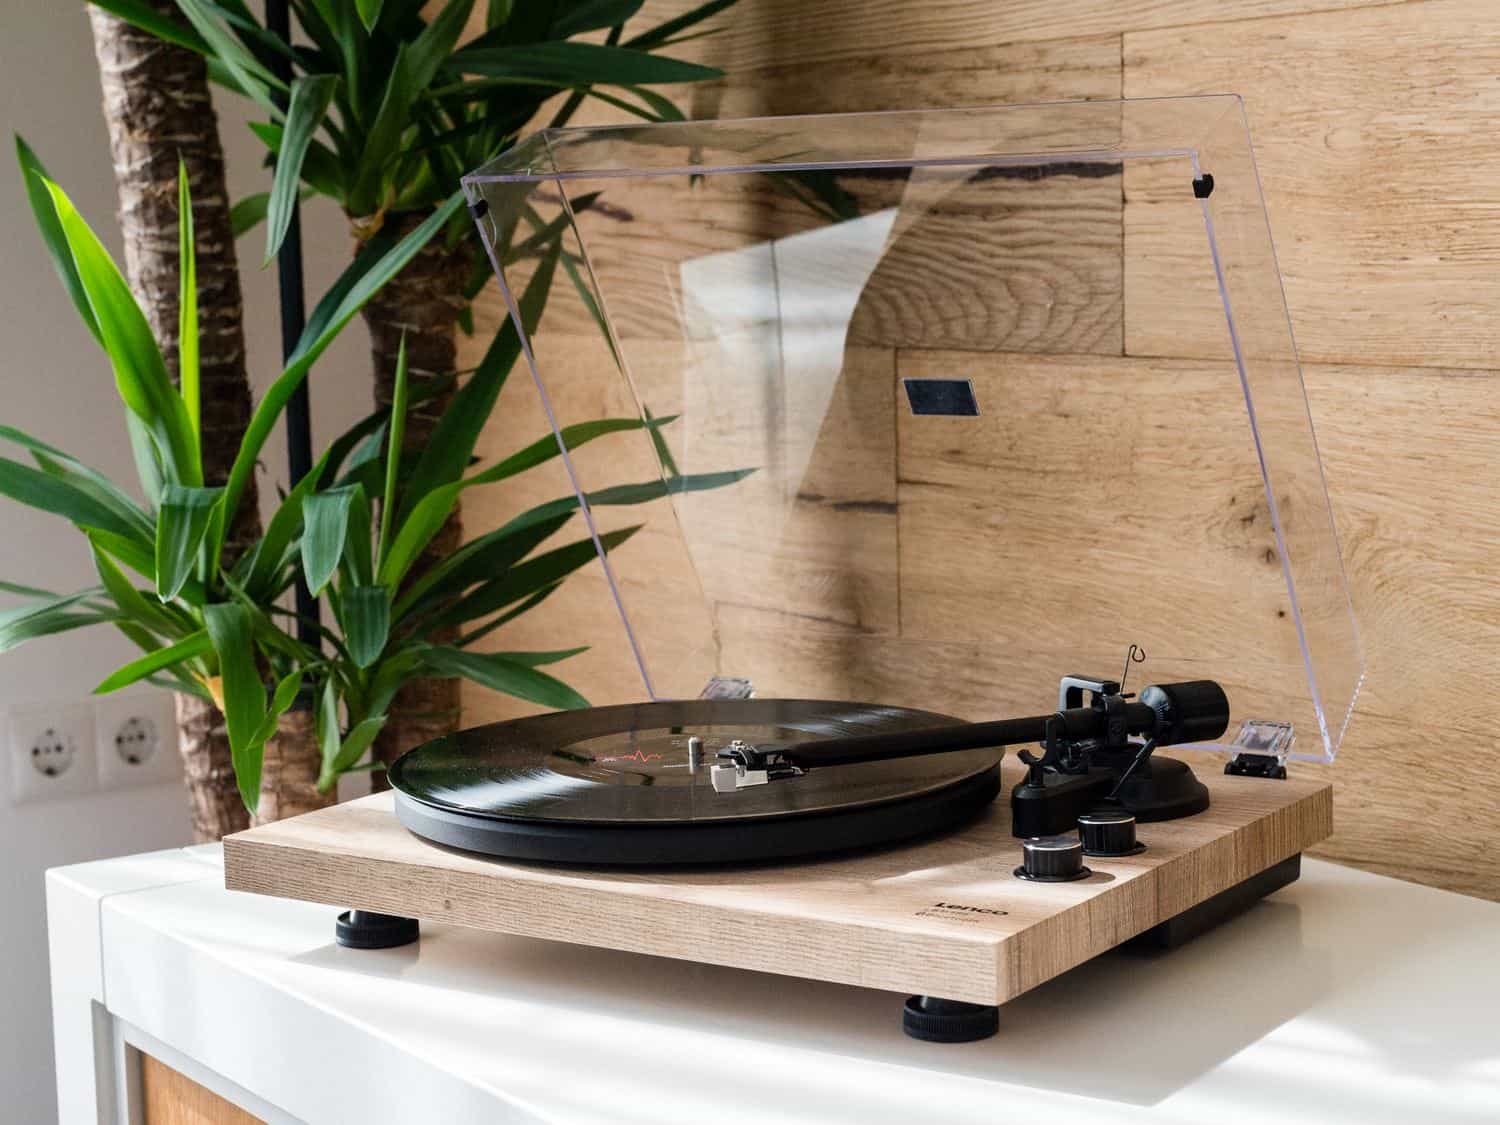
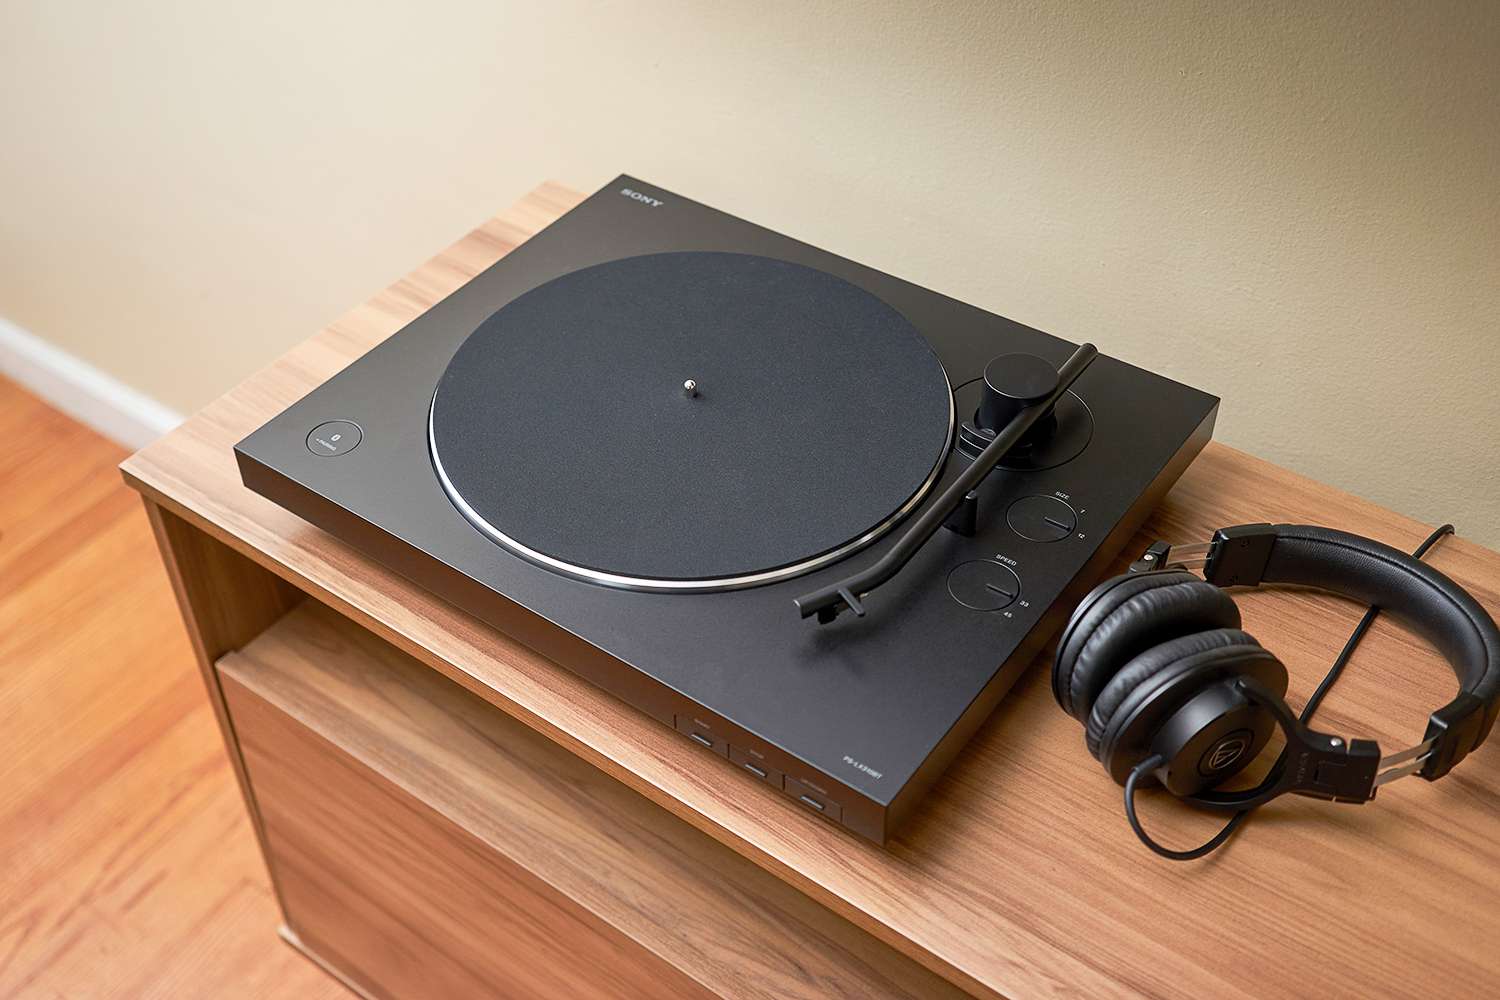
- Turntable: Make sure you have a working turntable with a built-in preamp. If your turntable doesn’t have a preamp, you’ll need to purchase an external one.
- Soundbar: Choose a soundbar that has the necessary input options to connect a turntable. Look for soundbars with RCA or auxiliary (3.5mm) inputs.
- Audio cables: You’ll need RCA cables to connect your turntable to the soundbar. Make sure you have enough cable length to comfortably reach the soundbar from your turntable.
- Power cables: Ensure that both your turntable and soundbar are plugged into a power source.
Additionally, it’s recommended to have a user manual or quick start guide for both the turntable and soundbar on hand. These documents will help you identify specific ports and settings required for the connection.
Once you have gathered all the necessary equipment, you’re ready to move on to the next step: checking the soundbar’s input options.
Step 2: Check the soundbar’s input options
Before connecting your turntable to the soundbar, it’s crucial to check the input options available on your soundbar. This step will ensure that you choose the appropriate connection method for your setup.
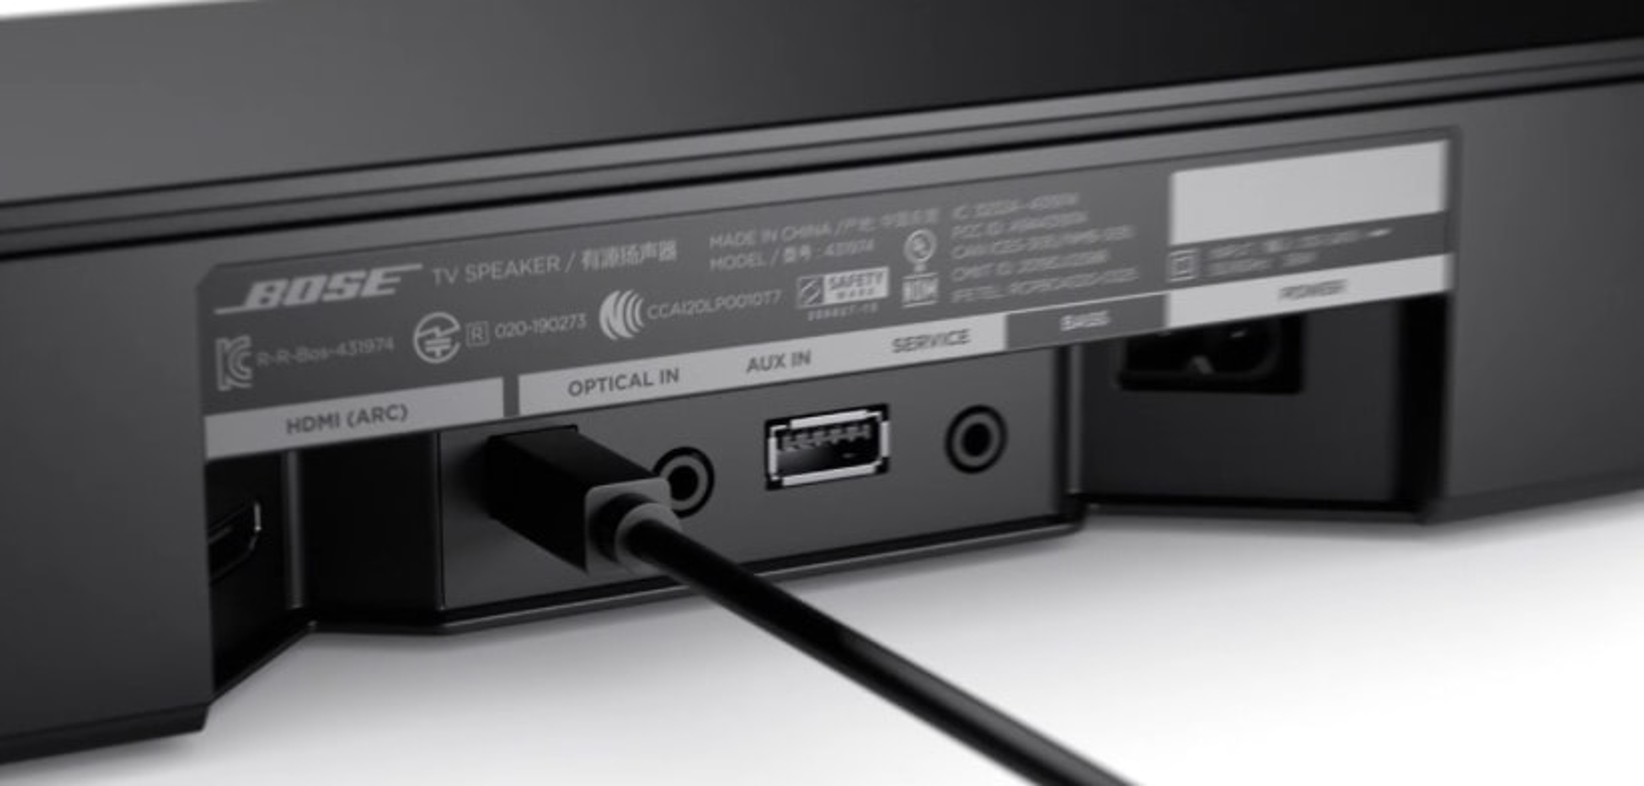
Most soundbars come with multiple input options, including RCA, auxiliary (3.5mm), HDMI, and optical inputs. However, not all soundbars have all these options, so it’s essential to verify the available inputs on your particular model. Refer to your soundbar’s user manual or quick start guide for detailed information.
If your soundbar has RCA input options, you’re in luck, as RCA is the most common and straightforward way to connect a turntable. Look for the red and white RCA input ports labeled “Audio In” or “Line In” on your soundbar. These ports are usually located on the rear panel.
If your soundbar only has an auxiliary (3.5mm) input, don’t worry! You can still connect your turntable using a preamp or a phono preamp with a built-in auxiliary output. Just make sure to follow the instructions provided with your chosen preamp for the correct setup.
If your soundbar has other input options like HDMI or optical, check if they support analog audio input. Some soundbars might require additional adapters or converters to connect the turntable.
Now that you have identified the available input options on your soundbar, you’re ready to move on to the next step: choosing the appropriate connection method for your turntable and soundbar.
Step 3: Choose the appropriate connection method
Now that you have identified the input options on your soundbar, it’s time to choose the most suitable connection method for your turntable. The method you choose will depend on the available input options on your soundbar and the output options on your turntable.
If your turntable has a built-in preamp and your soundbar has RCA input ports, connecting the two is simple. Use a pair of RCA cables to connect the “Audio Out” or “Line Out” ports on your turntable to the corresponding RCA input ports on your soundbar. Ensure that the left and right channels match up correctly.
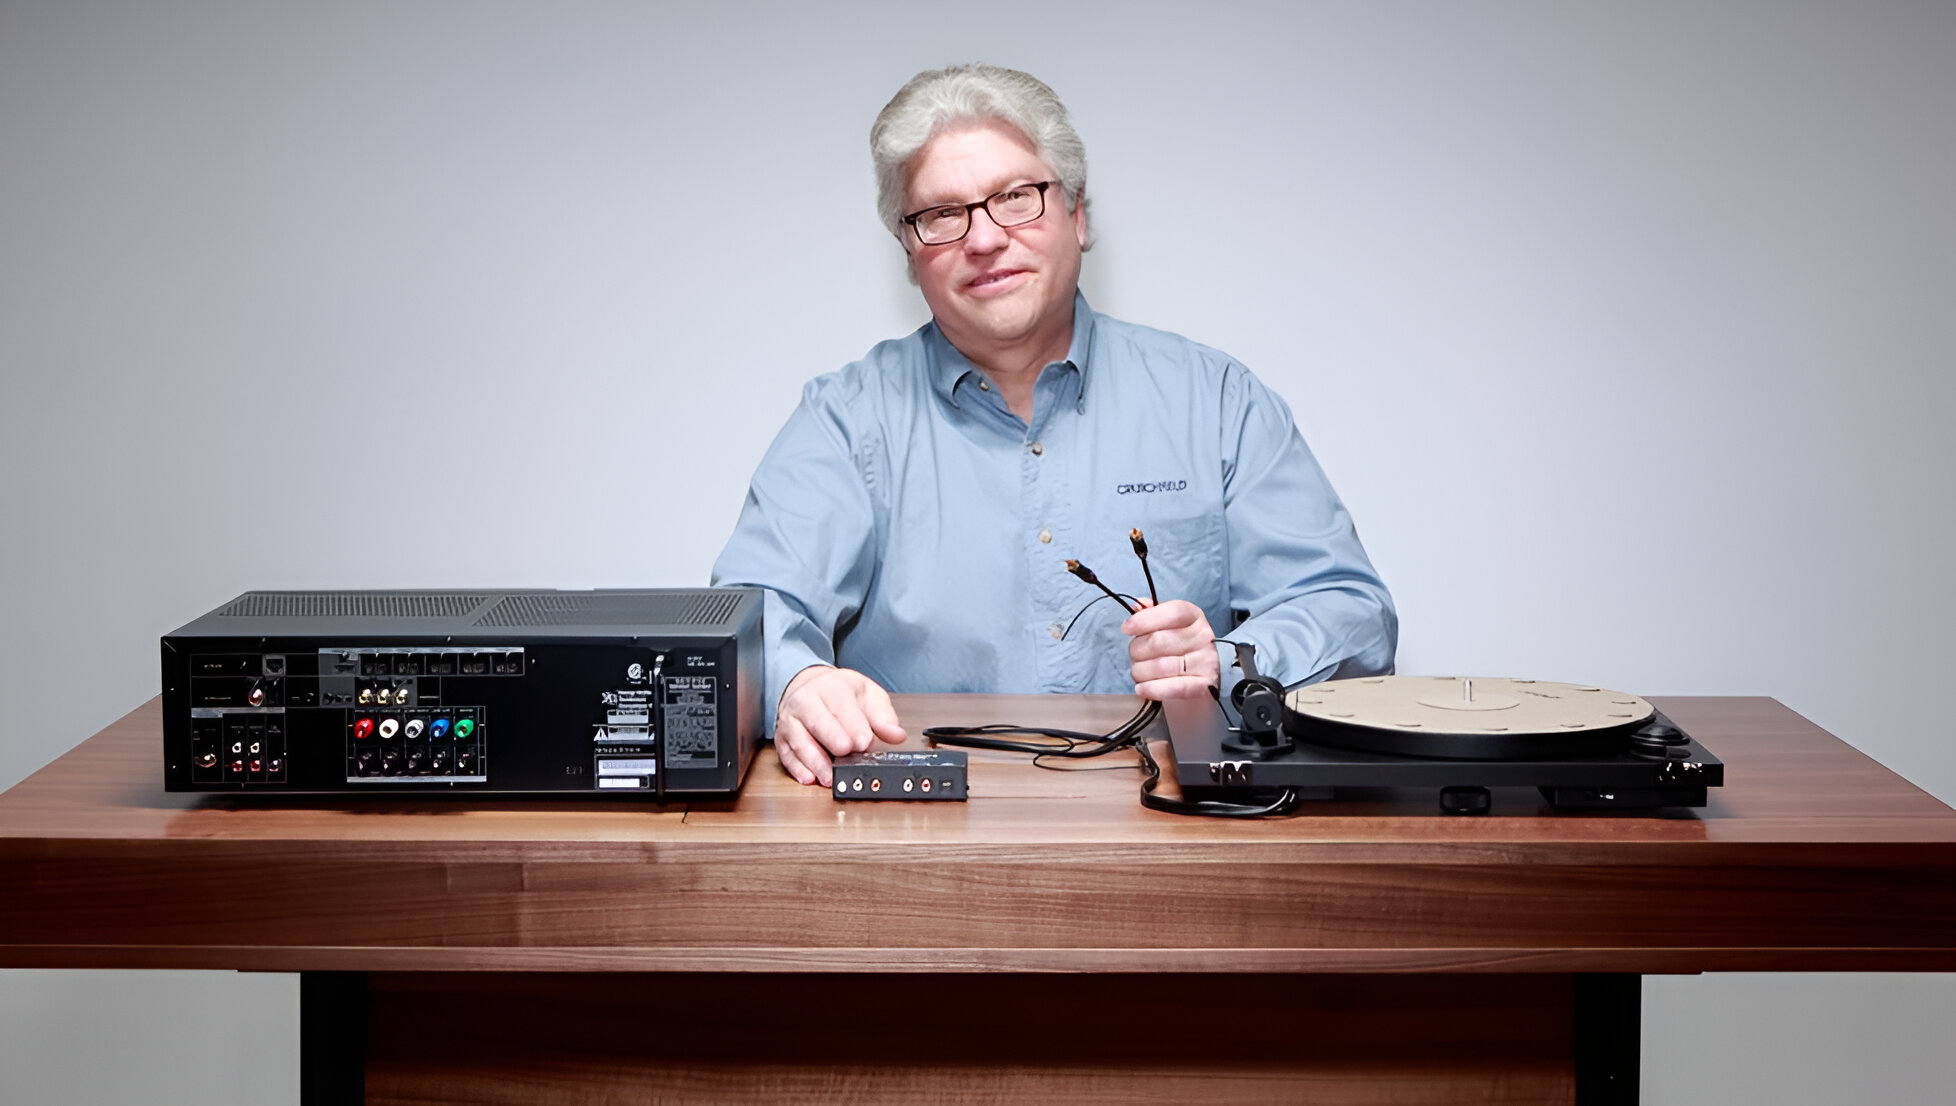
If your turntable does not have a built-in preamp and your soundbar has RCA input ports, you will need an external preamp. Connect the turntable’s “Audio Out” or “Line Out” ports to the preamp’s input ports using RCA cables. Then, use another pair of RCA cables to connect the preamp’s output ports to the RCA input ports on your soundbar.
If your soundbar only has an auxiliary (3.5mm) input and your turntable has a built-in preamp, you can connect them using an RCA to auxiliary cable. Simply plug one end of the cable into the turntable’s RCA output ports and the other end into the auxiliary input port on your soundbar.
However, if your turntable does not have a built-in preamp, you will need an external phono preamp with an auxiliary output. Connect the turntable’s RCA output ports to the phono preamp’s input ports using RCA cables. Then, use an RCA to auxiliary cable to connect the phono preamp’s auxiliary output to the auxiliary input port on your soundbar.
Remember, if your soundbar has other input options like HDMI or optical and your turntable does not have a compatible output, you may need additional adapters or converters to make the connection.
Once you have chosen the appropriate connection method, it’s time to proceed to the next step: physically connecting the turntable to the soundbar.
Step 4: Connect the turntable to the soundbar
Now that you have determined the appropriate connection method, it’s time to physically connect your turntable to the soundbar. Follow these steps:
- Locate the output ports on your turntable. They are usually labeled as “Audio Out” or “Line Out”.
- If your turntable has a built-in preamp, connect the appropriate cables (RCA or RCA to auxiliary) from the turntable’s output ports to the corresponding input ports on your soundbar.
- If your turntable requires an external preamp or phono preamp, connect the cables from the preamp’s output ports to the input ports on your soundbar. Ensure the left and right channels are matched correctly.
- Tightly secure the cable connections to avoid any audio loss or interference.
With the physical connection established, make sure to double-check all the connections to ensure they are secure and properly seated.
Remember, if you are using RCA cables, the red plug should be connected to the red (right) input/output port, while the white or black plug should be connected to the white (left) input/output port.
Now that your turntable is connected to your soundbar, it’s time to move on to the next step: configuring the soundbar settings.
Step 5: Configure the soundbar settings
Now that you have successfully connected your turntable to the soundbar, it’s time to configure the soundbar settings to ensure optimal audio playback. Follow these steps:
- Turn on both your turntable and the soundbar.
- Access the soundbar’s settings menu. This can usually be done by using the remote control or the buttons on the soundbar itself. Refer to your soundbar’s user manual for specific instructions.
- Select the input source corresponding to the port you used to connect the turntable. For example, if your turntable is connected to the RCA input ports, select the “Audio In” or “Line In” input source on the soundbar.
- Adjust the volume settings on both the turntable and the soundbar to a comfortable listening level. It’s important to find the right balance to avoid distortion or audio clipping.
- Explore additional soundbar settings such as EQ presets, sound modes, or audio enhancements. Adjust these settings according to your personal preference for the best audio experience.
Take some time to fine-tune the soundbar settings and experiment with different options to find the audio configuration that suits your taste and enhances your vinyl listening experience.
Once you have configured the soundbar settings, it’s time for the final step: testing the setup and enjoying your favorite vinyl records!
Step 6: Test the setup and enjoy your vinyl records
Congratulations! You’ve reached the final step of connecting your turntable to a soundbar. Now it’s time to test the setup and immerse yourself in the world of vinyl records.
Here’s what you need to do:
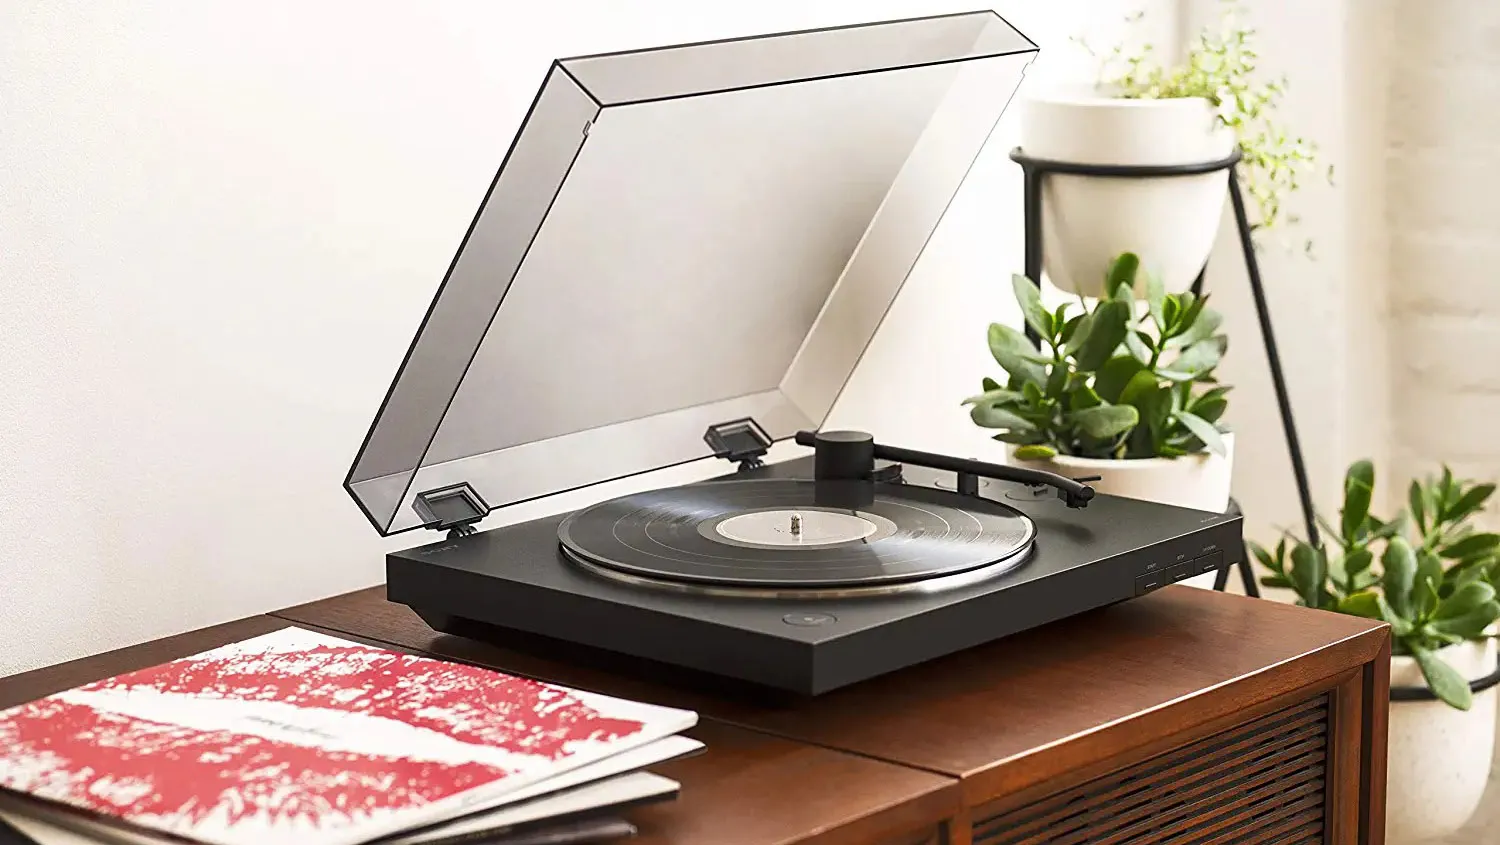
- Select a vinyl record from your collection that you’re eager to listen to.
- Gently place the vinyl record on the turntable’s platter and carefully lower the tonearm onto the record.
- Ensure that the turntable is set to the correct speed (typically 33 1/3 RPM or 45 RPM) for the record you’re playing.
- Press play on the turntable and adjust the volume on the soundbar to your desired level.
- Listen attentively and relish the warm, analog sound that vinyl records are renowned for.
Pay attention to the nuances and details in the music as you enjoy the vinyl listening experience. Take the time to appreciate the full-bodied sound and the authentic audio quality that vinyl records offer.
If the sound quality does not meet your expectations, recheck the connections and settings to ensure everything is properly configured. Remember, slight adjustments to the turntable’s tonearm, tracking force, or anti-skate may be necessary for optimal playback.
Now, sit back, relax, and let the music transport you to a different era as you indulge in the enchanting sounds of vinyl records through your soundbar.
Enjoy your vinyl collection to the fullest!
Conclusion
Connecting a turntable to a soundbar allows you to merge the nostalgia of vinyl records with the convenience of modern audio technology. By following the steps outlined in this guide, you can seamlessly integrate your turntable into your soundbar setup.
We began by gathering the necessary equipment, including a turntable with a built-in preamp (or an external preamp), a soundbar with the appropriate input options, and the required audio cables. Then, we checked the input options on the soundbar to determine the most suitable connection method.
Choosing the appropriate connection method allowed us to physically connect the turntable to the soundbar using RCA cables or an RCA to auxiliary cable. We emphasized the importance of securely connecting the cables to ensure optimal audio quality.
Once the physical connection was established, we moved on to configuring the soundbar settings, including selecting the correct input source and adjusting the volume levels. We also discussed the option of exploring additional soundbar settings to customize your listening experience.
Finally, after testing the setup and fine-tuning the soundbar settings, we encouraged you to immerse yourself in the world of vinyl records. By playing your favorite vinyl albums, you can appreciate the rich, warm sound that vinyl is known for and enjoy a truly unique musical experience.
Remember, while the steps outlined here are general guidelines, it’s important to consult the user manuals or quick start guides for your specific turntable and soundbar models for any additional instructions or specific requirements.
Now, with your turntable connected to your soundbar, it’s time to sit back, relax, and rediscover the magic of vinyl records in a new and captivating way. Enjoy the journey and the incredible sound quality that vinyl brings to your favorite music!