Introduction
Welcome to our step-by-step guide on how to connect a soundbar to a Firestick. If you’re an avid Firestick user looking to enhance your audio experience, connecting a soundbar is a great option that can greatly improve the quality of your audio playback. Whether you want to enjoy immersive surround sound while watching movies, or simply boost the volume and clarity of your favorite TV shows, a soundbar can take your entertainment experience to the next level.
A soundbar is a sleek and compact speaker system that can be easily connected to your television. It offers improved audio quality, better bass response, and can even simulate surround sound. When combined with a Firestick, which provides access to a wide range of streaming content, you can create a home theater experience right in your living room.
In this guide, we will walk you through the process of connecting your soundbar to your Firestick, ensuring that you can enjoy high-quality audio with every movie or TV show you watch. From gathering the necessary equipment to adjusting audio settings, we have you covered.
Before we get started, it is important to note that the specific steps may vary depending on the brand and model of your soundbar and television. However, the general principles covered in this guide should apply to most setups. Now let’s dive in and get your soundbar connected to your Firestick!
Step 1: Gather Necessary Equipment
Before you can connect your soundbar to your Firestick, it is essential to gather the necessary equipment. Here are the items you will need:
- Soundbar: Choose a soundbar that suits your needs and budget. There are various options available, including soundbars with built-in subwoofers for enhanced bass.
- Television: Ensure that you have a compatible television with an available HDMI ARC (Audio Return Channel) or an optical audio output. Most modern TVs have these features, but it’s always a good idea to double-check the specifications.
- HDMI Cable or Optical Cable: Depending on the available ports on your soundbar and television, you will need either an HDMI cable or an optical cable to establish the audio connection. HDMI cables are more common and can carry both audio and video signals, while optical cables are solely for audio transmission.
- Firestick: Of course, you will need a Firestick or Fire TV device to stream your favorite content. Make sure your Firestick is up to date with the latest software version for optimal performance.
- Power Cables: Don’t forget to gather the necessary power cables for your soundbar, television, and Firestick. Make sure they are in good condition and have the appropriate length to reach the power outlets.
- Remote Control: Keep the remote control handy for both your television and the Firestick, as you may need them during the setup process.
Once you have gathered all the necessary equipment, you are now ready to move on to the next step: connecting your soundbar to your television.
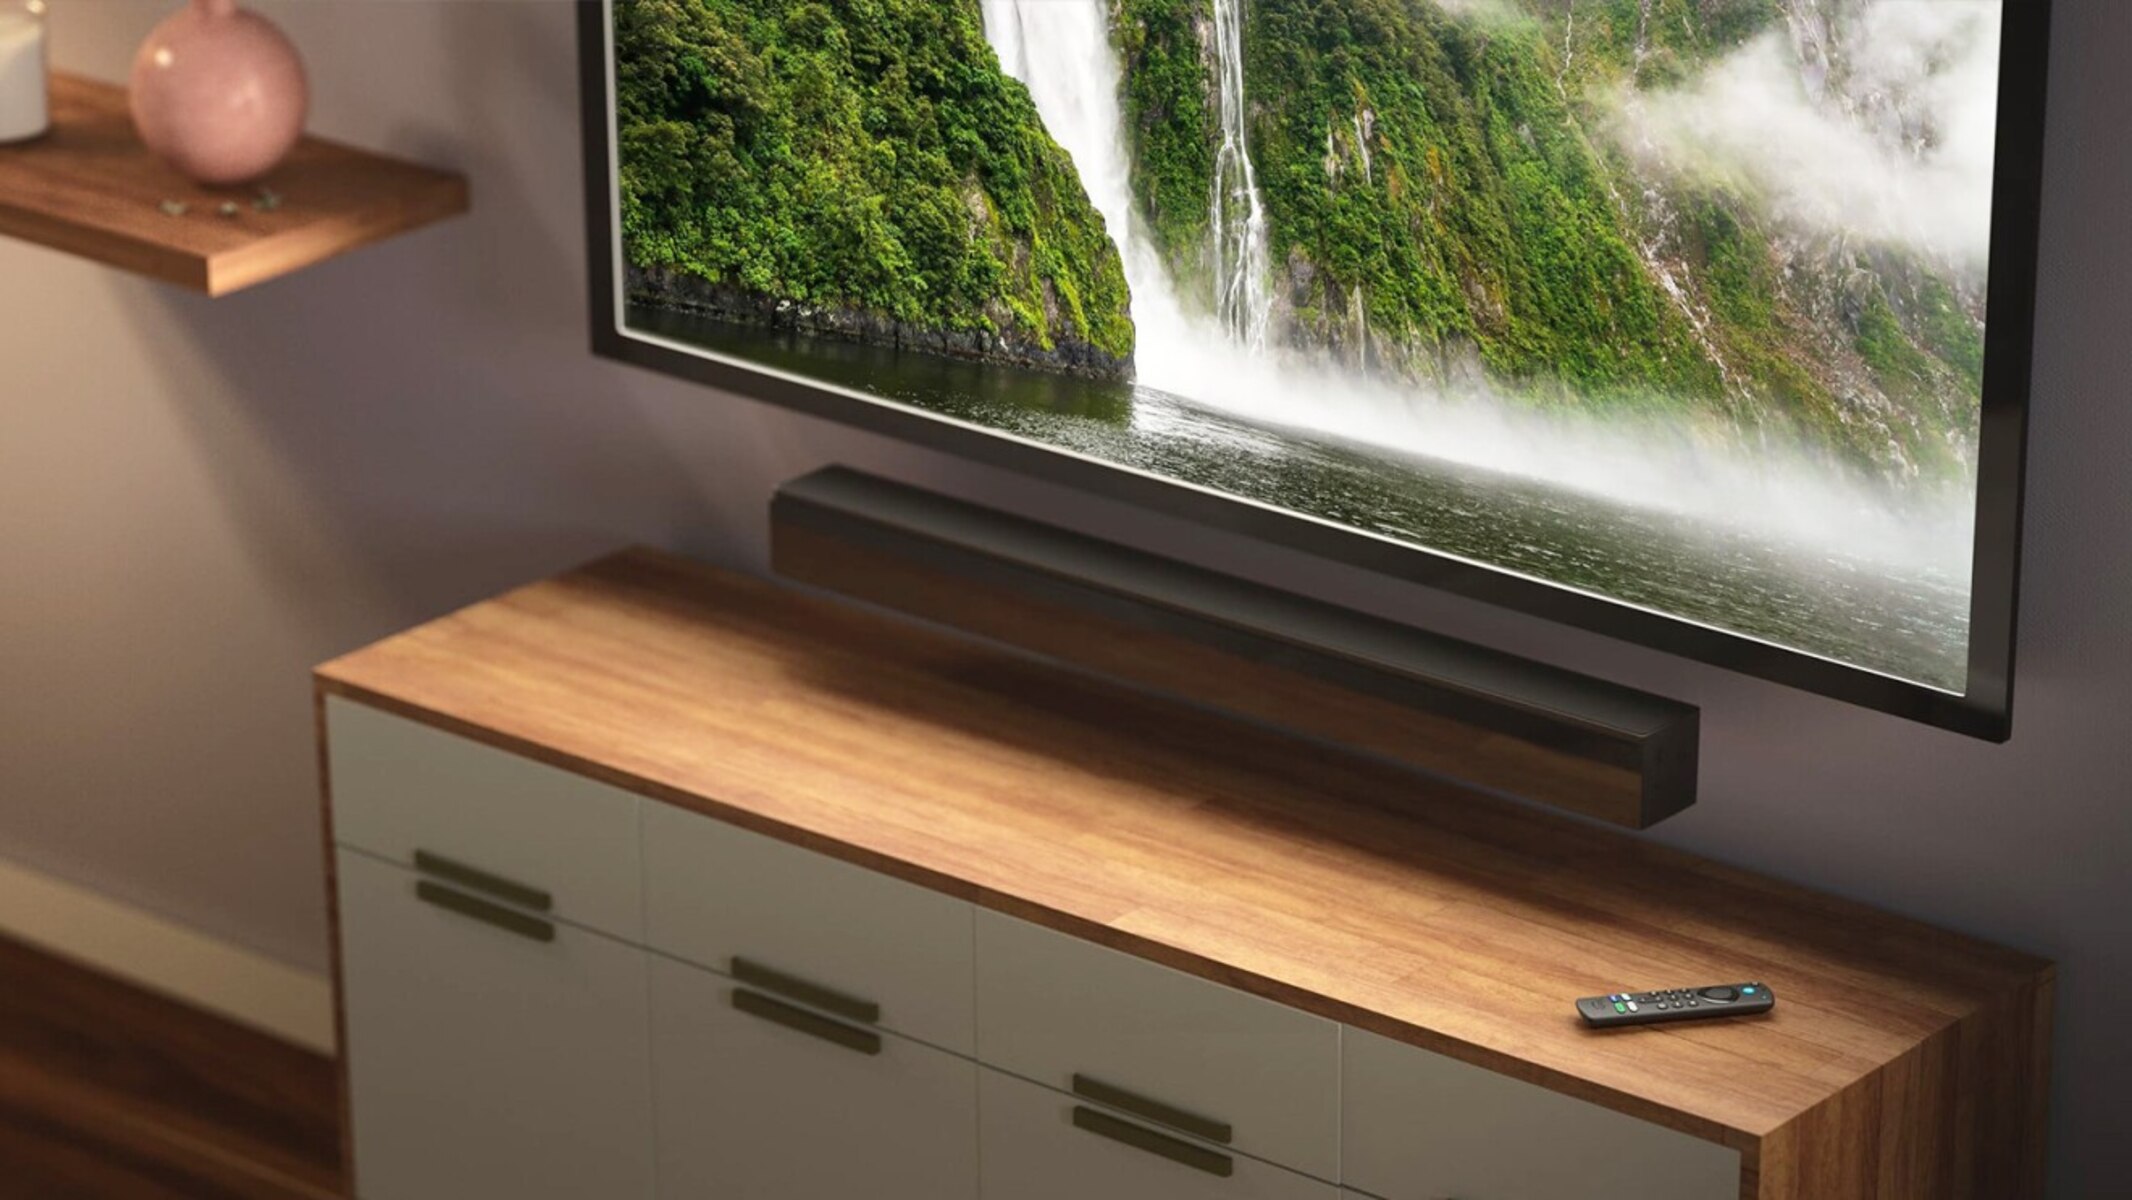
Step 2: Connect the Soundbar to the Television
Now that you have all the required equipment, it’s time to connect your soundbar to your television. Follow these steps to ensure a proper connection:
- Identify the audio output: Locate the audio output on your television. It can be an HDMI ARC port or an optical audio output. Refer to your television’s user manual to find out where it is located.
- Choose the appropriate cable: Depending on the audio output port on your television, select either an HDMI cable or an optical cable to establish the connection. Ensure that the cable you choose is long enough to reach the soundbar from the television.
- Connect one end of the cable to the audio output: Plug one end of the chosen cable into the corresponding audio output port on your television. Make sure the connection is secure.
- Connect the other end of the cable to the soundbar: Now, connect the other end of the cable to the corresponding audio input port on your soundbar. Double-check the ports on both the television and the soundbar to ensure you make the correct connection.
- Power on the soundbar: Plug the soundbar’s power cable into a power outlet and switch it on. Some soundbars have an on/off button or a power switch located on the device itself. Refer to the soundbar’s manual for specific instructions.
- Select the correct audio input: Use either the television’s remote control or the soundbar’s remote control to select the appropriate audio input. This step may vary depending on the soundbar model. Refer to the soundbar’s user manual for guidance on selecting the audio input.
Once you have successfully connected the soundbar to the television, you are ready to move on to the next step: setting up the Firestick.
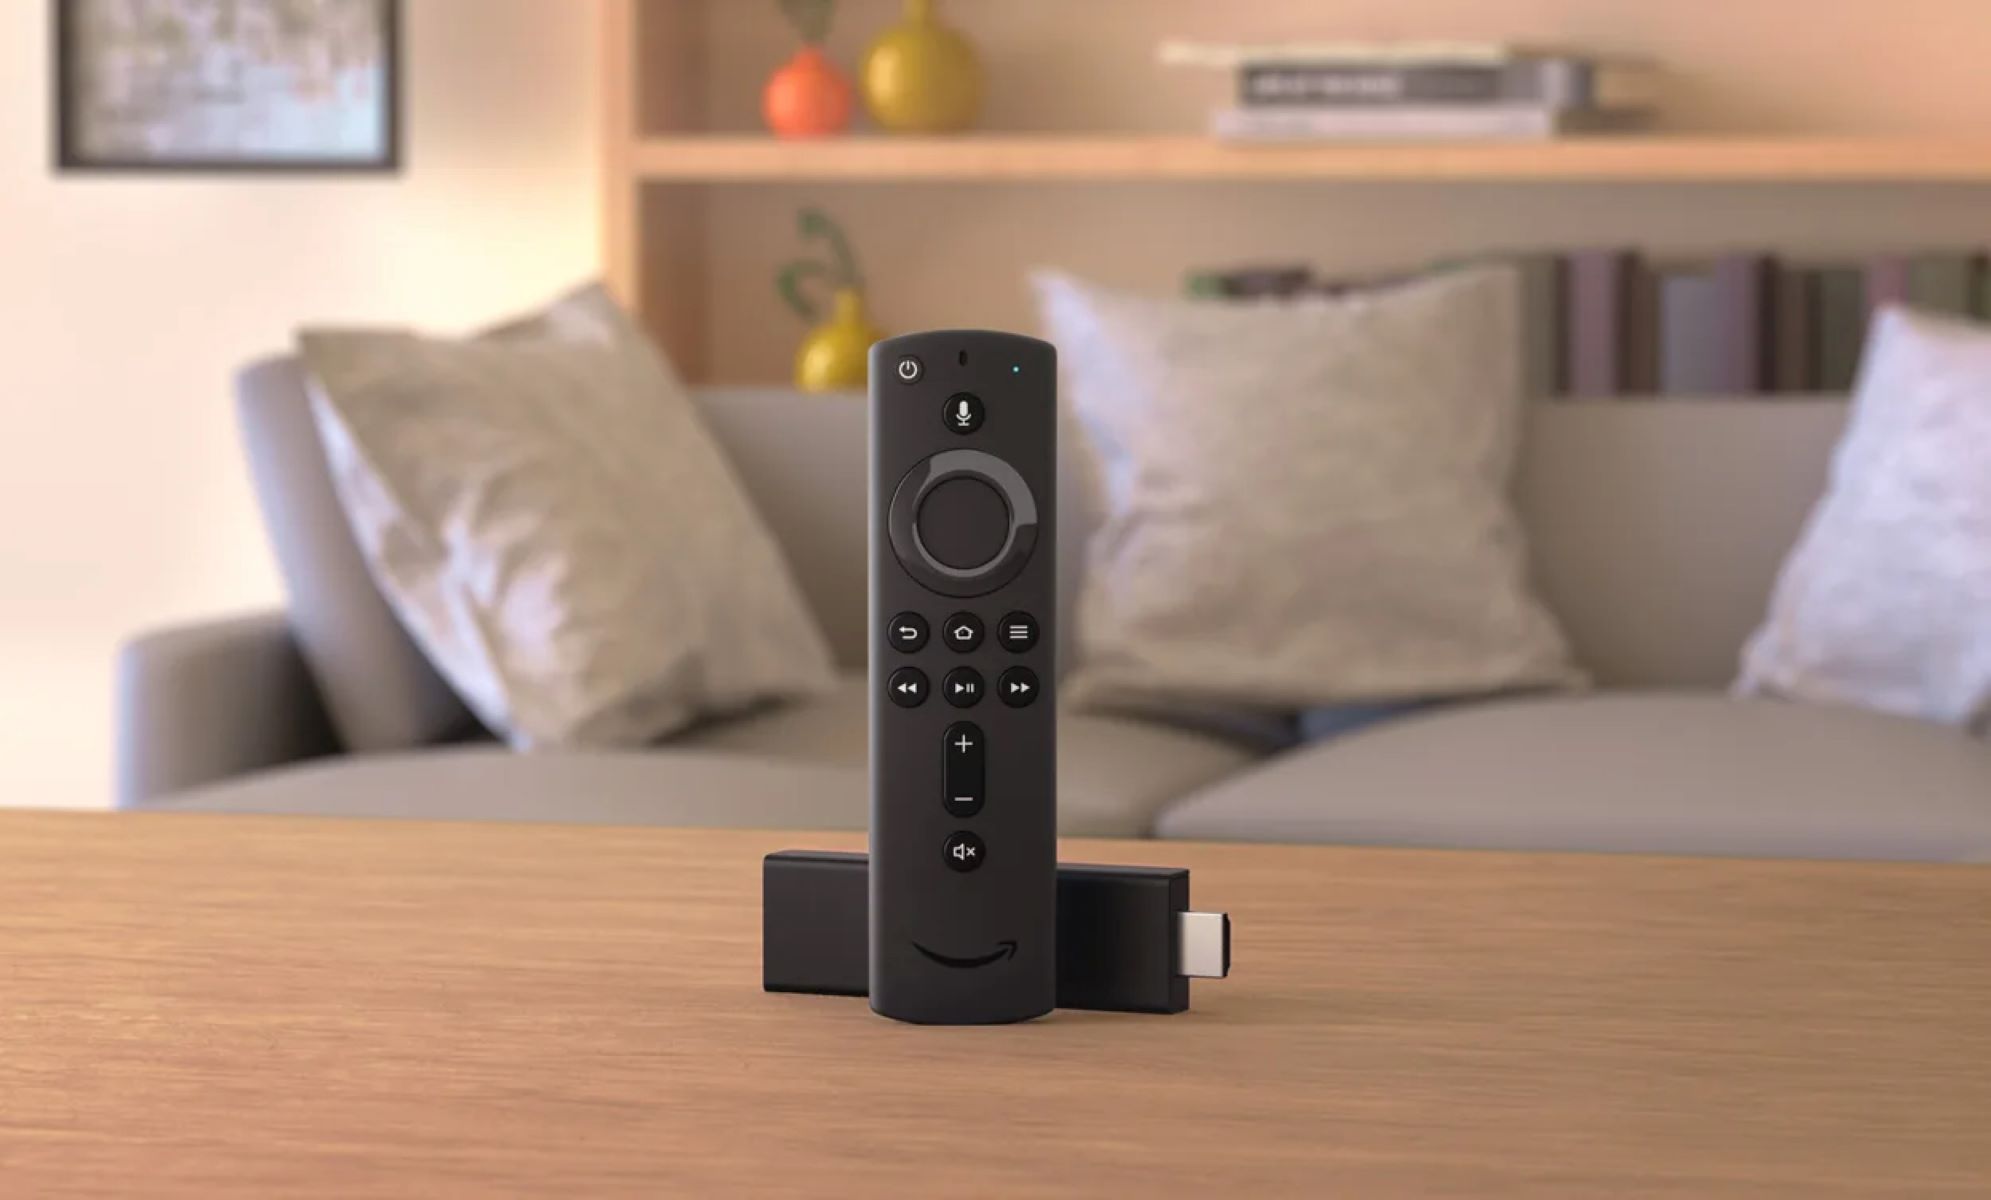
Step 3: Set up the Firestick
With your soundbar and television successfully connected, it’s time to set up your Firestick. Follow these steps to get your Firestick up and running:
- Connect the Firestick to the television: Plug the Firestick into an available HDMI port on your television. Make sure to note which HDMI port you have chosen as you will need to select the corresponding input on your television.
- Power on the Firestick: Connect the Firestick’s power cable to a power outlet, then switch on the Firestick. You may need to use the Firestick’s remote control to navigate through the initial setup process.
- Select the correct HDMI input: Use your television’s remote control to select the HDMI input to which you connected the Firestick. This step will vary depending on the television model, but most remotes have an “Input” or “Source” button to cycle through the available inputs.
- Follow the on-screen instructions: Once the Firestick is connected and the correct input is selected, you will see the Firestick setup screen on your television. Follow the on-screen instructions to connect the Firestick to your home Wi-Fi network and log in to your Amazon account.
- Check the audio settings: During the setup process, you will have the option to configure the audio settings. Make sure to select “Audio Output” and choose the option that corresponds to the soundbar you connected. This ensures that the audio is properly routed through the soundbar.
After completing the setup process, your Firestick will be ready to use in conjunction with your soundbar. Now, let’s move on to adjusting the audio settings to optimize your soundbar and Firestick connection.
Step 4: Adjust Audio Settings
Once you have set up your Firestick, it’s important to adjust the audio settings to ensure an optimal audio experience. Follow these steps to fine-tune the audio settings:
- Access the Firestick settings: Using the Firestick remote control, navigate to the home screen and scroll to the top menu. Select “Settings” from the menu options.
- Select “Display & Sound” settings: From the settings menu, choose “Display & Sounds” to access the audio settings.
- Adjust the sound output: Under the “Display & Sound” settings, select “Audio” to customize the audio output options.
- Select the correct audio output: In the audio settings, ensure that the sound is set to output through the connected soundbar. Choose either the HDMI or optical output, depending on the type of cable you used to connect the soundbar.
- Optimize audio settings: Explore additional audio settings to adjust the sound to your preference. You may have options to adjust the equalizer, surround sound settings, or audio modes. Experiment with these settings to find the perfect audio balance.
- Test the audio: Once you’ve made the necessary adjustments, play some content on your Firestick to test the audio. Ensure that the sound is coming through the soundbar and is clear and balanced. Make any further adjustments if necessary.
By adjusting the audio settings on your Firestick, you can optimize the sound output through your connected soundbar, enhancing your viewing experience.
Now that you’ve adjusted the audio settings, it’s time to test the connection and make sure everything is working correctly between your soundbar and Firestick.
Step 5: Test the Soundbar and Firestick Connection
After completing the previous steps, it’s important to test the connection between your soundbar and Firestick to ensure that everything is working as expected. Follow these steps to perform a thorough test:
- Select a test video or audio: Choose a video or audio clip that you are familiar with. This will help you assess the audio quality and determine if the sound is coming through the soundbar.
- Play the test content: Open the desired app on your Firestick and play the chosen video or audio. Ensure that the volume on both the Firestick and the soundbar is set to an audible level.
- Listen for the sound: Pay close attention to the audio output. If the sound is coming through the soundbar, you should notice enhanced audio quality with improved bass and clarity.
- Check for syncing issues: Observe the video and audio to see if there are any syncing issues. If the audio is out of sync with the video, you may need to adjust the audio delay settings on your soundbar (if available) or seek help from the manufacturer’s support.
- Ensure proper channel output: If you are playing content with surround sound, verify that the soundbar is correctly outputting audio to the respective channels. For example, in a 5.1 surround sound setup, ensure that the soundbar is sending audio to the left, right, center, and surround speakers as intended.
- Make adjustments if necessary: If you encounter any issues during the test, such as no sound, poor audio quality, or syncing problems, double-check all connections and settings. Make any necessary adjustments to resolve the issues.
By thoroughly testing the soundbar and Firestick connection, you can ensure that you are getting the best audio experience possible. If everything sounds and looks good during the test, congratulations! You have successfully connected and tested your soundbar with your Firestick.
If you encounter any persistent issues or require further assistance, it is recommended to consult the user manual for your specific soundbar and Firestick models or reach out to the manufacturer’s support team for additional guidance.
Conclusion
Congratulations on successfully connecting your soundbar to your Firestick! By following the step-by-step guide outlined in this article, you have taken the necessary steps to enhance your audio experience and create a home theater setup right in your living room.
We started by gathering the necessary equipment, including a soundbar, television, HDMI or optical cable, Firestick, power cables, and remote controls. With all the equipment in hand, we moved on to connecting the soundbar to the television, ensuring a proper audio connection.
Next, we guided you through the process of setting up your Firestick, connecting it to your television, and adjusting the audio settings to optimize the sound output through your soundbar. These adjustments allow you to fine-tune the audio according to your preferences and create an immersive audio experience.
Finally, in the last step, we emphasized the importance of testing the soundbar and Firestick connection. By selecting a test video or audio clip, playing it, and carefully observing the audio output, you can ensure that everything is functioning properly and enjoy high-quality sound.
If you encounter any issues during the setup or testing process, don’t hesitate to consult the user manuals for your specific devices or reach out to the manufacturer’s support team for further assistance. With a little troubleshooting, you can overcome any obstacles and fully enjoy the benefits of your soundbar and Firestick connection.
Now, sit back, relax, and indulge in your favorite movies, TV shows, and music, knowing that you have successfully connected your soundbar to your Firestick and optimized your audio experience. Enjoy the immersive sound that comes with this setup and make the most out of your entertainment moments!