Introduction
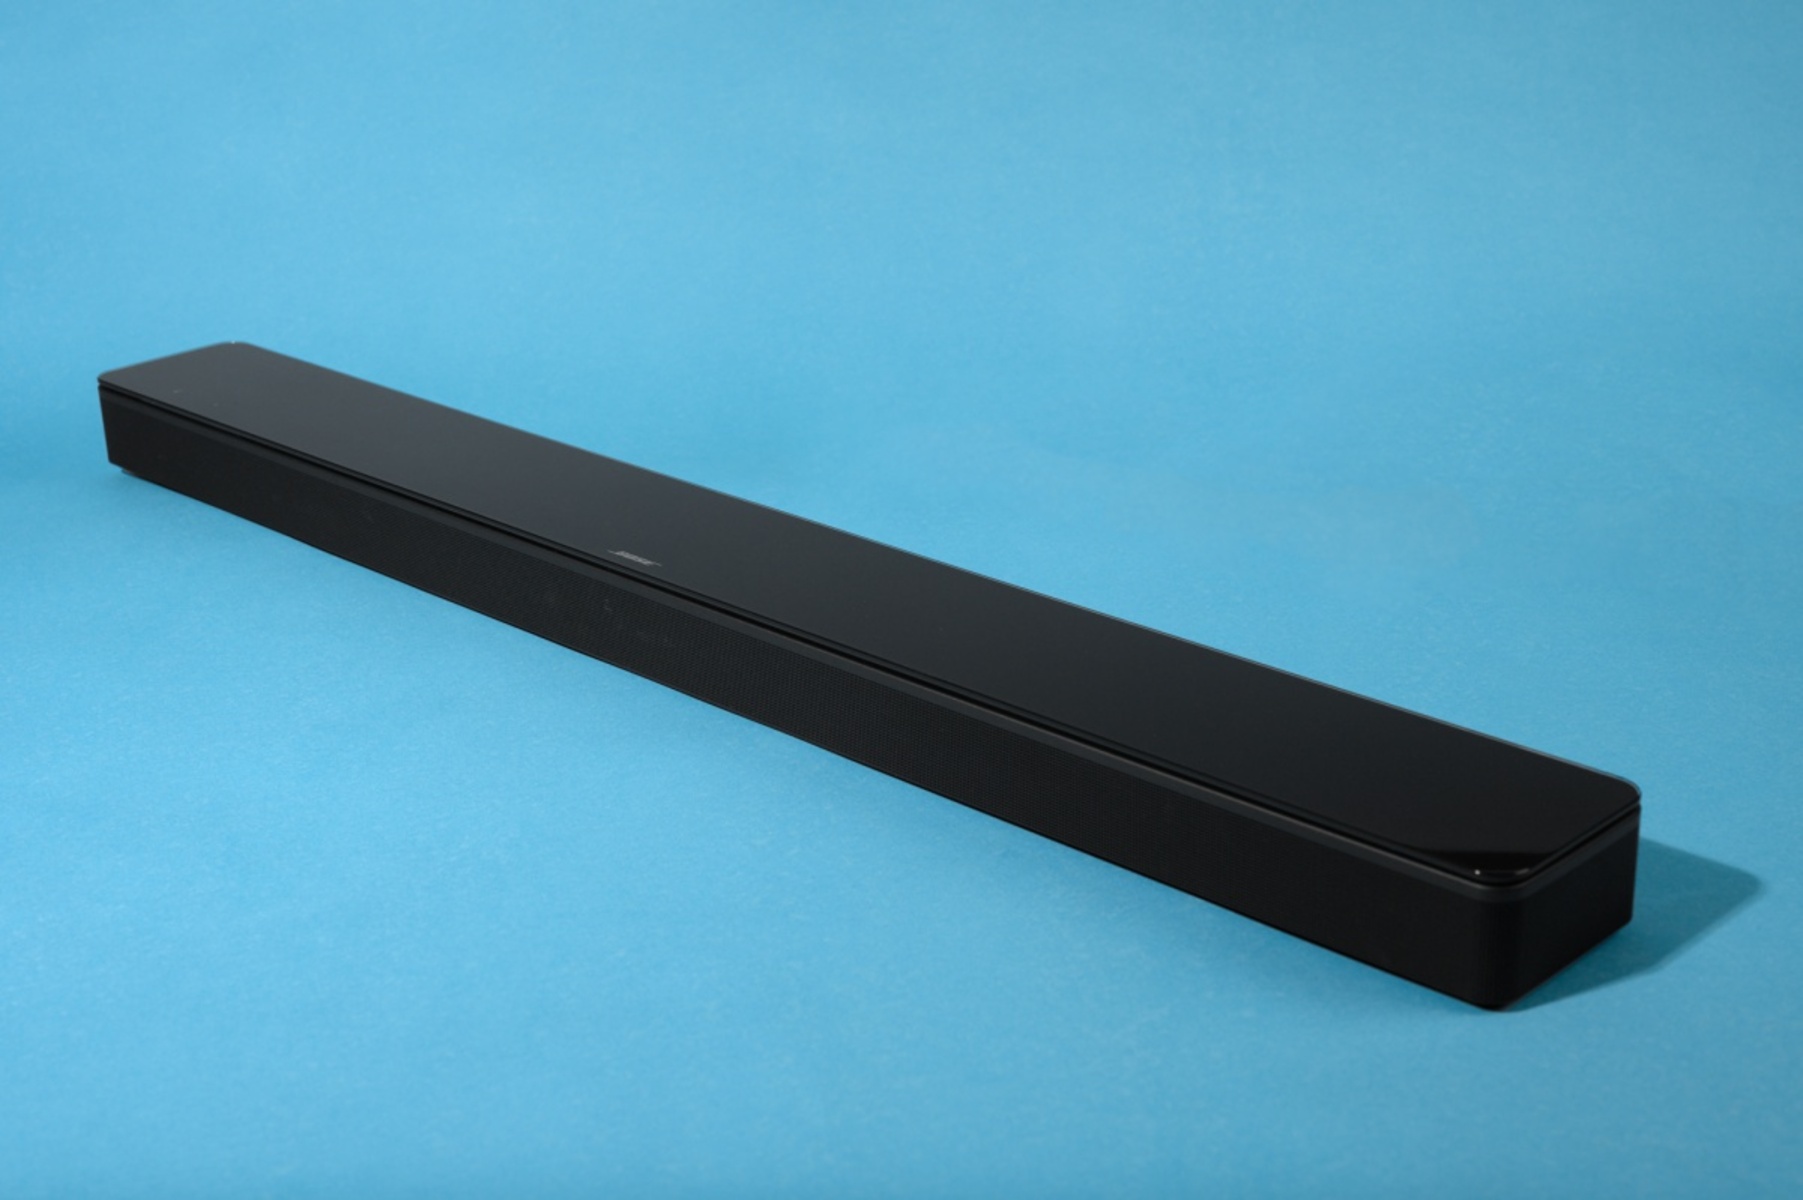
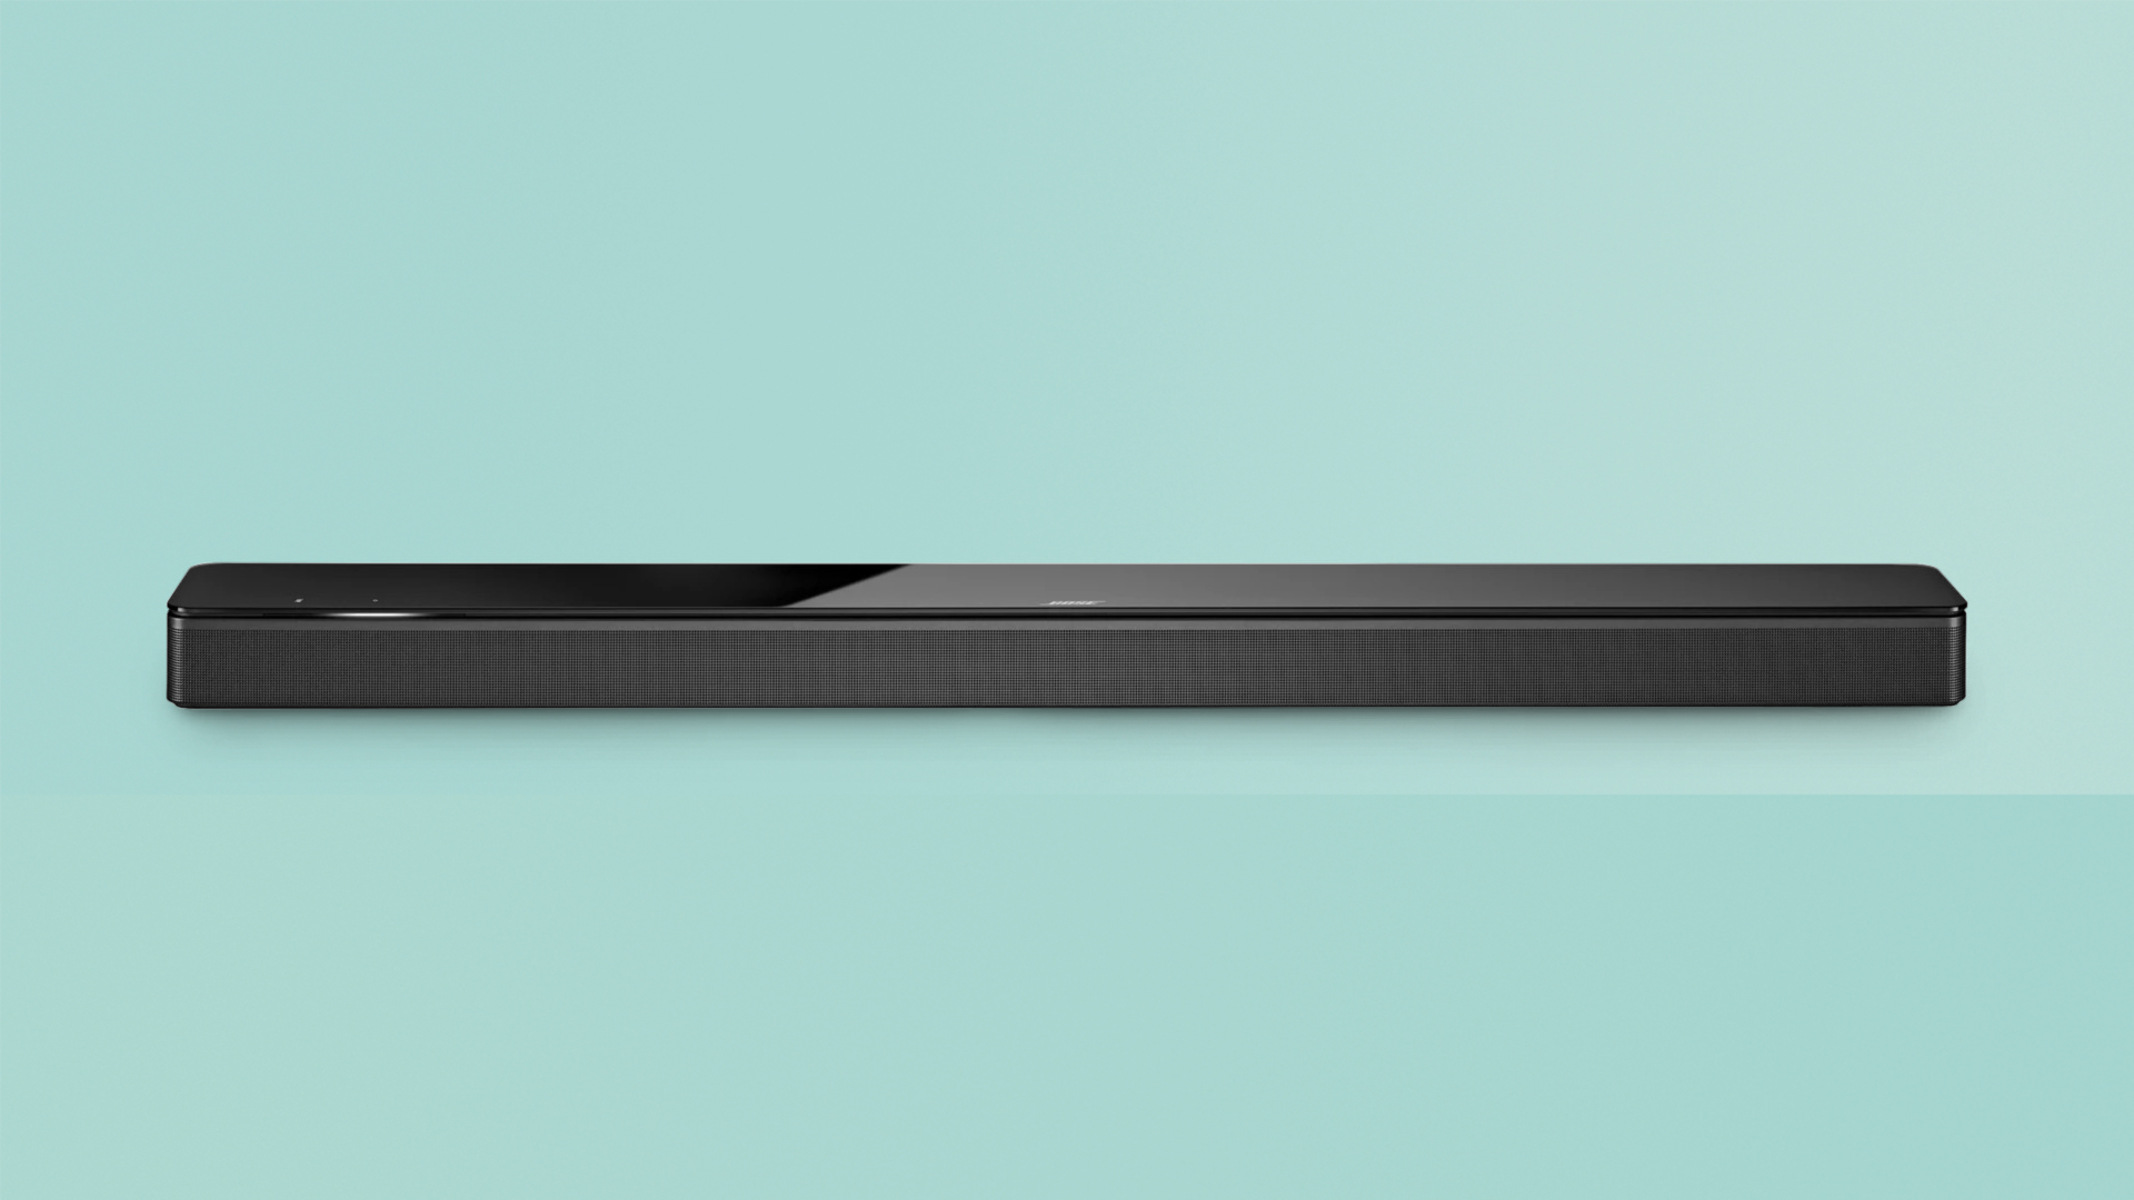
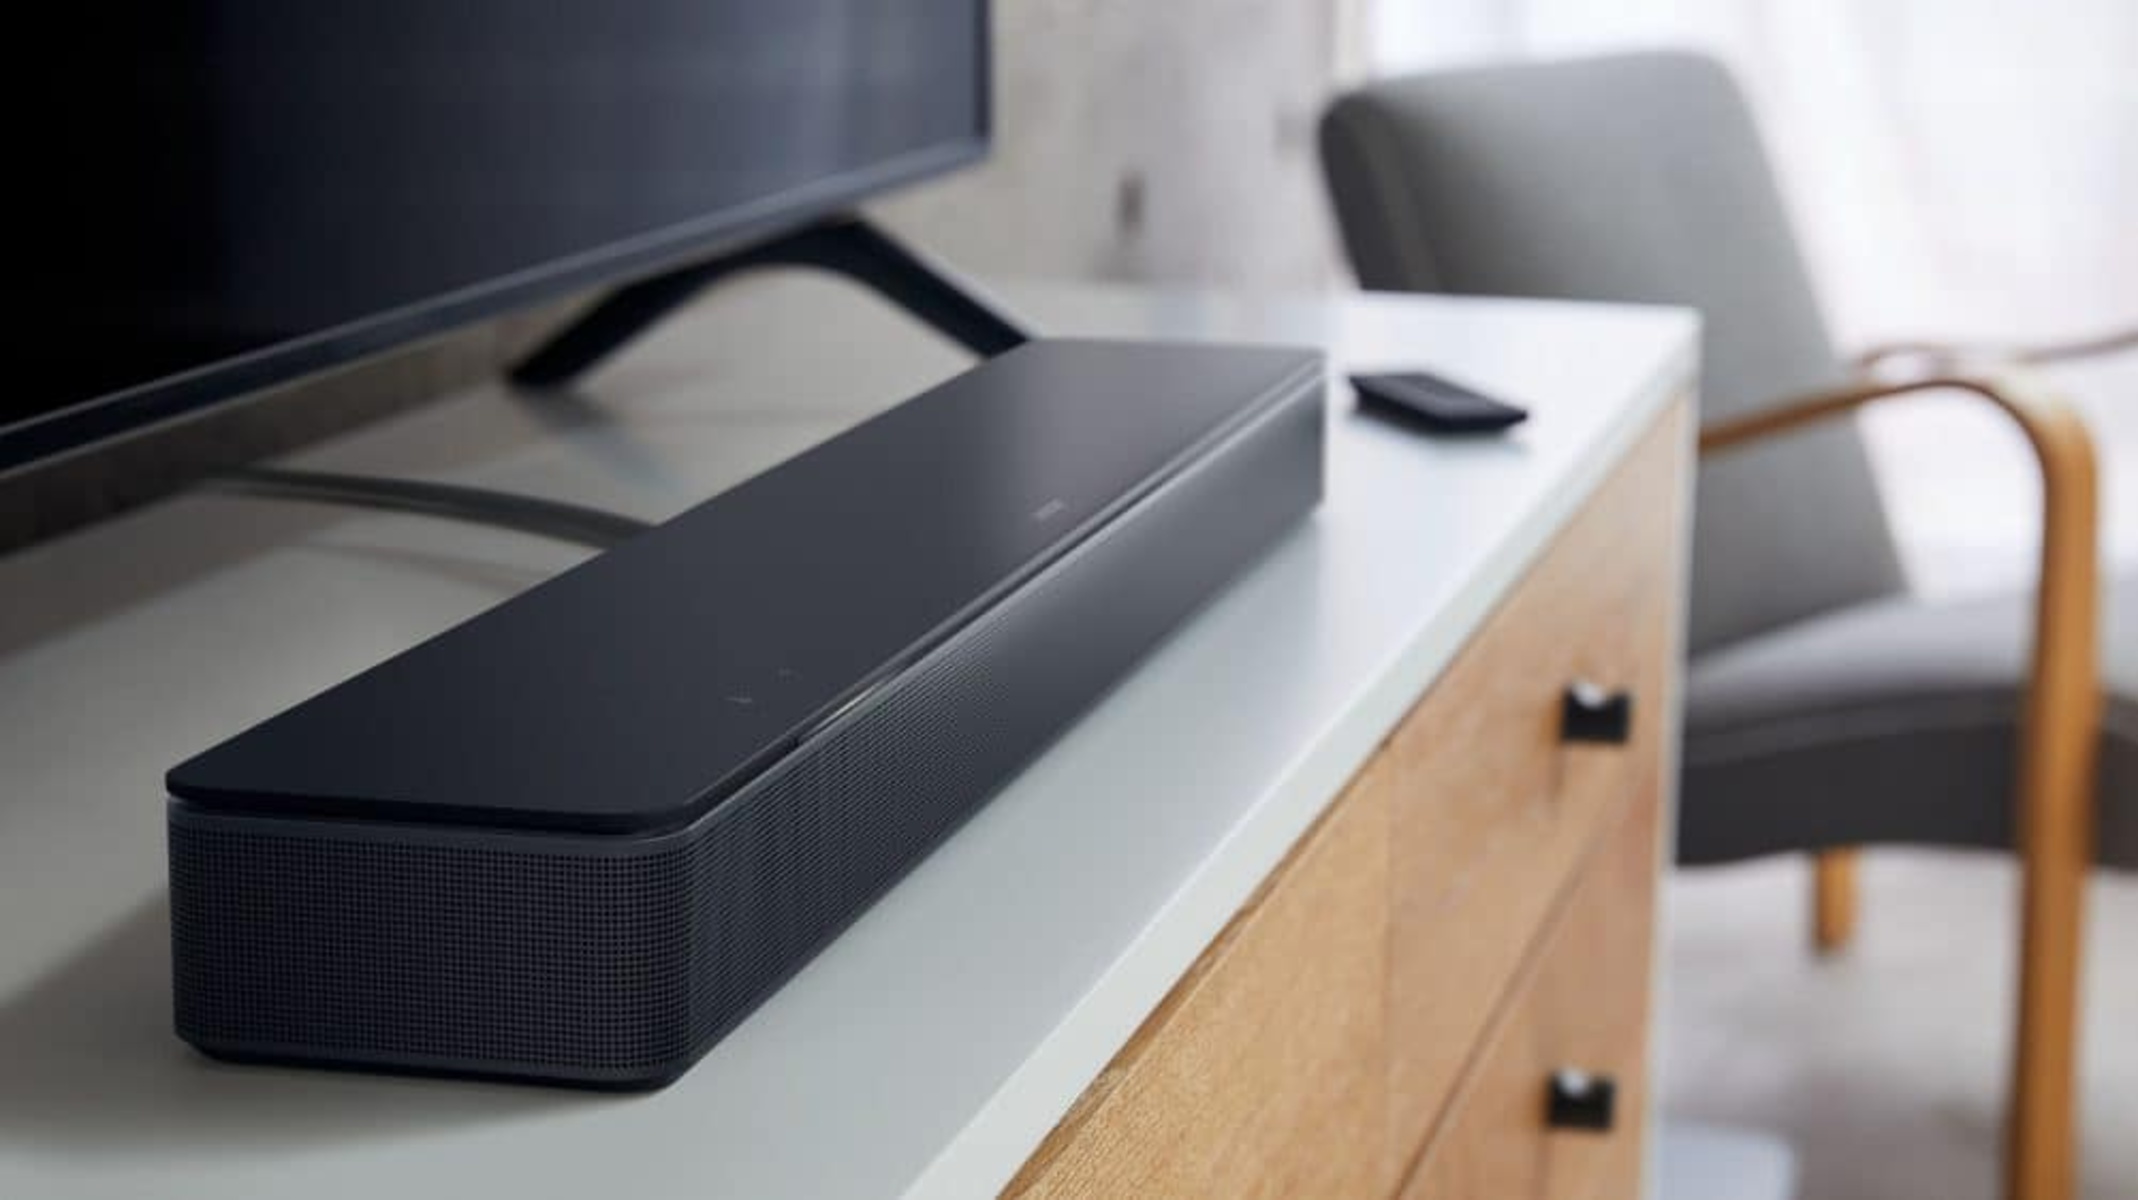
Welcome to the world of immersive audio experience with the Bose Soundbar 700! Whether you’re a true audiophile or someone who simply enjoys crystal-clear sound while watching movies or listening to music, this sleek and powerful soundbar is designed to take your entertainment to the next level.
Connecting your Bose Soundbar 700 to your TV is the first step in unlocking the full potential of this audio masterpiece. In this article, we will guide you through the process, giving you step-by-step instructions to ensure a seamless and hassle-free setup.
Before we dive into the details, it’s important to note that the Bose Soundbar 700 is compatible with most modern TVs. However, we recommend checking the compatibility of your specific TV model with the soundbar. This can usually be found in the TV’s user manual or by visiting the manufacturer’s website.
Once you’ve confirmed compatibility, it’s time to gather all the necessary cables and accessories. The Bose Soundbar 700 comes with an HDMI cable, which is the primary connection method between the soundbar and your TV. However, you may also need additional cables depending on your specific setup. We’ll cover this in more detail in the following steps.
Now that you have a basic understanding of what lies ahead, let’s dive in and get your Bose Soundbar 700 connected to your TV. Follow along with each step carefully to ensure a successful setup. So, grab your remote, prepare to be blown away, and let’s get started!
Step 1: Check the compatibility
Before you begin connecting your Bose Soundbar 700 to your TV, it’s crucial to ensure that they are compatible with each other. While the soundbar is designed to work with most modern TVs, it’s best to double-check to avoid any potential issues down the line.
The first thing you’ll want to do is consult your TV’s user manual. Look for any specific compatibility requirements mentioned in the manual, such as HDMI ARC (Audio Return Channel) support or specific audio output settings. This information will help you determine whether your TV is compatible with the Bose Soundbar 700.
If you can’t find the necessary information in the user manual, consider visiting the manufacturer’s website for your TV model. Most manufacturers provide detailed specifications and compatibility information on their websites. Look for mentions of soundbar compatibility or audio output options.
In some cases, you may need to update your TV’s firmware to ensure compatibility with the soundbar. This can typically be done through the TV’s settings menu or by downloading the latest firmware from the manufacturer’s website and following the provided instructions.
If you’re still unsure about compatibility, don’t hesitate to reach out to the Bose customer support team. They will be able to assist you and provide specific guidance based on your TV model and soundbar requirements.
Once you have confirmed that your TV is compatible with the Bose Soundbar 700, you can proceed with the setup process. The next steps will guide you through the necessary connections and settings to ensure optimal audio performance. So, let’s move on to step 2 and gather all the necessary cables and accessories for the setup.
Step 2: Gather all the necessary cables and accessories
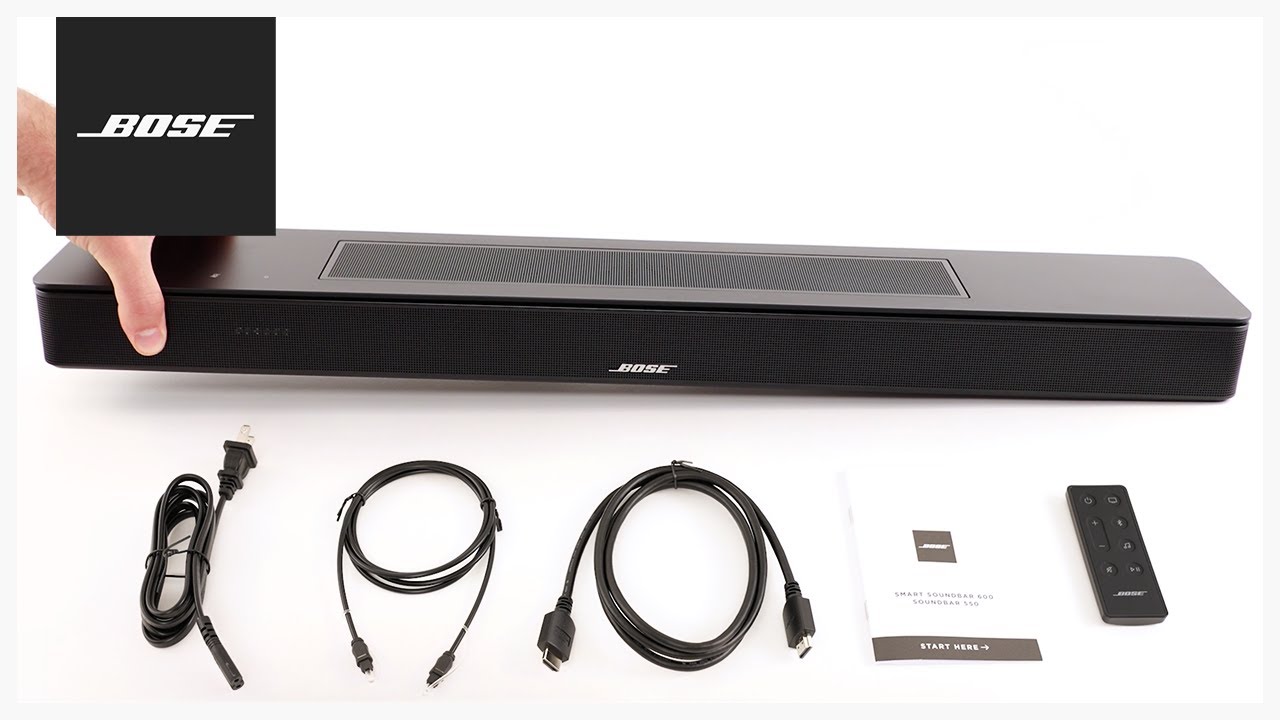
Before you start connecting your Bose Soundbar 700 to your TV, it’s important to gather all the necessary cables and accessories. While the soundbar comes with an HDMI cable, there are a few additional items you may need, depending on your specific setup.
First and foremost, ensure that you have the Bose Soundbar 700 itself, along with the accompanying power cord. The power cord is essential for providing the soundbar with the necessary electrical power to function properly.
Next, verify that you have the HDMI cable that came with the soundbar. This is the primary cable you’ll be using to connect the soundbar to your TV. If you need a longer cable or prefer to use a different HDMI cable, make sure you have one readily available.
If your TV doesn’t have an HDMI ARC (Audio Return Channel) port, you may need an optical audio cable. Check your TV’s specifications to see if it supports optical audio output or consult the user manual. If an optical audio cable is required, ensure you have one on hand.
In addition to the necessary cables, make sure you have the Bose Soundbar Universal Remote Control. This remote control allows you to control both the soundbar and your TV, streamlining the overall user experience.
Lastly, check that you have all the necessary batteries for the remote control. The Bose Soundbar Universal Remote Control typically requires two AA batteries, so ensure you have a fresh pair ready to go.
By gathering all the necessary cables and accessories before starting the setup process, you’ll save time and frustration. Now that you’re well-equipped, let’s move on to step 3 and connect the HDMI cable between the soundbar and TV.
Step 3: Connect the HDMI cable to the Soundbar and TV
Now that you have gathered all the necessary cables and accessories, it’s time to connect the HDMI cable between your Bose Soundbar 700 and your TV. This step will establish the audio connection, allowing you to enjoy the immersive sound experience the soundbar offers.
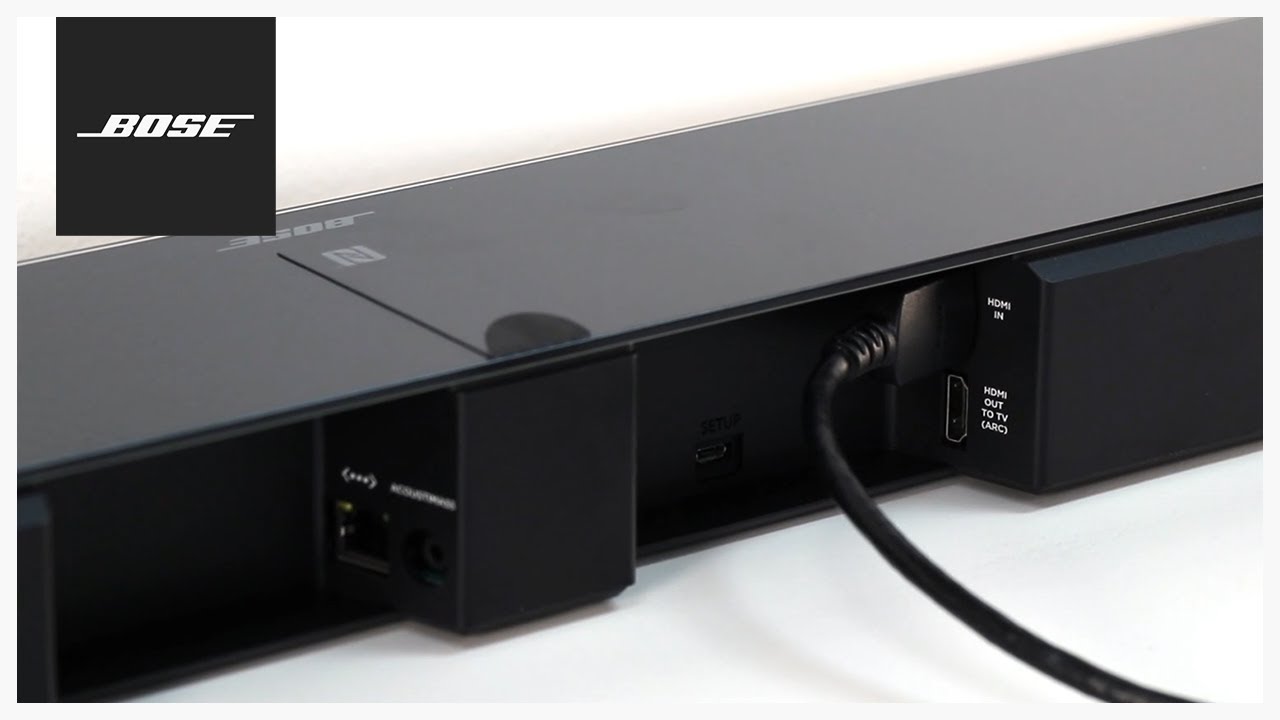
Start by locating the HDMI ARC (Audio Return Channel) port on both the soundbar and your TV. The HDMI ARC port is specifically designed for audio output and input, enabling a seamless connection between your devices.
Take one end of the HDMI cable and connect it to the HDMI ARC port on the back of your Bose Soundbar 700. Ensure that the cable is securely plugged into the port to avoid any loose connections.
Next, locate the HDMI ARC port on your TV and connect the other end of the HDMI cable to this port. Again, ensure a secure connection to guarantee proper transmission of audio signals.
Once the HDMI cable is securely connected to both the soundbar and your TV, you’re ready to move on to the next step. However, it’s important to note that some TVs may have different labeling for the HDMI ARC port. In such cases, refer to your TV’s user manual or consult the manufacturer’s website to identify the appropriate HDMI port for audio output.
Keep in mind that if your TV doesn’t have an HDMI ARC port, you may need to use an alternative audio connection method, such as an optical audio cable. Make sure to refer to your TV’s user manual or the manufacturer’s website for specific instructions on connecting through other audio output options.
With the HDMI cable successfully connected between your Bose Soundbar 700 and your TV, you’re one step closer to experiencing incredible sound quality. In the next step, we’ll focus on connecting the power cord and powering on the soundbar and your TV.
Step 4: Connect the power cord to the Soundbar and plug it into an outlet
Now that the HDMI cable is securely connected between your Bose Soundbar 700 and your TV, it’s time to provide power to the soundbar. This step involves connecting the power cord to the soundbar and plugging it into a nearby electrical outlet.
Start by locating the power input port on the back of the soundbar. It is typically labeled “Power” or marked with the power symbol. Take the power cord that came with the soundbar and insert the smaller end into the power input port of the soundbar.
Ensure that the power cord is securely connected to the soundbar, as a loose connection may cause interruptions in power supply and affect the functionality of the soundbar.
With the power cord connected to the soundbar, the next step is to plug the opposite end of the power cord into a nearby electrical outlet. Ensure that the outlet is easily accessible and can provide the necessary power to the soundbar.
It’s essential to use a functioning electrical outlet and avoid using extension cords or power strips whenever possible. Directly connecting the soundbar’s power cord to an outlet reduces the risk of power fluctuations and provides a stable power source for optimal performance.
Once the power cord is plugged into the electrical outlet, you’re ready to proceed to the next step. Keep in mind that you should only connect the power cord to the soundbar after successfully connecting the HDMI cable between the soundbar and your TV.
In the following step, we’ll power on both the soundbar and your TV, bringing them to life and preparing them for the final setup configurations.
Step 5: Power on the Soundbar and TV
With the HDMI cable connected and the power cord secured, you’re ready to power on both your Bose Soundbar 700 and your TV. This step will bring your entertainment system to life and allow you to enjoy the immersive audio experience.
Start by locating the power button on the Bose Soundbar 700. It is typically located on the top or front panel of the soundbar. Press and hold the power button until you see the LED indicator light up, indicating that the soundbar is receiving power and turning on.
While the soundbar is powering on, you can also turn on your TV using the remote control or the power button located on the TV itself. Refer to your TV’s user manual if you’re unsure of how to power it on.
It’s important to note that the soundbar and the TV may take a few moments to fully power on and synchronize with each other. During this time, you may see a “Booting” or “Connecting” message on the soundbar’s display or the TV screen. Be patient and allow the devices to complete the startup process.
Once both the soundbar and the TV are powered on and synchronized, you’re ready to move on to the next step, which involves selecting the appropriate audio input on your TV.
By properly powering on both the Bose Soundbar 700 and your TV, you’re setting the stage for a remarkable audiovisual experience. In the next step, we’ll guide you through selecting the correct audio input on your TV to ensure that the soundbar is properly recognized and utilized.
Step 6: Select the appropriate audio input on the TV
Now that both your Bose Soundbar 700 and your TV are powered on, it’s time to select the appropriate audio input on your TV. This step is crucial in ensuring that the TV recognizes the soundbar as the primary audio source and routes the audio through it.
Using your TV’s remote control, navigate to the “Settings” or “Menu” option on your TV. The precise location of these settings may vary depending on your TV model.
Once in the settings menu, look for the “Audio” or “Sound” section. Within this section, you should find an option to select the audio input or audio output devices.
Locate and select the audio input option that corresponds to the HDMI or optical connection you made with your Bose Soundbar 700. For HDMI, it is typically labeled as “HDMI ARC” or “Audio Return Channel”. If you’re using an optical audio cable, look for the option labeled “Optical” or “Digital Audio”.
After selecting the appropriate audio input, save your settings and exit the menu. Your TV should now recognize the Bose Soundbar 700 as the primary audio source, and the audio from your TV programs, movies, or music will be routed through the soundbar.
It’s important to note that some TVs may require an additional step to enable the audio output through the soundbar. In such cases, refer to your TV’s user manual or the manufacturer’s website for specific instructions on enabling the audio output through the HDMI ARC or optical connection.
With the correct audio input selected on your TV, you’re now ready to test the sound output and make any necessary adjustments to ensure the best audio experience possible. This brings us to the next step in the setup process.
Step 7: Test the sound output and make necessary adjustments
Now that you have completed the setup and selected the appropriate audio input on your TV, it’s time to test the sound output from your Bose Soundbar 700. This step will allow you to ensure that the audio is properly transmitting and make any necessary adjustments for optimal sound quality.
Start by playing a piece of audio or video content on your TV. It can be a movie, TV show, or your favorite music track. As the sound plays, pay attention to the audio output and assess the quality and volume.
If you notice that the sound is too low or too loud, you can adjust the volume using the TV remote control or the Bose Soundbar 700 remote control. Experiment with different volume levels until you find the one that suits your preferences.
You can also make additional sound adjustments using the soundbar’s settings menu. Refer to the soundbar’s user manual or the manufacturer’s website for instructions on accessing the settings menu and adjusting parameters like bass, treble, and sound modes.
During the testing phase, it’s also a good idea to check for any audio syncing issues. If you notice a delay between the audio and video, you may need to adjust the audio sync settings on your TV. Refer to your TV’s user manual for instructions on accessing the audio sync settings.
Additionally, if you have other audio devices connected to your TV, such as a gaming console or a Blu-ray player, test the sound output from these devices as well. Ensure that they are properly recognized by the soundbar and that the audio is transmitted correctly.
By testing the sound output and making any necessary adjustments, you can fine-tune the audio experience to your liking. Take your time to explore the various settings and options available to customize the sound to suit your preferences and enhance your overall entertainment experience.
Congratulations! You have successfully connected your Bose Soundbar 700 to your TV and optimized the audio settings. Get ready to immerse yourself in the rich, powerful sound that the soundbar delivers, and enjoy your favorite movies, TV shows, and music like never before.
Conclusion
Connecting your Bose Soundbar 700 to your TV is a straightforward process that can greatly enhance your audiovisual experience. By following the step-by-step instructions outlined in this guide, you can easily set up your soundbar and start enjoying immersive sound quality.
Starting with checking the compatibility of your TV and gathering the necessary cables and accessories, each step has been carefully designed to ensure a seamless setup process. Connecting the HDMI cable, powering on the soundbar and TV, selecting the appropriate audio input on your TV, and testing the sound output are essential steps that will help you achieve optimal performance.
Remember to consult your TV’s user manual and the manufacturer’s website for any specific instructions or troubleshooting tips if you encounter any issues during the setup process. The customer support team at Bose is also available to assist you if you need further guidance or have any questions.
Once everything is set up and properly adjusted, sit back, relax, and immerse yourself in the exceptional audio quality that the Bose Soundbar 700 delivers. Whether you’re watching movies, streaming TV shows, or listening to music, you’ll experience sounds that come alive, bringing your entertainment to a whole new level.
Now that you’re equipped with the knowledge to connect your Bose Soundbar 700 to your TV, it’s time to embark on an incredible audio journey. Enjoy the immersive sound experience and the endless possibilities it brings to your home entertainment setup.
Thank you for choosing the Bose Soundbar 700, and we hope you have an amazing time enjoying the remarkable audio it offers!