Introduction
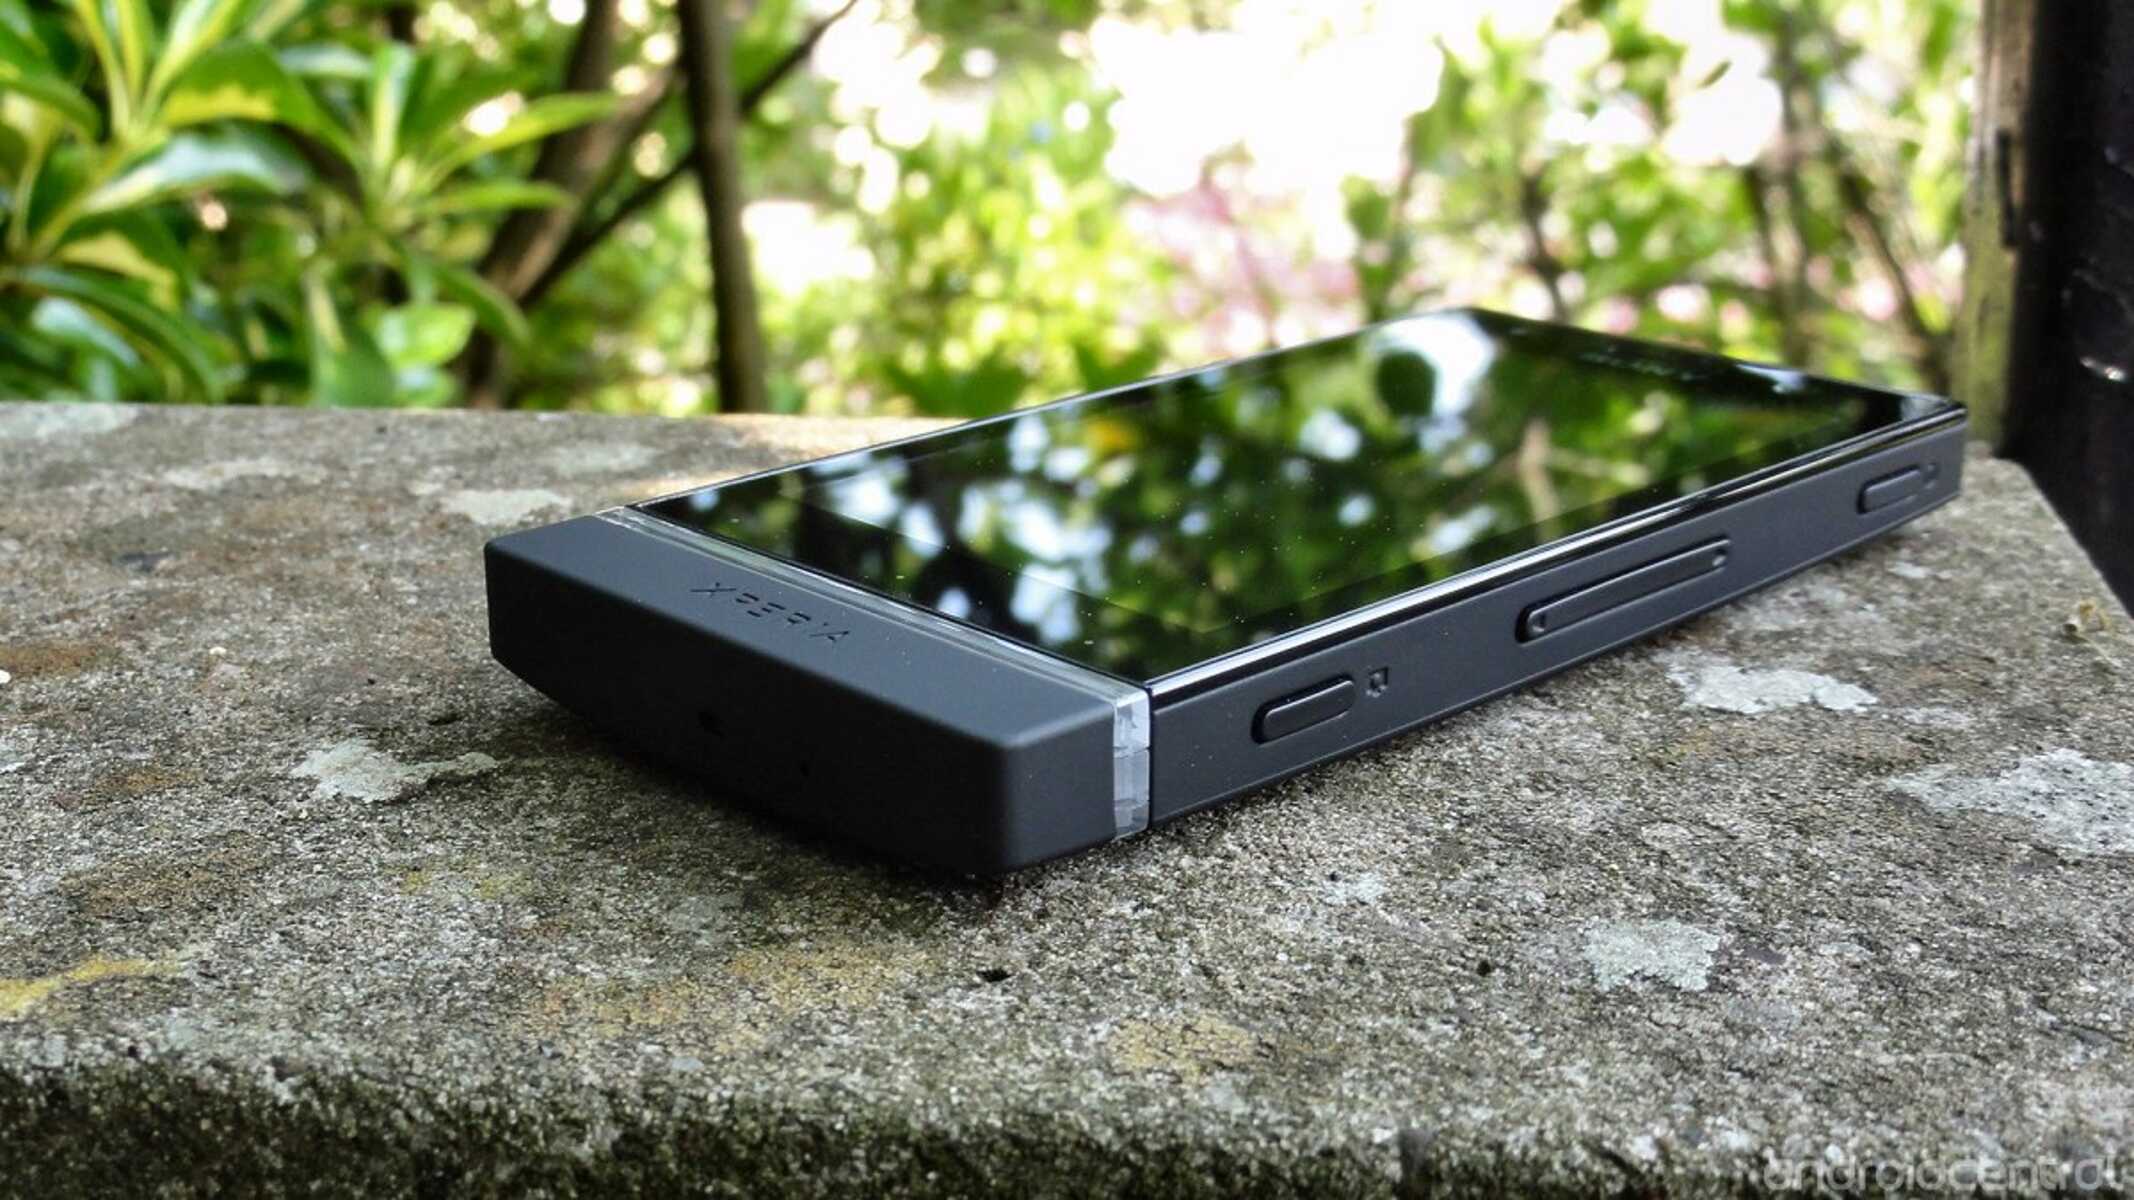
The Xperia Go ST27I is a robust and compact smartphone designed to withstand the rigors of an active lifestyle. With its durable build and impressive features, it has garnered a loyal following among users who value both performance and resilience in their mobile devices. However, for those seeking to unlock the full potential of their Xperia Go ST27I, rooting the device can provide access to a plethora of customization options and enhanced functionalities.
In this comprehensive guide, we will walk you through the step-by-step process of rooting your Xperia Go ST27I. Rooting your device grants you administrative access to the Android operating system, allowing you to modify system settings, install custom ROMs, and utilize powerful apps that require elevated permissions. It's important to note that rooting your device carries certain risks, including voiding the warranty and potentially compromising the stability and security of the device. Therefore, it's crucial to proceed with caution and fully understand the implications of rooting before embarking on this journey.
By following the instructions outlined in this guide, you will gain a deeper understanding of the rooting process and the necessary precautions to take. Whether you're a seasoned tech enthusiast or a curious newcomer to the world of Android customization, this guide aims to demystify the complexities of rooting and empower you to make informed decisions about optimizing your Xperia Go ST27I.
So, grab your Xperia Go ST27I, buckle up, and get ready to embark on an exciting adventure into the realm of advanced Android customization. Let's dive into the first step: preparing your device for the rooting process.
Step 1: Preparing Your Device
Before delving into the intricate process of rooting your Xperia Go ST27I, it's crucial to ensure that your device and environment are adequately prepared. This initial step sets the foundation for a smooth and successful rooting experience. Here's a detailed breakdown of the essential preparations:
-
Backup Your Data: Prior to initiating any modifications to your device, it's imperative to safeguard your personal data. This includes contacts, photos, videos, documents, and any other files stored on your Xperia Go ST27I. Utilize the built-in backup features or third-party applications to create a comprehensive backup of your data. In the event of unforeseen complications during the rooting process, having a backup ensures that your valuable information remains secure.
-
Charge Your Device: To prevent any interruptions during the rooting procedure, ensure that your Xperia Go ST27I is sufficiently charged. A minimum battery level of 50% is recommended to mitigate the risk of the device powering off unexpectedly. Alternatively, you can connect your device to a power source to maintain a stable power supply throughout the rooting process.
-
Enable Developer Options: Access the device's settings and navigate to the "About phone" section. Locate the "Build number" and tap on it multiple times until a message confirming developer mode activation appears. This grants you access to the developer options within the settings menu, which is essential for executing advanced operations on your Xperia Go ST27I.
-
Install Necessary Drivers: To establish a seamless connection between your Xperia Go ST27I and your computer, it's essential to install the appropriate USB drivers. Visit the official Sony support website or utilize third-party driver installation tools to ensure that your device is recognized and accessible from your computer.
-
Research and Familiarize Yourself: Take the time to research the rooting process specific to the Xperia Go ST27I. Familiarize yourself with the terminology, potential risks, and benefits associated with rooting. Understanding the intricacies of the process empowers you to make informed decisions and troubleshoot potential issues effectively.
By meticulously attending to these preparatory steps, you lay a solid groundwork for the subsequent stages of the rooting process. With your data securely backed up, your device adequately charged, and the necessary settings configured, you are now ready to progress to the next step: enabling USB debugging on your Xperia Go ST27I.
Step 2: Enabling USB Debugging
Enabling USB debugging is a pivotal preparatory step in the process of rooting your Xperia Go ST27I. This feature allows your device to communicate with the Android Software Development Kit (SDK) and facilitates the transfer of data between your device and a computer. By activating USB debugging, you gain the ability to execute advanced commands and modifications on your Xperia Go ST27I, a necessity for the subsequent stages of the rooting process.
Here's a comprehensive guide to enabling USB debugging on your Xperia Go ST27I:
-
Access Developer Options: Begin by accessing the developer options on your device. Navigate to the device's settings and locate the "Developer options" menu. This menu is made accessible by tapping on the "Build number" in the "About phone" section multiple times, as outlined in the preparatory steps.
-
Enable USB Debugging: Within the developer options menu, locate the "USB debugging" setting and toggle it to the "on" position. A prompt may appear to confirm the action, requiring your consent to enable USB debugging. Once activated, a small debugging icon will be displayed in the status bar, indicating that USB debugging is active.
-
Grant USB Debugging Permission: Upon connecting your Xperia Go ST27I to a computer for the rooting process, a prompt may appear on the device's screen requesting permission for USB debugging. It is essential to grant this permission to establish a secure and functional connection between your device and the computer.
Enabling USB debugging empowers you to establish a seamless connection between your Xperia Go ST27I and a computer, enabling the execution of advanced commands and operations essential for the rooting process. This step sets the stage for the subsequent stages of unlocking the bootloader, installing custom recovery, and ultimately rooting your device.
With USB debugging successfully enabled, you are now poised to progress to the next critical phase: unlocking the bootloader of your Xperia Go ST27I. This pivotal step paves the way for installing custom recovery and ultimately gaining root access to your device, unlocking a world of customization and optimization possibilities.
Step 3: Unlocking the Bootloader
Unlocking the bootloader of your Xperia Go ST27I is a crucial step in the journey towards rooting your device. The bootloader serves as a security feature that restricts the installation of unauthorized software on your device. By unlocking the bootloader, you gain the freedom to install custom recovery and ultimately achieve root access, unlocking the full potential of your Xperia Go ST27I.
Before proceeding, it's essential to understand that unlocking the bootloader carries inherent risks, including voiding the device's warranty and potentially compromising its security. Additionally, unlocking the bootloader may result in the loss of all data stored on the device. Therefore, it's imperative to proceed with caution and fully comprehend the implications of this process.
Here's a comprehensive guide to unlocking the bootloader of your Xperia Go ST27I:
-
Backup Your Data: As mentioned in the preparatory steps, ensure that all essential data on your device is securely backed up. Unlocking the bootloader involves wiping the device's data, and having a backup ensures that your valuable information remains intact.
-
Enable OEM Unlocking: Access the developer options on your Xperia Go ST27I and locate the "OEM unlocking" option. Toggle this setting to enable OEM unlocking, granting permission to unlock the bootloader.
-
Power Off Your Device: Power off your Xperia Go ST27I to prepare for the bootloader unlocking process.
-
Boot into Fastboot Mode: Press and hold the volume up button while connecting your device to a computer via a USB cable. This action boots the device into fastboot mode, allowing for the execution of bootloader unlocking commands.
-
Execute Unlocking Commands: On your computer, open a command prompt or terminal window and navigate to the directory where the Android SDK platform-tools are installed. Execute the command to unlock the bootloader, following the specific instructions provided by Sony for the Xperia Go ST27I.
-
Confirm Bootloader Unlocking: On your device's screen, a prompt will appear to confirm the bootloader unlocking process. Use the volume keys to navigate and the power button to confirm the action.
Upon successful completion of these steps, the bootloader of your Xperia Go ST27I will be unlocked, paving the way for the next phase of the rooting process: installing custom recovery. Unlocking the bootloader marks a significant milestone in your journey towards harnessing the full potential of your device, opening doors to advanced customization and optimization opportunities.
With the bootloader successfully unlocked, you are now ready to embark on the subsequent stages of the rooting process, bringing you closer to realizing the enhanced capabilities and personalized experience that rooting your Xperia Go ST27I offers.
Step 4: Installing Custom Recovery
Installing a custom recovery on your Xperia Go ST27I is a pivotal step in the process of gaining root access and unlocking the full potential of your device. Custom recovery, such as TWRP (Team Win Recovery Project) or CWM (ClockworkMod Recovery), replaces the stock recovery provided by the manufacturer and offers advanced functionalities for managing and customizing your device.
Here's a comprehensive guide to installing custom recovery on your Xperia Go ST27I:
-
Research and Select the Custom Recovery: Begin by researching and identifying a custom recovery that is compatible with your Xperia Go ST27I. It's essential to choose a reputable and well-supported custom recovery that aligns with your specific device model and Android version.
-
Download the Custom Recovery Image: Visit the official website or trusted forums of the selected custom recovery to download the corresponding recovery image file. Ensure that you download the correct version tailored to your Xperia Go ST27I to avoid compatibility issues.
-
Enable USB Debugging and Connect Your Device: Ensure that USB debugging is enabled on your Xperia Go ST27I, as outlined in the previous step. Connect your device to a computer using a USB cable, establishing a secure connection for transferring the custom recovery image.
-
Boot into Fastboot Mode: Power off your Xperia Go ST27I and boot it into fastboot mode by pressing and holding the volume up button while connecting it to the computer via a USB cable. This action prepares the device for the installation of the custom recovery.
-
Transfer the Recovery Image: Once in fastboot mode, transfer the downloaded custom recovery image to the directory where the Android SDK platform-tools are installed on your computer. This facilitates the execution of commands to install the custom recovery.
-
Execute Installation Commands: On your computer, open a command prompt or terminal window and navigate to the directory where the Android SDK platform-tools are located. Execute the command to install the custom recovery image onto your Xperia Go ST27I, following the specific instructions provided by the custom recovery developers.
-
Reboot into Custom Recovery: After the installation process is complete, reboot your Xperia Go ST27I into the newly installed custom recovery to ensure that it has been successfully installed and is operational.
By following these steps, you successfully install a custom recovery on your Xperia Go ST27I, laying the groundwork for the final phase of the rooting process: gaining root access to your device. Custom recovery empowers you to perform advanced operations, such as flashing custom ROMs, creating and restoring backups, and fine-tuning system settings, enhancing the overall user experience and customization capabilities of your Xperia Go ST27I.
With the custom recovery installed, you are now poised to progress to the culminating step: rooting your Xperia Go ST27I, unlocking a realm of possibilities for personalizing and optimizing your device to suit your unique preferences and requirements.
Step 5: Rooting Your Xperia Go ST27I
Rooting your Xperia Go ST27I is the final and pivotal step in unlocking the full potential of your device. By gaining root access, you attain administrative privileges over the Android operating system, enabling you to customize and optimize various aspects of your device that were previously inaccessible. Rooting opens the door to a myriad of possibilities, including the ability to install powerful apps that require elevated permissions, enhance system performance, and customize the user interface to align with your preferences.
Here's a comprehensive guide to rooting your Xperia Go ST27I:
-
Download the Necessary Rooting Tools: Begin by researching and identifying the appropriate rooting tools for your Xperia Go ST27I. Ensure that the tools are compatible with your device model and Android version. Popular rooting tools such as Magisk or SuperSU are widely used and offer reliable root access solutions.
-
Transfer Rooting Tools to Your Device: Once you have downloaded the rooting tools, transfer them to your Xperia Go ST27I. You can utilize a USB cable to transfer the files from your computer to your device's internal storage or SD card, ensuring that the rooting tools are easily accessible on your device.
-
Boot into Custom Recovery: Power off your Xperia Go ST27I and boot it into the custom recovery that you installed in the previous step. This action prepares the device for the installation of the rooting tools and the execution of the rooting process.
-
Install Rooting Tools via Custom Recovery: Within the custom recovery interface, navigate to the location where the rooting tools are stored on your device. Install the rooting tools using the custom recovery's installation feature, following the specific instructions provided by the developers of the rooting tools.
-
Execute Rooting Process: Once the rooting tools are successfully installed, execute the rooting process from within the custom recovery. This process may involve flashing the rooting tools and confirming the installation to initiate the rooting procedure.
-
Reboot Your Device: After the rooting process is completed, reboot your Xperia Go ST27I to finalize the root access implementation. Upon rebooting, your device will have gained root privileges, granting you elevated control over the Android operating system.
By following these steps, you successfully root your Xperia Go ST27I, unlocking a wealth of customization and optimization opportunities. It's important to note that rooting your device carries certain risks, including voiding the warranty and potentially compromising the stability and security of the device. Therefore, it's crucial to proceed with caution and fully understand the implications of rooting before embarking on this journey.
With your Xperia Go ST27I successfully rooted, you now have the freedom to explore the extensive array of root-enabled apps, custom ROMs, and system tweaks, allowing you to tailor your device to your unique preferences and harness its full capabilities. Rooting empowers you to take control of your device and personalize it in ways that were previously unattainable, ushering in a new realm of possibilities for optimizing your Xperia Go ST27I to suit your individual needs and aspirations.
Conclusion
Congratulations! You have successfully navigated through the intricate process of rooting your Xperia Go ST27I, unlocking a world of customization and optimization possibilities for your device. By following the comprehensive step-by-step guide outlined in this journey, you have gained a deeper understanding of the rooting process and the essential precautions to consider when delving into advanced Android customization.
Rooting your Xperia Go ST27I marks a significant milestone in your device's evolution, granting you administrative access to the Android operating system and empowering you to tailor your device to your unique preferences and requirements. However, it's important to acknowledge that rooting your device carries inherent risks, including voiding the warranty and potentially compromising its stability and security. Therefore, it's crucial to approach rooting with a thorough understanding of its implications and to proceed with caution.
With root access, you now have the freedom to explore a myriad of possibilities, including the installation of powerful root-enabled apps, custom ROMs, and system tweaks that can enhance the performance and functionality of your Xperia Go ST27I. Additionally, custom recovery empowers you to create and restore backups, flash custom ROMs, and fine-tune system settings, providing you with advanced tools to manage and customize your device.
As you embark on this new phase of your Xperia Go ST27I's journey, it's essential to stay informed about the latest developments in the rooting and Android customization community. Engaging with forums, communities, and reputable sources of information can provide valuable insights and support as you continue to explore the potential of your rooted device.
Remember to exercise caution when making system-level modifications and to prioritize the security and stability of your device. Regularly backing up your data and staying informed about best practices for rooted devices can help safeguard your Xperia Go ST27I's integrity and ensure a positive and fulfilling experience with advanced Android customization.
Rooting your Xperia Go ST27I is a testament to your curiosity, passion for technology, and desire to unlock the full potential of your device. Embrace this newfound freedom responsibly, and may your rooted Xperia Go ST27I become a personalized and optimized companion that enriches your digital experiences in meaningful ways.


