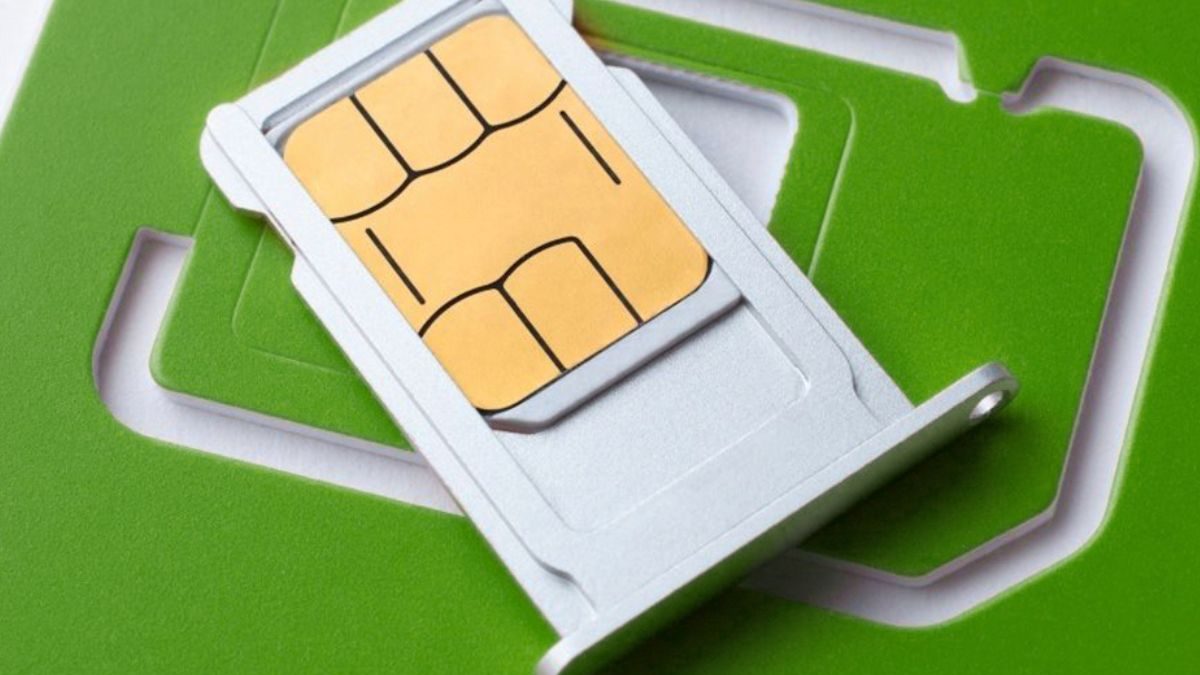
Transferring SIM card ownership legally changes who controls the mobile account and phone number, and it requires the explicit consent and participation of both the current account owner and the new owner. This process is not a simple physical swap, it is an administrative procedure governed by carrier-specific rules, documentation requirements, and verification steps that both parties must complete to avoid service interruptions or account disputes.
What you need before you transfer SIM card ownership
Before initiating the transfer, both the current owner and the new owner must meet several prerequisites. First, each party must possess valid identification (ID) and proof of address (POA) documents, such as a government-issued ID or passport, to verify their identities. Second, the existing account must be in good standing, meaning there are no outstanding balances, pending dues, or unresolved disputes linked to the line. Third, any device payment plans, such as equipment installment plans or device plans from carriers like O2, must be paid off in full by the original owner, unless the carrier explicitly allows the transfer of remaining device payments under specific conditions. Fourth, the line must have been active on the current account for a minimum period, which varies by carrier (for example, T-Mobile requires 90 days, Verizon personal lines require 30 days, Verizon business lines require 5 days, and EE requires 3 months). Finally, many carriers require both parties to be physically present at a store or to be on a joint phone call with customer service to authorize the transfer, so plan for that level of coordination.
Contact your service provider to start the transfer
Once the prerequisites are met, the current account owner must initiate the process by contacting the service provider through an available channel, phone, online chat, email, or an in-store visit. Clearly explain your intent to transfer SIM card ownership, and be prepared to follow the provider’s specific guidelines, which may differ significantly between personal and business accounts. For personal lines, some carriers like Verizon allow you to start a “Transfer Your Service” request through the My Verizon app or website by navigating to “Manage devices” then “Transfer your service.” For business accounts, the procedure often requires additional authorization from an account administrator or a designated business contact, and the documentation may be more extensive. During this initial contact, the customer service representative will verify your identity and account ownership, so have your account number, billing details, and ID ready. If you have any questions about eligibility, fees, or the timeline, ask for clarification now, this is the point where you can avoid surprises later. If the transfer fails and your old SIM gets deactivated, you may need the steps for reactivating your old SIM card to restore service, or if you are moving the SIM to a different device entirely, see how to get connected by adding a SIM card to your laptop.
Provide the necessary documents and information
After initiating the transfer, both the current and new owners must provide specific details and documents to the carrier. The current owner must supply personal information (full name, address, contact info), the account number, and billing details, along with valid ID and proof of address. The new owner must provide their full name, contact information, and valid ID and proof of address as well. In many cases, the carrier will also require the new owner’s Social Security number or equivalent national ID for a credit check, especially for postpaid plans. Be prepared to submit these documents through the provider’s designated channel, whether uploading them online, emailing them, or presenting them in person. Accuracy is critical: any mismatch between the information on the ID and the account records can delay or derail the transfer. The carrier may also ask for additional documentation if the account is a business line, such as a company registration number or proof of authorization from the business entity.
Complete and submit the transfer paperwork
Once all information is gathered, the current and new owners must complete the carrier’s transfer authorization forms. These forms serve as the official legal record of the ownership change and typically require signatures from both parties, either wet signatures on paper or electronic signatures, depending on the carrier’s submission method. Fill out every field with precision, including personal details, account numbers, and transfer authorization specifics, and double-check for accuracy before submission. Submit the completed forms through the provider’s prescribed channel, which may be an online portal, email, fax, or in-person drop-off at an authorized service center. Timely submission is essential, as carriers impose strict deadlines: after the current owner initiates the transfer, the new owner typically has a limited timeframe to complete their part, for example, 15 days for Verizon personal lines, 30 days for Verizon business lines, and 30 days for T-Mobile. If the new owner misses this window, the transfer request expires and the process must restart. Additionally, the new owner will undergo a credit check as part of the transfer process, particularly for postpaid plans, and the carrier may deny the transfer if the new owner fails the credit assessment.
What changes after the ownership is transferred
After the paperwork is approved and the transfer is completed, the account is fully in the new owner’s name, and the phone number remains with the line. However, the new owner may need to select a new rate plan, as the existing plan may not automatically carry over. Any promotions, discounts, or special pricing attached to the old account typically do not transfer to the new owner, so the new owner should expect to choose a plan that fits their usage needs and budget. The new owner will also assume responsibility for all future billing, including any recurring charges, taxes, and fees. Before the transfer is finalized, confirm with the carrier that the old owner’s access to the account is fully revoked, this includes removing the old owner from any online account portals, autopay settings, and notification preferences. Finally, both parties should verify that the new owner can access the account independently, log in to the carrier’s app or website, and manage the line without any residual permissions from the previous owner. Once these confirmations are complete, the transfer is legally and administratively sealed, and the new owner has full control over the mobile account and phone number.
For the wider topic, see inserting a SIM card.