Introduction
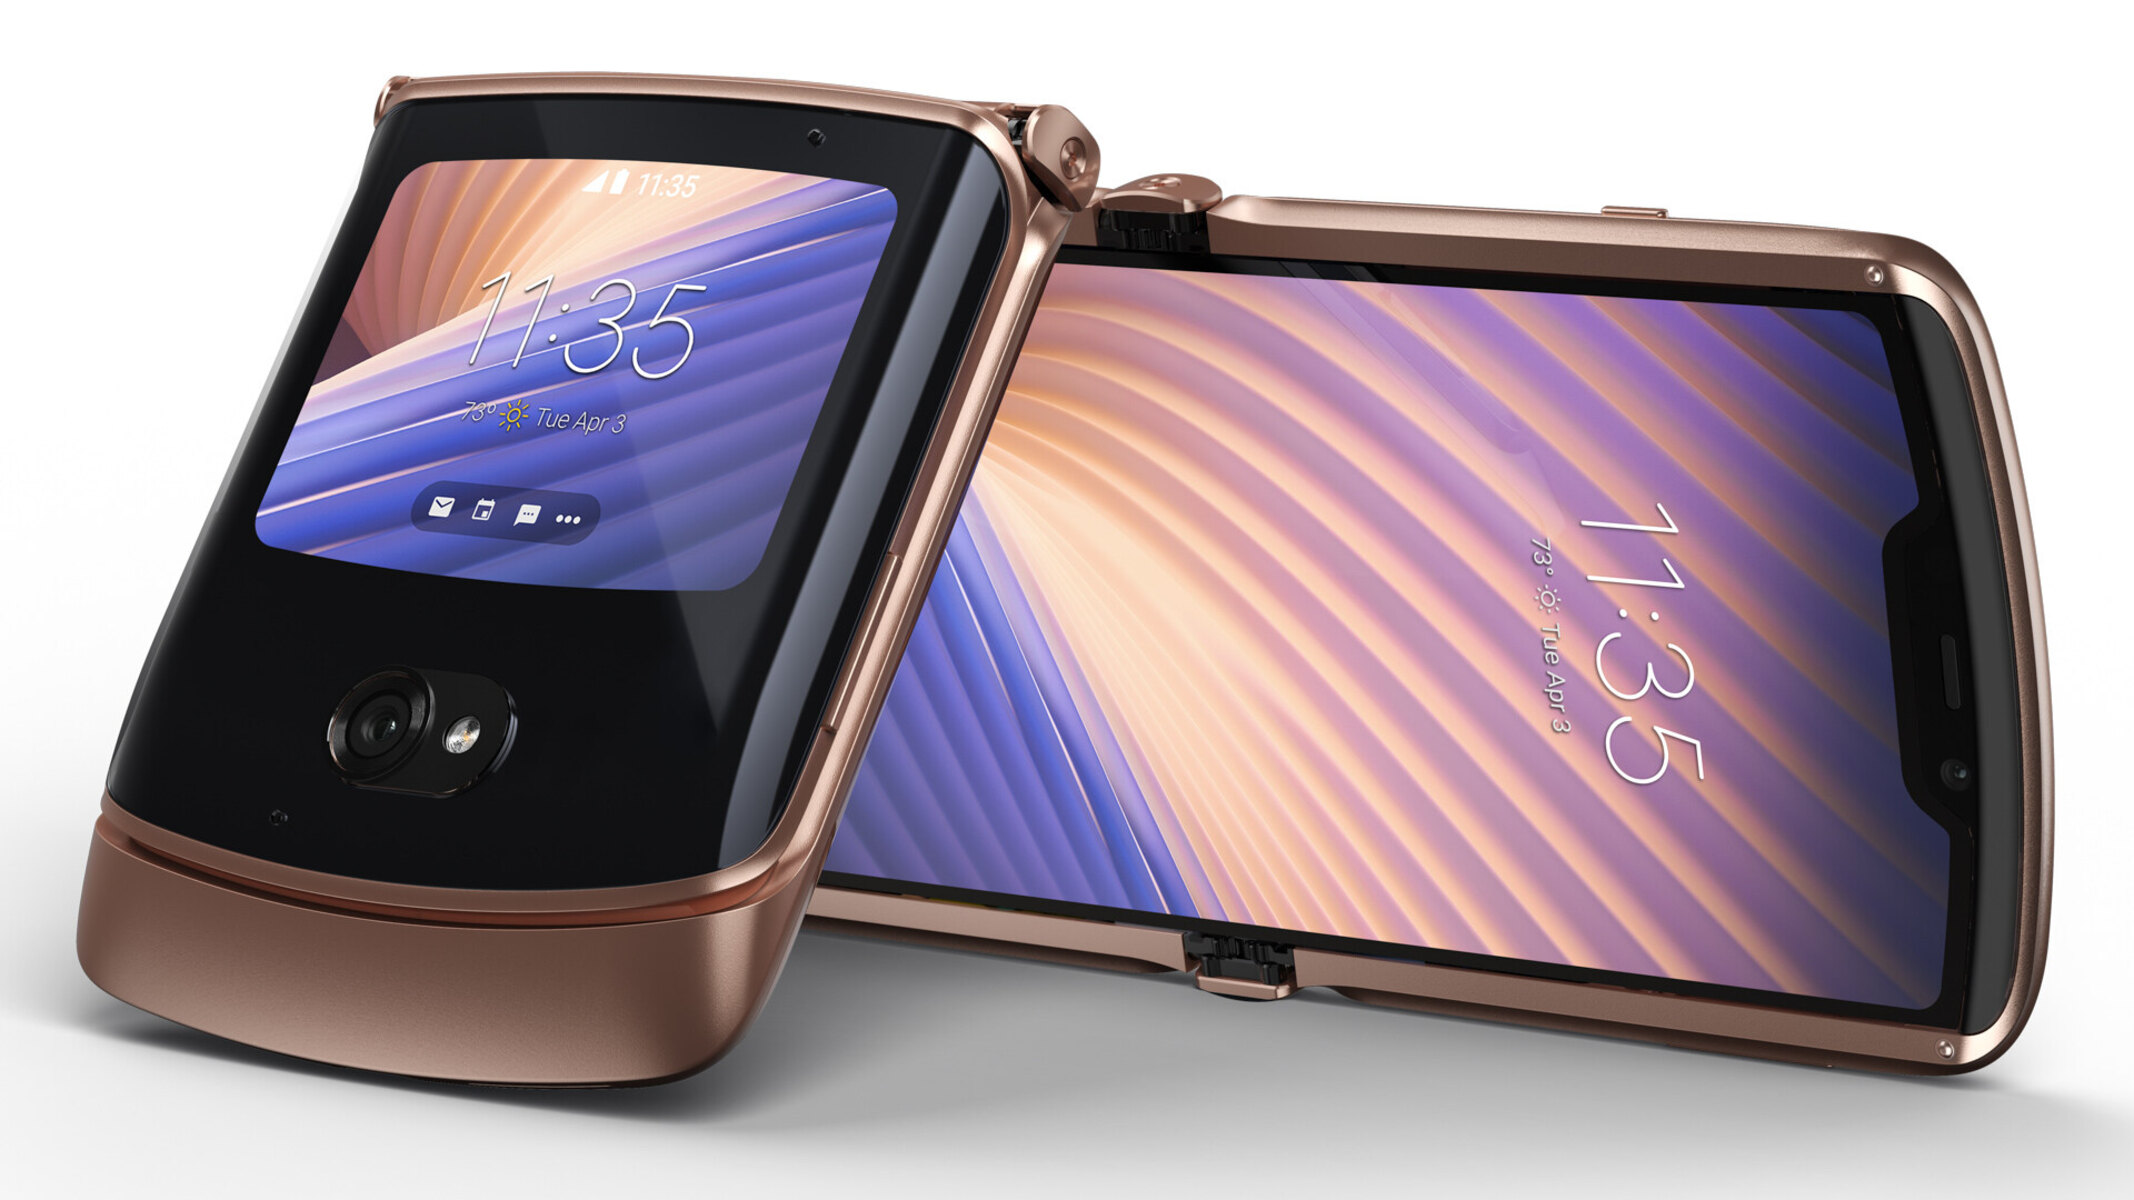
The Motorola Razr, with its sleek design and advanced features, has become a popular choice for mobile device users. One of the key functionalities that users often seek guidance on is transferring pictures between the device and a computer. Whether it's to free up space on the device, create backups, or simply to share images across platforms, understanding the process of transferring pictures is essential for maximizing the utility of the Motorola Razr.
In this comprehensive guide, we will walk you through the step-by-step process of transferring pictures to and from your Motorola Razr. By the end of this guide, you will have a clear understanding of how to seamlessly manage your picture library, ensuring that your cherished memories and important images are easily accessible and securely stored.
Let's dive into the details of connecting your Motorola Razr to a computer and the subsequent steps for transferring pictures in both directions. Whether you're a tech-savvy individual or someone who is new to the world of mobile device management, this guide is designed to provide you with the knowledge and confidence to handle picture transfers with ease. So, let's embark on this journey to unlock the full potential of your Motorola Razr!
Step 1: Connecting Your Motorola Razr to a Computer
Connecting your Motorola Razr to a computer is the first crucial step in the process of transferring pictures. This connection allows for seamless data exchange between the device and the computer, enabling you to manage your picture library efficiently. Here's a detailed guide on how to establish a connection between your Motorola Razr and a computer:
Using a USB Cable
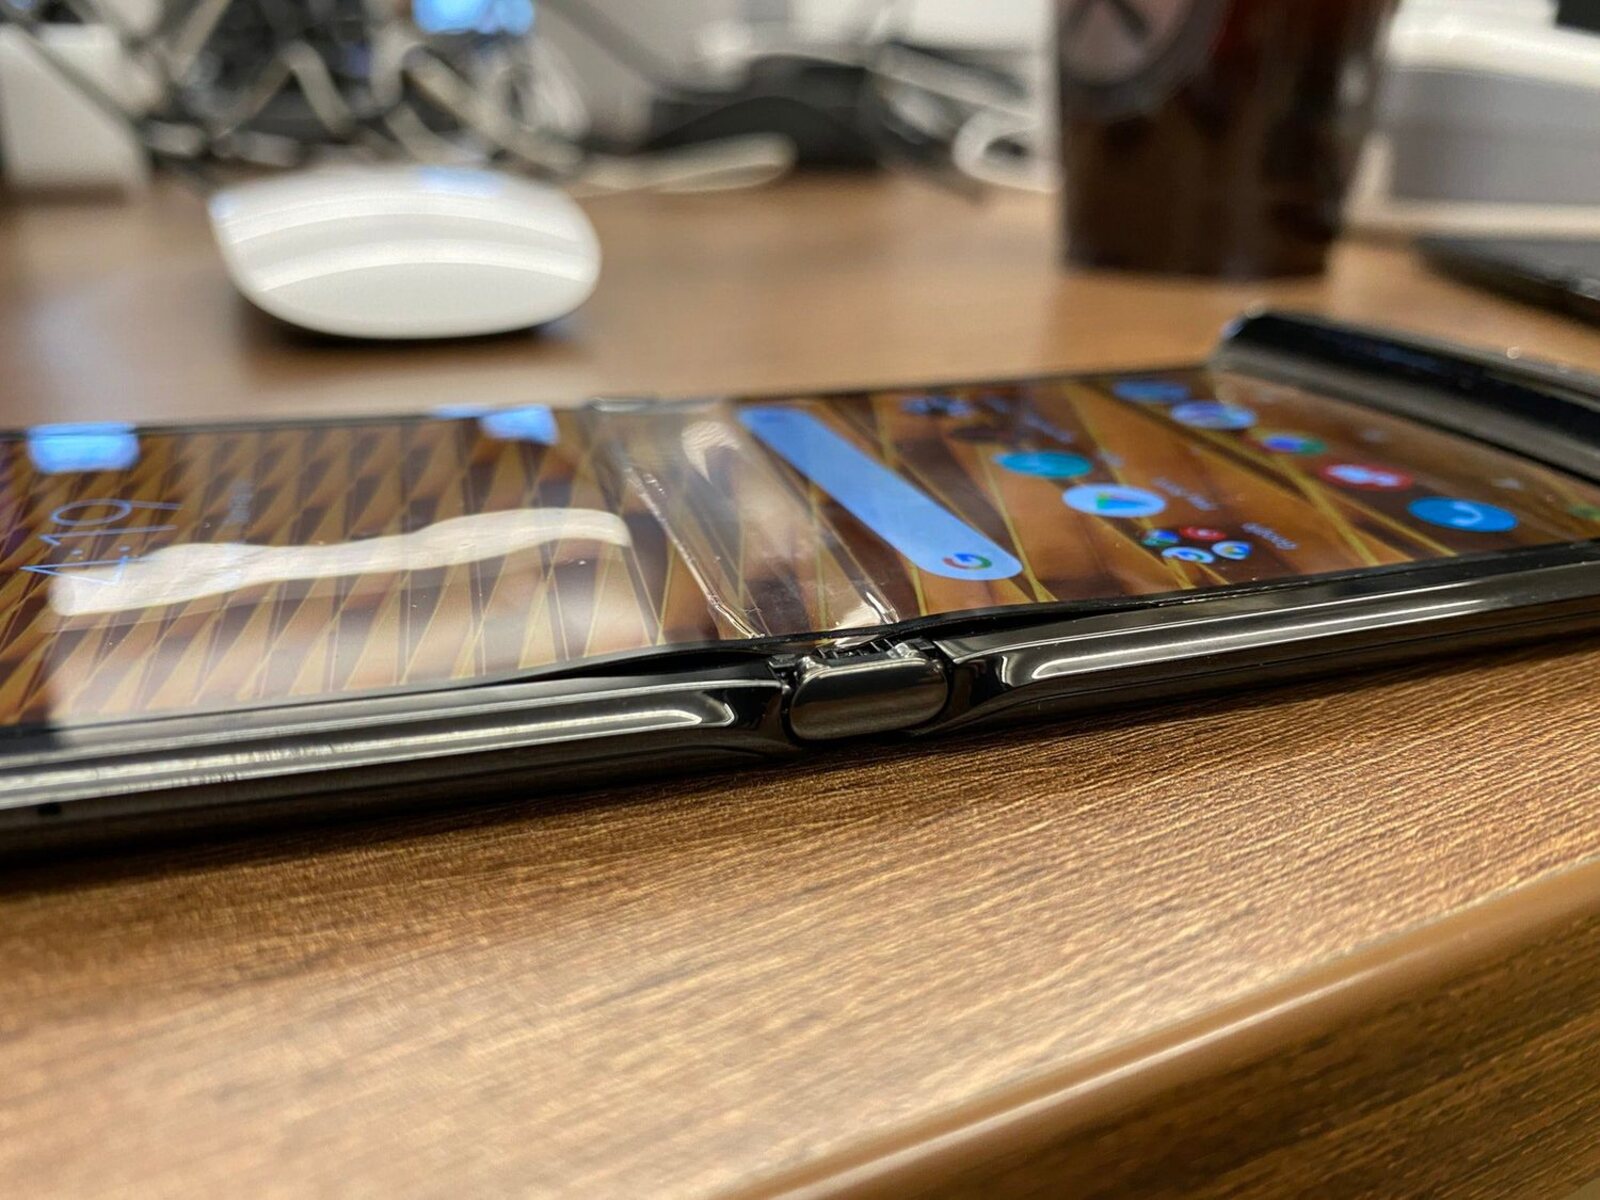
The most common and reliable method for connecting your Motorola Razr to a computer is by using a USB cable. To begin, ensure that your computer is powered on and unlocked. Next, locate the USB-C port on your Motorola Razr, which is typically located at the bottom of the device. Insert one end of the USB cable into the USB-C port of your Motorola Razr and the other end into an available USB port on your computer.
Selecting the Connection Mode
Upon connecting the USB cable, your Motorola Razr will prompt you to select a connection mode. You can choose between "File Transfer" mode, which allows for the transfer of files such as pictures, and "Charging" mode, which prioritizes charging the device. Select "File Transfer" mode to enable the seamless transfer of pictures between your device and the computer.
Authorizing the Connection
In some cases, your computer may prompt you to authorize the connection by granting access to your Motorola Razr's storage. If prompted, simply follow the on-screen instructions to authorize the connection, allowing the computer to access the picture files stored on your device.
Verifying the Connection
Once the connection is established, you can verify the successful connection by accessing your computer's file explorer or file manager. Your Motorola Razr should appear as a connected device, and you can navigate through its internal storage to locate the pictures you wish to transfer.
By following these steps, you can confidently establish a secure and efficient connection between your Motorola Razr and a computer, laying the foundation for seamless picture transfers. With the connection in place, you are now ready to proceed to the next steps of transferring pictures to and from your Motorola Razr, which we will explore in the following sections.
Step 2: Transferring Pictures from Your Motorola Razr to a Computer
Transferring pictures from your Motorola Razr to a computer is a straightforward process that allows you to create backups of your cherished memories and free up space on your device. Whether you want to safeguard your photos or simply organize your picture library, the following steps will guide you through the seamless transfer of pictures from your Motorola Razr to a computer.
Using File Explorer or Finder
-
Accessing Your Device: After connecting your Motorola Razr to the computer using a USB cable, open the File Explorer on Windows or Finder on Mac. Your connected device, typically labeled as "Motorola Razr," should appear in the list of available devices.
-
Navigating to Pictures: Within the File Explorer or Finder, navigate to the internal storage of your Motorola Razr. Look for the "Pictures" or "DCIM" folder, where your captured images are usually stored.
-
Selecting Pictures: Once you have located the desired pictures, select the individual images or entire folders that you wish to transfer to your computer. You can do this by clicking and dragging to highlight the files or using the "Ctrl + A" shortcut to select all items.
-
Copying Pictures: With the pictures selected, right-click and choose the "Copy" option. Alternatively, you can use the "Ctrl + C" shortcut to copy the selected pictures.
-
Pasting into Computer: Navigate to the destination folder on your computer where you want to store the transferred pictures. Right-click and select "Paste," or use the "Ctrl + V" shortcut to paste the copied pictures from your Motorola Razr.
Using Transfer Software
Alternatively, you can utilize transfer software provided by Motorola to facilitate the picture transfer process. This software, often available for download from the official Motorola website, provides a user-friendly interface for managing data transfers between your device and computer.
By following these steps, you can effectively transfer pictures from your Motorola Razr to a computer, ensuring that your valuable images are securely backed up and easily accessible. With the pictures safely stored on your computer, you can now explore the next step of transferring pictures from a computer to your Motorola Razr, which we will delve into in the following section.
Step 3: Transferring Pictures from a Computer to Your Motorola Razr
Transferring pictures from a computer to your Motorola Razr is a convenient way to enrich your device with new images, wallpapers, and graphics. Whether you want to personalize your device with custom wallpapers or add new photos to your gallery, the process of transferring pictures from a computer to your Motorola Razr is straightforward and enables you to curate your visual content with ease.
Using File Explorer or Finder
-
Connecting Your Motorola Razr: Begin by connecting your Motorola Razr to the computer using a USB cable. Once connected, open the File Explorer on Windows or Finder on Mac.
-
Navigating to Your Device: In the File Explorer or Finder, locate your connected Motorola Razr, which should appear as a recognized device. Access the internal storage of your device, typically found within the "Internal Storage" or "Motorola Razr" directory.
-
Selecting Pictures on Your Computer: Navigate to the folder on your computer where the pictures you want to transfer are stored. Select the desired images by clicking and dragging to highlight them or using the "Ctrl + A" shortcut to select all items.
-
Copying Pictures: After selecting the pictures, right-click and choose the "Copy" option. Alternatively, you can use the "Ctrl + C" shortcut to copy the selected images.
-
Pasting into Your Motorola Razr: Return to the directory representing your Motorola Razr within the File Explorer or Finder. Right-click and select "Paste," or use the "Ctrl + V" shortcut to transfer the copied pictures from your computer to your device.
Using Transfer Software
Motorola provides transfer software that streamlines the process of transferring pictures from your computer to your Motorola Razr. This software offers a user-friendly interface, allowing you to select and transfer images seamlessly. By following the on-screen instructions provided by the transfer software, you can efficiently add new pictures to your device's gallery.
By following these steps, you can effortlessly transfer pictures from your computer to your Motorola Razr, expanding your device's visual content and personalizing it according to your preferences. Whether it's adding captivating wallpapers or importing memorable photos, the ability to transfer pictures from a computer to your Motorola Razr empowers you to curate a visually engaging and personalized mobile experience.
Conclusion
In conclusion, mastering the art of transferring pictures to and from your Motorola Razr is a valuable skill that empowers you to manage your visual content with ease. By following the step-by-step guide outlined in this comprehensive article, you have gained a deep understanding of the process, from connecting your device to a computer to seamlessly transferring pictures in both directions.
The ability to connect your Motorola Razr to a computer using a USB cable and select the appropriate connection mode sets the stage for efficient data exchange. Whether you are transferring pictures to create backups, free up space on your device, or personalize your gallery with new images, the process is streamlined and accessible to users of all technical backgrounds.
Transferring pictures from your Motorola Razr to a computer ensures that your cherished memories and important images are securely backed up, allowing you to preserve and organize your visual content. The use of File Explorer or Finder, coupled with the option to utilize transfer software, provides flexibility and convenience in managing your picture library.
Conversely, the process of transferring pictures from a computer to your Motorola Razr empowers you to curate a visually engaging and personalized mobile experience. Whether you are adding custom wallpapers, importing captivating graphics, or enriching your gallery with new photos, the seamless transfer process enhances the visual appeal of your device.
By mastering the art of picture transfers, you have unlocked the full potential of your Motorola Razr, ensuring that your visual content is easily accessible, securely stored, and tailored to your preferences. This newfound knowledge equips you with the confidence to manage your picture library with efficiency and precision, enhancing your overall mobile device experience.
In essence, the process of transferring pictures to and from your Motorola Razr transcends mere data exchange; it embodies the preservation of memories, the expression of creativity, and the seamless integration of visual content into your daily digital interactions. With this guide as your companion, you are well-equipped to navigate the realm of picture transfers with confidence and finesse, ensuring that your Motorola Razr remains a hub of visual inspiration and personal expression.