Introduction
Transferring pictures from your Motorola Razr to your PC can be a convenient way to back up your precious memories, free up space on your device, or simply share your photos with friends and family. Whether you've captured stunning landscapes, cherished moments with loved ones, or vibrant selfies, having a seamless process to transfer these images to your PC is essential.
In this guide, we will walk you through the quick and easy steps to transfer pictures from your Motorola Razr to your PC. By following these simple instructions, you can effortlessly access and organize your photos on your computer, ensuring that they are safely stored and readily available for viewing, editing, or sharing.
Now, let's dive into the step-by-step process of connecting your Motorola Razr to your PC and transferring your captivating pictures with ease. Whether you're a photography enthusiast, a social media aficionado, or simply someone who values their visual memories, this guide will equip you with the knowledge to seamlessly transfer your pictures and elevate your digital photo management experience.
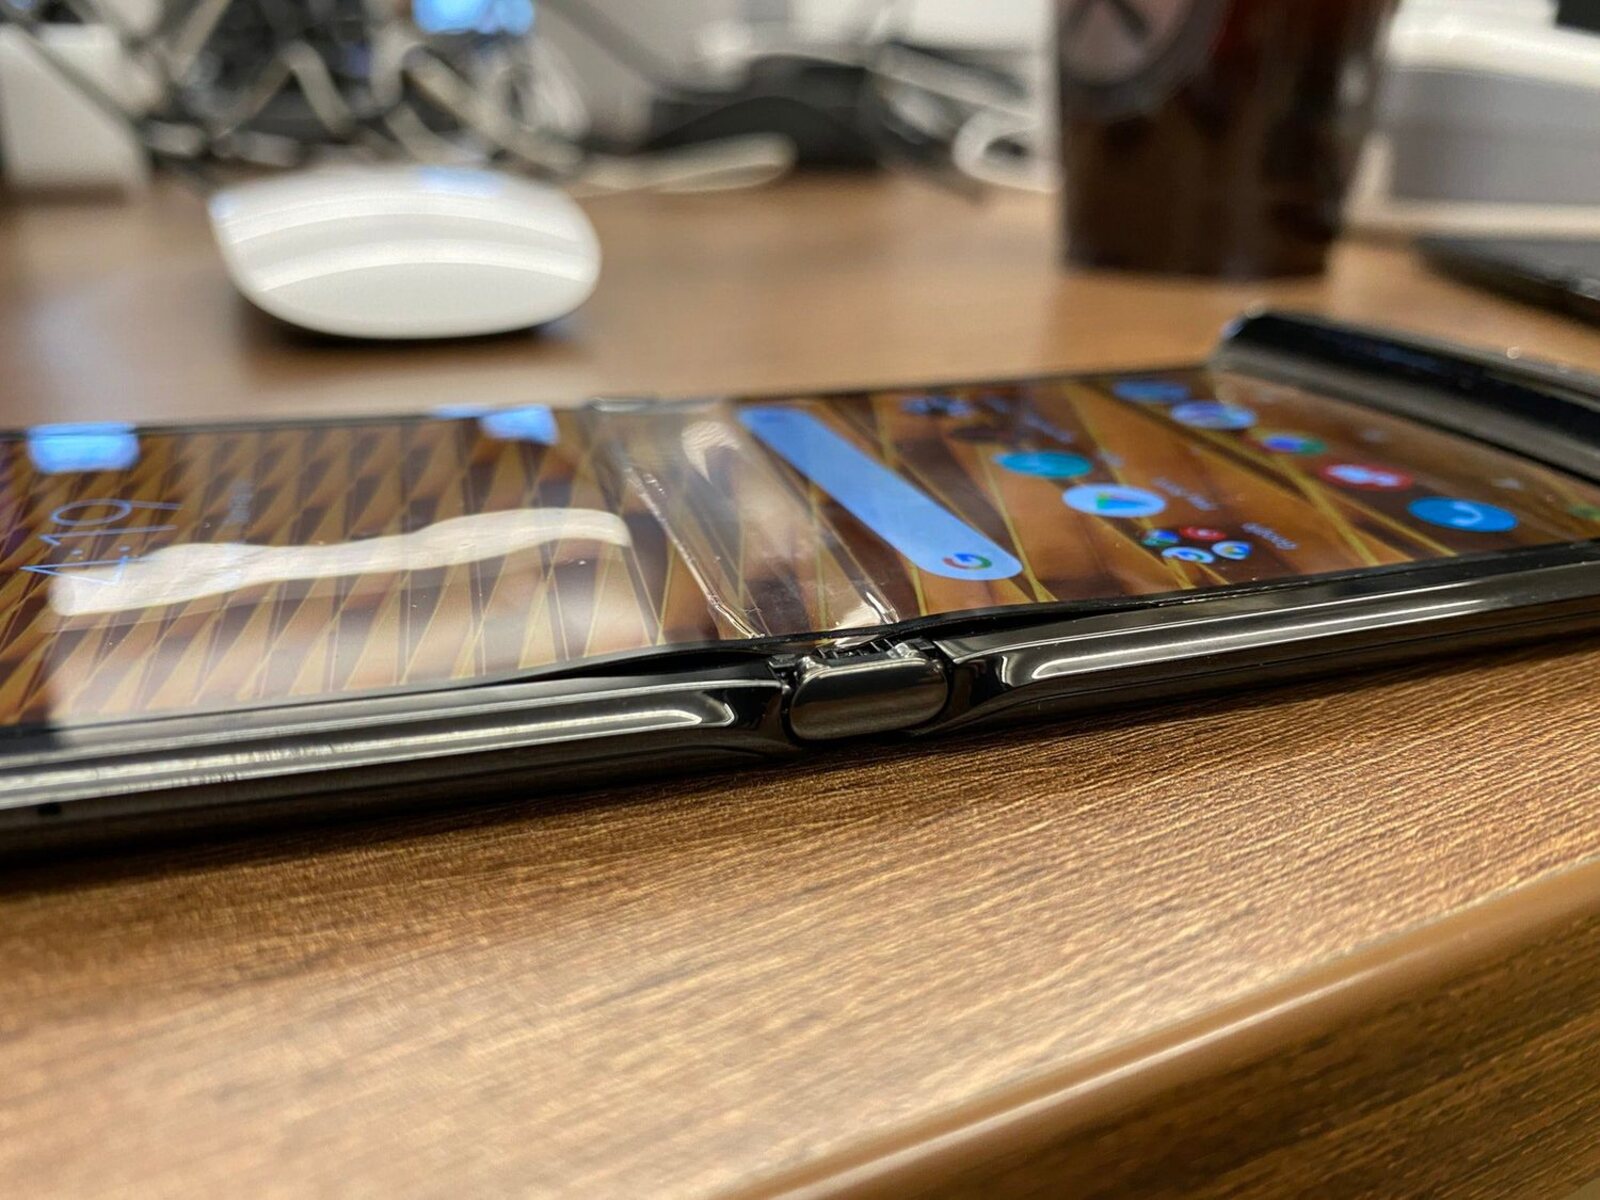
Step 1: Connect your Motorola Razr to your PC
To initiate the process of transferring pictures from your Motorola Razr to your PC, the first step is to establish a physical connection between the two devices. This can be achieved by using a USB cable that is compatible with your Motorola Razr and your PC. The USB cable serves as the bridge through which data, including your precious pictures, can be transferred seamlessly.
Here's a detailed guide on how to connect your Motorola Razr to your PC:
-
Locate the USB Port: Begin by identifying the USB port on your Motorola Razr. This port is typically located at the bottom or on the side of the device, depending on the specific model of the Razr. Once you have located the USB port, ensure that it is free from any obstructions that may hinder the connection process.
-
Select the Correct USB Cable: It is essential to use the appropriate USB cable that is compatible with your Motorola Razr and your PC. The USB cable should have a micro-USB connector on one end, which will be inserted into the port on your Motorola Razr, and a standard USB connector on the other end, which will be plugged into a USB port on your PC.
-
Connect the USB Cable: With the correct USB cable in hand, proceed to connect one end of the cable to the micro-USB port on your Motorola Razr. Ensure that the connection is secure to facilitate a stable data transfer process. Subsequently, connect the standard USB end of the cable to an available USB port on your PC.
-
Enable File Transfer Mode (if applicable): Depending on the settings of your Motorola Razr, you may need to enable the file transfer mode to allow the device to communicate with your PC. Upon connecting the USB cable, your Razr may prompt you to select the desired USB connection mode. Choose the "File Transfer" or "MTP" (Media Transfer Protocol) option to enable the seamless transfer of pictures and other media files.
By successfully connecting your Motorola Razr to your PC using the appropriate USB cable and configuring the necessary settings, you have laid the foundation for the subsequent steps of accessing and transferring your cherished pictures to your computer. This pivotal connection sets the stage for a streamlined and efficient transfer process, ensuring that your visual memories are securely transferred and readily accessible on your PC.
Step 2: Access the pictures on your Motorola Razr
Once your Motorola Razr is successfully connected to your PC, the next step is to access the pictures stored on your device. Accessing these pictures is essential to initiate the transfer process, allowing you to select and transfer specific images or entire albums to your PC. Whether you've captured breathtaking landscapes, candid moments with loved ones, or vibrant selfies, accessing these visual memories is the gateway to preserving and organizing them on your computer.
Here's a detailed guide on how to access the pictures on your Motorola Razr:
-
Unlock Your Motorola Razr: If your device is locked, unlock it using your preferred method, such as entering your PIN, pattern, or biometric authentication (fingerprint or facial recognition). Once unlocked, you will have access to the home screen and the various apps and features on your Razr.
-
Navigate to the Gallery App: Locate and tap on the "Gallery" app on your Motorola Razr. The Gallery app serves as the central hub for accessing and managing all the pictures and videos captured or saved on your device. Upon opening the Gallery app, you will be presented with a visual showcase of your photos, organized into albums, categories, or a chronological timeline, depending on your preferred view.
-
Browse and Select the Pictures: Within the Gallery app, you can browse through your collection of pictures by scrolling through the thumbnails or navigating through specific albums or categories. As you browse, take the time to select the pictures that you intend to transfer to your PC. You can tap and hold on a specific picture to initiate the selection process, allowing you to choose multiple pictures for transfer.
-
Review and Organize: Before proceeding to the transfer stage, take a moment to review your selected pictures and ensure that you have included all the images you wish to transfer. Additionally, consider organizing your pictures within the Gallery app by creating new albums or categorizing them based on events, locations, or themes. This organizational step can streamline the transfer process and enhance the accessibility of your pictures on your PC.
By following these steps, you can seamlessly access the pictures on your Motorola Razr, empowering you to curate and select the specific images that hold significance to you. This pivotal stage sets the foundation for the subsequent process of transferring your selected pictures to your PC, ensuring that your visual memories are securely preserved and readily available for further management and enjoyment.
Step 3: Transfer the pictures to your PC
With your Motorola Razr successfully connected to your PC and the desired pictures selected, the final step involves transferring these captivating images to your computer. This pivotal stage marks the culmination of the seamless process, ensuring that your visual memories are securely transferred and readily accessible on your PC for further organization, editing, or sharing.
Here's a detailed guide on how to transfer the pictures from your Motorola Razr to your PC:
-
Initiate the Transfer Process: Begin by navigating to the folder or location on your PC where you intend to store the transferred pictures. Whether you prefer to create a new folder specifically for these images or transfer them to an existing directory, ensuring that you have a designated location for the transfer is essential for organization and accessibility.
-
Select the Transfer Method: Depending on your operating system (Windows, macOS, etc.), there are multiple methods to transfer pictures from your Motorola Razr to your PC. One common approach is to utilize the native file explorer or file manager on your PC to access the connected Razr device and initiate the transfer process. Alternatively, you can use dedicated software or applications that facilitate the seamless transfer of media files between your Razr and your PC.
-
Drag and Drop or Copy and Paste: Once you have accessed the pictures on your Motorola Razr through your PC's file explorer or dedicated software, you can proceed to transfer them by employing the simple yet effective method of drag and drop. Select the desired pictures from the Razr's storage and drag them to the designated folder on your PC. Alternatively, you can use the copy and paste method to transfer the pictures, ensuring that they are seamlessly copied from your Razr to your PC's storage.
-
Monitor the Transfer Progress: As the transfer process commences, it is advisable to monitor the progress to ensure that all selected pictures are successfully transferred to your PC. Depending on the number and size of the pictures, the transfer process may take some time. By actively monitoring the transfer progress, you can verify that each picture is securely transferred, thereby safeguarding your visual memories.
-
Verify the Transferred Pictures: Once the transfer process is complete, take a moment to verify the transferred pictures on your PC. Navigate to the designated folder or location where you transferred the pictures and ensure that they are accurately and completely transferred. This verification step provides peace of mind, knowing that your cherished visual memories are now safely stored on your PC.
By following these steps, you can seamlessly transfer the selected pictures from your Motorola Razr to your PC, ensuring that your visual memories are securely preserved and readily accessible for further management and enjoyment. Whether you intend to organize, edit, or share these transferred pictures, having them readily available on your PC enhances your digital photo management experience, allowing you to curate and cherish your visual memories with ease.
Conclusion
In conclusion, the process of transferring pictures from your Motorola Razr to your PC offers a seamless and efficient way to safeguard your visual memories, free up space on your device, and enhance your digital photo management experience. By following the quick and easy steps outlined in this guide, you have gained the knowledge and confidence to initiate the transfer process, ensuring that your cherished pictures are securely preserved and readily accessible on your PC.
The initial step of connecting your Motorola Razr to your PC through a compatible USB cable serves as the foundation for the subsequent stages of accessing and transferring your pictures. This pivotal connection enables the seamless transfer of data, including your captivating images, and sets the stage for a streamlined and efficient transfer process.
Accessing the pictures on your Motorola Razr empowers you to curate and select the specific images that hold significance to you. Whether you've captured breathtaking landscapes, candid moments with loved ones, or vibrant selfies, the ability to browse, select, and organize your pictures within the Gallery app sets the stage for the final and crucial step of transferring these visual memories to your PC.
The transfer process itself, facilitated through methods such as drag and drop or copy and paste, ensures that your selected pictures are securely transferred to your PC's storage. This seamless transfer marks the culmination of the process, providing you with the assurance that your visual memories are safely preserved and readily available for further organization, editing, or sharing.
By transferring your pictures from your Motorola Razr to your PC, you have taken a proactive step in safeguarding your visual memories and enhancing your digital photo management experience. Whether you're an avid photographer, a social media enthusiast, or someone who values their visual moments, the ability to seamlessly transfer and access your pictures on your PC elevates your overall digital experience.
In essence, the process of transferring pictures from your Motorola Razr to your PC empowers you to curate, preserve, and cherish your visual memories with ease. As you navigate through the digital landscape of visual storytelling, having your pictures readily accessible on your PC ensures that your cherished moments are always within reach, ready to be revisited, shared, and celebrated.