Introduction
In the era of modern smartphones with expansive storage capacities, the concept of transferring photos to an SD card may seem like a relic of the past. However, for proud owners of the iconic Motorola Razr Flip Phone (2005), this process is not only relevant but also essential for preserving precious memories captured through its humble yet cherished camera.
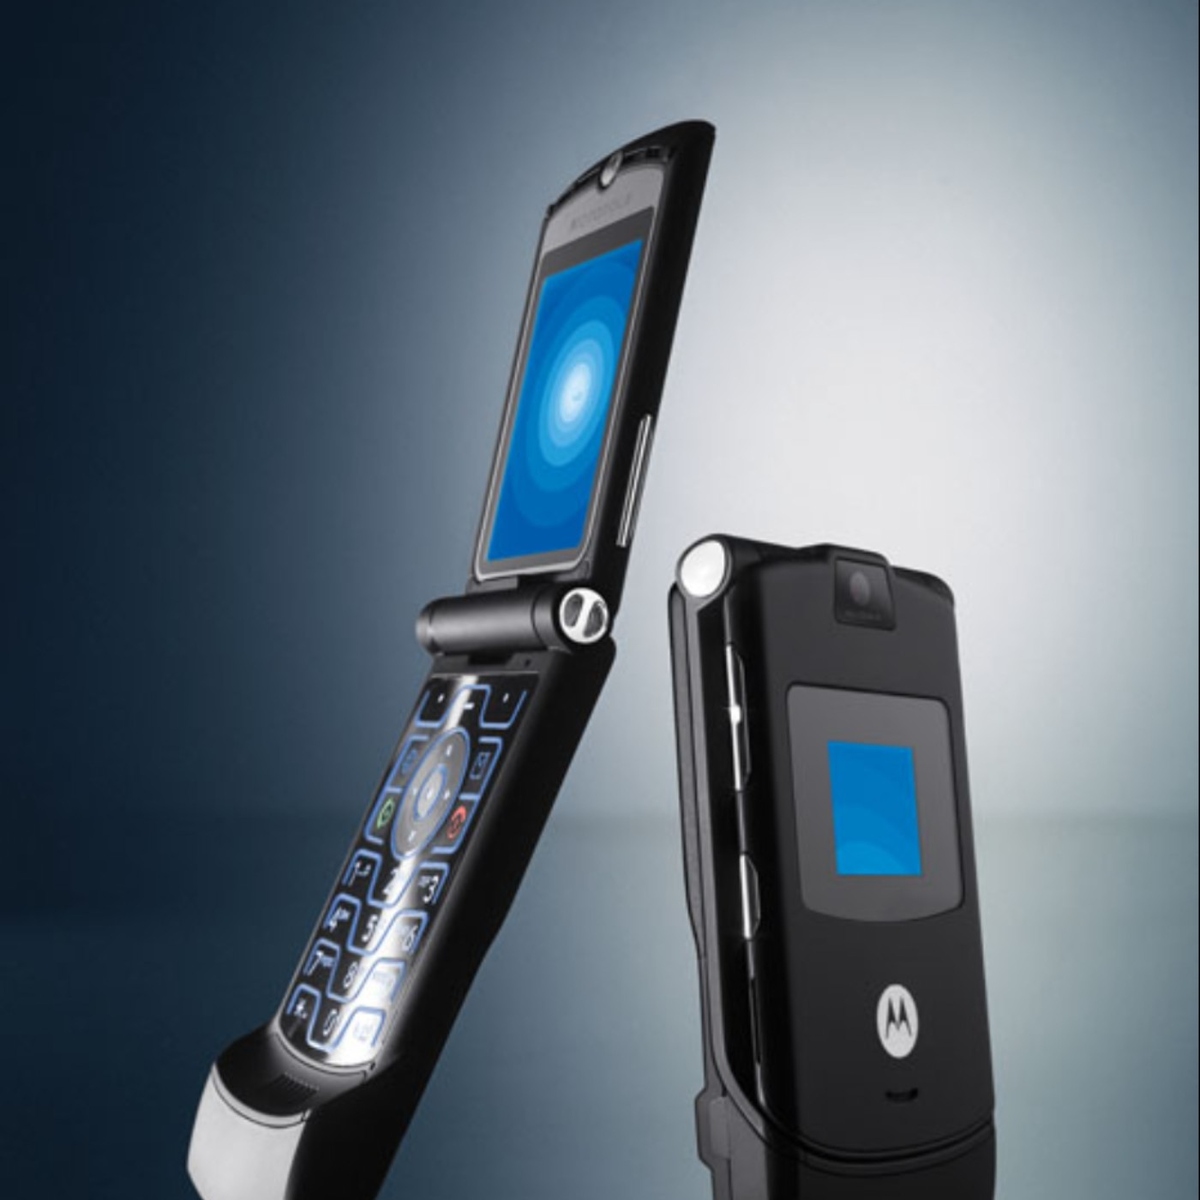
The Motorola Razr Flip Phone, with its sleek and innovative design, revolutionized the mobile phone industry and became an iconic symbol of the mid-2000s. Despite its compact size, the phone boasted a camera that allowed users to capture life's moments in vivid detail. However, the limited internal storage capacity of the device necessitates the use of an SD card to store an extensive collection of photos.
In this guide, we will delve into the step-by-step process of transferring photos to an SD card on the Motorola Razr Flip Phone. By following these instructions, users can safeguard their photographic memories and free up valuable internal storage space, ensuring that every special moment is preserved for years to come.
Let's embark on this nostalgic journey and unlock the secrets to seamlessly transferring photos to an SD card, preserving the timeless charm of the Motorola Razr Flip Phone.
Step 1: Inserting the SD Card
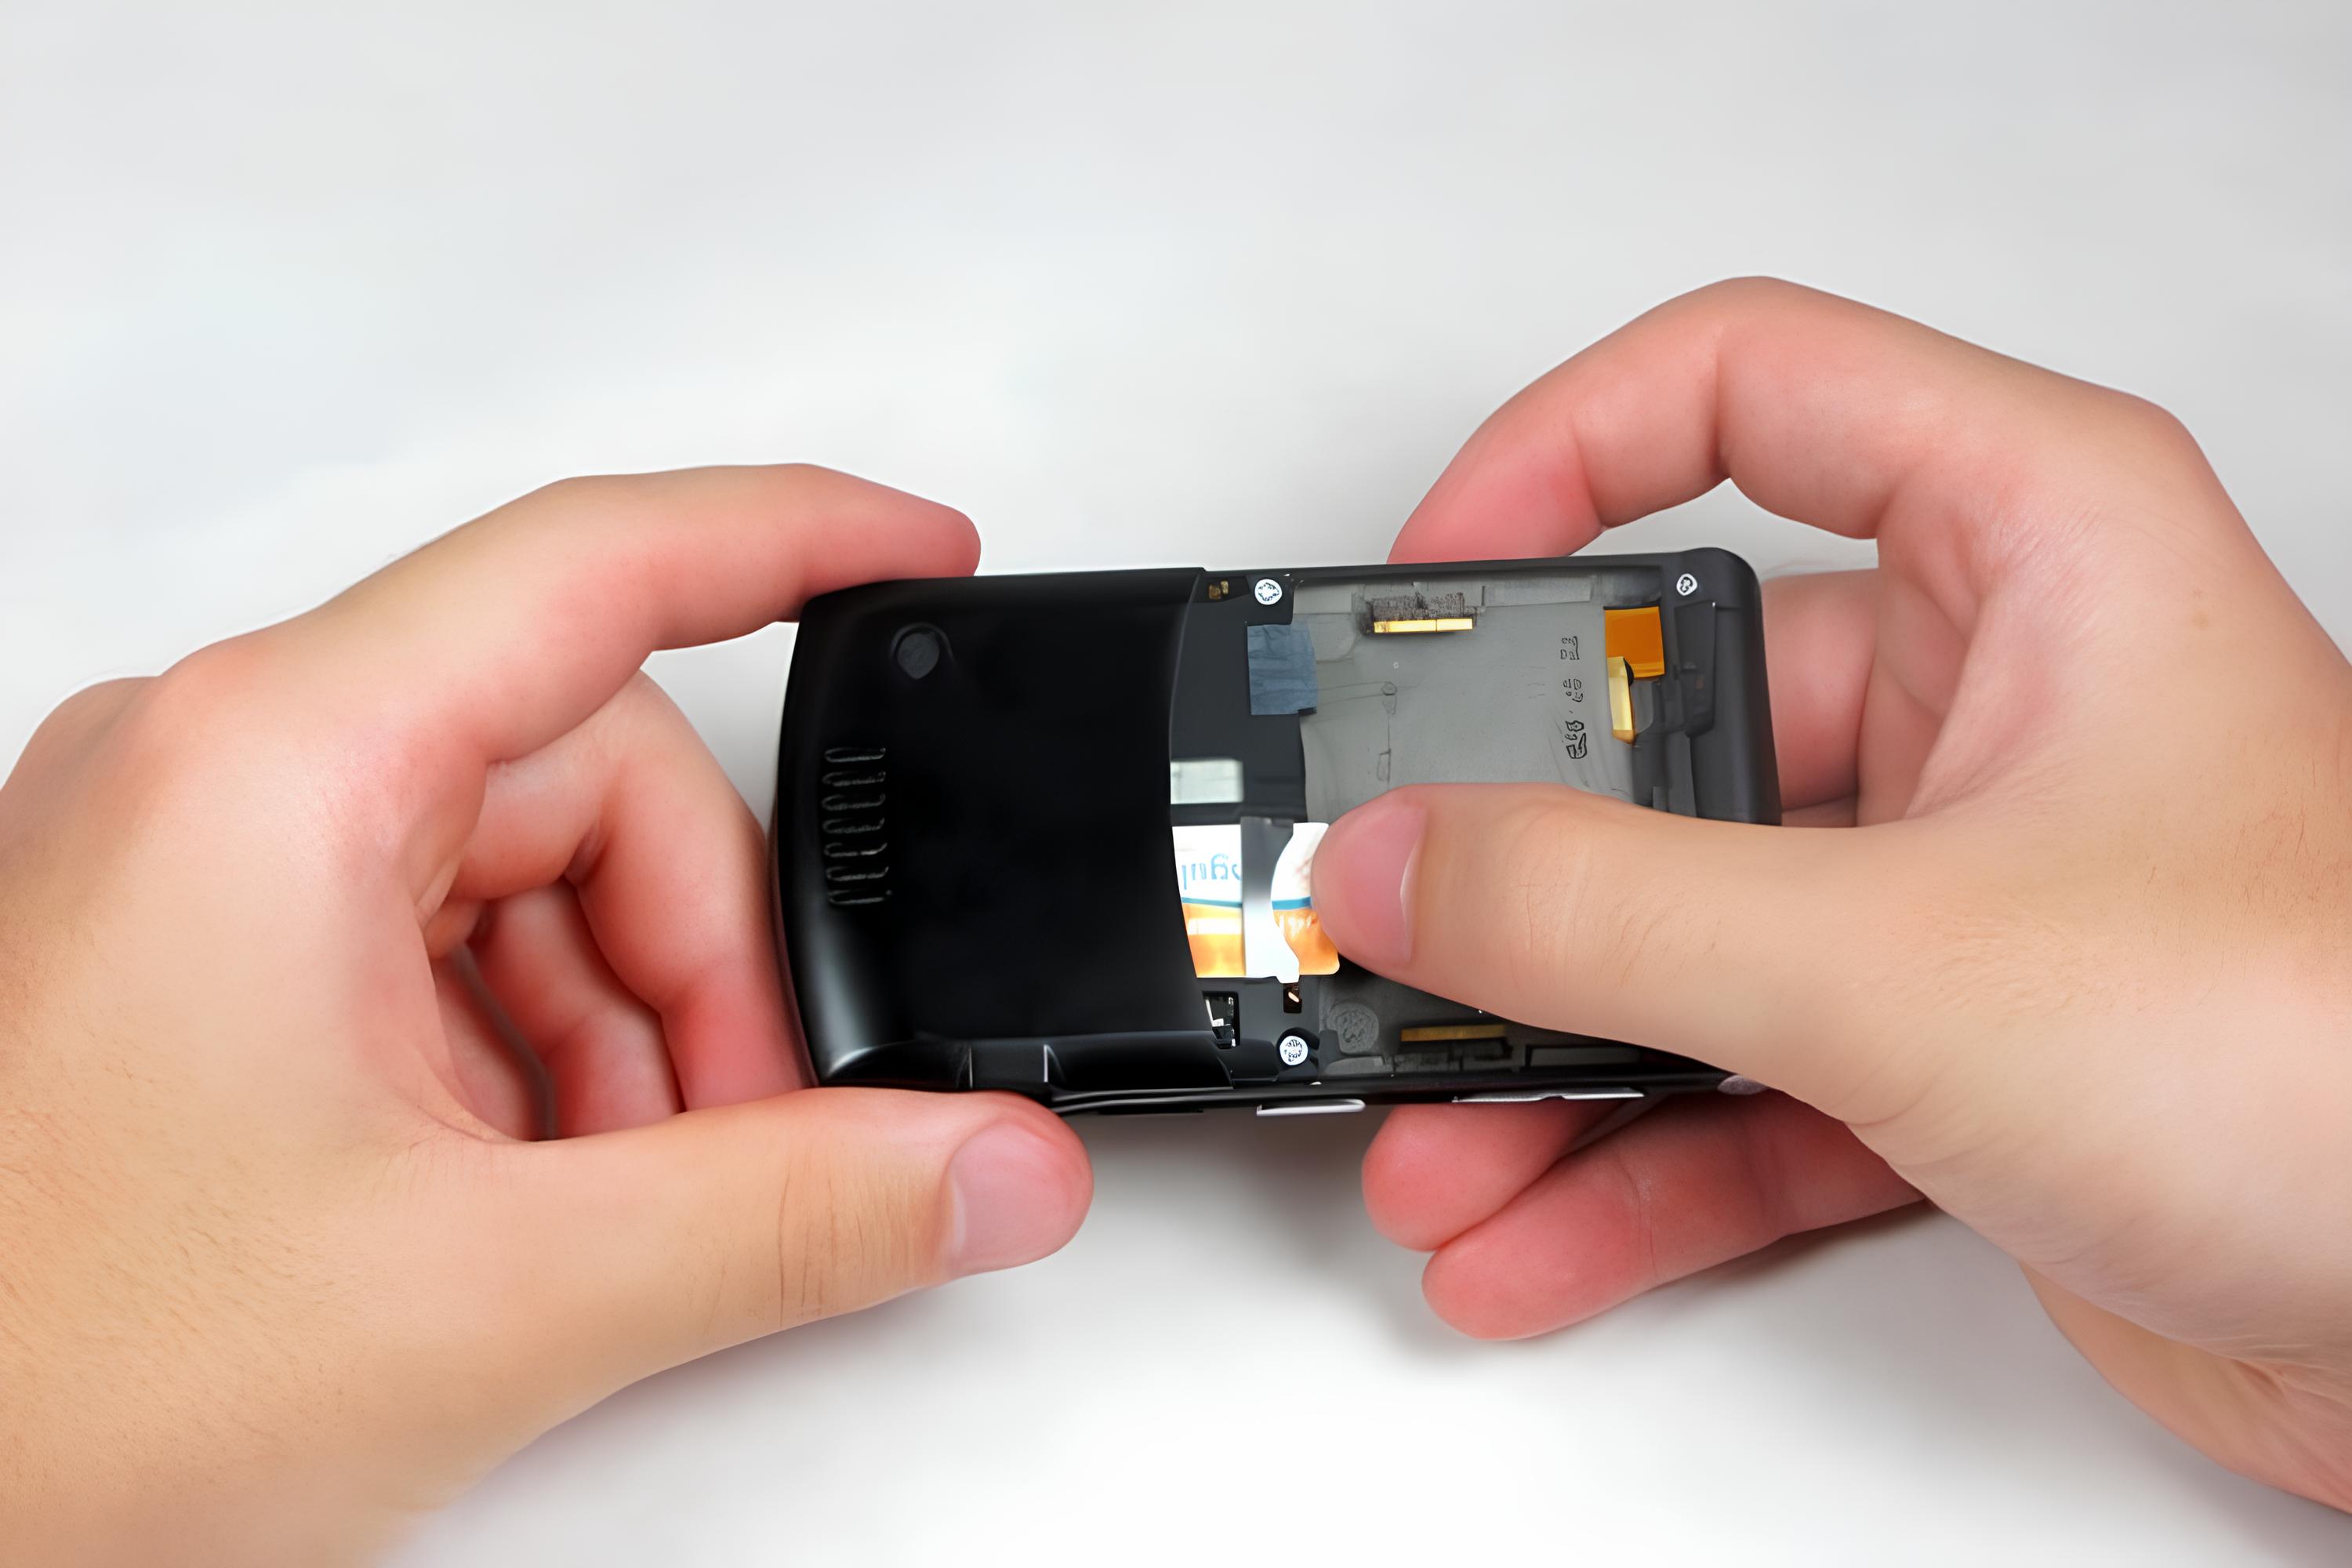
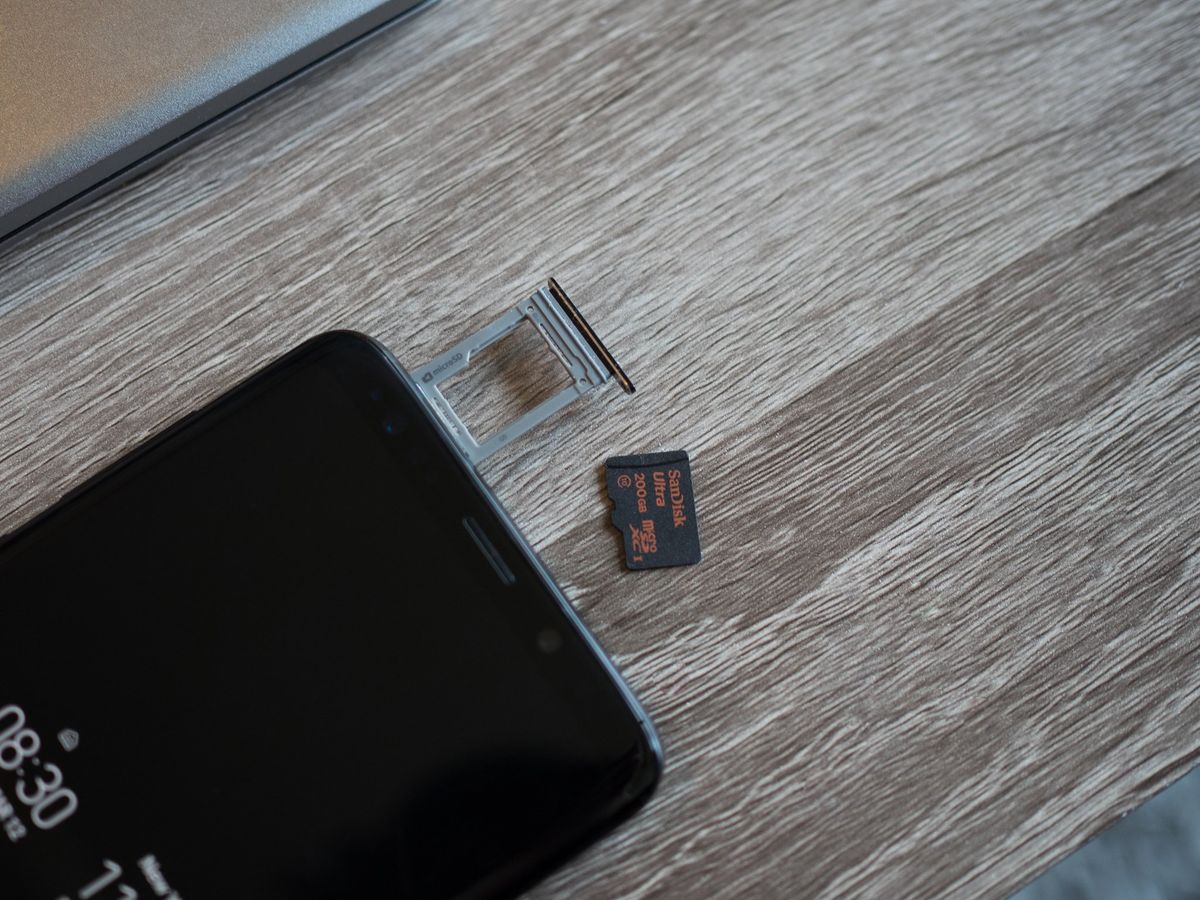
The process of transferring photos to an SD card on the Motorola Razr Flip Phone begins with the crucial step of inserting the SD card into the device. The SD card serves as an external storage solution, expanding the phone's capacity to store a multitude of cherished photographs. Here's a detailed guide on how to seamlessly insert the SD card into the Motorola Razr Flip Phone:
-
Locate the SD Card Slot: The first step is to identify the location of the SD card slot on the Motorola Razr Flip Phone. Typically, the slot is situated on the side of the device, concealed beneath a small cover. Gently slide the cover to reveal the slot where the SD card will be inserted.
-
Prepare the SD Card: Before inserting the SD card, ensure that it is compatible with the device. The Motorola Razr Flip Phone supports standard SD cards with capacities up to 2GB. If the SD card meets these specifications, it is ready to be inserted into the device.
-
Insert the SD Card: With the phone powered off, carefully insert the SD card into the designated slot. Align the notched edge of the SD card with the corresponding notch within the slot to ensure proper insertion. Apply gentle pressure to secure the SD card in place, taking care not to force it into the slot.
-
Close the Cover: Once the SD card is securely inserted, gently close the cover to protect the card and ensure it remains in place. The cover serves as a safeguard, preventing the SD card from dislodging during regular use of the phone.
-
Power On the Device: After successfully inserting the SD card, power on the Motorola Razr Flip Phone to initiate the recognition and integration of the external storage. The device will detect the presence of the SD card and prepare it for use in storing photos and other data.
By following these steps, users can seamlessly insert an SD card into the Motorola Razr Flip Phone, laying the foundation for the subsequent process of transferring photos to the external storage. With the SD card securely in place, the device is primed to accommodate a vast collection of photos, ensuring that every cherished memory is preserved for years to come.
Step 2: Accessing the Photos
Once the SD card is securely inserted into the Motorola Razr Flip Phone, accessing the stored photos becomes a seamless process. The device's user-friendly interface and intuitive navigation allow users to effortlessly view and manage their photographic memories. Here's a detailed exploration of the steps involved in accessing the photos stored on the SD card:
-
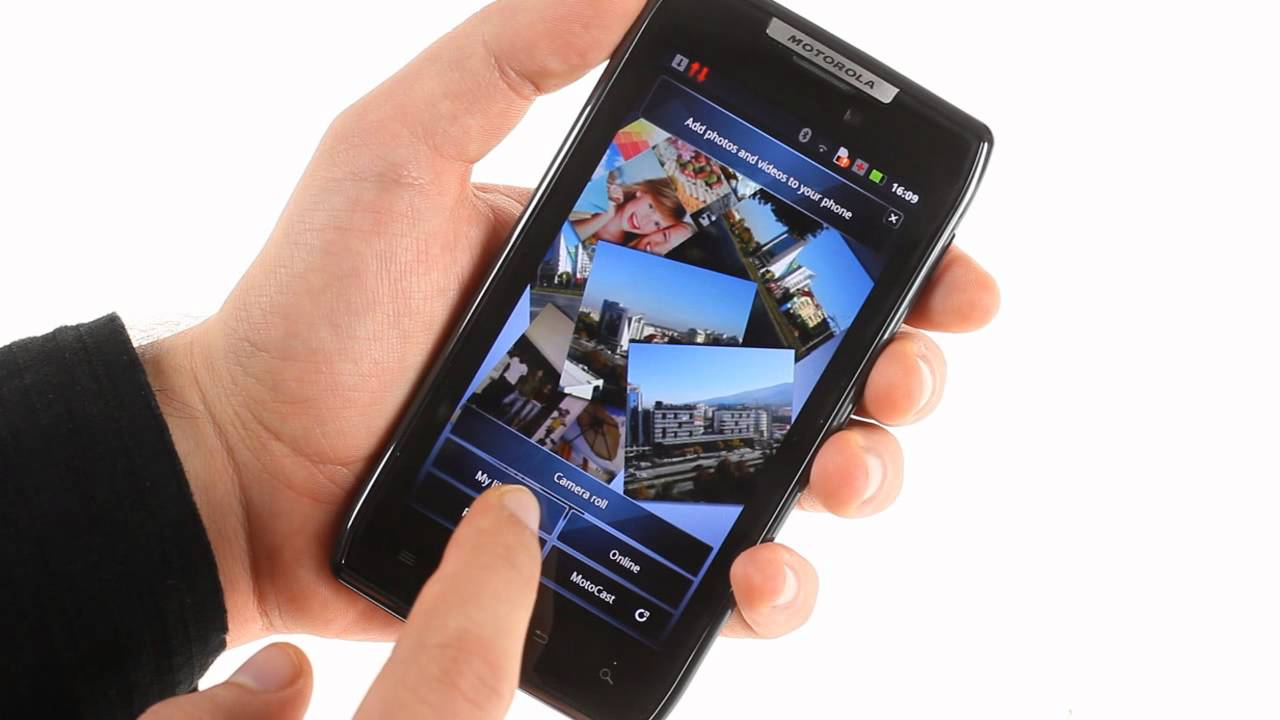
Navigate to the Gallery: To access the photos stored on the SD card, navigate to the Gallery or Photos app on the Motorola Razr Flip Phone. This can typically be found in the phone's menu or home screen, providing quick and convenient access to the stored images.
-
Select the SD Card Storage: Upon opening the Gallery or Photos app, the device will prompt the user to select the storage location for viewing photos. In this instance, choose the option to view photos stored on the SD card, allowing the device to retrieve and display the images stored on the external storage.
-
Browse Through the Photo Collection: Once the SD card storage is selected, users can browse through their photo collection with ease. The device's interface enables seamless navigation through the stored images, allowing users to relive cherished moments captured through the phone's camera.
-
View and Organize Photos: With the photos displayed on the screen, users can view each image in detail and organize them as desired. The Motorola Razr Flip Phone provides options to create albums, categorize photos, and perform basic editing functions, empowering users to curate their photo collection with a personal touch.
-
Share and Enjoy Memories: Beyond accessing the photos, the device allows users to share their cherished memories with friends and family. Whether through messaging, email, or social media, the Motorola Razr Flip Phone facilitates the seamless sharing of precious moments captured on its iconic camera.
By following these steps, users can effortlessly access and manage the photos stored on the SD card within the Motorola Razr Flip Phone. The device's user-friendly interface and intuitive navigation empower users to relive and share their cherished memories, ensuring that every captured moment remains easily accessible and thoroughly enjoyed.
Step 3: Transferring Photos to the SD Card
Transferring photos to the SD card on the Motorola Razr Flip Phone is a straightforward process that empowers users to safeguard their cherished memories and free up internal storage space. The seamless integration of the SD card with the device's camera functionality allows users to effortlessly store and organize their photographic collection. Here's a detailed exploration of the steps involved in transferring photos to the SD card:
-
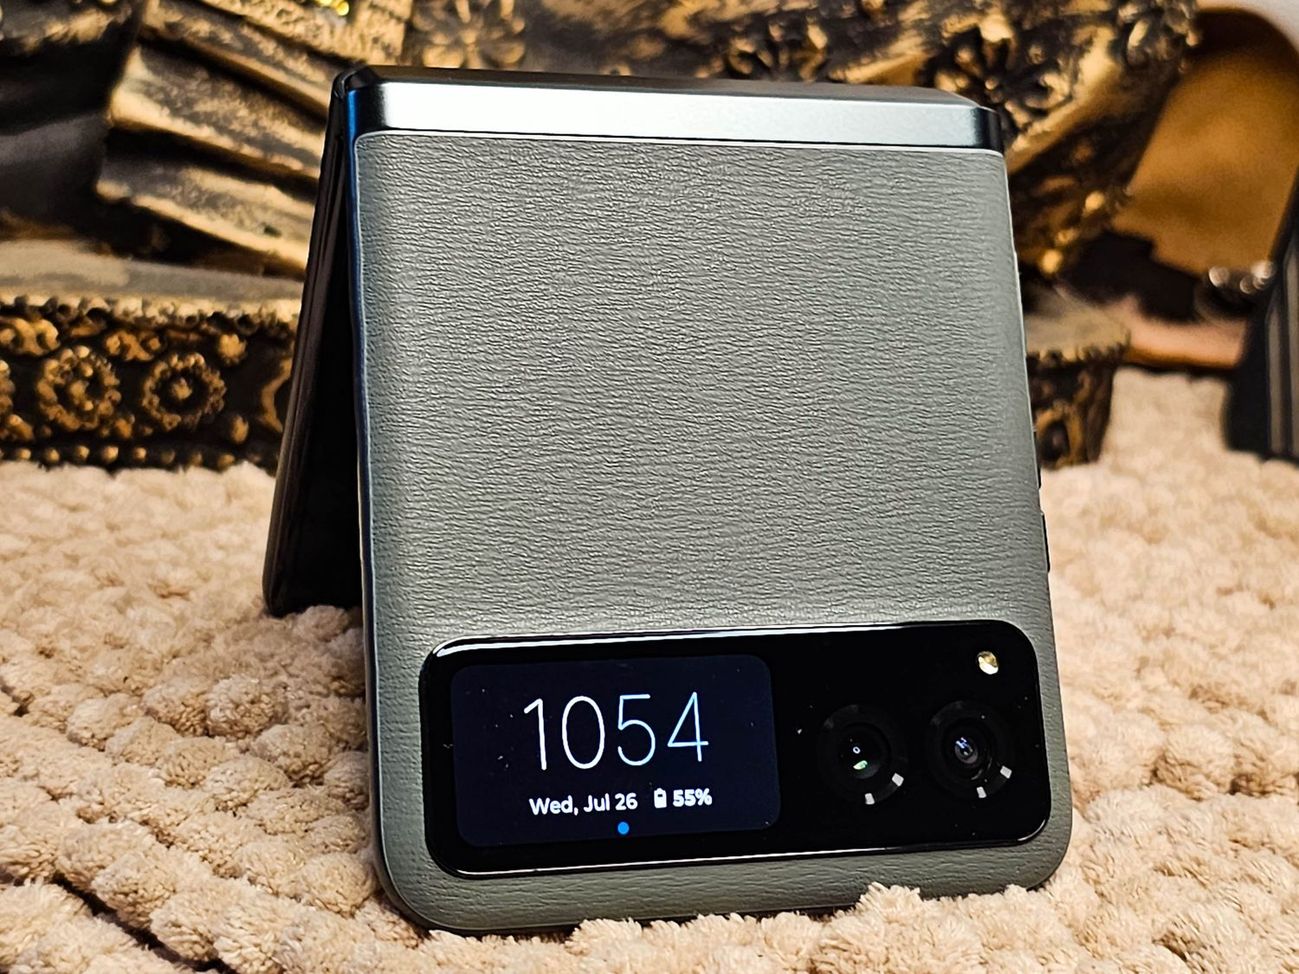
Access the Camera: Begin by accessing the phone's camera function, allowing users to view and select the photos they wish to transfer to the SD card. The camera interface provides a user-friendly platform for reviewing and managing the photographic collection captured through the device.
-
Select Photos for Transfer: Once within the camera interface, users can browse through their photo collection and select the specific images they intend to transfer to the SD card. The intuitive navigation and selection options enable users to curate their photo collection with ease.
-
Initiate the Transfer Process: With the desired photos selected, navigate to the options or settings menu within the camera interface. Look for the "Transfer to SD Card" or similar functionality, which initiates the seamless transfer of the selected photos from the device's internal storage to the inserted SD card.
-
Monitor the Transfer Progress: Upon initiating the transfer process, the device will display a progress indicator, informing users of the status of the photo transfer. This visual feedback ensures that users are aware of the transfer's completion and allows them to continue using the device during the process.
-
Verify the Transfer: Once the transfer process is complete, users can verify the successful transfer of photos to the SD card by accessing the Gallery or Photos app. Navigate to the SD card storage location and confirm that the transferred photos are seamlessly integrated into the external storage, freeing up internal space on the device.
By following these steps, users can effortlessly transfer their cherished photos to the SD card on the Motorola Razr Flip Phone, ensuring that every captured moment is securely stored and easily accessible. This process not only preserves precious memories but also optimizes the device's internal storage, allowing users to continue capturing new moments without storage constraints.
Conclusion
In conclusion, the process of transferring photos to an SD card on the iconic Motorola Razr Flip Phone (2005) encapsulates a seamless blend of nostalgia and practicality. By following the step-by-step guide outlined in this article, users can preserve their cherished memories captured through the device's humble yet beloved camera.
The insertion of the SD card into the Motorola Razr Flip Phone serves as the gateway to expanding the device's storage capacity, allowing users to curate a vast collection of photos without constraints. The user-friendly interface and intuitive navigation of the device empower users to effortlessly access, manage, and share their photographic memories, fostering a sense of nostalgia and connectivity.
Furthermore, the process of transferring photos to the SD card embodies the essence of practicality, enabling users to optimize the device's internal storage while safeguarding their precious moments. This seamless integration of external storage with the device's camera functionality ensures that every captured moment remains securely stored and easily accessible, perpetuating the timeless charm of the Motorola Razr Flip Phone.
As we reflect on the journey of transferring photos to an SD card on the Motorola Razr Flip Phone, we are reminded of the enduring allure of this iconic device. Its ability to capture and preserve memories transcends technological advancements, evoking a sense of nostalgia and appreciation for the simplicity and elegance of early mobile devices.
In essence, the process of transferring photos to an SD card on the Motorola Razr Flip Phone represents a harmonious convergence of nostalgia, practicality, and timeless charm. It embodies the enduring legacy of a device that captured the hearts of millions and continues to evoke a sense of nostalgia and admiration in the realm of mobile technology.
With the knowledge gained from this guide, users can embark on a journey of preserving their cherished memories, unlocking the secrets to seamlessly transferring photos to an SD card, and perpetuating the timeless charm of the Motorola Razr Flip Phone for generations to come.