Introduction
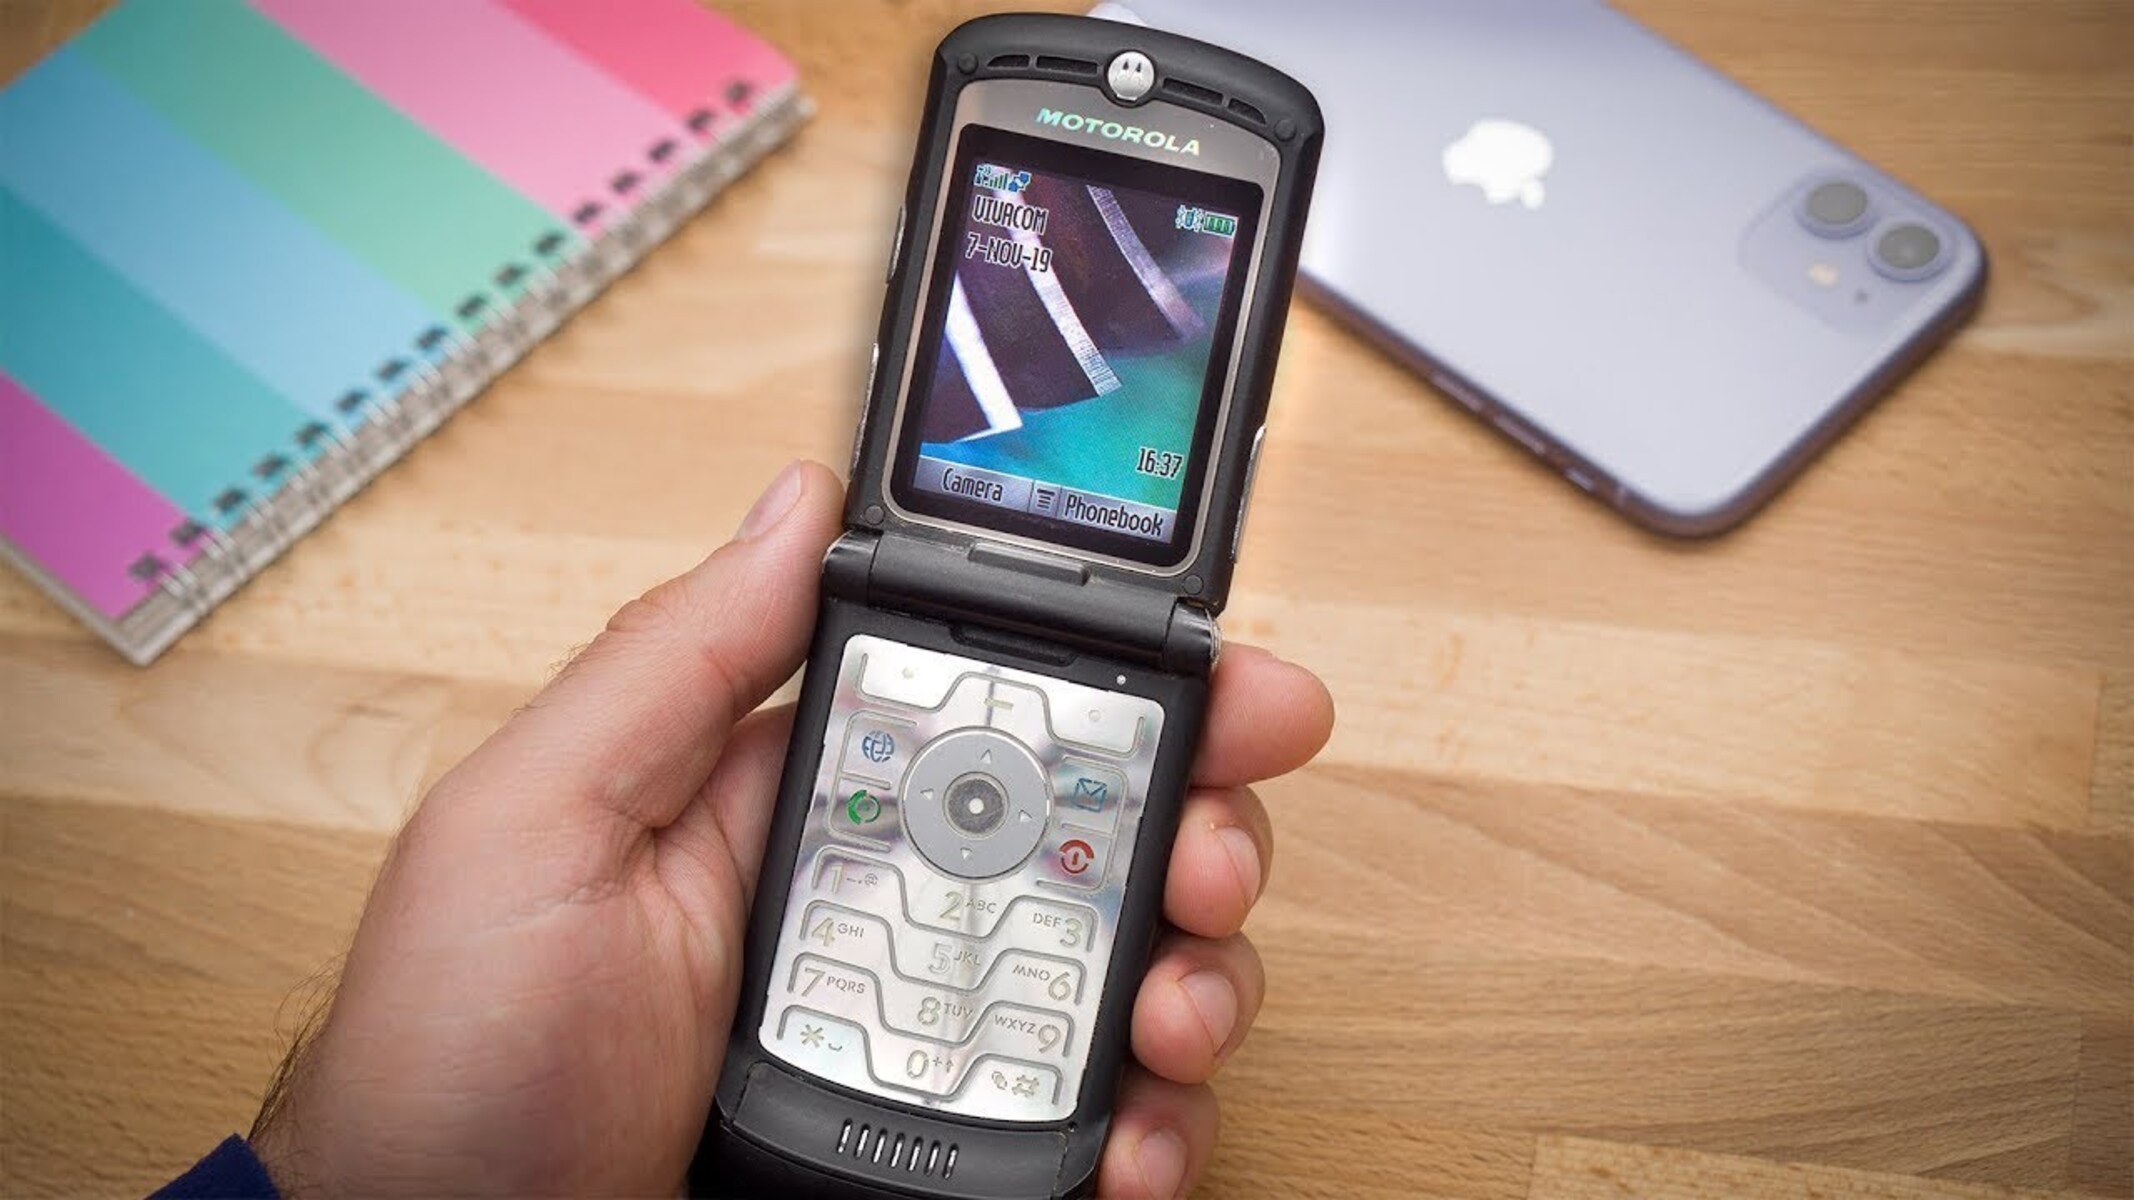
The Motorola Razr V3 is a timeless classic that revolutionized the mobile phone industry with its sleek design and innovative features. One of the essential components of this iconic device is the SIM (Subscriber Identity Module) card, which stores crucial information such as the user's identity and contacts. Understanding how to locate and insert the SIM card is fundamental for anyone using the Motorola Razr V3.
In this guide, we will walk you through the process of locating the SIM card slot on your Motorola Razr V3 and inserting the SIM card correctly. Whether you're a long-time user of this legendary device or have recently acquired a Razr V3, knowing how to handle the SIM card is crucial for seamless communication and connectivity.
The SIM card plays a pivotal role in enabling your device to connect to the mobile network, allowing you to make calls, send messages, and access mobile data. By following the steps outlined in this guide, you'll gain a comprehensive understanding of the SIM card's placement and the correct procedure for inserting it into your Motorola Razr V3.
Now, let's embark on this journey to uncover the location of the SIM card slot and ensure that your Motorola Razr V3 is equipped with the essential component that facilitates its communication capabilities. Let's dive into the process of uncovering the SIM card slot on your Motorola Razr V3 and seamlessly integrating the SIM card into this iconic device.
Step 1: Turn off the phone
Before embarking on the process of locating and inserting the SIM card into your Motorola Razr V3, it is crucial to ensure that the device is powered off. This initial step is essential to prevent any potential disruption or damage to the device or the SIM card during the insertion process.
To power off your Motorola Razr V3, you can follow these simple steps:
-
Locate the Power Button: The power button on the Motorola Razr V3 is typically located on the top of the device, towards the right-hand side. It is often distinguished by a small, tactile button that is easily accessible.
-
Press and Hold the Power Button: Once you have located the power button, gently press and hold it for a few seconds. This action will prompt the device to initiate the power-off sequence.
-
Wait for the Device to Power Down: As you continue to hold the power button, you will notice the display on the Motorola Razr V3 dimming, indicating that the device is powering off. It is important to ensure that the device is completely powered down before proceeding to the next step.
-
Verify the Power-Off Status: After a few moments, release the power button and verify that the device has successfully powered off. You can do this by checking the display to ensure that it is no longer illuminated and that the device is no longer responsive to touch or button inputs.
By following these steps, you can effectively power off your Motorola Razr V3 in preparation for the subsequent steps of locating the SIM card slot and inserting the SIM card. This simple yet crucial action sets the stage for a seamless and hassle-free SIM card insertion process, ensuring that the device and the SIM card are handled with care and precision.
With the Motorola Razr V3 powered off, you are now ready to proceed to the next step of uncovering the SIM card slot and seamlessly integrating the SIM card into this iconic device.
Step 2: Locate the SIM card slot
The Motorola Razr V3, known for its slim and sophisticated design, houses the SIM card slot in a discreet yet accessible location. To uncover this vital component of the device, you will need to familiarize yourself with the physical attributes and layout of the Razr V3. The SIM card slot on the Motorola Razr V3 is strategically positioned to ensure ease of access while maintaining the device's sleek and seamless exterior.
To locate the SIM card slot on your Motorola Razr V3, follow these steps:
-
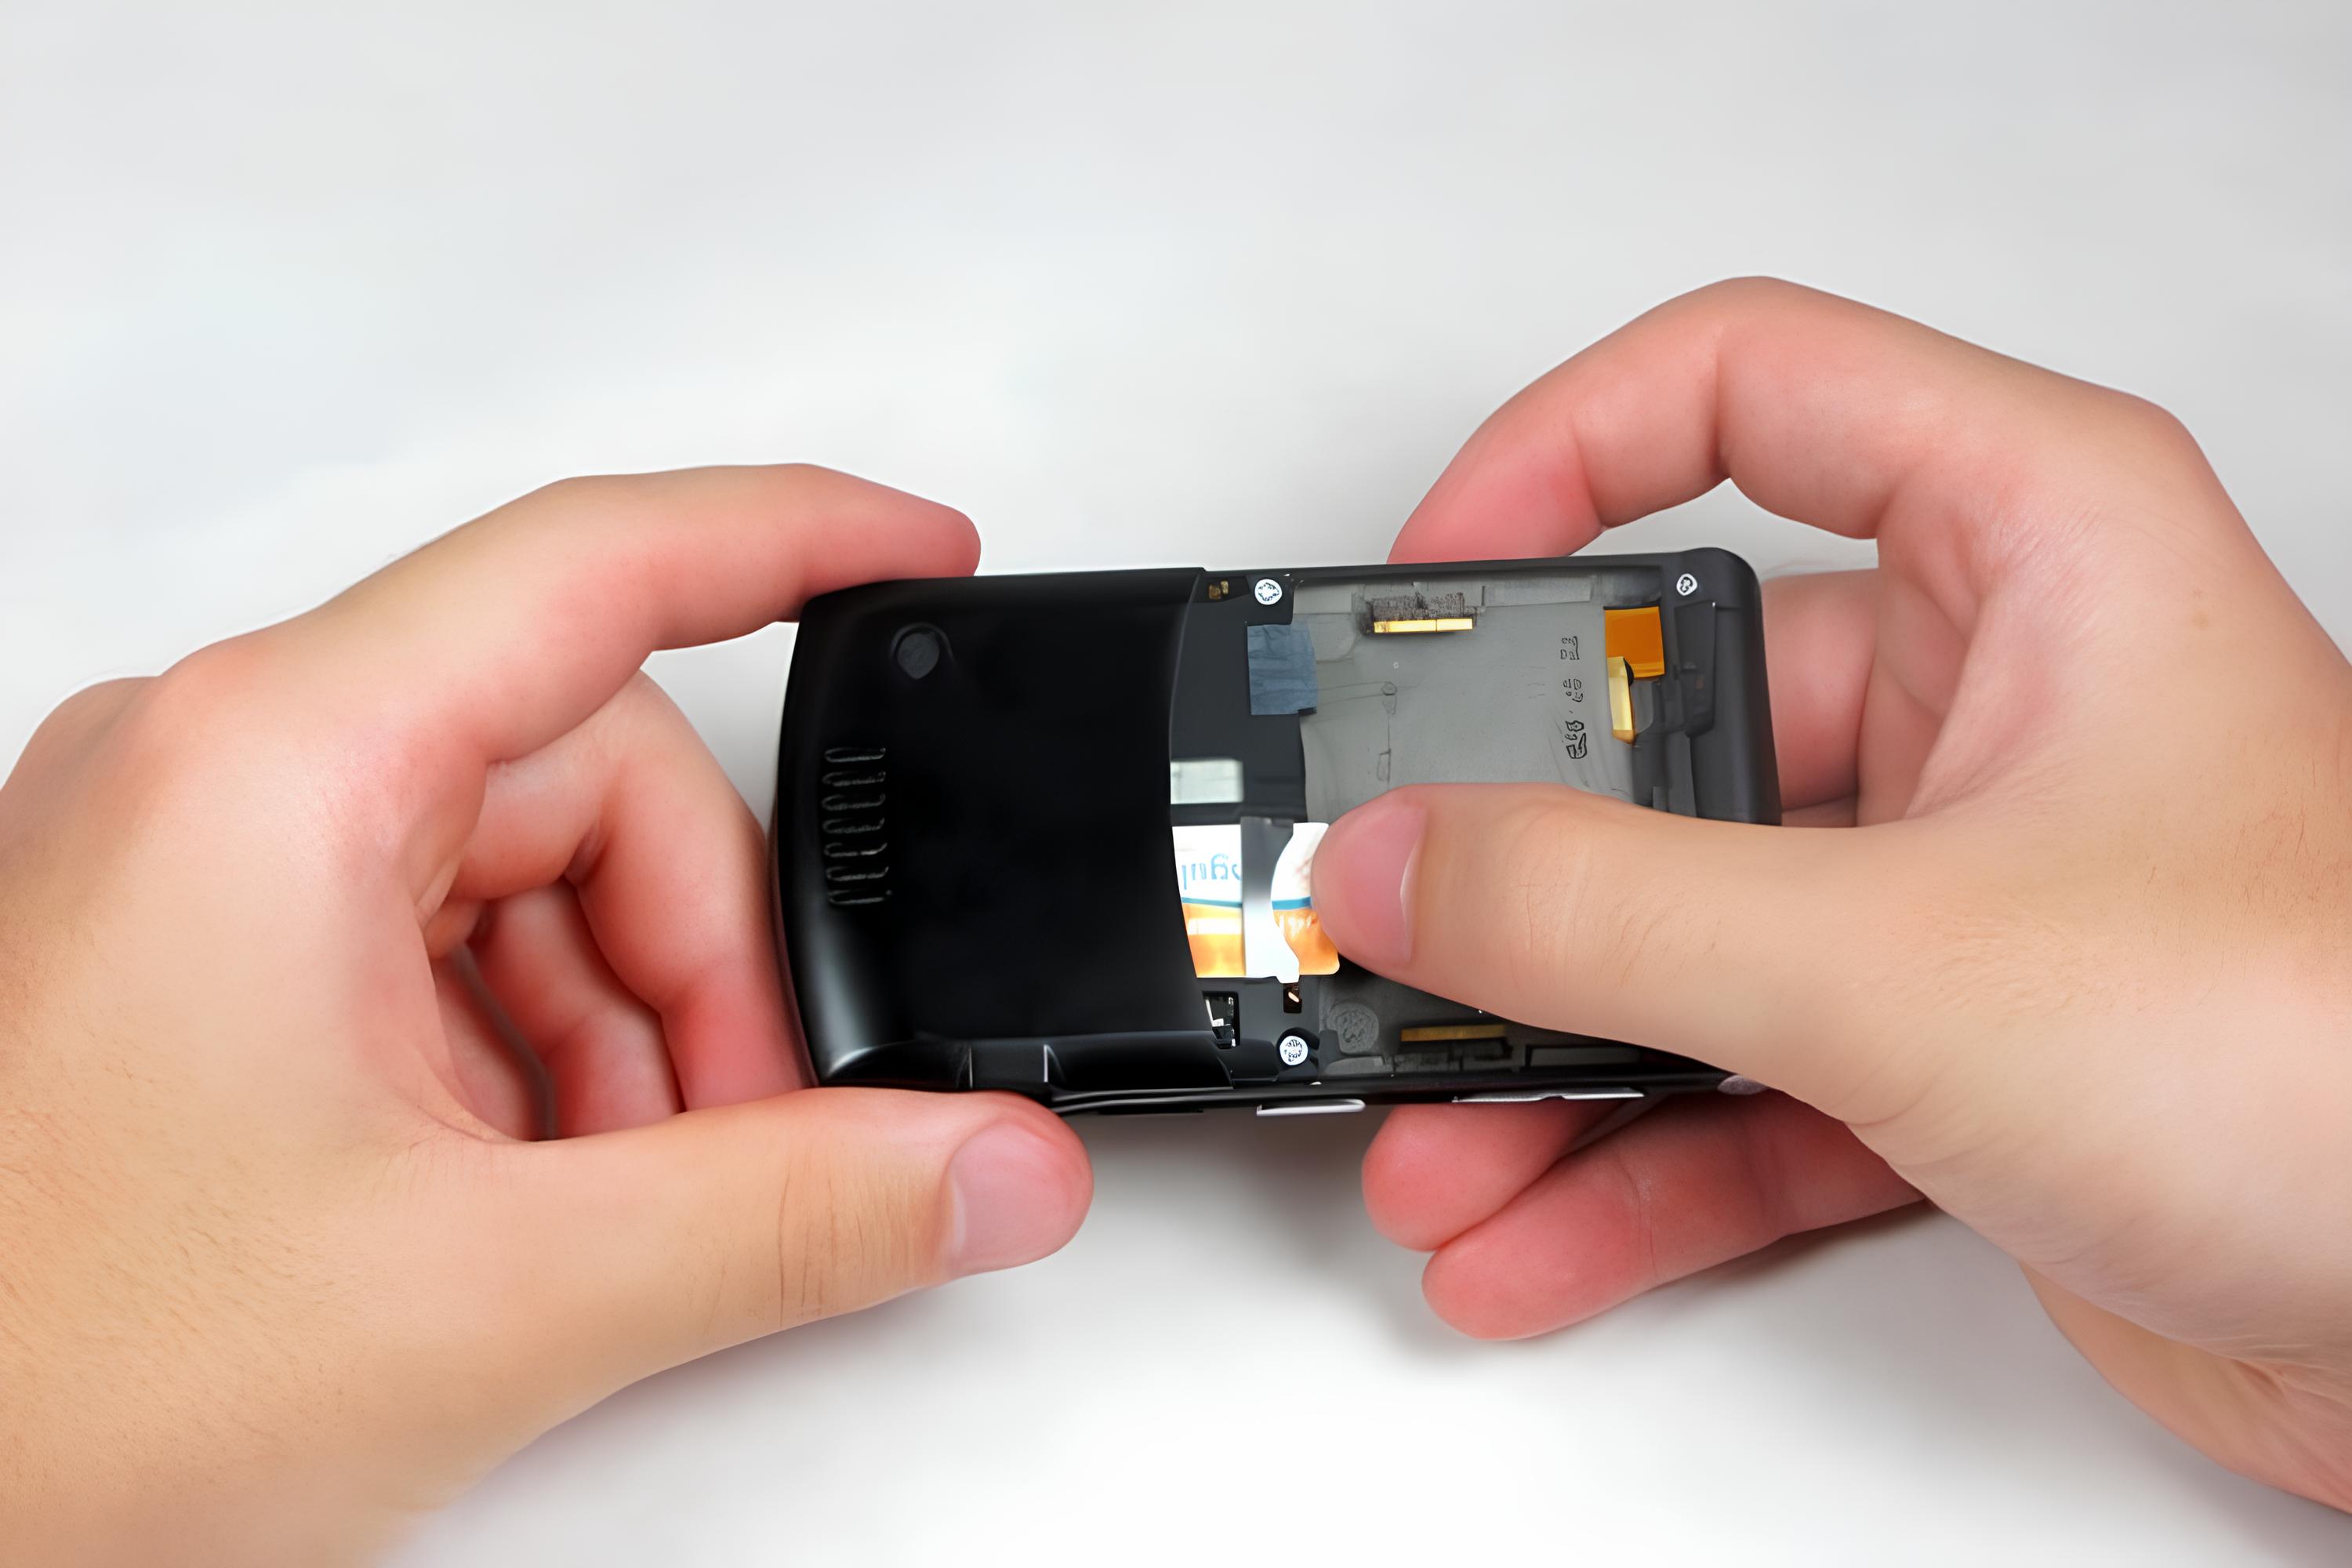
Inspect the Exterior: Begin by examining the exterior of the Razr V3, paying close attention to the edges and sides of the device. The SIM card slot is typically situated on the back of the device, beneath the battery cover. You may notice a small indentation or groove that indicates the presence of the SIM card slot.
-
Remove the Battery Cover: Once you have identified the general area where the SIM card slot is located, gently remove the battery cover from the back of the device. The battery cover is designed to be easily detachable, allowing you to access the internal components of the Razr V3, including the SIM card slot and the battery itself.
-
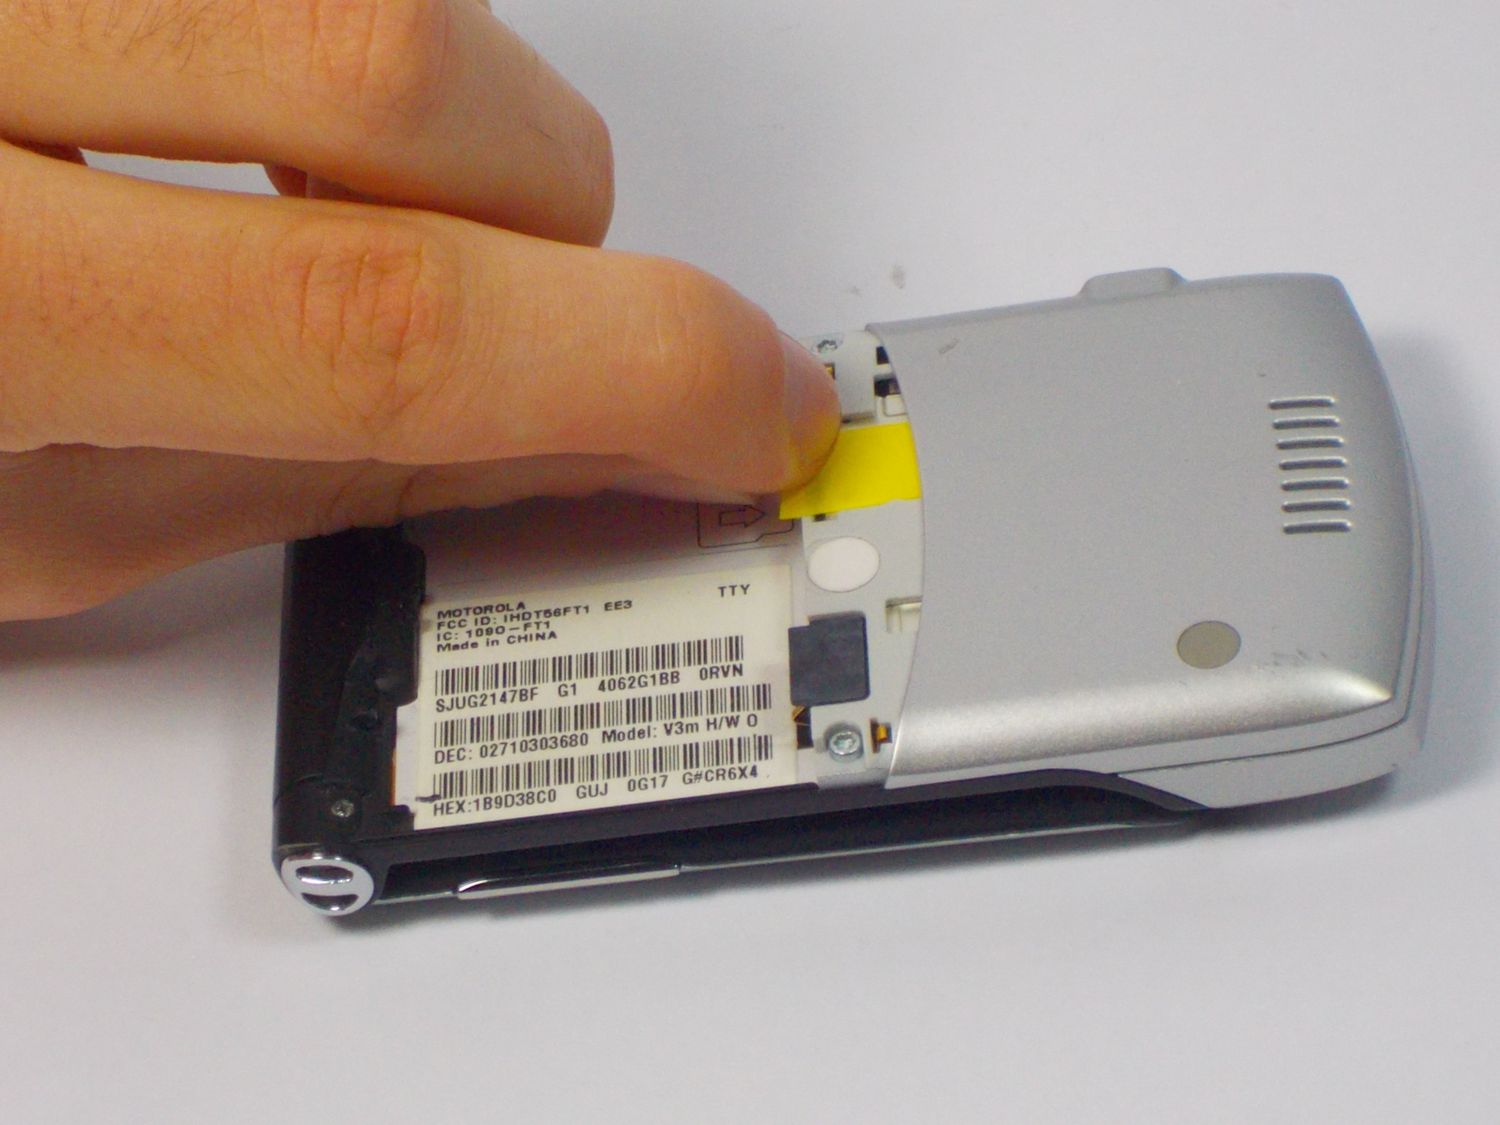
Locate the SIM Card Slot: With the battery cover removed, you will now have a clear view of the internal components of the Razr V3. Look for the slot specifically designed to accommodate the SIM card. The slot is often accompanied by a diagram or label that indicates the correct orientation for inserting the SIM card.
-
Observe the SIM Card Slot Orientation: As you identify the SIM card slot, take note of the orientation required for inserting the SIM card. The slot is designed to securely hold the SIM card in place, ensuring proper alignment and connection with the device's internal components.
By carefully following these steps, you can successfully locate the SIM card slot on your Motorola Razr V3. The strategic positioning of the SIM card slot ensures that it is easily accessible while maintaining the device's iconic design. With the SIM card slot identified, you are now ready to proceed to the next step of inserting the SIM card into your Motorola Razr V3, enabling seamless connectivity and communication capabilities.
With the SIM card slot uncovered, the next step involves the precise insertion of the SIM card into the designated slot, ensuring a secure and reliable connection that empowers your Motorola Razr V3 to harness its full communication potential.
Step 3: Insert the SIM card
With the SIM card slot on your Motorola Razr V3 now located, the next crucial step is to insert the SIM card into the designated slot, ensuring a secure and reliable connection. The SIM card, a small yet indispensable component, holds vital information that enables your device to connect to the mobile network and access essential communication services.
To effectively insert the SIM card into your Motorola Razr V3, follow these detailed steps:
-
Prepare the SIM Card: Before inserting the SIM card, ensure that it is free from any damage and is compatible with the Motorola Razr V3. The SIM card should be the appropriate size and shape to fit into the designated slot. Additionally, familiarize yourself with the correct orientation for inserting the SIM card, as indicated by any diagrams or labels near the SIM card slot.
-
Align the SIM Card: Hold the SIM card with the gold contacts facing down and the notched corner oriented as per the diagram or label near the SIM card slot. Align the SIM card with the corresponding guides within the slot, ensuring a proper fit and alignment.
-
Gently Insert the SIM Card: With the SIM card properly aligned, carefully slide it into the SIM card slot, applying gentle pressure to ensure that it is securely seated. Take care to avoid forcing the SIM card into the slot, as this may cause damage to both the card and the device.
-
Replace the Battery Cover: Once the SIM card is successfully inserted, replace the battery cover on the back of the Motorola Razr V3, ensuring that it is securely fastened. The battery cover plays a crucial role in maintaining the integrity of the internal components, including the SIM card and the device's battery.
By following these detailed steps, you can effectively insert the SIM card into your Motorola Razr V3, setting the stage for seamless connectivity and communication capabilities. The correct insertion of the SIM card ensures that your device can harness its full potential, enabling you to make calls, send messages, and access mobile data with ease.
With the SIM card securely in place, you are now ready to proceed to the final step of turning on your Motorola Razr V3, activating the device and initiating its seamless integration with the mobile network.
Step 4: Turn on the phone
After successfully inserting the SIM card into your Motorola Razr V3, the final step involves turning on the device to activate its connectivity and communication capabilities. By powering on the Razr V3, you will initiate the process of establishing a connection with the mobile network, enabling you to make calls, send messages, and access mobile data seamlessly.
To turn on your Motorola Razr V3, follow these straightforward steps:
-
Replace the Battery: If you removed the battery while inserting the SIM card, ensure that it is securely placed back into its designated compartment within the device. The battery provides the essential power source for the Razr V3, and its proper placement is crucial for the device to function effectively.
-
Replace the Battery Cover: Once the battery is securely in place, reattach the battery cover to the back of the device. Ensure that the cover is correctly aligned and firmly fastened to maintain the integrity of the internal components, including the SIM card and the battery.
-
Press and Hold the Power Button: Locate the power button on the top of the Motorola Razr V3 and press it firmly to initiate the power-on sequence. Hold the button for a few seconds, allowing the device to boot up and initialize its internal systems.
-
Observe the Startup Process: As you hold the power button, observe the display on the Razr V3 as it illuminates and the device begins to power on. You may notice the iconic Motorola logo appearing on the screen, indicating that the device is successfully booting up.
-
Wait for the Device to Power On: After initiating the power-on sequence, continue to hold the power button until the device completes the startup process. You will notice the display becoming fully illuminated, signaling that the Motorola Razr V3 is now powered on and ready for use.
By following these simple yet crucial steps, you can effectively power on your Motorola Razr V3, activating its connectivity and communication capabilities. With the device successfully powered on, you are now poised to experience the seamless integration of the SIM card and the device, enabling you to stay connected and engaged with your contacts and the mobile network.
With the Motorola Razr V3 powered on and the SIM card securely in place, you have completed the essential process of preparing your device for seamless communication and connectivity. Embrace the iconic design and innovative features of the Razr V3 as you embark on a journey of effortless communication and connectivity, empowered by the integration of the SIM card and the device's timeless capabilities.
Conclusion
In conclusion, the process of locating the SIM card slot on your Motorola Razr V3 and seamlessly integrating the SIM card into the device is a fundamental aspect of ensuring seamless communication and connectivity. By following the steps outlined in this guide, you have gained a comprehensive understanding of the essential procedures involved in handling the SIM card, a pivotal component that empowers your Razr V3 to connect to the mobile network and access essential communication services.
From the initial step of powering off the device to the precise insertion of the SIM card and the subsequent activation of the Motorola Razr V3, you have embarked on a journey that highlights the iconic design and functionality of this legendary device. The strategic positioning of the SIM card slot, coupled with the intuitive insertion process, underscores the user-friendly nature of the Razr V3, ensuring that users can seamlessly integrate the SIM card into the device with ease and precision.
As you power on your Motorola Razr V3 and witness the device coming to life, you are poised to experience the seamless integration of the SIM card, enabling you to make calls, send messages, and access mobile data effortlessly. The successful completion of the SIM card insertion process sets the stage for a seamless communication experience, allowing you to stay connected and engaged with your contacts and the mobile network.
Furthermore, the timeless appeal of the Motorola Razr V3, coupled with its innovative features and sleek design, is complemented by the seamless integration of the SIM card, a testament to the device's enduring legacy in the mobile phone industry. Whether you are a long-time user of the Razr V3 or have recently acquired this iconic device, the knowledge and understanding gained from this guide empower you to handle the SIM card with confidence and precision, ensuring that your Motorola Razr V3 remains a reliable companion for communication and connectivity.
In essence, the process of locating the SIM card slot on your Motorola Razr V3 and inserting the SIM card is a testament to the device's user-centric design and functionality. By seamlessly integrating the SIM card into the Razr V3, you are poised to experience the timeless allure and seamless communication capabilities that define this iconic device, reaffirming its status as a true classic in the realm of mobile technology.