Introduction
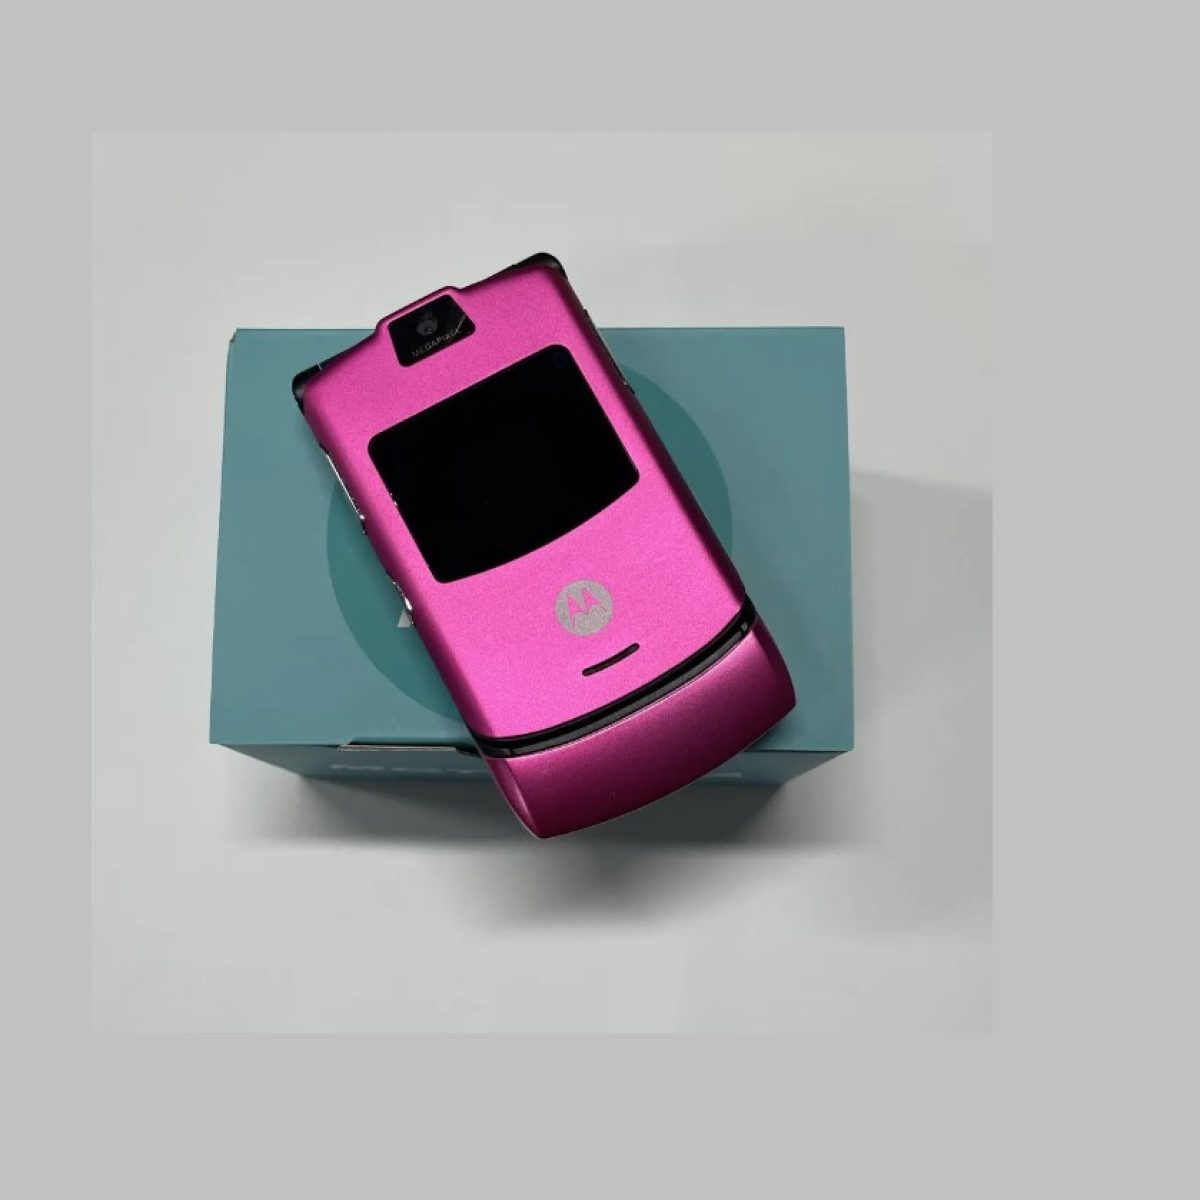
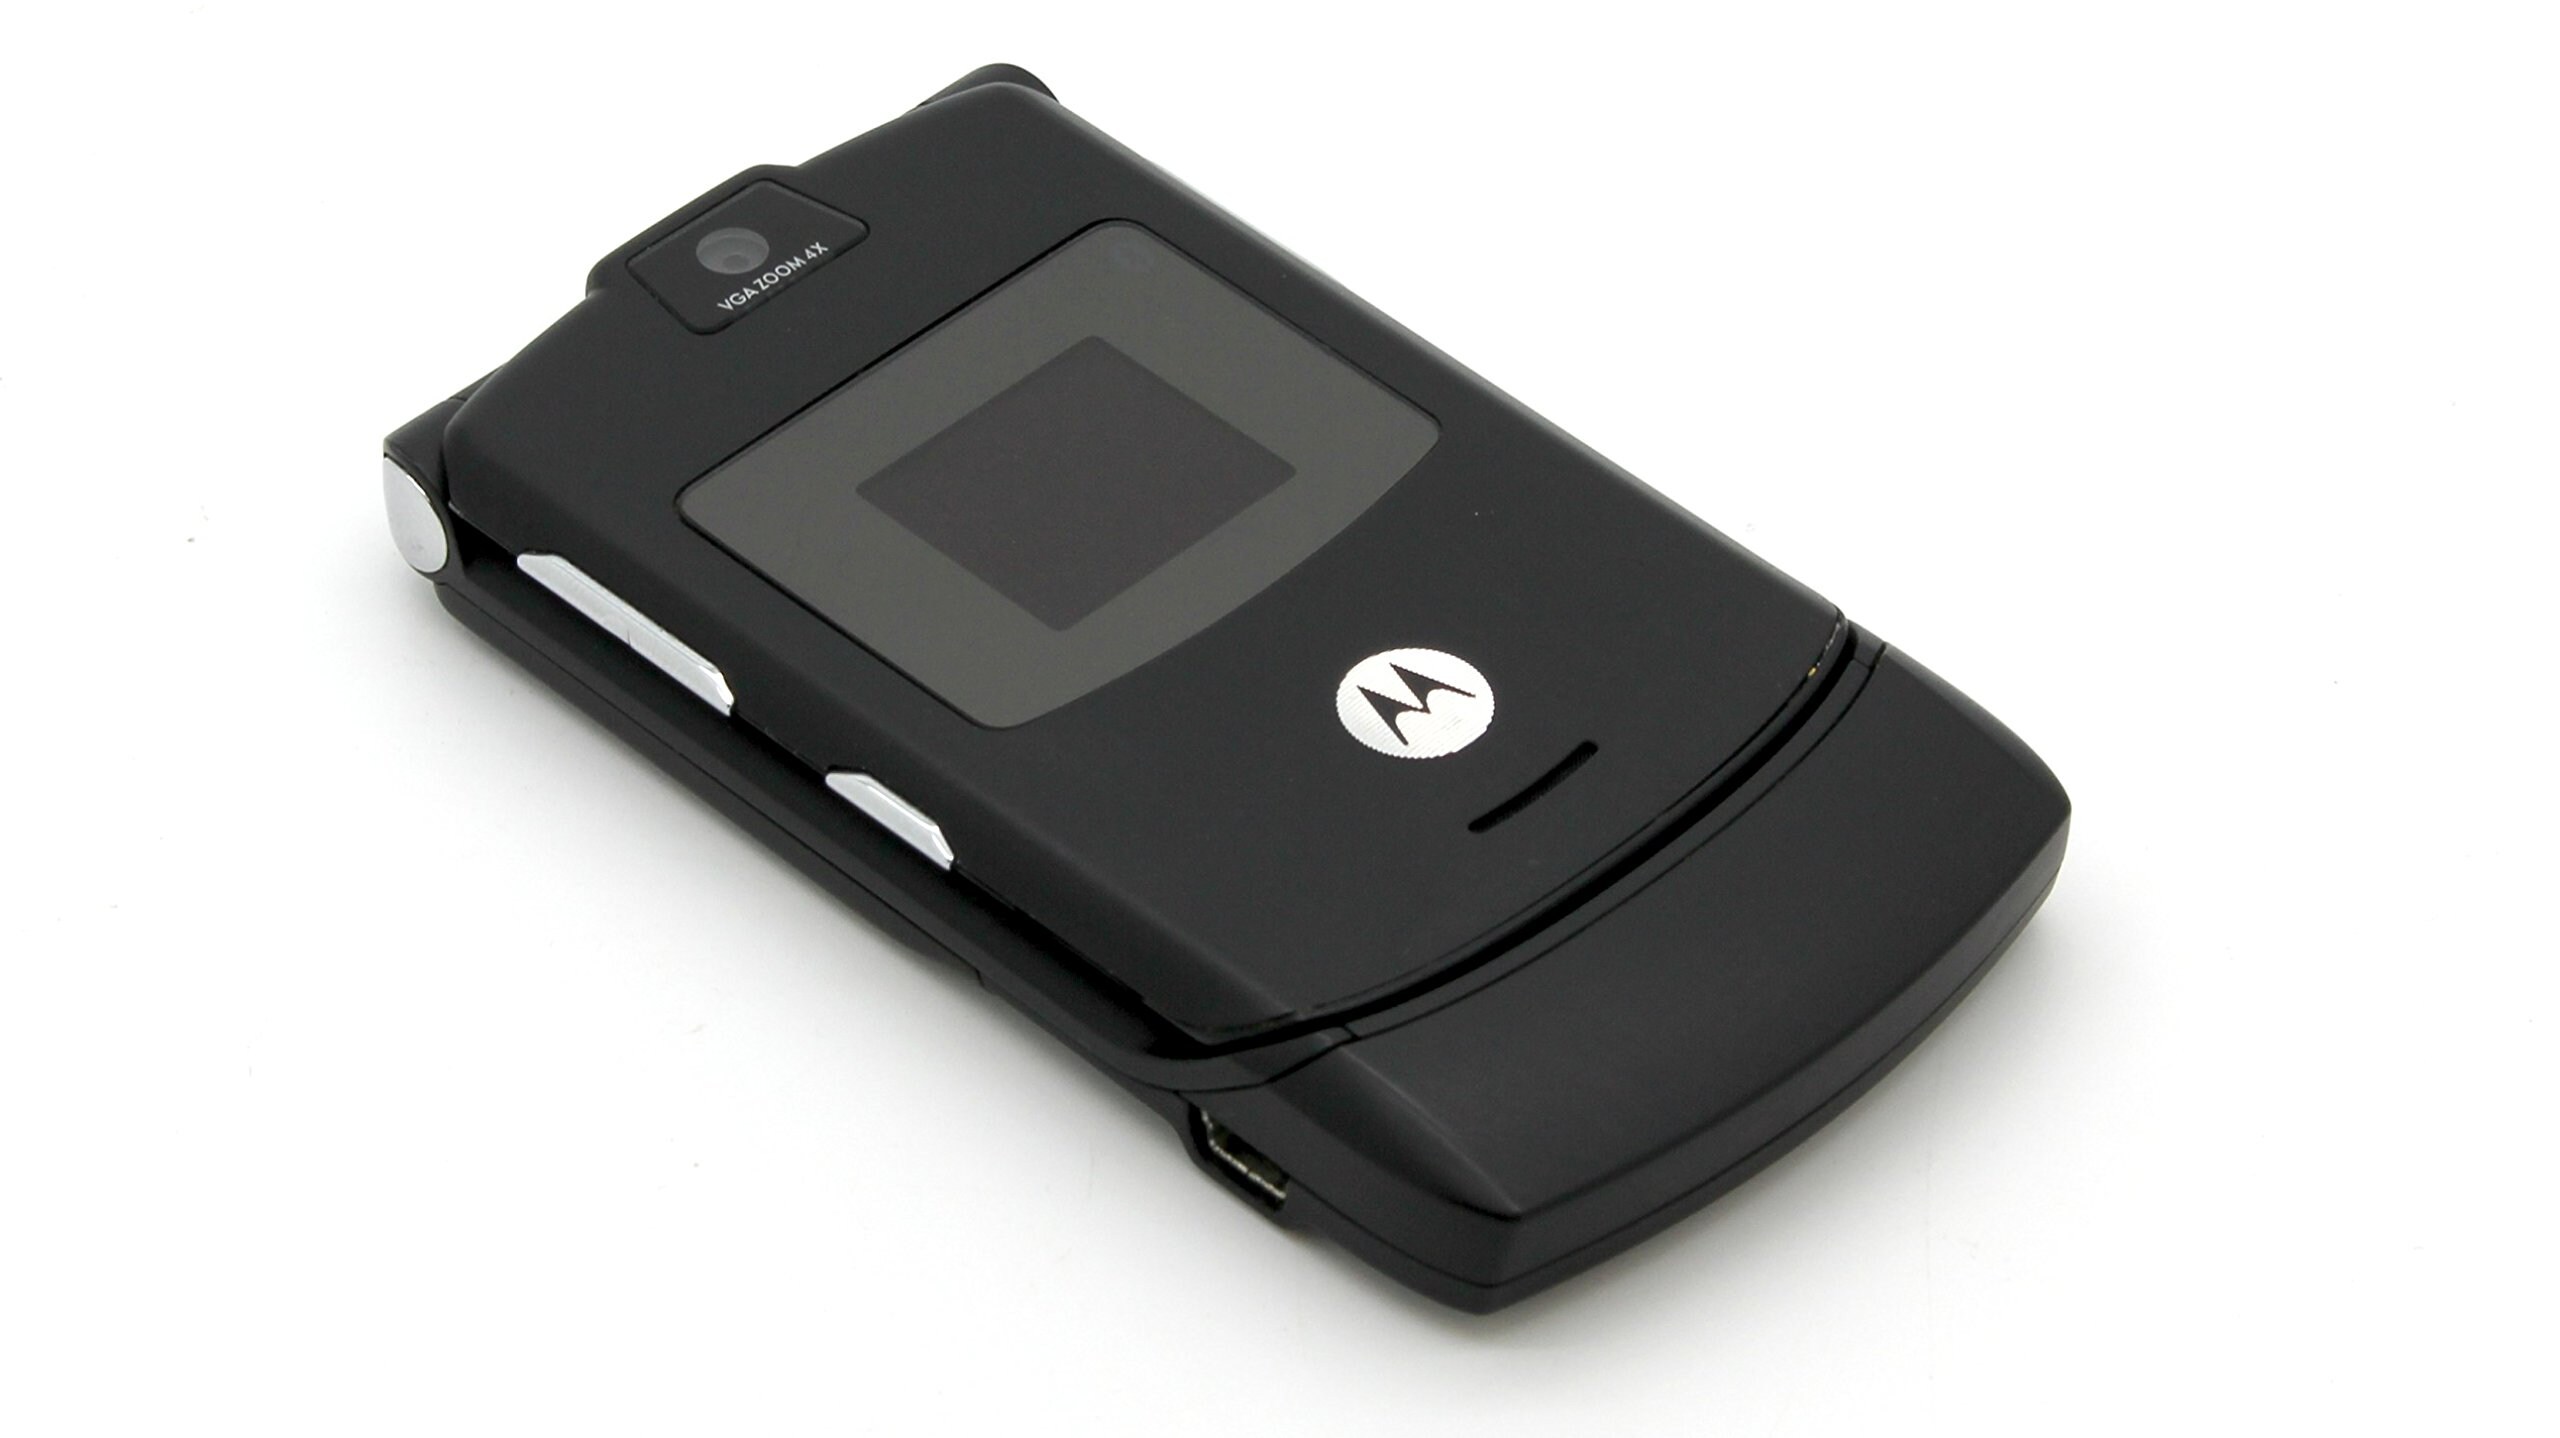
The Motorola Razr V3, a timeless classic in the realm of mobile devices, has garnered a dedicated following for its sleek design and innovative features. However, like all electronic gadgets, the Razr V3 requires occasional maintenance, including battery replacement. Understanding how to remove and replace the battery is essential for ensuring the continued functionality of this iconic device.
In this comprehensive guide, we will walk you through the step-by-step process of removing the battery from your Motorola Razr V3. Whether you are a seasoned tech enthusiast or a novice user, this guide will equip you with the knowledge and confidence to perform this essential maintenance task with ease.
By following the instructions provided in this guide, you will be able to access the battery compartment of your Razr V3 and safely remove the battery without causing any damage to the device. This knowledge is invaluable for prolonging the lifespan of your device and ensuring that it remains operational for years to come.
So, without further ado, let's delve into the tools required and the step-by-step process for removing the battery from your Motorola Razr V3. Whether you're preparing to replace the battery or simply want to familiarize yourself with the process, this guide will serve as your go-to resource for maintaining your beloved Razr V3.
Tools Required
Before embarking on the battery removal process for your Motorola Razr V3, it's essential to gather the necessary tools to ensure a smooth and efficient procedure. Here's a list of the tools you'll need:
-
Small Phillips Head Screwdriver: This tool is crucial for removing the screws that secure the back cover of the Razr V3. Ensure that the screwdriver is small enough to fit into the recessed screw heads without causing damage.
-
Plastic Opening Tool or Case Opener Tool: To safely pry open the back cover of the device without scratching or damaging the exterior, a plastic opening tool or a case opener tool is indispensable. These tools provide the necessary leverage to detach the back cover from the main body of the device.
-
Anti-Static Wrist Strap (Optional): While not mandatory, an anti-static wrist strap can be beneficial for preventing electrostatic discharge (ESD) during the battery removal process. This precaution helps safeguard the internal components of the Razr V3 from potential damage caused by static electricity.
-
Clean, Flat Work Surface: It's advisable to work on a clean and flat surface to prevent the loss of small screws or components during the battery removal process. A clutter-free workspace minimizes the risk of misplacing essential parts and ensures a more organized and efficient procedure.
By ensuring that you have these tools readily available, you'll be well-prepared to undertake the battery removal process for your Motorola Razr V3. With the right tools at your disposal, you can approach the maintenance task with confidence, knowing that you have everything necessary to complete the procedure effectively and without complications.
Step 1: Power Off the Device
Before initiating the battery removal process for your Motorola Razr V3, it is imperative to power off the device to ensure safety and prevent any potential damage. By following this crucial first step, you can minimize the risk of electrical mishaps and create a secure environment for the subsequent maintenance tasks.
To power off your Razr V3, locate the power button, which is typically situated on the top or side of the device. Press and hold the power button until the on-screen prompts or indicators confirm that the device is shutting down. It is essential to ensure that the device is completely powered off before proceeding to the next steps.
By powering off the device, you are effectively cutting off the electrical supply to the internal components, reducing the risk of electrical shock or damage during the battery removal process. This precautionary measure also allows the device to enter a safe state, enabling you to handle it without the risk of unintended operations or malfunctions.
Once the device is powered off, it is advisable to wait for a few moments to ensure that all internal processes have ceased, and the device is fully inactive. This waiting period provides an additional layer of safety, allowing any residual electrical charges to dissipate before you proceed with the subsequent steps.
By diligently following this initial step and ensuring that the device is completely powered off, you are setting the stage for a smooth and secure battery removal process. This proactive approach not only safeguards the device and its internal components but also contributes to a seamless and stress-free maintenance experience.
With the device powered off and all safety precautions in place, you are now ready to proceed to the next step of removing the back cover to access the battery compartment. This pivotal stage marks the beginning of the battery removal process, bringing you one step closer to successfully replacing the battery of your Motorola Razr V3.
By adhering to the recommended procedure and taking the necessary precautions, you can confidently navigate the battery removal process, ensuring the longevity and optimal performance of your beloved Razr V3.
Step 2: Remove the Back Cover
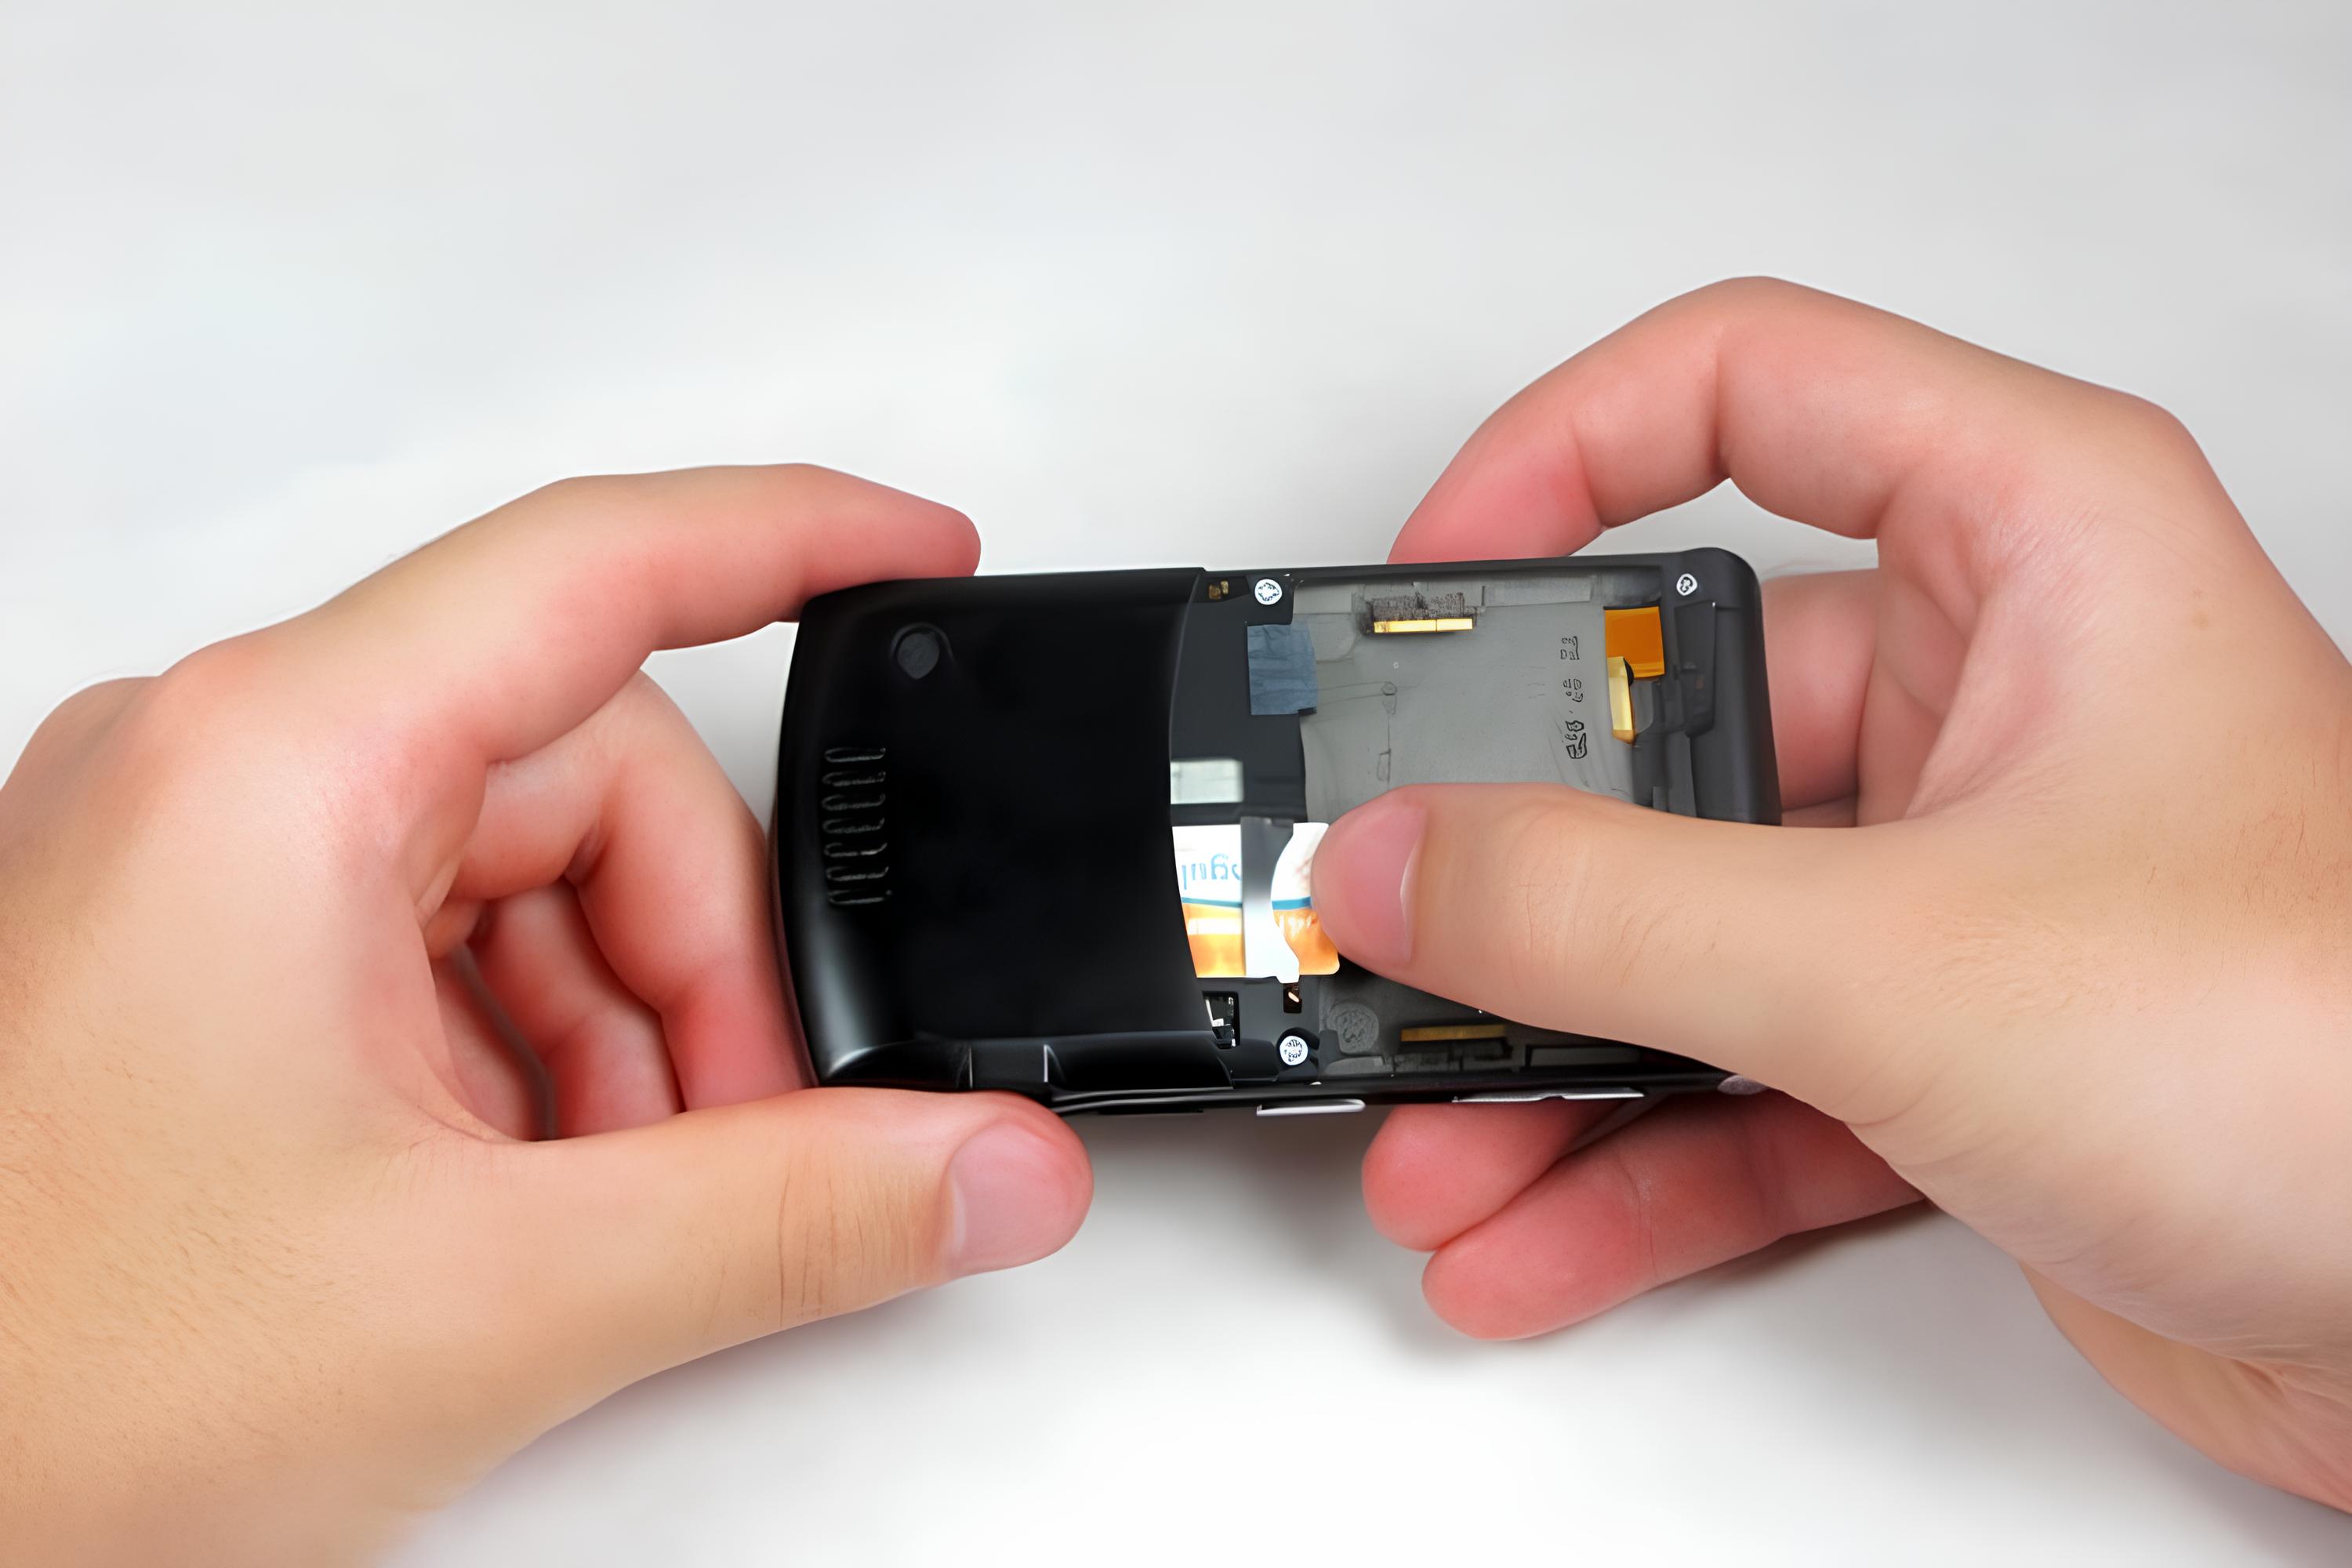
With the Motorola Razr V3 powered off, the next crucial step in the battery removal process involves removing the back cover to gain access to the device's internal components, including the battery compartment. The back cover of the Razr V3 is designed to be removable, allowing users to access the battery, SIM card, and other essential components for maintenance and replacement.
To begin, locate the small notch or indentation along the edge of the device where the back cover meets the main body. This notch serves as the entry point for prying open the back cover. Using a plastic opening tool or a case opener tool, gently insert the tool into the notch, applying slight pressure to create separation between the back cover and the main body of the device.
As you carefully work the opening tool around the perimeter of the device, you will gradually release the clips and fasteners securing the back cover in place. It is essential to exercise patience and precision during this process to avoid exerting excessive force, which could potentially damage the back cover or the device itself.
As the clips are disengaged, the back cover will begin to loosen, allowing you to continue separating it from the main body. Ensure that you work methodically around the entire perimeter, maintaining even pressure to prevent any undue stress on the back cover or the internal components.
Once the back cover is sufficiently detached, carefully lift it away from the main body of the Razr V3, taking note of any resistance or areas that may still be secured. If you encounter resistance, refrain from forcing the back cover open and reassess the areas that require further attention.
Upon successful removal of the back cover, set it aside in a safe and clean location, ensuring that it remains free from dust or debris. With the back cover removed, you will now have clear visibility and access to the battery compartment, setting the stage for the subsequent steps in the battery removal process.
By methodically and delicately removing the back cover, you have successfully overcome a pivotal stage in the battery removal process, bringing you closer to accessing and replacing the battery of your Motorola Razr V3. This meticulous approach ensures that the device remains unharmed, allowing for a seamless and effective maintenance procedure.
Step 3: Locate the Battery
With the back cover of your Motorola Razr V3 successfully removed, you are now poised to locate the battery within the device. The battery, a vital component that powers the Razr V3, is situated in a designated compartment, typically positioned near the top or bottom of the device's interior.
Upon gaining visibility into the device's internal structure, take a moment to familiarize yourself with the layout and components. The battery compartment, often distinguishable by its size and shape, may feature connectors and securing mechanisms that hold the battery in place.
As you survey the interior of the Razr V3, you will likely identify the battery as a rectangular or square-shaped component, often encased in protective housing. The battery's positioning within the device is strategic, ensuring efficient power distribution and accessibility for maintenance purposes.
In some instances, the battery may be secured with retaining clips, screws, or adhesive strips to prevent displacement during regular use. Take note of any securing mechanisms and their locations, as this information will be instrumental in the subsequent steps of the battery removal process.
As you visually inspect the battery compartment, it is essential to exercise caution and avoid unnecessary contact with internal components to prevent accidental damage. Additionally, take note of any labels, markings, or indicators on the battery, as these details can provide valuable information regarding the battery's specifications and compatibility for replacement.
By meticulously locating the battery within the Razr V3, you are gaining a deeper understanding of the device's internal architecture and the positioning of critical components. This knowledge not only facilitates the battery removal process but also equips you with insights into the device's design and functionality.
With the battery successfully located, you are now prepared to proceed to the next step of the battery removal process, where you will delicately remove the battery from its compartment, paving the way for the subsequent reassembly of the device.
By methodically and attentively navigating the battery location process, you are actively contributing to the successful maintenance and care of your Motorola Razr V3, ensuring that it remains operational and reliable for your continued enjoyment and utility.
Step 4: Remove the Battery
With the battery compartment of your Motorola Razr V3 now accessible, the next critical step in the battery removal process is delicately removing the battery from its housing. This step requires precision and attentiveness to ensure that the battery is safely extracted without causing damage to the device or its internal components.
Before proceeding, take a moment to inspect the battery and its positioning within the compartment. Note any connectors, retaining clips, or adhesive strips that may be securing the battery in place. Understanding these elements will guide your approach to safely dislodging the battery from its housing.
If the battery is secured with retaining clips, carefully disengage them using a small, flat tool, ensuring that you exert gentle and even pressure to release the battery. In the case of adhesive strips, cautiously peel them away from the battery, taking care not to apply excessive force that could damage the battery or the surrounding components.
Once any securing mechanisms have been addressed, gently lift the battery from its compartment, ensuring that you maintain a steady grip and avoid unnecessary twisting or bending of the battery. It is crucial to handle the battery with care, as lithium-ion batteries, commonly used in mobile devices, are sensitive to physical stress and mishandling.
As you remove the battery, take note of its orientation and position within the compartment. This observation will be instrumental when installing the replacement battery, ensuring that it is correctly aligned and seated to facilitate optimal functionality and connectivity.
Upon successfully extracting the battery, place it in a secure location away from direct sunlight or extreme temperatures. Properly disposing of the old battery in accordance with local regulations is essential, as lithium-ion batteries require responsible disposal to mitigate environmental impact.
With the battery safely removed, you have accomplished a pivotal stage in the maintenance process, setting the stage for the subsequent reassembly of your Motorola Razr V3. By approaching the battery removal process with precision and care, you have safeguarded the integrity of the device and its components, ensuring a seamless transition to the reassembly phase.
As you proceed to the final step of reassembling the device, you can take pride in your meticulous approach to maintaining the functionality and longevity of your beloved Razr V3. Your attention to detail and commitment to proper maintenance practices exemplify your dedication to preserving the performance and reliability of this iconic mobile device.
Step 5: Reassemble the Device
With the battery successfully removed from your Motorola Razr V3, the final step in the maintenance process involves reassembling the device to restore its functionality and prepare it for continued use. The reassembly phase is a critical component of the battery replacement process, requiring attention to detail and precision to ensure that the device is restored to its original state without any compromises in performance or aesthetics.
To commence the reassembly process, carefully retrieve the replacement battery designated for use with the Motorola Razr V3. Prior to installing the new battery, take a moment to inspect it for any signs of damage or irregularities, ensuring that it is compatible with the device and free from defects that could impede its functionality.
Align the replacement battery with the battery compartment, taking note of the orientation and positioning observed during the removal of the old battery. Gently seat the replacement battery in the compartment, ensuring that it is securely positioned and aligned with any connectors or contact points within the device.
If the replacement battery features retaining clips or adhesive strips, follow the manufacturer's guidelines to secure it in place, exercising caution to avoid applying excessive force that could damage the battery or the internal components of the device.
Once the replacement battery is securely installed, retrieve the back cover of the Razr V3 and carefully position it over the main body of the device. Align the edges of the back cover with the corresponding grooves and clips, ensuring a snug fit without forcing the cover into place.
With the back cover positioned correctly, apply gentle pressure around the perimeter to secure it to the main body of the device. Take care to verify that all clips and fasteners are engaged, ensuring that the back cover is firmly in place without any gaps or misalignments.
Upon successful reassembly of the device, power it on to confirm that the replacement battery is functioning as intended. Once the device powers up, verify that all essential functions, including calls, messaging, and other features, are operational, indicating the successful completion of the battery replacement and reassembly process.
By meticulously reassembling the Motorola Razr V3, you have effectively restored the device to its optimal state, ensuring that it remains operational and reliable for your continued use and enjoyment. Your commitment to precision and thoroughness in the reassembly process exemplifies your dedication to maintaining the functionality and longevity of this iconic mobile device.