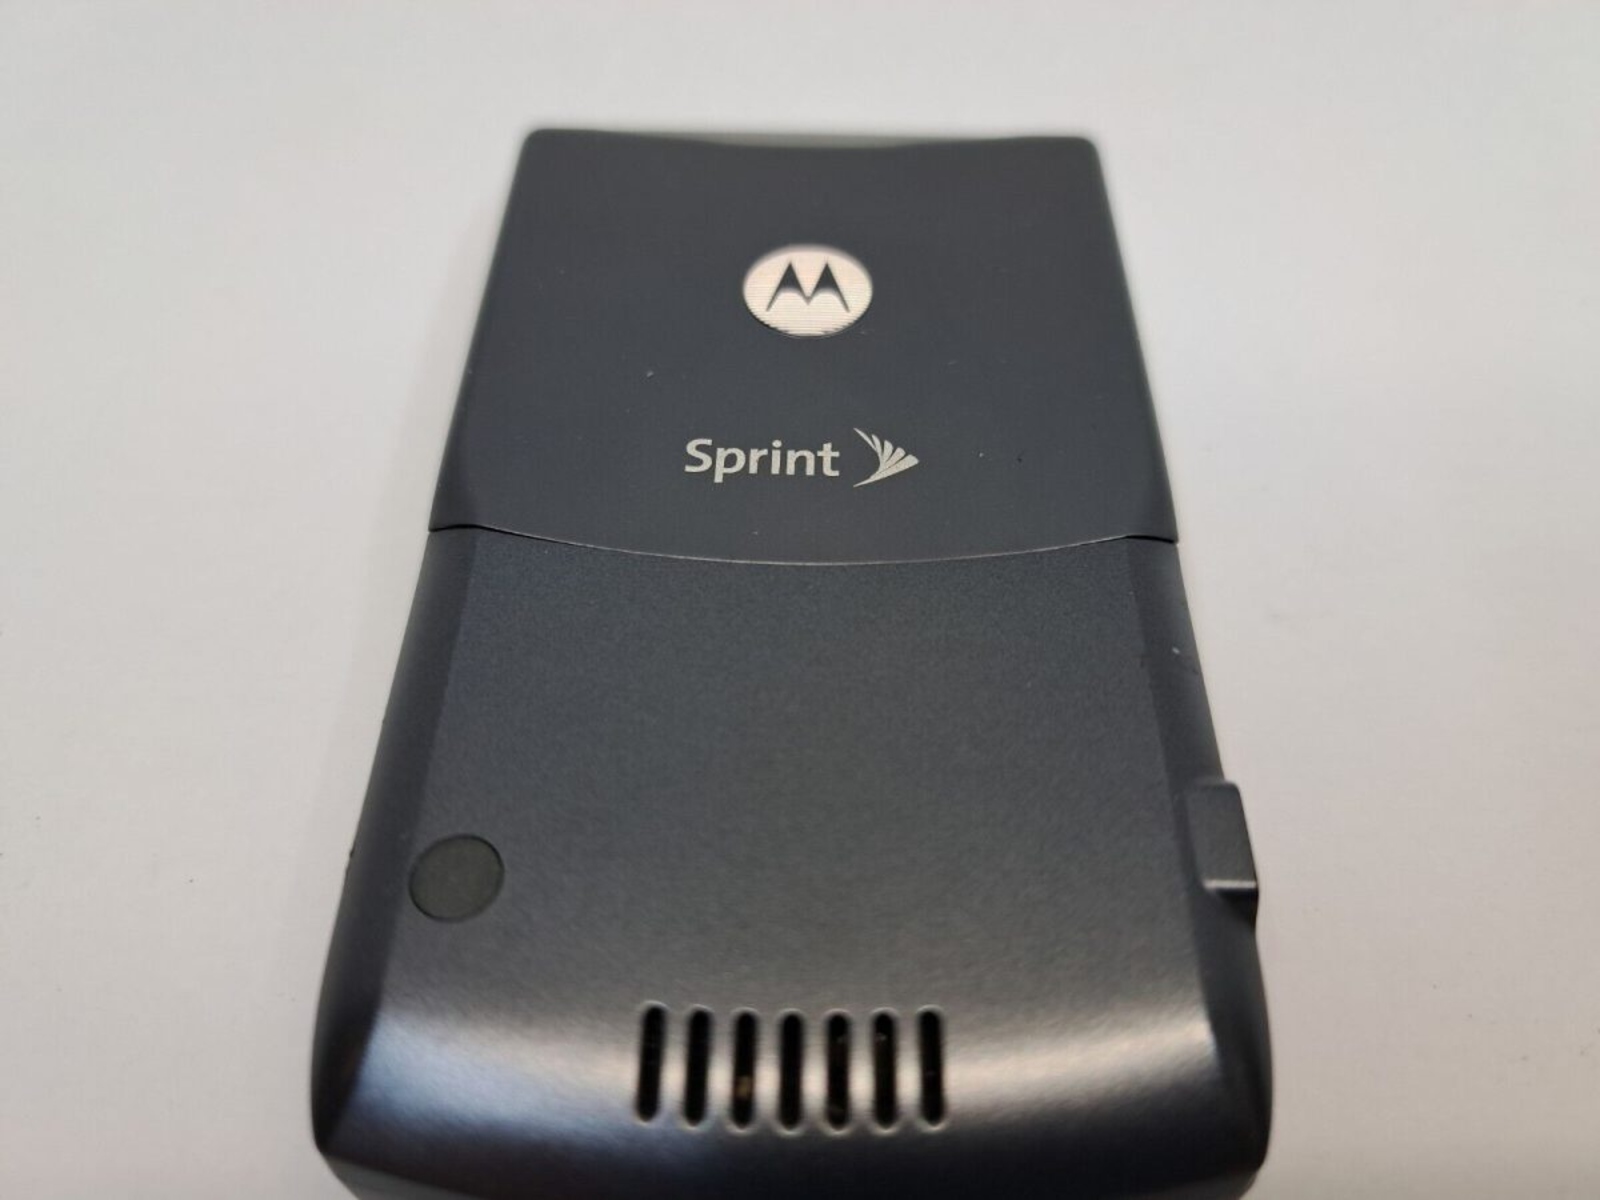
Introduction
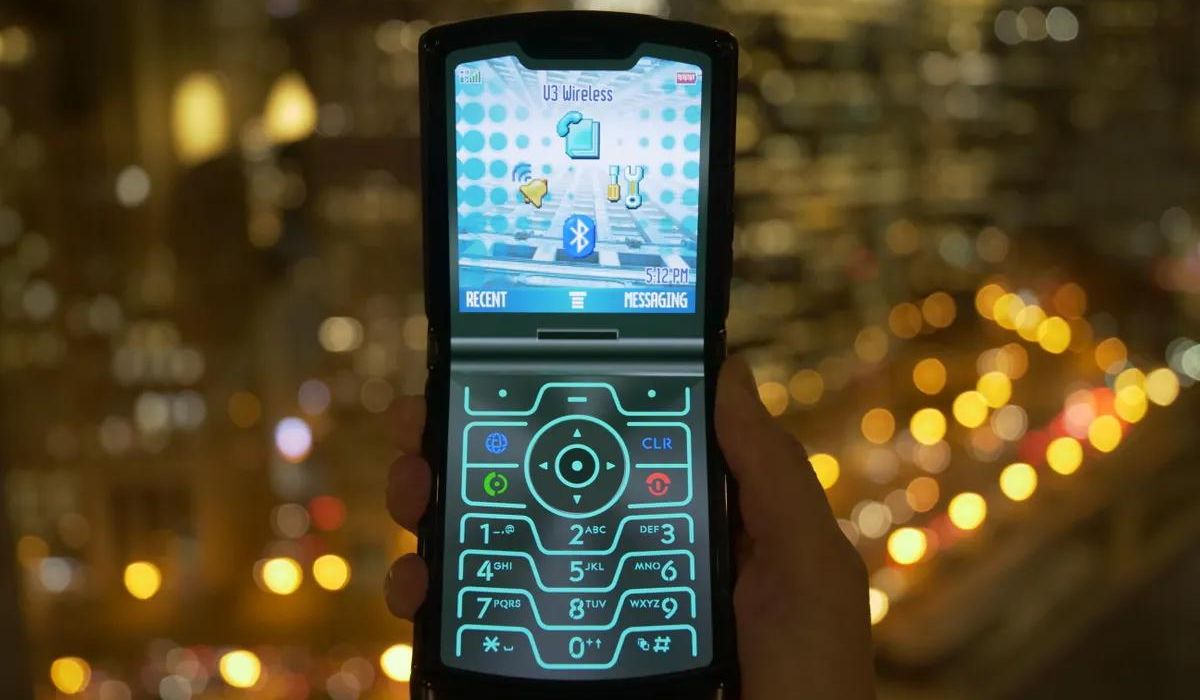
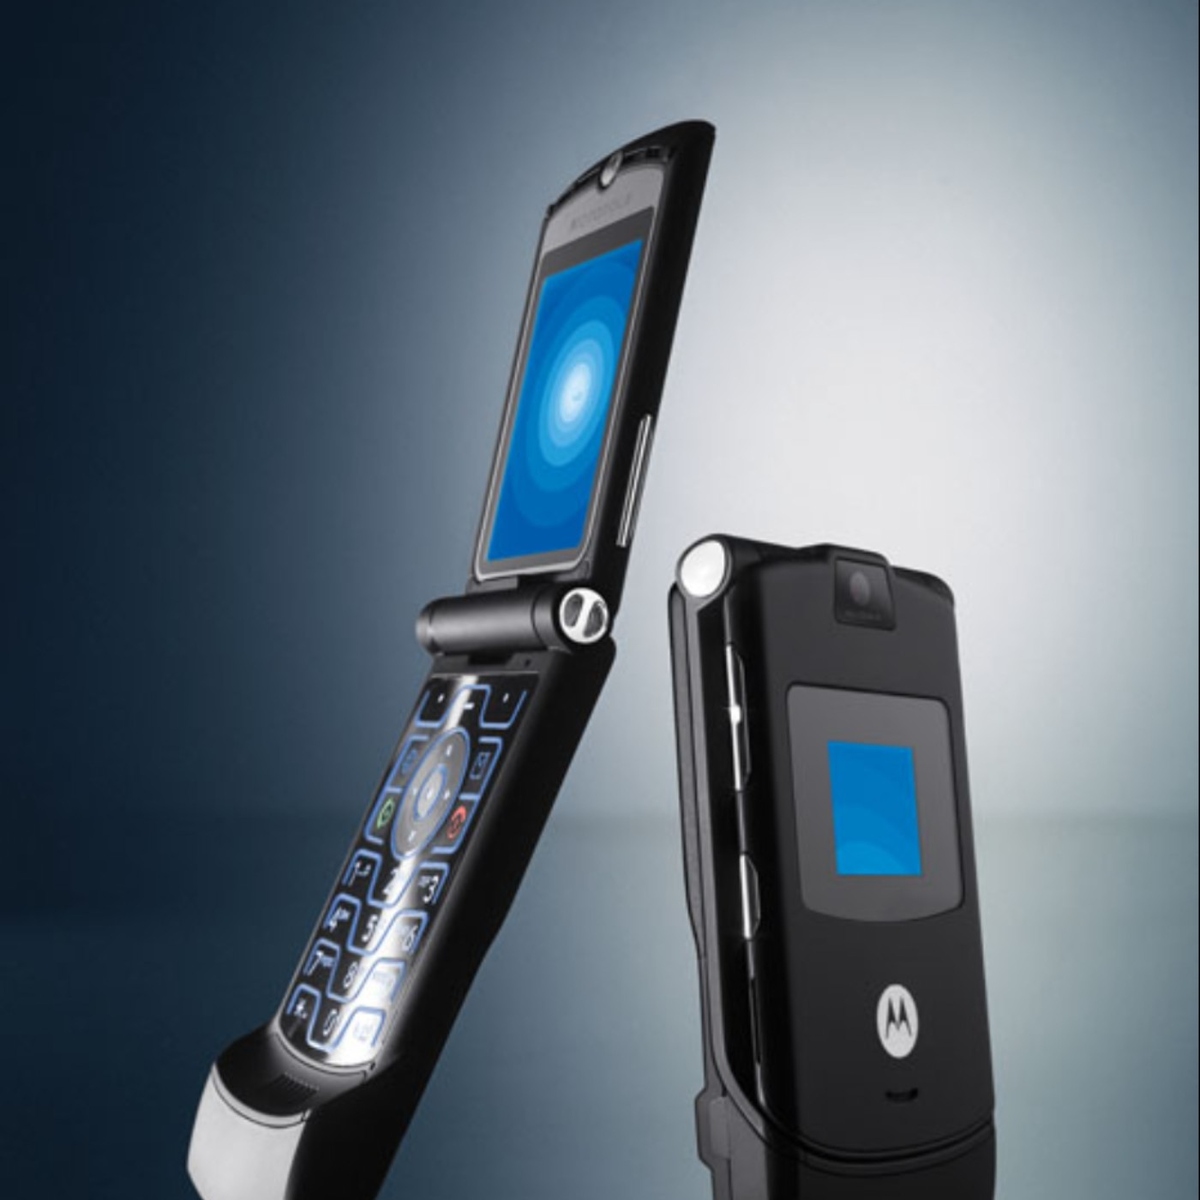
So, you've got a treasure trove of memories captured on your classic Motorola Razr, and you're eager to transfer those precious pictures to your computer for safekeeping or sharing with friends and family. Whether it's snapshots from a memorable vacation, candid moments with loved ones, or simply a collection of stunning scenery, your Razr holds a wealth of visual stories waiting to be preserved.
In this guide, we'll walk you through the process of transferring pictures from your classic Motorola Razr to your computer. With a few simple steps, you can safeguard these nostalgic images and ensure they remain accessible for years to come. Whether you're a tech-savvy individual or a newcomer to the world of digital transfers, this guide is designed to be straightforward and easy to follow, allowing you to seamlessly navigate the process and successfully transfer your cherished photos.
So, grab your classic Motorola Razr and let's embark on this journey to preserve your memories. By the end of this guide, you'll have your pictures safely transferred and organized, ready to be revisited whenever the nostalgia bug bites. Let's dive in and unlock the potential of your classic Razr, transforming it from a mere device to a vessel of cherished memories.
Step 1: Connect your Classic Motorola Razr to a computer
To initiate the process of transferring pictures from your classic Motorola Razr to your computer, the first step is to establish a physical connection between the two devices. While modern smartphones often utilize wireless methods for data transfer, the classic Razr requires a direct physical link to the computer. Here's how to accomplish this:
-
Locate the USB Cable: Retrieve the USB cable that came with your classic Motorola Razr. This cable is essential for establishing a connection between your Razr and the computer. If the original cable is unavailable, ensure that the replacement cable is compatible with your Razr and capable of data transfer.
-
Connect the USB Cable to Your Razr: With the USB cable in hand, locate the port on your classic Motorola Razr for connecting to external devices. Typically, this port is situated at the bottom or on the side of the device. Gently insert one end of the USB cable into this port, ensuring a secure connection.
-
Connect the USB Cable to Your Computer: Once the USB cable is securely attached to your Razr, locate an available USB port on your computer. Carefully insert the opposite end of the USB cable into the USB port on your computer. You should hear a subtle click as the connection is established.
-
Verify the Connection: After connecting the USB cable to both your classic Motorola Razr and the computer, verify that the devices recognize each other. Your Razr may display a prompt asking for permission to allow data transfer. Follow the on-screen instructions to grant the necessary permissions for the connection.
By successfully connecting your classic Motorola Razr to your computer, you've laid the groundwork for the subsequent steps in the picture transfer process. This physical link serves as the bridge through which your cherished photos will journey from the Razr to the computer, ensuring their preservation and accessibility for years to come. With this vital connection established, you're now ready to proceed to the next step in the seamless transfer of your nostalgic pictures.
Step 2: Access the pictures on your Classic Motorola Razr
Now that your classic Motorola Razr is connected to your computer, it's time to delve into the treasure trove of pictures stored within the device. Accessing these cherished images is the crucial next step in the process of transferring them to your computer for safekeeping and enjoyment. Here's how to navigate through your Razr's photo gallery and prepare for the transfer:
-
Unlock Your Classic Motorola Razr: If your Razr is locked, unlock it using your preferred method, whether it's a PIN, pattern, or fingerprint recognition. Once unlocked, you'll have access to the device's interface and can proceed to the next step.
-
Navigate to the Photo Gallery: Locate the photo gallery app on your classic Motorola Razr. This app is where all your pictures are stored, showcasing a visual timeline of your memories captured through the device's camera. Open the photo gallery to reveal the array of images waiting to be transferred.
-
Browse Through Your Pictures: With the photo gallery open, take a moment to browse through your collection of pictures. Relive the moments captured in each image, from joyous celebrations to serene landscapes. This step not only allows you to reminisce but also helps in identifying the specific pictures you wish to transfer to your computer.
-
Select the Pictures for Transfer: As you browse through the photo gallery, select the pictures you want to transfer to your computer. This may include individual images, entire albums, or a curated selection of your most cherished photographs. By choosing the pictures at this stage, you streamline the transfer process, ensuring that only the desired images make their way to your computer.
-
Prepare for the Transfer: With the selected pictures in mind, your classic Motorola Razr is now primed for the transfer process. By accessing and curating your photo collection, you've set the stage for the seamless transition of these images from the Razr to your computer, where they can be safeguarded and enjoyed for years to come.
By following these steps, you've successfully accessed the pictures on your classic Motorola Razr, setting the stage for the upcoming transfer process. With your cherished images at the ready, it's time to proceed to the next step and initiate the transfer to your computer, ensuring the preservation of your nostalgic memories.
Step 3: Transfer the pictures to your computer
With your classic Motorola Razr connected to your computer and the cherished pictures selected for transfer, the stage is set for the seamless transition of these nostalgic images from the Razr to your computer. The transfer process is the pivotal moment where your visual memories embark on a journey to be safeguarded and enjoyed for years to come. Here's how to execute the transfer with precision and ease:
-
Initiate the Transfer: On your computer, navigate to the file explorer or the designated software for managing device connections. Locate your classic Motorola Razr among the connected devices. Once identified, access the storage or photo directory on your Razr to reveal the selected pictures awaiting transfer.
-
Select the Destination: Before initiating the transfer, designate a specific location on your computer where the pictures will be saved. This could be a dedicated folder for your Razr pictures or a location within your existing photo library. By choosing the destination in advance, you ensure that the transferred pictures are organized and easily accessible on your computer.
-
Drag and Drop: With the selected pictures visible on your Razr's storage or photo directory, use the drag-and-drop method to transfer them to the designated location on your computer. Simply click on the chosen pictures, hold down the mouse button, and drag them to the selected folder or location on your computer. Release the mouse button to initiate the transfer, allowing the images to seamlessly transition from your Razr to your computer.
-
Monitor the Progress: As the transfer takes place, monitor the progress to ensure that each selected picture is successfully copied to the designated location on your computer. Depending on the number and size of the pictures, the transfer may take a few moments to complete. This monitoring ensures that no picture is left behind, and the entire selection is safely transferred.
-
Verify the Transfer: Once the transfer is complete, navigate to the designated location on your computer to verify that the pictures have been successfully transferred. Open a few images to confirm their integrity and ensure that they are ready for viewing and sharing on your computer.
By following these steps, you've seamlessly transferred the selected pictures from your classic Motorola Razr to your computer, preserving your cherished memories in a digital space where they can be revisited and shared. With the transfer complete, your nostalgic images are now poised for safekeeping and enjoyment, ensuring that the visual stories captured by your Razr remain accessible for years to come.
Step 4: Organize and save the transferred pictures
With the successful transfer of your cherished pictures from your classic Motorola Razr to your computer, the final step involves organizing and saving these visual memories in a manner that ensures easy access and long-term preservation. This crucial stage not only enhances the accessibility of your transferred pictures but also sets the foundation for seamless browsing, sharing, and future retrieval. Here's how to effectively organize and save the transferred pictures:
Create a Dedicated Folder
Begin by creating a dedicated folder on your computer specifically for the transferred pictures from your classic Motorola Razr. This folder serves as a centralized location where all your nostalgic images will reside, allowing for streamlined access and management. Choose a descriptive name for the folder, such as "Razr Memories" or "Classic Razr Photos," reflecting the significance of the transferred pictures.
Subfolders for Categorization
To further enhance organization, consider creating subfolders within the dedicated folder to categorize the transferred pictures based on themes, events, or dates. For example, you could create subfolders for "Family Vacations," "Special Occasions," "Scenic Landscapes," or any other relevant categories that align with the content of your pictures. This categorization simplifies the process of locating specific images and adds a layer of meaningful organization to your digital photo collection.
Rename and Tag Images
As you save the transferred pictures into the dedicated and categorized folders, consider renaming the files to provide context and clarity. Incorporate descriptive titles that capture the essence of each image, such as "Beach Sunset – Family Vacation 2010" or "Birthday Celebration – Grandma's House." Additionally, utilize tagging features available in photo management software to add keywords and metadata to the images, further enhancing their searchability and categorization.
Backup and Storage Considerations
Once the transferred pictures are organized within the dedicated folders, it's essential to implement a robust backup strategy to safeguard these visual memories. Consider utilizing cloud storage services or external hard drives to create redundant backups of your photo collection, ensuring resilience against potential data loss or device failures. By implementing a comprehensive backup plan, you fortify the long-term preservation of your transferred pictures.
Enjoy and Share
With the transferred pictures organized and safely stored, take the opportunity to revisit these nostalgic images and relive the moments they encapsulate. Share them with friends and family, leveraging the organized structure to effortlessly showcase specific events or themes. Whether it's a stroll down memory lane with loved ones or a solo reflection on past adventures, the organized and saved transferred pictures are now poised to enrich your digital experience.
By meticulously organizing and saving the transferred pictures from your classic Motorola Razr, you've elevated these visual memories to a digital archive that ensures accessibility, preservation, and enjoyment. The dedicated folders, categorization, backup measures, and sharing capabilities collectively contribute to a comprehensive approach to managing your cherished photo collection, allowing you to seamlessly navigate through your nostalgic visual stories for years to come.


