Introduction
In today's fast-paced digital world, the seamless connection between mobile devices and laptops has become increasingly essential. Realme phones, known for their innovative features and user-friendly interface, offer a convenient way to bridge the gap between mobile and computer. By connecting your Realme phone to a laptop via USB, you can effortlessly transfer files, manage data, and even utilize your phone as a modem for internet connectivity.
This comprehensive guide will walk you through the process of establishing a reliable USB connection between your Realme phone and laptop. Whether you're a tech enthusiast, a professional on the go, or a student looking to streamline your workflow, mastering this connection method can significantly enhance your productivity and convenience.
By following the step-by-step instructions provided in this guide, you'll gain a deeper understanding of the compatibility requirements, driver installation, file transfer procedures, and safe disconnection protocols. With a focus on simplicity and efficiency, this guide aims to empower you with the knowledge and skills needed to seamlessly integrate your Realme phone with your laptop, unlocking a world of possibilities at your fingertips.
As we delve into the intricacies of connecting your Realme phone to your laptop, you'll discover the potential for enhanced collaboration, data accessibility, and multitasking capabilities. Whether you're looking to transfer photos, videos, documents, or other types of files, this guide will equip you with the expertise to navigate the process with confidence.
So, without further ado, let's embark on this journey to harness the power of connectivity and bridge the gap between your Realme phone and laptop through the versatile USB interface.
Step 1: Check Compatibility
Before initiating the connection process between your Realme phone and laptop, it's crucial to ensure that both devices are compatible and meet the necessary requirements. Compatibility plays a pivotal role in establishing a seamless and stable connection, allowing for smooth data transfer and device interaction.
Realme Phone Compatibility
First and foremost, ascertain that your Realme phone supports USB connectivity with laptops. Most modern Realme phones are equipped with USB Type-C or Micro-USB ports, enabling them to establish a direct physical connection with laptops. Additionally, verify if your Realme phone is running on a compatible operating system, such as Android, which is widely supported across various laptop platforms.
Laptop Compatibility
Similarly, your laptop should possess the essential hardware and software capabilities to accommodate the connection with your Realme phone. Check if your laptop features USB ports that are compatible with the USB type supported by your Realme phone, whether it's USB Type-C, Micro-USB, or others. Furthermore, ensure that your laptop's operating system, whether it's Windows, macOS, or Linux, is conducive to establishing a connection with Android-based devices like Realme phones.
USB Cable Compatibility
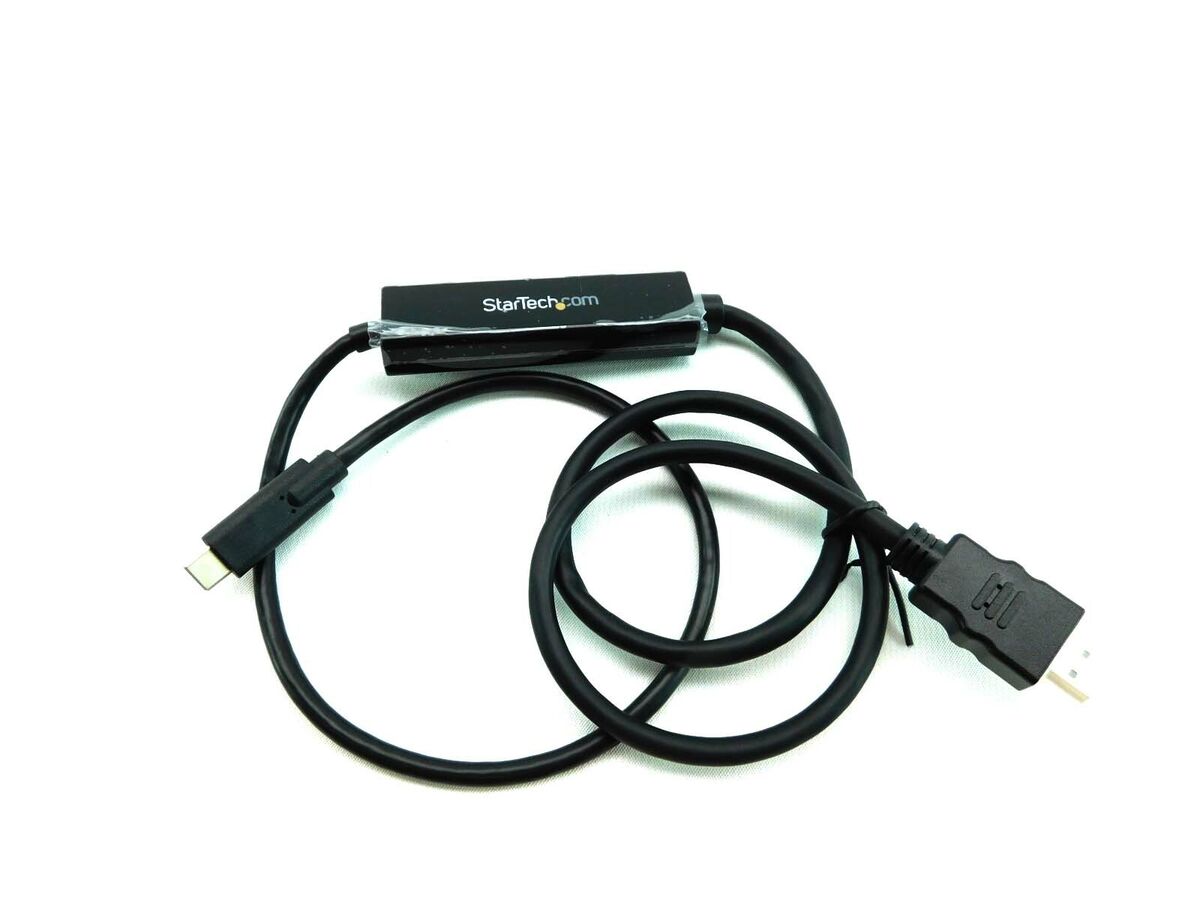
The USB cable serves as the physical link between your Realme phone and laptop. It's imperative to use a high-quality USB cable that is compatible with both devices. For instance, if your Realme phone utilizes a USB Type-C port, ensure that the USB cable features a USB Type-C connector on one end and the appropriate connector for your laptop on the other end. Using a compatible USB cable is essential for establishing a secure and reliable connection without compromising data integrity.
By meticulously checking the compatibility of your Realme phone, laptop, and USB cable, you lay a solid foundation for a successful USB connection. This proactive approach minimizes the risk of encountering connectivity issues and ensures a smooth and efficient transfer of files and data between your Realme phone and laptop. With compatibility confirmed, you're ready to proceed to the next step of installing the necessary drivers to facilitate the connection process.
This thorough compatibility check sets the stage for a seamless and hassle-free connection experience, empowering you to harness the full potential of integrating your Realme phone with your laptop for enhanced productivity and convenience.
Step 2: Install Necessary Drivers
Installing the necessary drivers is a crucial step in preparing your laptop to establish a seamless connection with your Realme phone. Drivers serve as the communication bridge between the devices, enabling them to recognize and interact with each other effectively. To initiate the driver installation process, follow these detailed steps:
-
Identify the Required Drivers: Begin by identifying the specific drivers needed to facilitate the connection between your Realme phone and laptop. Realme phones typically utilize the Android operating system, which is natively supported by most modern laptops. However, in some cases, additional drivers may be required to enable specific functionalities, such as file transfer and USB tethering.
-
Automatic Driver Installation (Plug and Play): For many laptops running Windows or macOS, the operating system may automatically install the necessary drivers when you connect your Realme phone via USB. This convenient "plug and play" feature simplifies the installation process, allowing the system to detect and install the required drivers seamlessly.
-
Manual Driver Installation: In the event that automatic driver installation does not occur, you can manually install the drivers for your Realme phone. Visit the official Realme website or the support section of the manufacturer's website to locate the appropriate drivers for your specific phone model. Download the drivers onto your laptop and follow the provided instructions to install them.
-
Driver Verification: After installing the drivers, it's essential to verify their successful installation. Access the device manager on your laptop to ensure that the Realme phone is recognized and listed without any error indicators. This verification process confirms that the drivers have been installed correctly and that the laptop is ready to establish a stable connection with your Realme phone.
By meticulously following these steps to install the necessary drivers, you equip your laptop with the essential components to seamlessly communicate with your Realme phone. This proactive approach ensures that the devices can effectively exchange data, enabling you to harness the full potential of their integration. With the drivers successfully installed, you're now prepared to proceed to the next step of connecting your Realme phone to your laptop via USB, unlocking a myriad of possibilities for efficient file management and device collaboration.
Step 3: Connect Realme Phone to Laptop via USB
Connecting your Realme phone to your laptop via USB is a pivotal step that paves the way for seamless data transfer, device synchronization, and multifaceted collaboration. By establishing a direct physical link between the two devices, you can leverage the USB interface to bridge the gap and unlock a myriad of possibilities for enhanced productivity and convenience.
To initiate the connection process, follow these detailed steps:
-
Prepare Your Realme Phone: Ensure that your Realme phone is powered on and unlocked. It's essential to have the phone's screen active to facilitate the connection process effectively.
-
Retrieve the USB Cable: Locate a high-quality USB cable that is compatible with both your Realme phone and laptop. If your Realme phone features a USB Type-C port, use a USB cable with a USB Type-C connector on one end and the appropriate connector for your laptop on the other end.
-
Connect the USB Cable: With both devices ready, carefully insert one end of the USB cable into the USB port of your Realme phone. Ensure a secure and snug fit to establish a stable connection. Next, insert the other end of the USB cable into an available USB port on your laptop. Once connected, the devices should recognize each other, initiating the USB connection process.
-
Enable USB Connection (Realme Phone): Upon connecting the USB cable, your Realme phone may prompt you to select the type of USB connection. Depending on your specific model and software version, you may be presented with options such as "File Transfer," "Charging Only," "USB Tethering," or "MIDI." Choose the "File Transfer" or "MTP (Media Transfer Protocol)" option to enable the seamless exchange of files between your phone and laptop.
-
Device Recognition (Laptop): Your laptop should detect the connected Realme phone and initiate the necessary protocols to establish a stable USB connection. Depending on your laptop's operating system, you may receive a notification or see the Realme phone listed as a connected device in the file explorer or device manager.
By meticulously following these steps to connect your Realme phone to your laptop via USB, you lay the foundation for a robust and reliable data exchange interface. This direct connection opens up a world of possibilities, allowing you to effortlessly transfer files, manage media, and access your phone's storage directly from your laptop. With the USB connection established, you're now poised to seamlessly transfer files between your Realme phone and laptop, fostering a cohesive digital ecosystem that enhances your workflow and connectivity.
Step 4: Transfer Files
Once the USB connection between your Realme phone and laptop is established, you gain the ability to seamlessly transfer files between the two devices. This streamlined file transfer process empowers you to manage and organize your data efficiently, fostering a cohesive digital ecosystem that enhances your productivity and accessibility. Here's a detailed walkthrough of the file transfer process:
1. Access Your Realme Phone's Storage
Upon establishing the USB connection, your laptop should recognize your Realme phone as an accessible device. Navigate to the file explorer or device manager on your laptop to locate the connected Realme phone. Once identified, you can access your phone's internal storage and external memory card, if applicable, directly from your laptop.
2. Select Files for Transfer
Browse through the contents of your Realme phone's storage and select the files you wish to transfer to your laptop. Whether it's photos, videos, documents, or other media files, simply highlight and choose the desired items for transfer. This intuitive selection process allows you to curate the data you want to move from your Realme phone to your laptop seamlessly.
3. Drag and Drop or Copy-Paste
With the files selected, you can initiate the transfer process by employing familiar methods such as drag and drop or copy-paste. Simply drag the selected files from your Realme phone's storage and drop them into the desired location on your laptop. Alternatively, you can copy the files from your phone and paste them into the designated folders on your laptop, facilitating a swift and straightforward transfer process.
4. Monitor Transfer Progress
During the file transfer process, your laptop will display the progress of the transfer, providing real-time updates on the status of each file being moved from your Realme phone. This visibility allows you to monitor the transfer process closely, ensuring that the selected files are successfully and efficiently transferred to your laptop without any interruptions or errors.
5. Verify File Integrity
After the transfer is complete, take a moment to verify the integrity of the transferred files on your laptop. Open and review the transferred items to confirm that they have been successfully copied from your Realme phone without any data loss or corruption. This verification step ensures that your files are readily accessible and usable on your laptop.
By following these steps to transfer files from your Realme phone to your laptop, you harness the power of seamless data exchange, enabling you to effortlessly manage and organize your digital content. This streamlined file transfer process enhances your workflow, accessibility, and data management capabilities, fostering a harmonious integration between your Realme phone and laptop. With your files securely transferred, you're now equipped to leverage the collaborative potential of your devices, unlocking a world of possibilities for enhanced productivity and convenience.
Step 5: Safely Disconnect the Devices
Safely disconnecting your Realme phone from your laptop is a critical step that ensures the integrity of your data and the longevity of your devices. By following the proper disconnection protocols, you minimize the risk of data corruption and hardware damage, preserving the seamless connectivity between your Realme phone and laptop for future use. Here's a detailed guide on how to safely disconnect the devices:
-
Complete File Transfers: Before initiating the disconnection process, ensure that all file transfers between your Realme phone and laptop have been completed. Verify that the selected files have been successfully transferred and are readily accessible on your laptop. This proactive step prevents incomplete transfers and potential data loss during the disconnection process.
-
Close File Explorer and Applications: If you accessed your Realme phone's storage through the file explorer or utilized any applications to manage the transferred files, close these applications on your laptop. This ensures that no active data transfers or file operations are in progress, minimizing the risk of data corruption or conflicts during the disconnection.
-
Eject the Realme Phone: On your laptop, locate the connected Realme phone within the file explorer or device manager. Right-click on the Realme phone's listing and select the "Eject" or "Safely Remove Hardware" option. This action signals to the operating system that you intend to disconnect the Realme phone, prompting it to finalize any pending data operations and prepare the device for safe removal.
-
Wait for Confirmation: After initiating the ejection process, wait for the system to confirm that it is safe to disconnect the Realme phone. Depending on your laptop's operating system, you may receive a notification or on-screen message indicating that the device can be safely removed. This confirmation ensures that all data buffers and caches are flushed, minimizing the risk of data loss or corruption.
-
Physically Disconnect the USB Cable: Once you receive the confirmation to safely remove the Realme phone, gently unplug the USB cable from both your Realme phone and laptop. Ensure a smooth and deliberate disconnection to prevent any damage to the USB ports or the devices themselves.
By meticulously following these steps to safely disconnect your Realme phone from your laptop, you uphold the integrity of your data and devices, fostering a reliable and sustainable connection for future interactions. This conscientious approach to disconnection safeguards the seamless integration between your Realme phone and laptop, ensuring that you can continue to leverage their collaborative potential with confidence and peace of mind.