Introduction
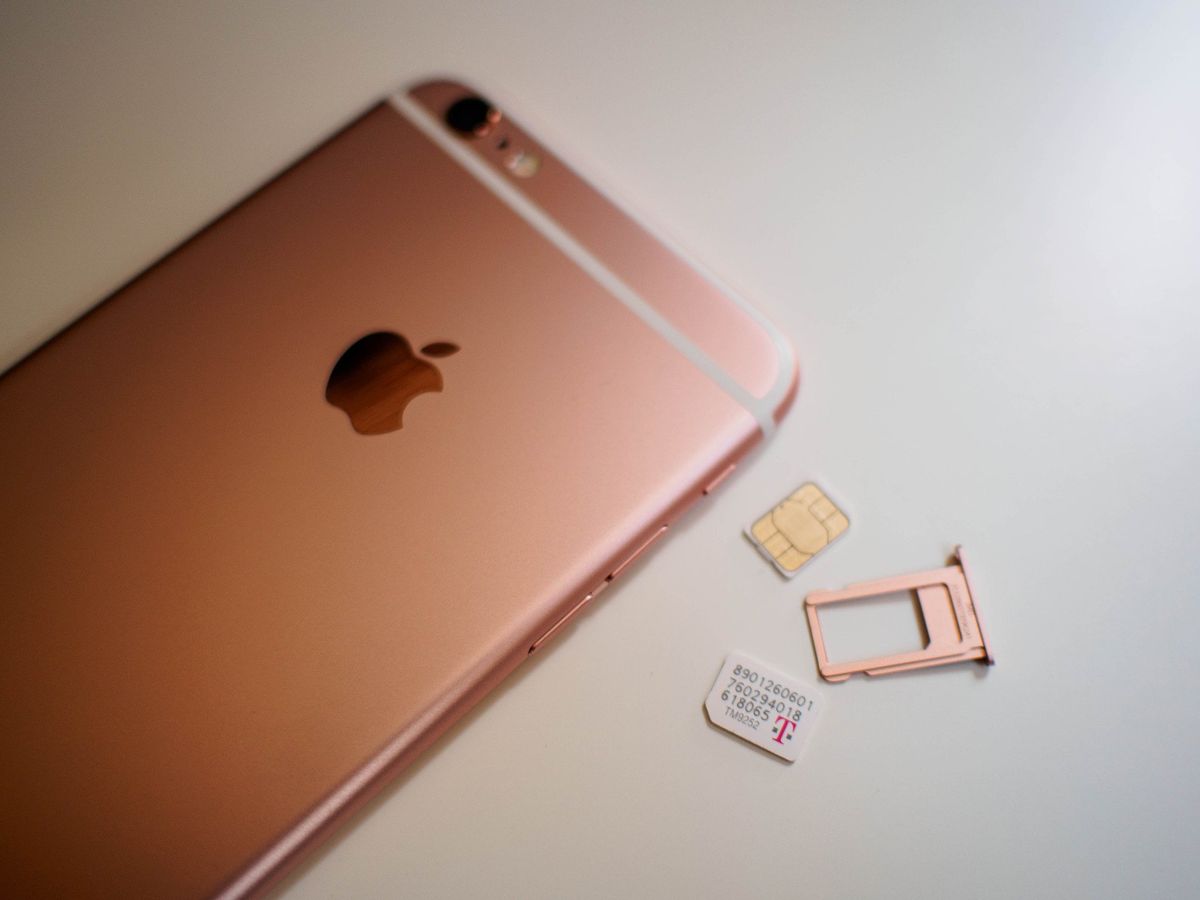
The iPhone XR is a remarkable piece of technology, offering a seamless blend of functionality and style. One of the essential components of this device is the SIM card, which enables users to connect with their network provider and access various mobile services. At times, it becomes necessary to remove or replace the SIM card, perhaps when switching to a new phone or traveling abroad. While this process may seem daunting at first, it is actually quite simple and can be safely accomplished with the right guidance.
In this article, we will delve into the step-by-step process of safely extracting the SIM card from an iPhone XR. Whether you are a tech-savvy individual or a novice in the realm of mobile devices, this guide will walk you through the process with clarity and precision. By following these instructions, you can confidently manage the removal and reinsertion of the SIM card without causing any damage to your device.
So, if you ever find yourself in a situation where you need to extract the SIM card from your iPhone XR, fear not! With the information provided in this article, you will be equipped to carry out this task smoothly and efficiently. Let's embark on this journey to uncover the simple yet crucial steps involved in safely handling the SIM card of your iPhone XR.
Step 1: Power off the iPhone XR
Before embarking on the process of extracting the SIM card from your iPhone XR, it is crucial to begin by powering off the device. This initial step is essential to ensure the safety of both the device and the SIM card during the extraction process.
To power off your iPhone XR, start by locating the side button, which is situated on the right-hand side of the device. This button serves multiple functions, including the activation of Siri and the management of power-related operations. To power off the device, press and hold the side button along with either volume button until the "slide to power off" slider appears on the screen.
Once the "slide to power off" slider is displayed, use your finger to swipe from left to right across the slider. As you do this, the screen will dim, indicating that the device is in the process of shutting down. It is important to wait for the iPhone XR to completely power off before proceeding to the next step.
By powering off the iPhone XR, you are ensuring that the device is in a safe and stable state for the SIM card extraction process. This step minimizes the risk of any potential damage to the device or the SIM card and sets the stage for a smooth and hassle-free extraction experience.
With the iPhone XR successfully powered off, you are now ready to proceed to the next step, where we will explore the process of locating the SIM card tray within the device. This marks the beginning of our journey towards safely extracting the SIM card from your iPhone XR.
Step 2: Locate the SIM card tray
To continue with the process of safely extracting the SIM card from your iPhone XR, the next step involves locating the SIM card tray within the device. The SIM card tray is a small, discreet component of the iPhone XR, designed to securely house the SIM card while ensuring easy access for removal and insertion.
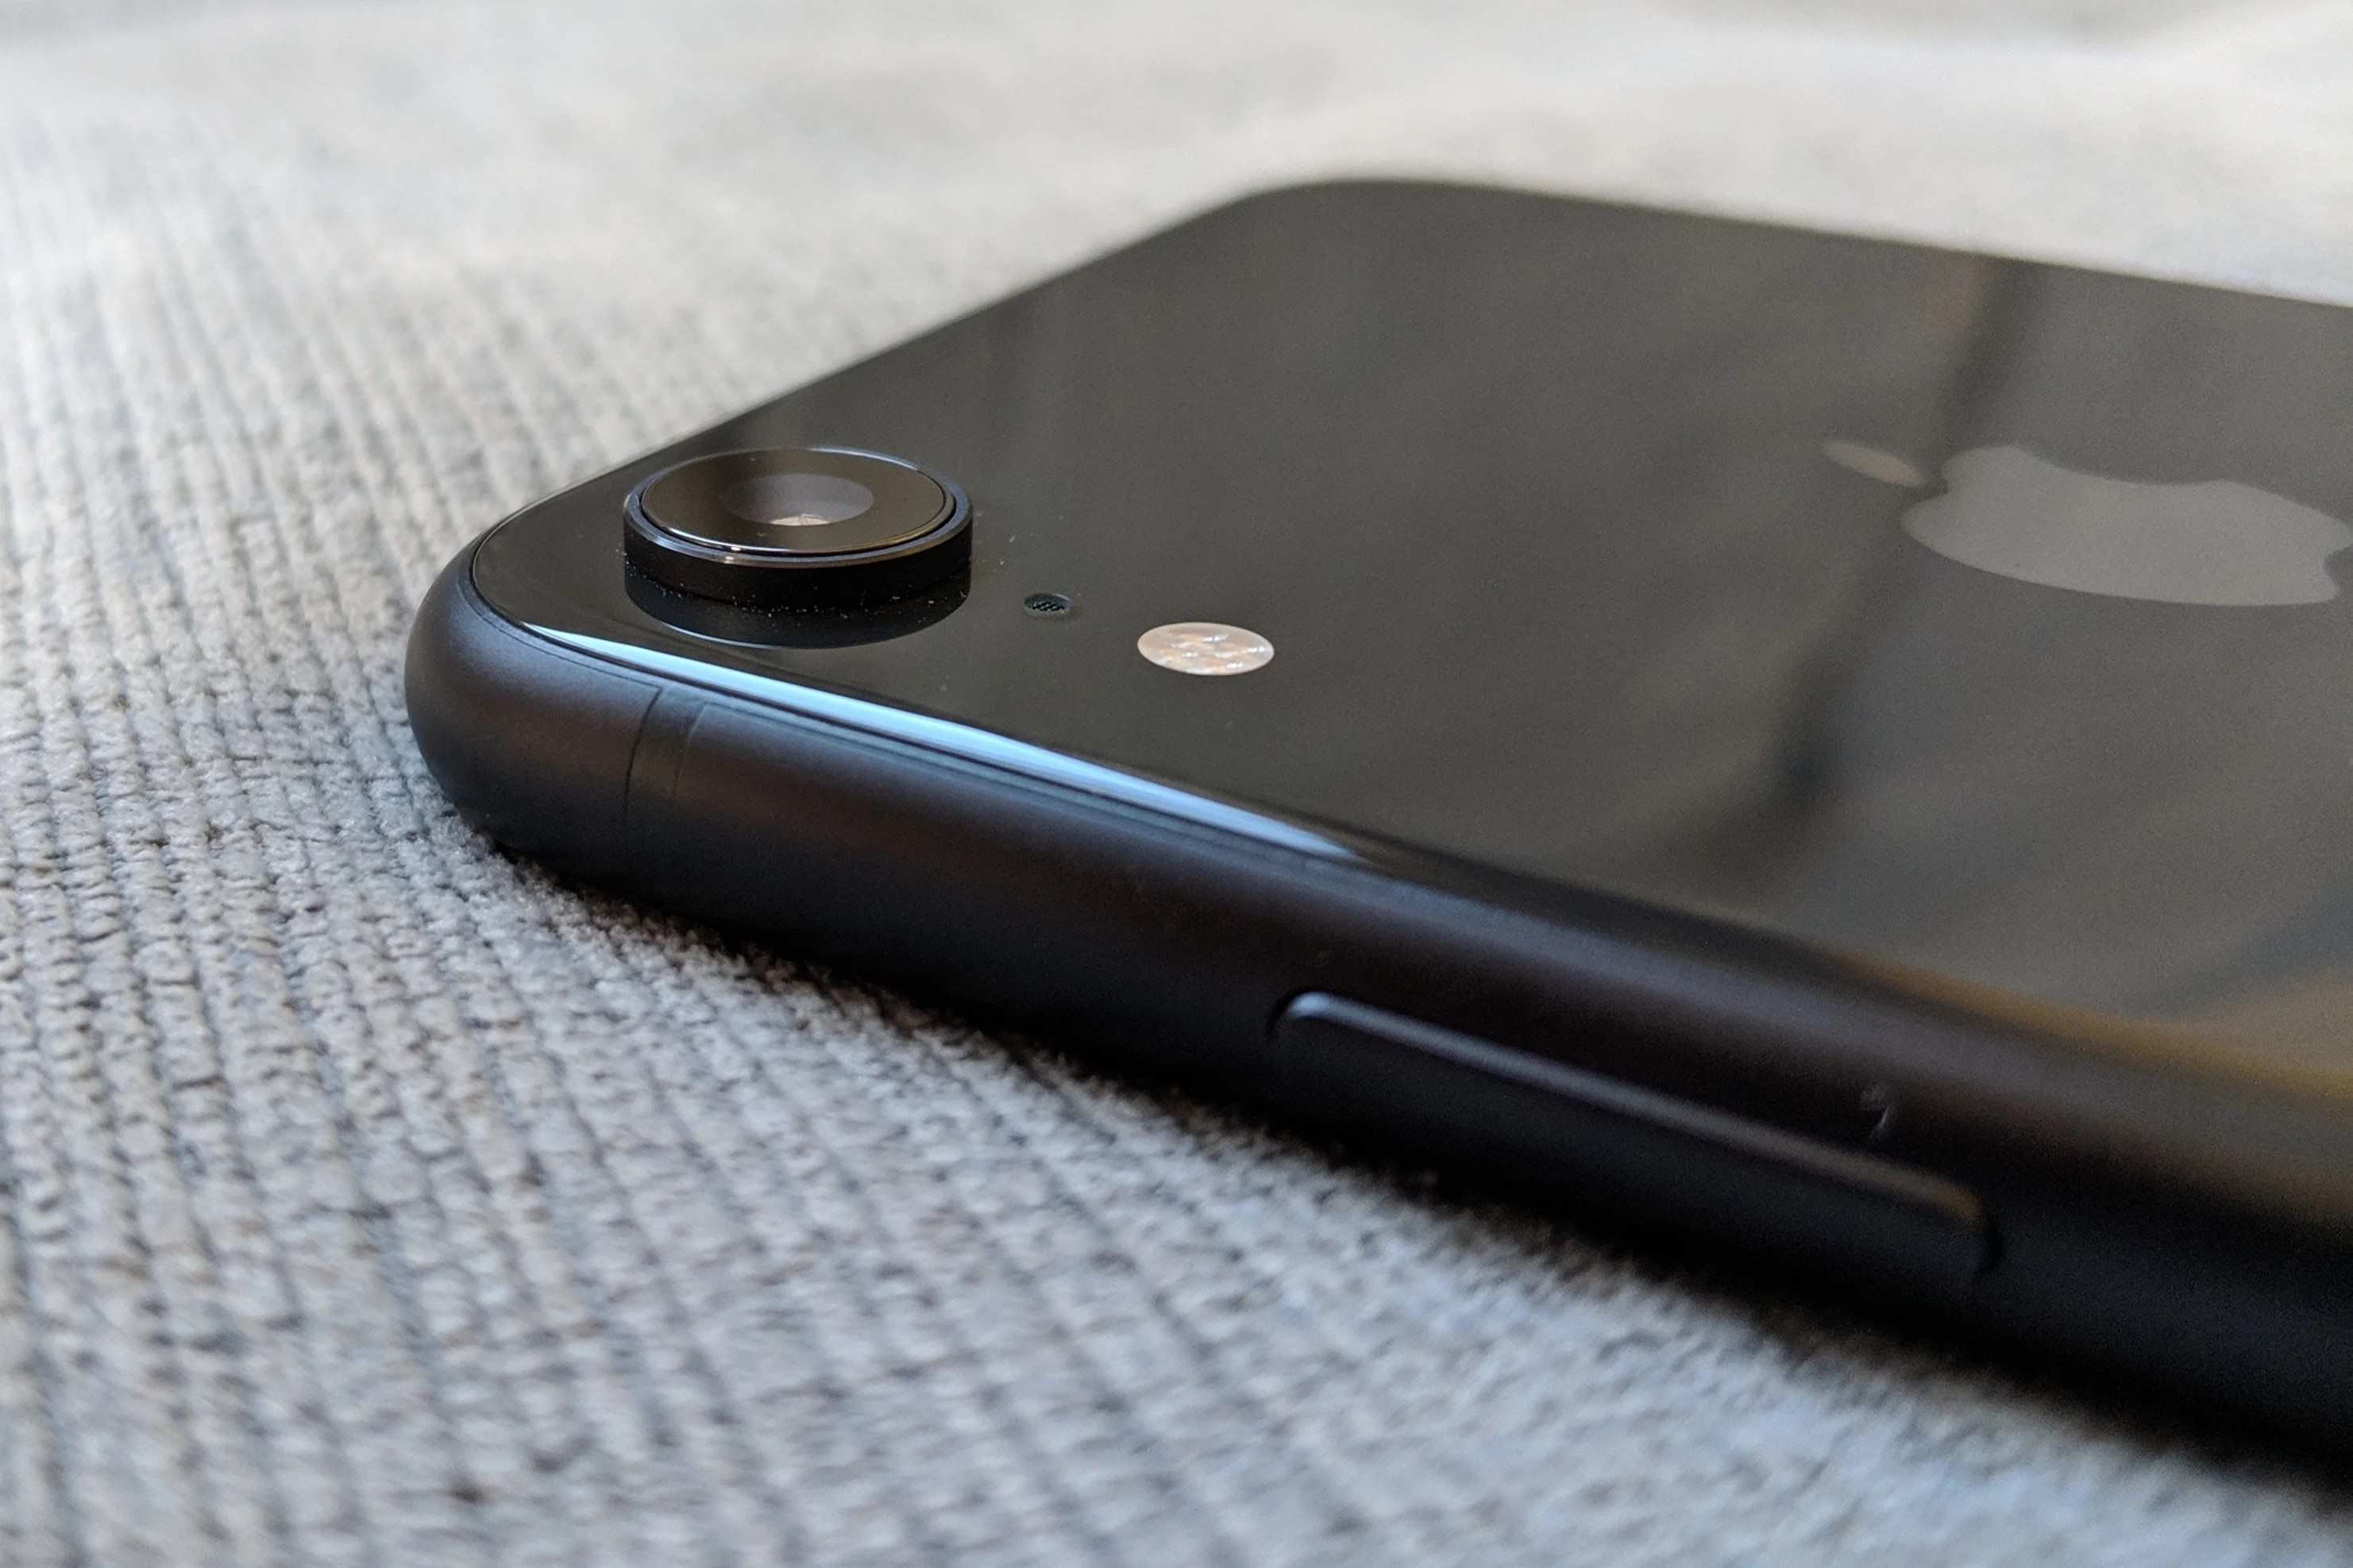
To locate the SIM card tray, you will need to identify the specific area on your iPhone XR where it is situated. The SIM card tray on the iPhone XR is typically located on the right-hand side of the device. It is important to note that the exact placement may vary slightly depending on the model and design of the iPhone XR, but the general location remains consistent.
Upon inspecting the right-hand side of the device, you will notice a small pinhole or slot, often accompanied by a tiny outline or indication of the SIM card tray. This discreet slot is the entry point to access the SIM card tray and is designed to accommodate the SIM card removal tool, which is essential for the extraction process.
Once you have identified the slot, you are one step closer to successfully locating the SIM card tray. The next phase of the process will involve preparing the SIM card removal tool and positioning it correctly within the slot to initiate the extraction of the SIM card tray.
By effectively locating the SIM card tray, you are setting the stage for the subsequent steps in the extraction process. This foundational step lays the groundwork for the safe and precise removal of the SIM card from your iPhone XR, ensuring that the device and the SIM card are handled with care and attention to detail.
With the SIM card tray successfully located, you are now poised to proceed to the next step, where we will explore the intricate process of inserting the SIM card removal tool and initiating the extraction of the SIM card tray from your iPhone XR. This marks a pivotal phase in the journey towards safely managing the SIM card of your iPhone XR.
Step 3: Insert the SIM card removal tool
With the SIM card tray successfully located on the right-hand side of your iPhone XR, the next crucial step in safely extracting the SIM card involves the precise insertion of the SIM card removal tool. This specialized tool, often provided by the device manufacturer, is designed to facilitate the safe removal and insertion of the SIM card tray.
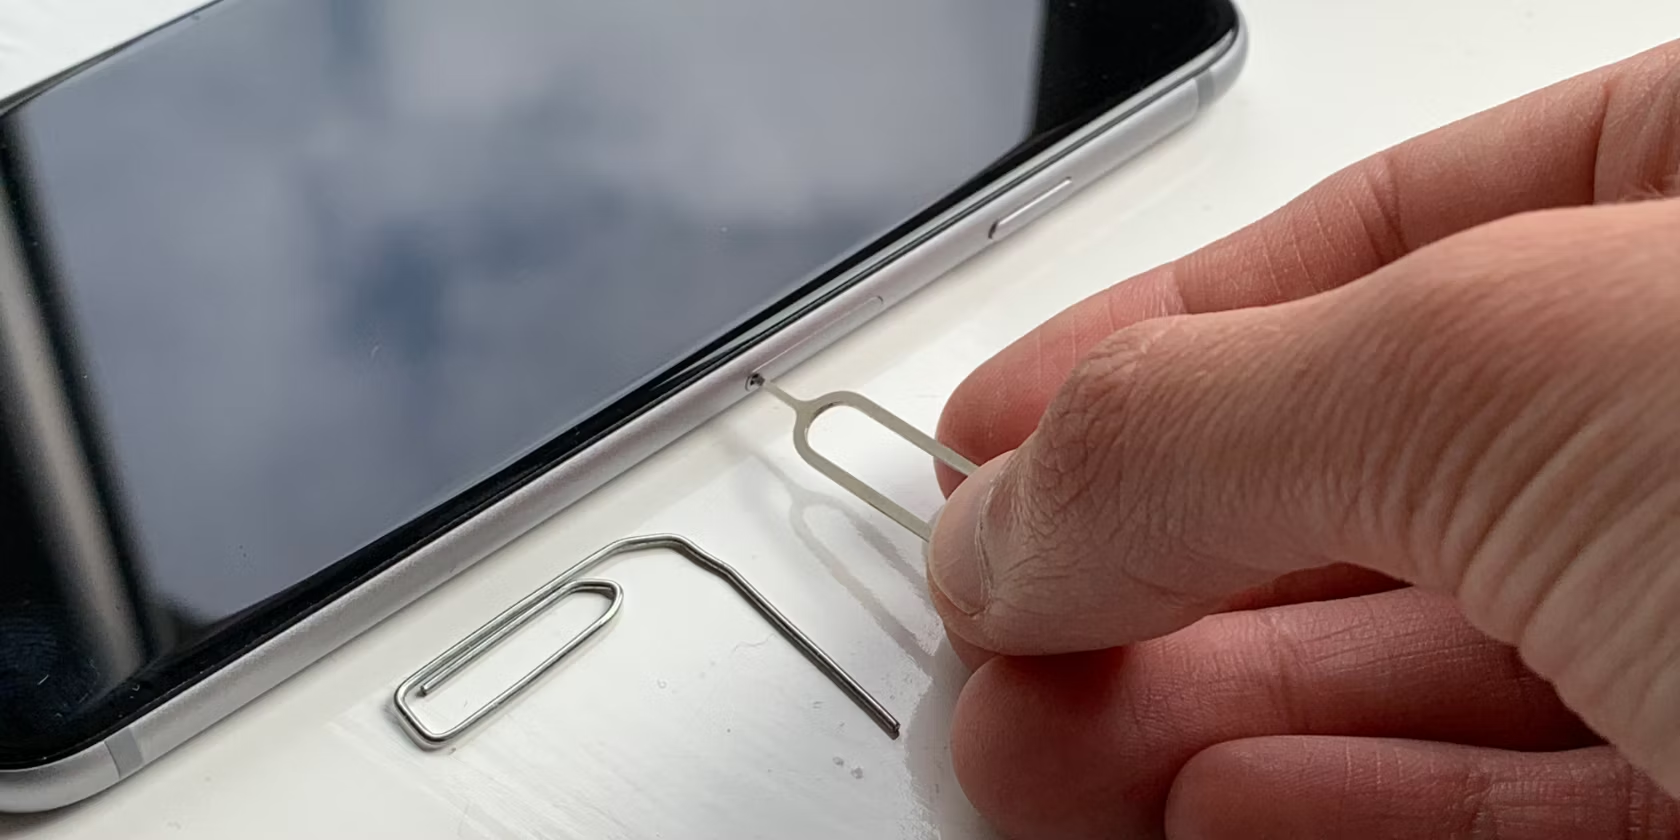
The SIM card removal tool is a small, metallic instrument, typically resembling a thin, elongated pin with a small knob or handle at one end. Its purpose is to engage with the internal mechanism of the SIM card tray, allowing for the smooth ejection of the tray without causing any damage to the device or the SIM card.
To begin this step, carefully retrieve the SIM card removal tool from its designated storage location, which may be included in the original packaging of your iPhone XR or obtained separately. Once in hand, take a moment to inspect the tool and familiarize yourself with its design and functionality.
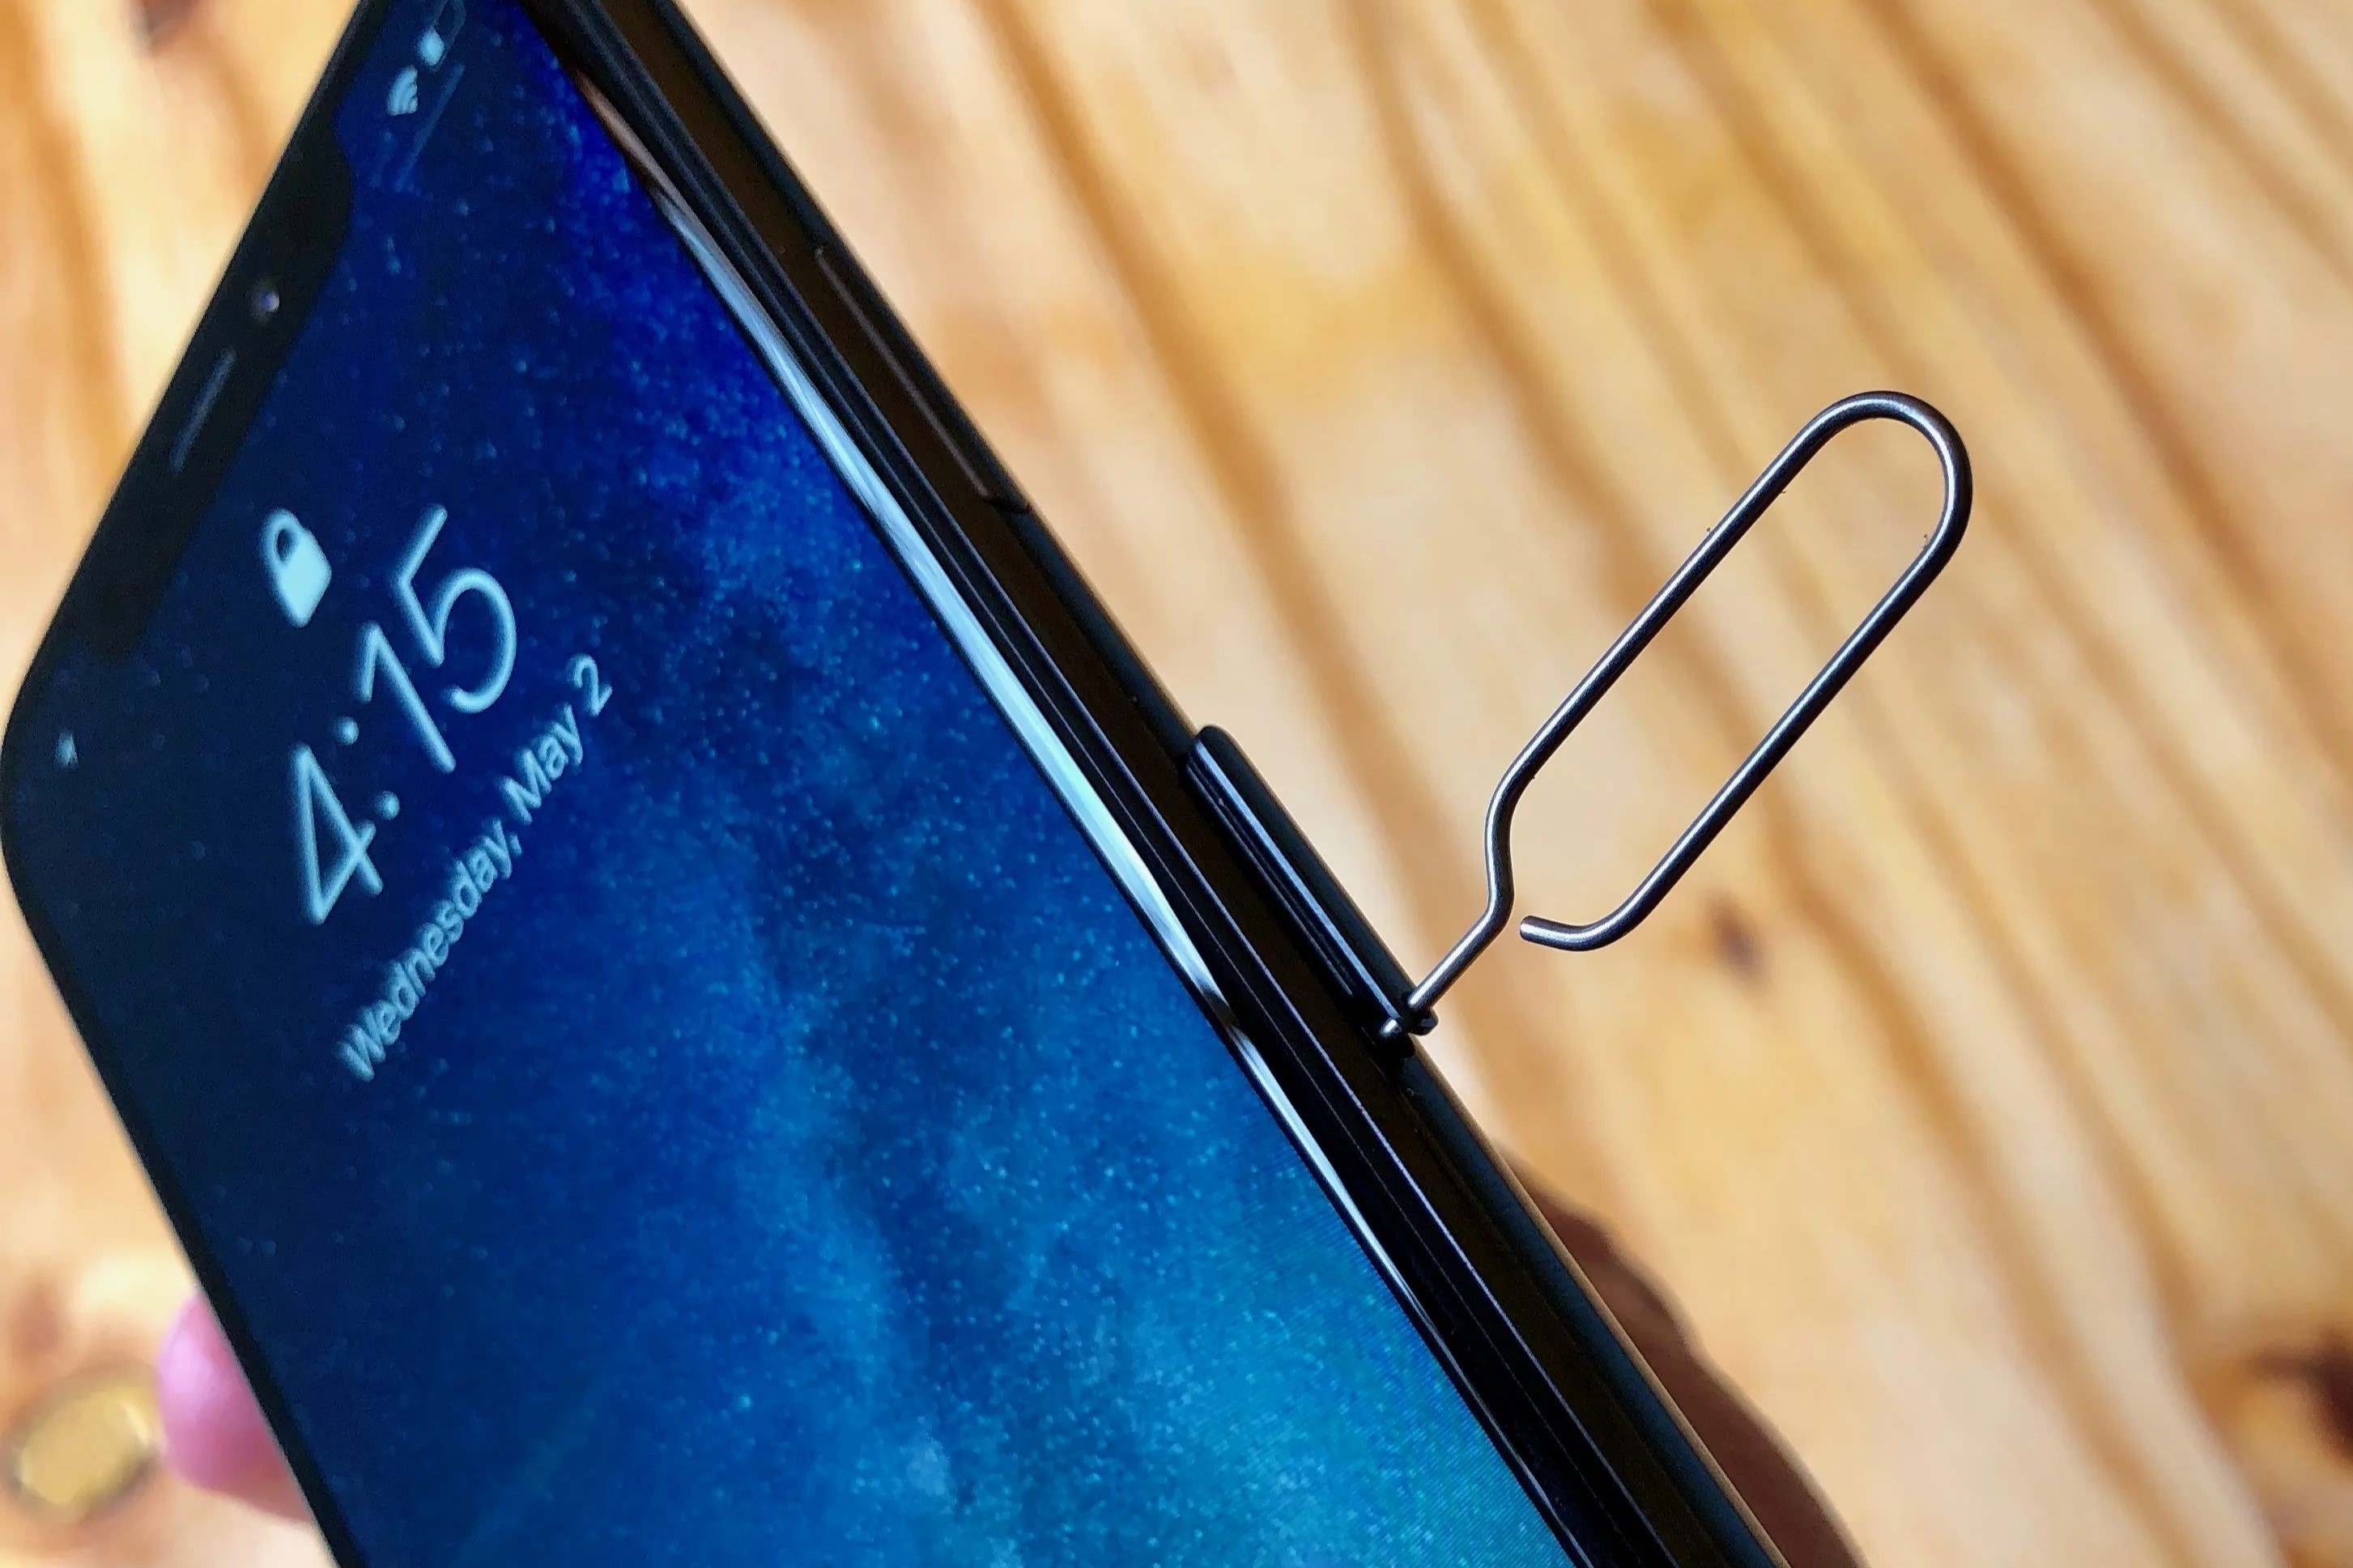
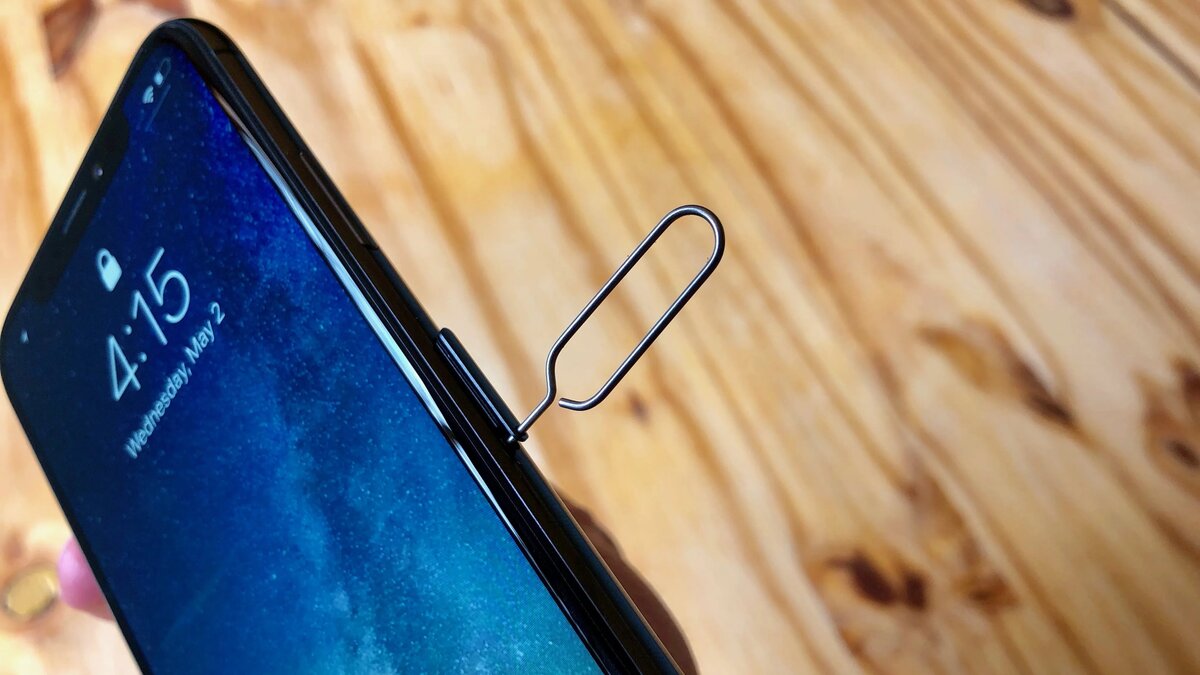
Next, holding the iPhone XR securely in one hand, take the SIM card removal tool and position the pointed end into the small pinhole or slot located adjacent to the SIM card tray. Apply gentle pressure to ensure that the tool is inserted smoothly and securely into the slot, allowing it to engage with the internal mechanism of the SIM card tray.
As you insert the SIM card removal tool, you may encounter a slight resistance, which is a normal part of the process. With patience and steady pressure, continue to insert the tool until you feel a subtle click or release, indicating that the internal mechanism of the SIM card tray has been successfully engaged.
It is important to exercise caution and precision during this step, ensuring that the SIM card removal tool is aligned correctly and inserted with care. By doing so, you are positioning the tool to interact with the internal components of the SIM card tray in a controlled and deliberate manner, setting the stage for the subsequent ejection of the tray.
With the SIM card removal tool securely inserted into the designated slot, you are now prepared to proceed to the next pivotal step, where we will explore the process of gently pushing to eject the SIM card tray from your iPhone XR. This marks a critical phase in the journey towards safely managing the SIM card of your iPhone XR, ensuring a seamless and efficient extraction process.
Step 4: Gently push to eject the SIM card tray
With the SIM card removal tool securely inserted into the designated slot on your iPhone XR, the next critical step in the process of safely extracting the SIM card involves the gentle yet deliberate act of pushing to eject the SIM card tray. This step requires precision and care to ensure the smooth and controlled release of the tray without causing any damage to the device or the SIM card.
To initiate the ejection process, apply gentle and even pressure to the SIM card removal tool, directed towards the interior of the device. It is essential to maintain a steady hand and avoid applying excessive force, as doing so may lead to unnecessary strain on the internal components of the device.
As you begin to push the SIM card removal tool, you may feel a subtle resistance, which is a natural response as the internal mechanism of the SIM card tray disengages to prepare for ejection. It is crucial to proceed with patience and attentiveness, allowing the tool to interact with the tray's mechanism in a controlled and deliberate manner.
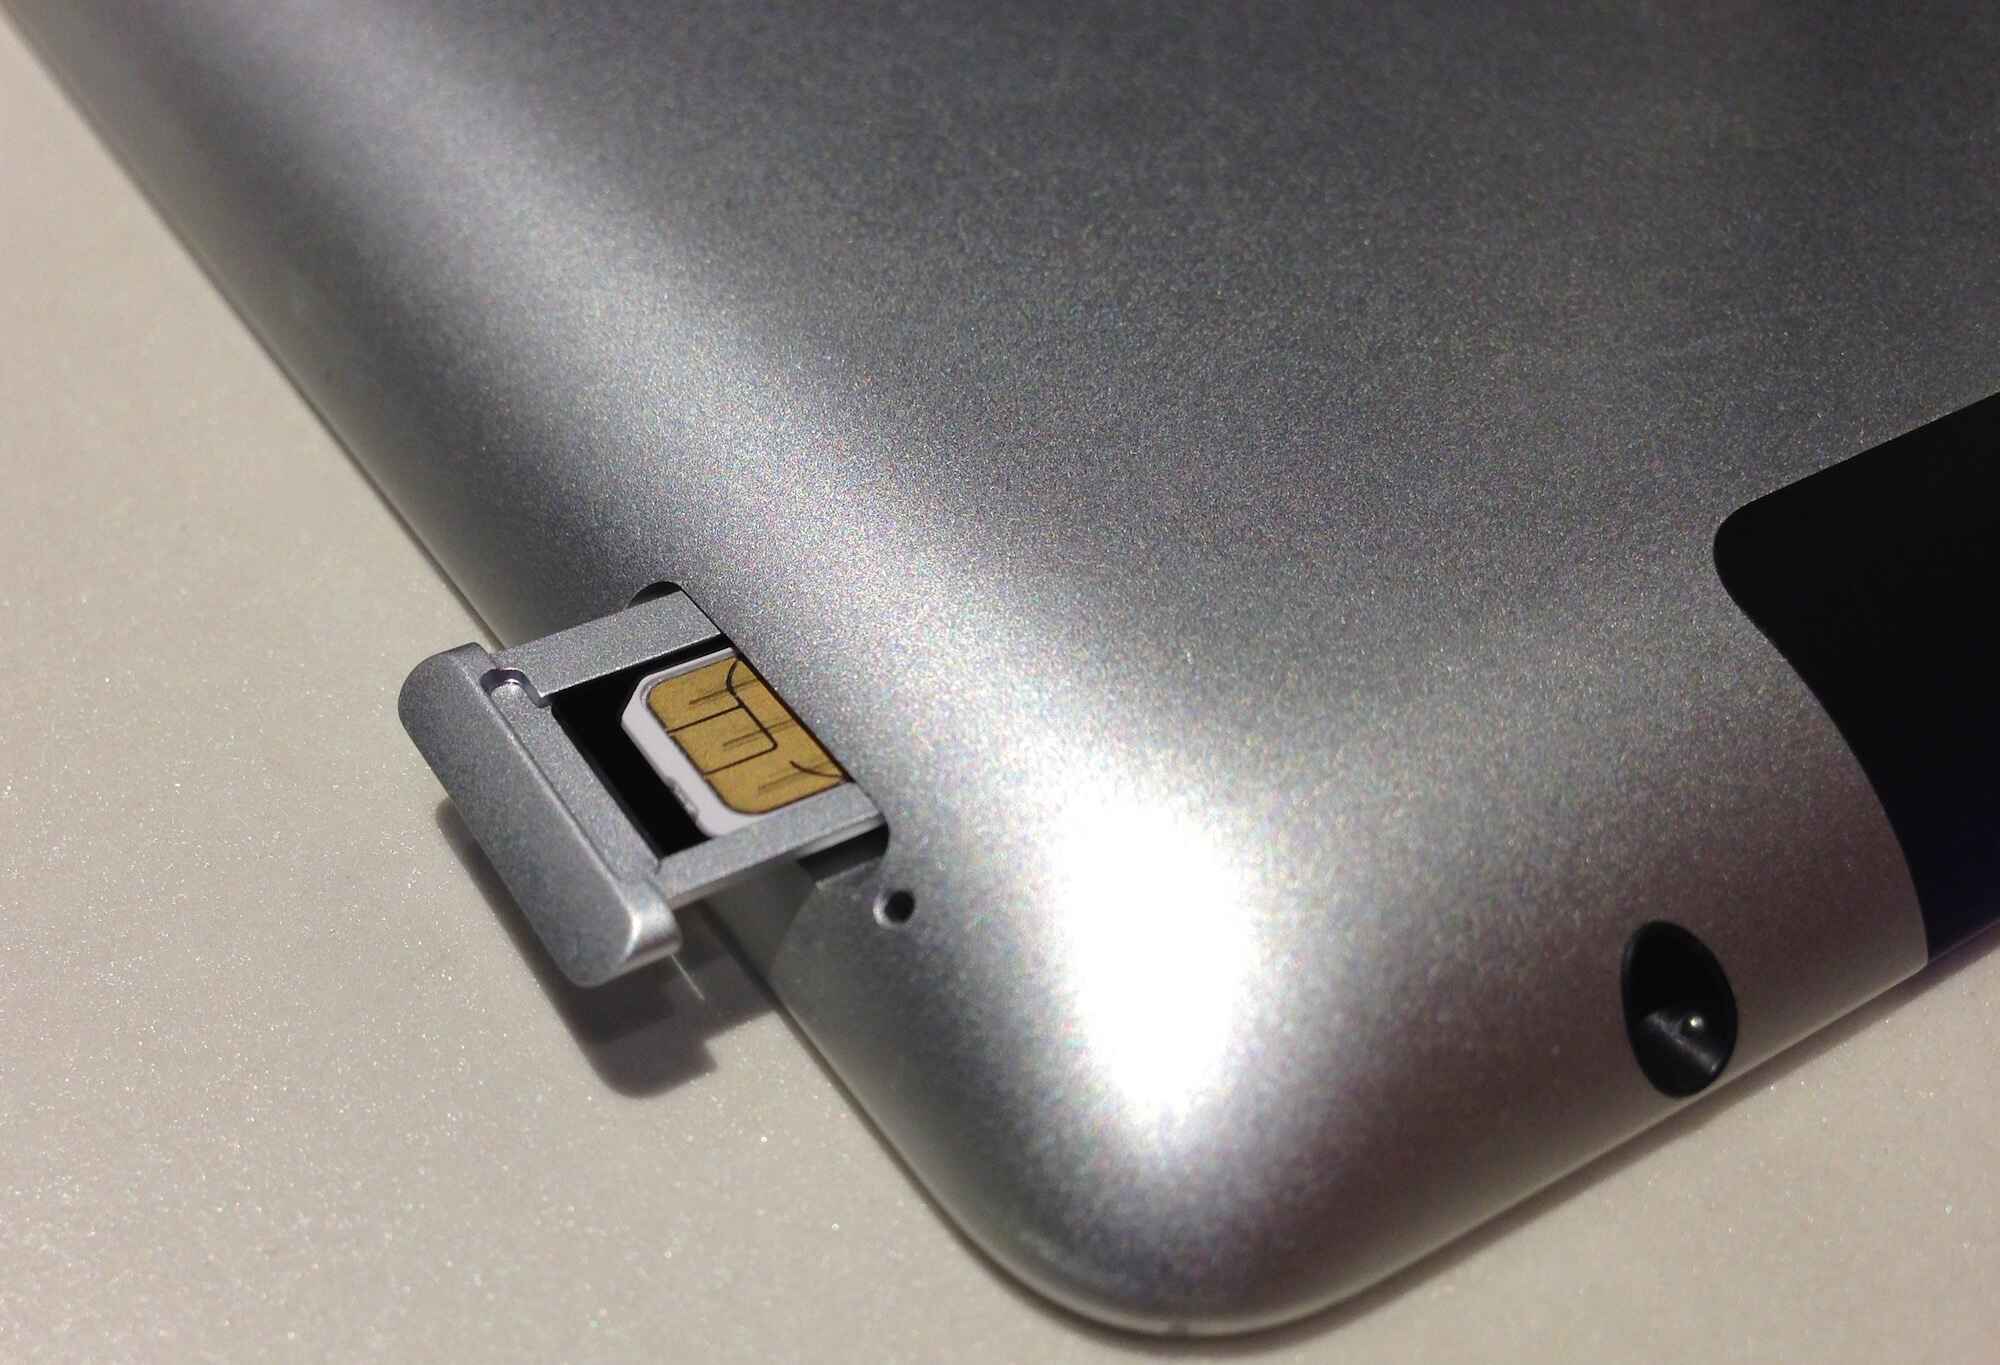
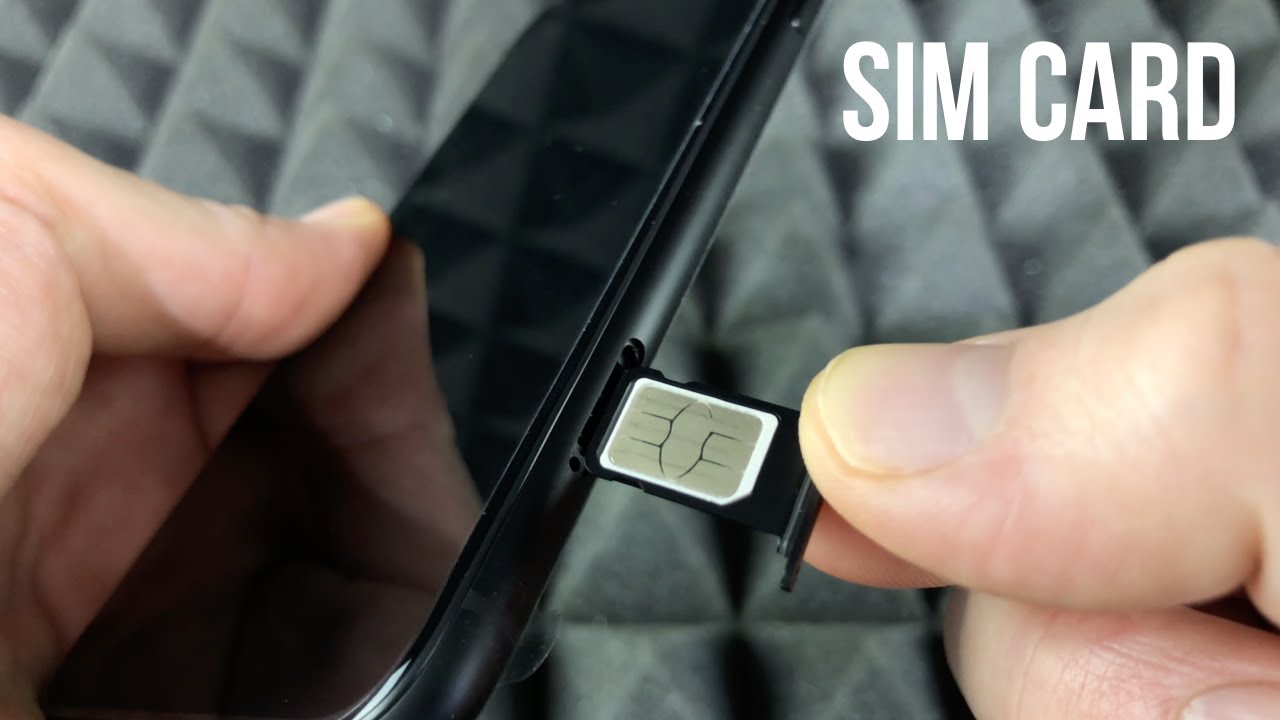
Continuing to apply gentle pressure, you will notice the SIM card tray gradually protruding from the device. This incremental movement signifies that the ejection process is underway, and the tray is being smoothly released from its secured position within the iPhone XR.
As the SIM card tray emerges from the device, it is essential to maintain a firm grip on the iPhone XR to ensure stability and prevent any unintended movement. By exercising caution and attentiveness, you can effectively manage the ejection process, allowing the SIM card tray to extend fully without encountering any obstacles or disruptions.
Once the SIM card tray is fully ejected from the device, carefully remove the SIM card removal tool from the slot, setting it aside for future use. With the tray now accessible, you are ready to proceed to the next step, where we will explore the process of removing the SIM card from the tray with precision and care.
By successfully pushing to eject the SIM card tray from your iPhone XR, you have navigated a pivotal phase in the journey towards safely managing the SIM card of your device. This step highlights the importance of controlled and deliberate actions, ensuring the smooth and secure release of the tray without compromising the integrity of the device or the SIM card.
With the SIM card tray now ejected, you are poised to proceed to the subsequent step, where we will delve into the process of removing the SIM card from the tray with precision and care. This marks a critical phase in the extraction process, setting the stage for the safe and efficient handling of the SIM card of your iPhone XR.
Step 5: Remove the SIM card from the tray
With the SIM card tray successfully ejected from your iPhone XR, the next crucial step in the extraction process involves the careful and precise removal of the SIM card from the tray. This step requires attention to detail and a gentle touch to ensure that the SIM card is handled with care and delicacy throughout the process.
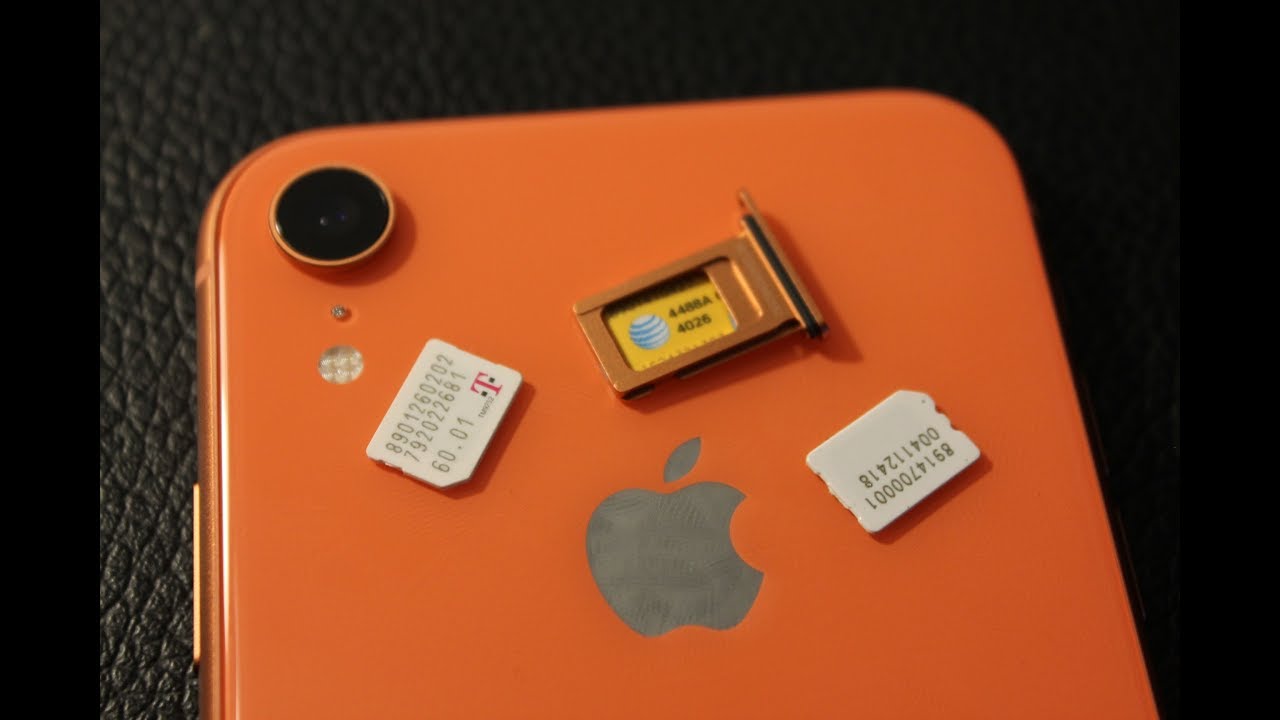
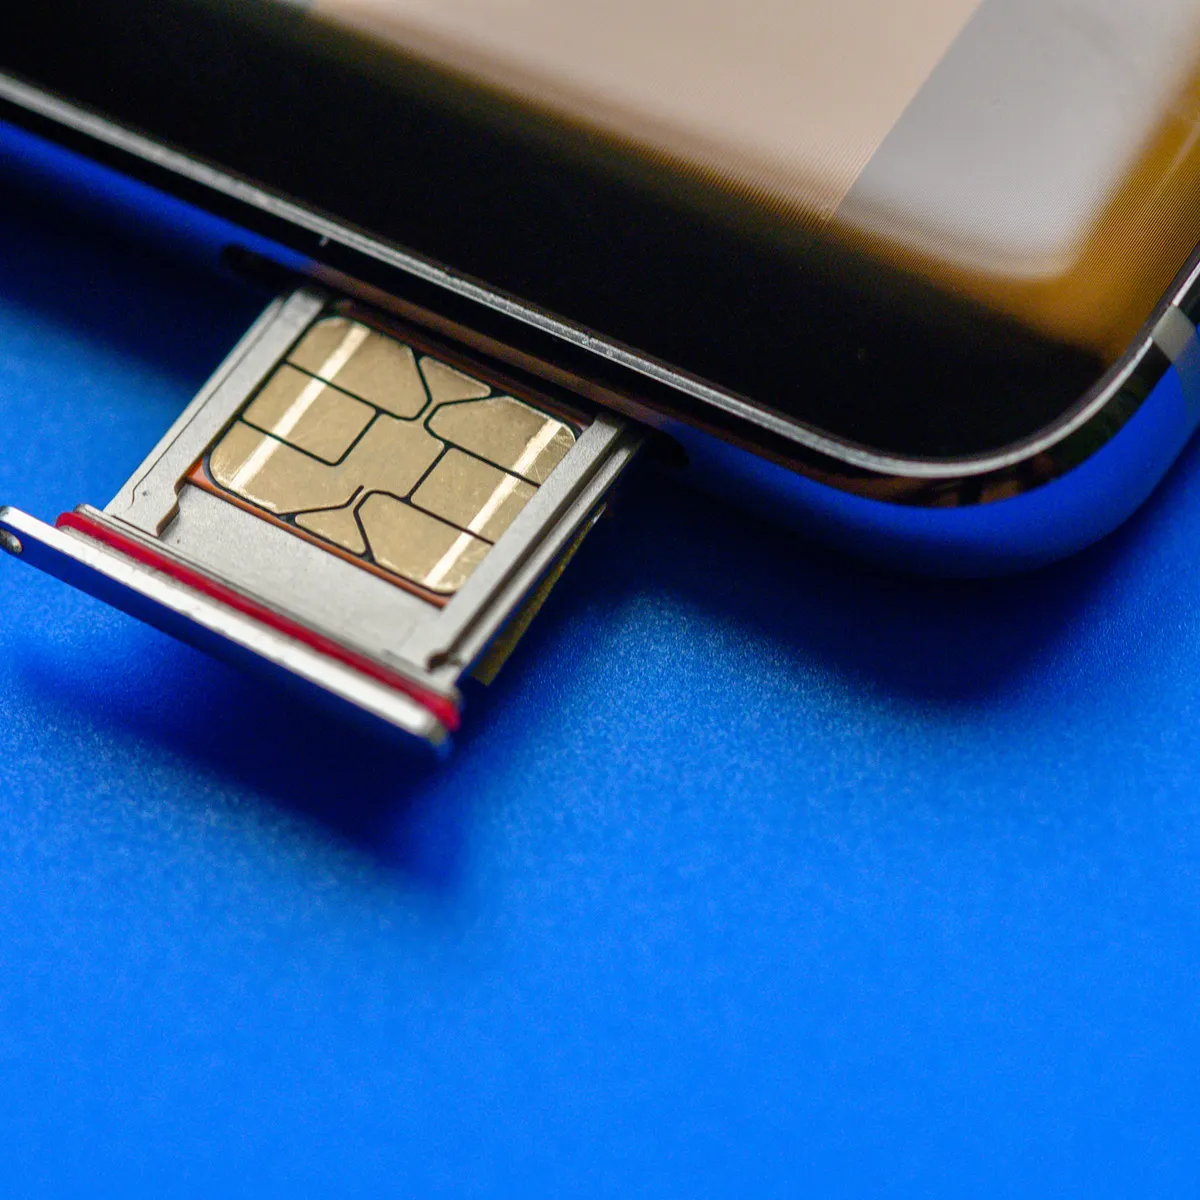
To begin, carefully inspect the SIM card tray, which now sits exposed and accessible outside the device. The tray typically accommodates the SIM card in a designated slot, securely holding it in place to prevent any movement or displacement during normal usage. It is important to approach the removal process with caution, ensuring that the SIM card and the tray are both handled with care.
Next, delicately maneuver the SIM card tray to access the slot where the SIM card is housed. Depending on the design of the tray, you may need to gently push or slide the SIM card tray to reveal the compartment containing the SIM card. Exercise patience and precision during this step, allowing for a smooth and controlled movement of the tray to access the SIM card slot.
Once the SIM card slot is accessible, carefully examine the positioning of the SIM card within the tray. The SIM card is a small, rectangular component that is essential for connecting your iPhone XR to your mobile network. It is crucial to handle the SIM card with care, avoiding any unnecessary bending or rough handling that may compromise its functionality.
To remove the SIM card from the tray, delicately slide it out of the designated slot, ensuring a smooth and controlled movement. It is important to maintain a gentle touch and avoid applying excessive force during this process, as the SIM card is a delicate component that must be handled with care.
As the SIM card is carefully removed from the tray, take a moment to inspect it for any signs of damage or wear. Ensure that the gold contacts on the SIM card remain clean and free from any debris or obstruction, as these contacts are vital for establishing a secure connection with your mobile network.
With the SIM card successfully removed from the tray, set it aside in a safe and secure location, ensuring that it is protected from any potential damage or loss. At this stage, the SIM card extraction process is nearing completion, setting the stage for the final step of reinserting the SIM card tray into your iPhone XR.
By effectively removing the SIM card from the tray with precision and care, you have navigated a critical phase in the extraction process, ensuring that the SIM card is handled delicately and securely throughout the procedure. With the SIM card now safely removed, you are ready to proceed to the subsequent step, where we will explore the process of reinserting the SIM card tray into your iPhone XR, marking the final phase of the extraction process.
Step 6: Reinsert the SIM card tray into the iPhone XR
With the SIM card safely removed from the tray, the final step in the extraction process involves reinserting the SIM card tray back into your iPhone XR. This step is crucial for ensuring that the SIM card is securely housed within the device, ready to establish a seamless connection with your mobile network. The reinsertion process requires precision and care to guarantee that the SIM card tray is positioned correctly and securely within the device.
To begin, carefully inspect the SIM card tray to identify the orientation and positioning of the SIM card slot. The tray is designed to securely accommodate the SIM card, ensuring that it fits snugly and aligns perfectly within the designated slot. It is essential to approach the reinsertion process with attentiveness, ensuring that the SIM card tray and the SIM card are handled delicately throughout the procedure.
Next, delicately position the SIM card back into the designated slot within the SIM card tray. The SIM card is a vital component that enables your iPhone XR to connect with your mobile network, and it is crucial to ensure that it is inserted correctly to establish a secure and stable connection. Exercise patience and precision during this step, ensuring that the SIM card is aligned properly and fits seamlessly within the slot.
Once the SIM card is securely positioned within the tray, carefully maneuver the SIM card tray back into the slot on the right-hand side of your iPhone XR. Ensure that the tray aligns perfectly with the device, allowing for a smooth and controlled insertion. It is important to exercise caution and attentiveness, ensuring that the tray is positioned correctly and securely within the device.
As the SIM card tray slides back into place, you may feel a subtle click or resistance, indicating that the tray is securely seated within the device. It is essential to verify that the tray sits flush with the exterior of the iPhone XR, signifying that it is correctly positioned and fully inserted. By doing so, you are ensuring that the SIM card is securely housed within the device, ready to facilitate seamless connectivity with your mobile network.
With the SIM card tray successfully reinserted into your iPhone XR, the extraction process is now complete. The SIM card is securely housed within the device, and you are ready to power on your iPhone XR to resume your mobile activities. By effectively reinserting the SIM card tray with precision and care, you have successfully managed the extraction and reinstallation of the SIM card, ensuring that your iPhone XR is ready to connect with your mobile network seamlessly.
This marks the culmination of the extraction process, highlighting the importance of controlled and deliberate actions to ensure the safe and efficient handling of the SIM card within your iPhone XR. With the SIM card securely reinserted, your device is now poised to resume its essential functions, allowing you to stay connected and engaged with the digital world.
Conclusion
In conclusion, the process of safely extracting the SIM card from an iPhone XR is a straightforward yet crucial endeavor that requires careful attention to detail and precision. By following the step-by-step guide outlined in this article, users can confidently navigate the extraction process, ensuring that the device and the SIM card are handled with care and delicacy throughout each phase.
From powering off the iPhone XR to locating the SIM card tray, inserting the SIM card removal tool, gently pushing to eject the tray, removing the SIM card, and reinserting the tray, each step is designed to facilitate a seamless and secure extraction experience. The emphasis on controlled and deliberate actions underscores the importance of ensuring the safety and integrity of both the device and the SIM card.
By powering off the iPhone XR at the outset, users set the stage for a stable and secure extraction process, minimizing the risk of any potential damage to the device or the SIM card. The subsequent steps, including locating the SIM card tray and inserting the SIM card removal tool, highlight the importance of attentiveness and precision in preparing for the extraction process.
The pivotal phase of gently pushing to eject the SIM card tray underscores the significance of controlled pressure and attentiveness, ensuring the smooth and secure release of the tray from the device. Likewise, the careful removal of the SIM card from the tray emphasizes the need for delicacy and precision in handling the vital component.
Finally, the process of reinserting the SIM card tray into the iPhone XR underscores the culmination of the extraction process, highlighting the importance of ensuring a secure and stable placement of the SIM card within the device.
By effectively navigating each step of the extraction process, users can confidently manage the removal and reinstallation of the SIM card, ensuring that their iPhone XR is ready to establish seamless connectivity with their mobile network. The attention to detail and precision showcased throughout the process underscores the importance of safeguarding the integrity of the device and the SIM card, ensuring a smooth and efficient extraction experience.
In essence, the journey of safely extracting the SIM card from an iPhone XR is a testament to the meticulous care and precision required to manage essential components of the device. By following the guidelines outlined in this article, users can embark on this endeavor with confidence and ease, knowing that they are equipped to handle the extraction process with the utmost care and attention to detail.


