Introduction
Restoring your Xperia Z Ultra to its factory settings can be a valuable troubleshooting step when encountering persistent software issues or preparing to pass on the device to a new owner. This comprehensive guide will walk you through the step-by-step process of performing a factory reset on your Xperia Z Ultra, ensuring that you can do so with confidence and ease.
By following this guide, you will learn how to back up your important data, access the settings menu, perform the factory reset, and restore your data afterward. Whether you're experiencing sluggish performance, app crashes, or other software-related issues, a factory reset can often resolve these issues and provide a fresh start for your device.
It's important to note that a factory reset will erase all data and settings on your Xperia Z Ultra, so it's crucial to back up any important files, photos, contacts, and other data before proceeding. Additionally, understanding the process of restoring your data after the reset is essential to ensure a smooth transition back to your personalized device setup.
With this guide, you'll gain the knowledge and confidence to effectively restore your Xperia Z Ultra to its factory settings, empowering you to address software issues and optimize the performance of your device. Let's dive into the step-by-step process of restoring your Xperia Z Ultra, starting with the crucial first step of backing up your data.
Step 1: Backing Up Your Data
Before embarking on the process of restoring your Xperia Z Ultra to its factory settings, it is imperative to safeguard your valuable data through a comprehensive backup. By taking this essential step, you can ensure that your photos, videos, contacts, messages, and other important files are preserved and easily accessible after the factory reset.
Utilizing Built-in Backup Features
The Xperia Z Ultra offers convenient built-in features for backing up your data, empowering you to seamlessly preserve your information. To initiate the backup process, navigate to the "Settings" menu on your device and locate the "Backup & reset" option. Within this section, you will find the "Back up my data" and "Automatic restore" features, which can be enabled to automatically back up your app data, Wi-Fi passwords, and other settings to your Google account.
Backing Up Media and Files
In addition to utilizing the built-in backup features, it is essential to manually back up your media and files to ensure comprehensive data preservation. Connect your Xperia Z Ultra to a computer using a USB cable and transfer your photos, videos, documents, and other files to a designated folder on your computer. Alternatively, you can utilize cloud storage services such as Google Drive or Dropbox to securely store your data in the cloud, providing convenient access to your files from any device.
Syncing Contacts and Calendars
To safeguard your contacts and calendar events, ensure that they are synced with your Google account. This can be achieved by navigating to the "Accounts" section within the "Settings" menu and selecting your Google account. Verify that the "Contacts" and "Calendar" options are enabled to synchronize your essential contact information and schedule, facilitating a seamless restoration process after the factory reset.
By diligently backing up your data using the built-in features and manual methods, you can embark on the factory reset process with confidence, knowing that your valuable information is securely preserved. With your data safely backed up, you are prepared to proceed to the next step of accessing the settings menu to initiate the factory reset on your Xperia Z Ultra.
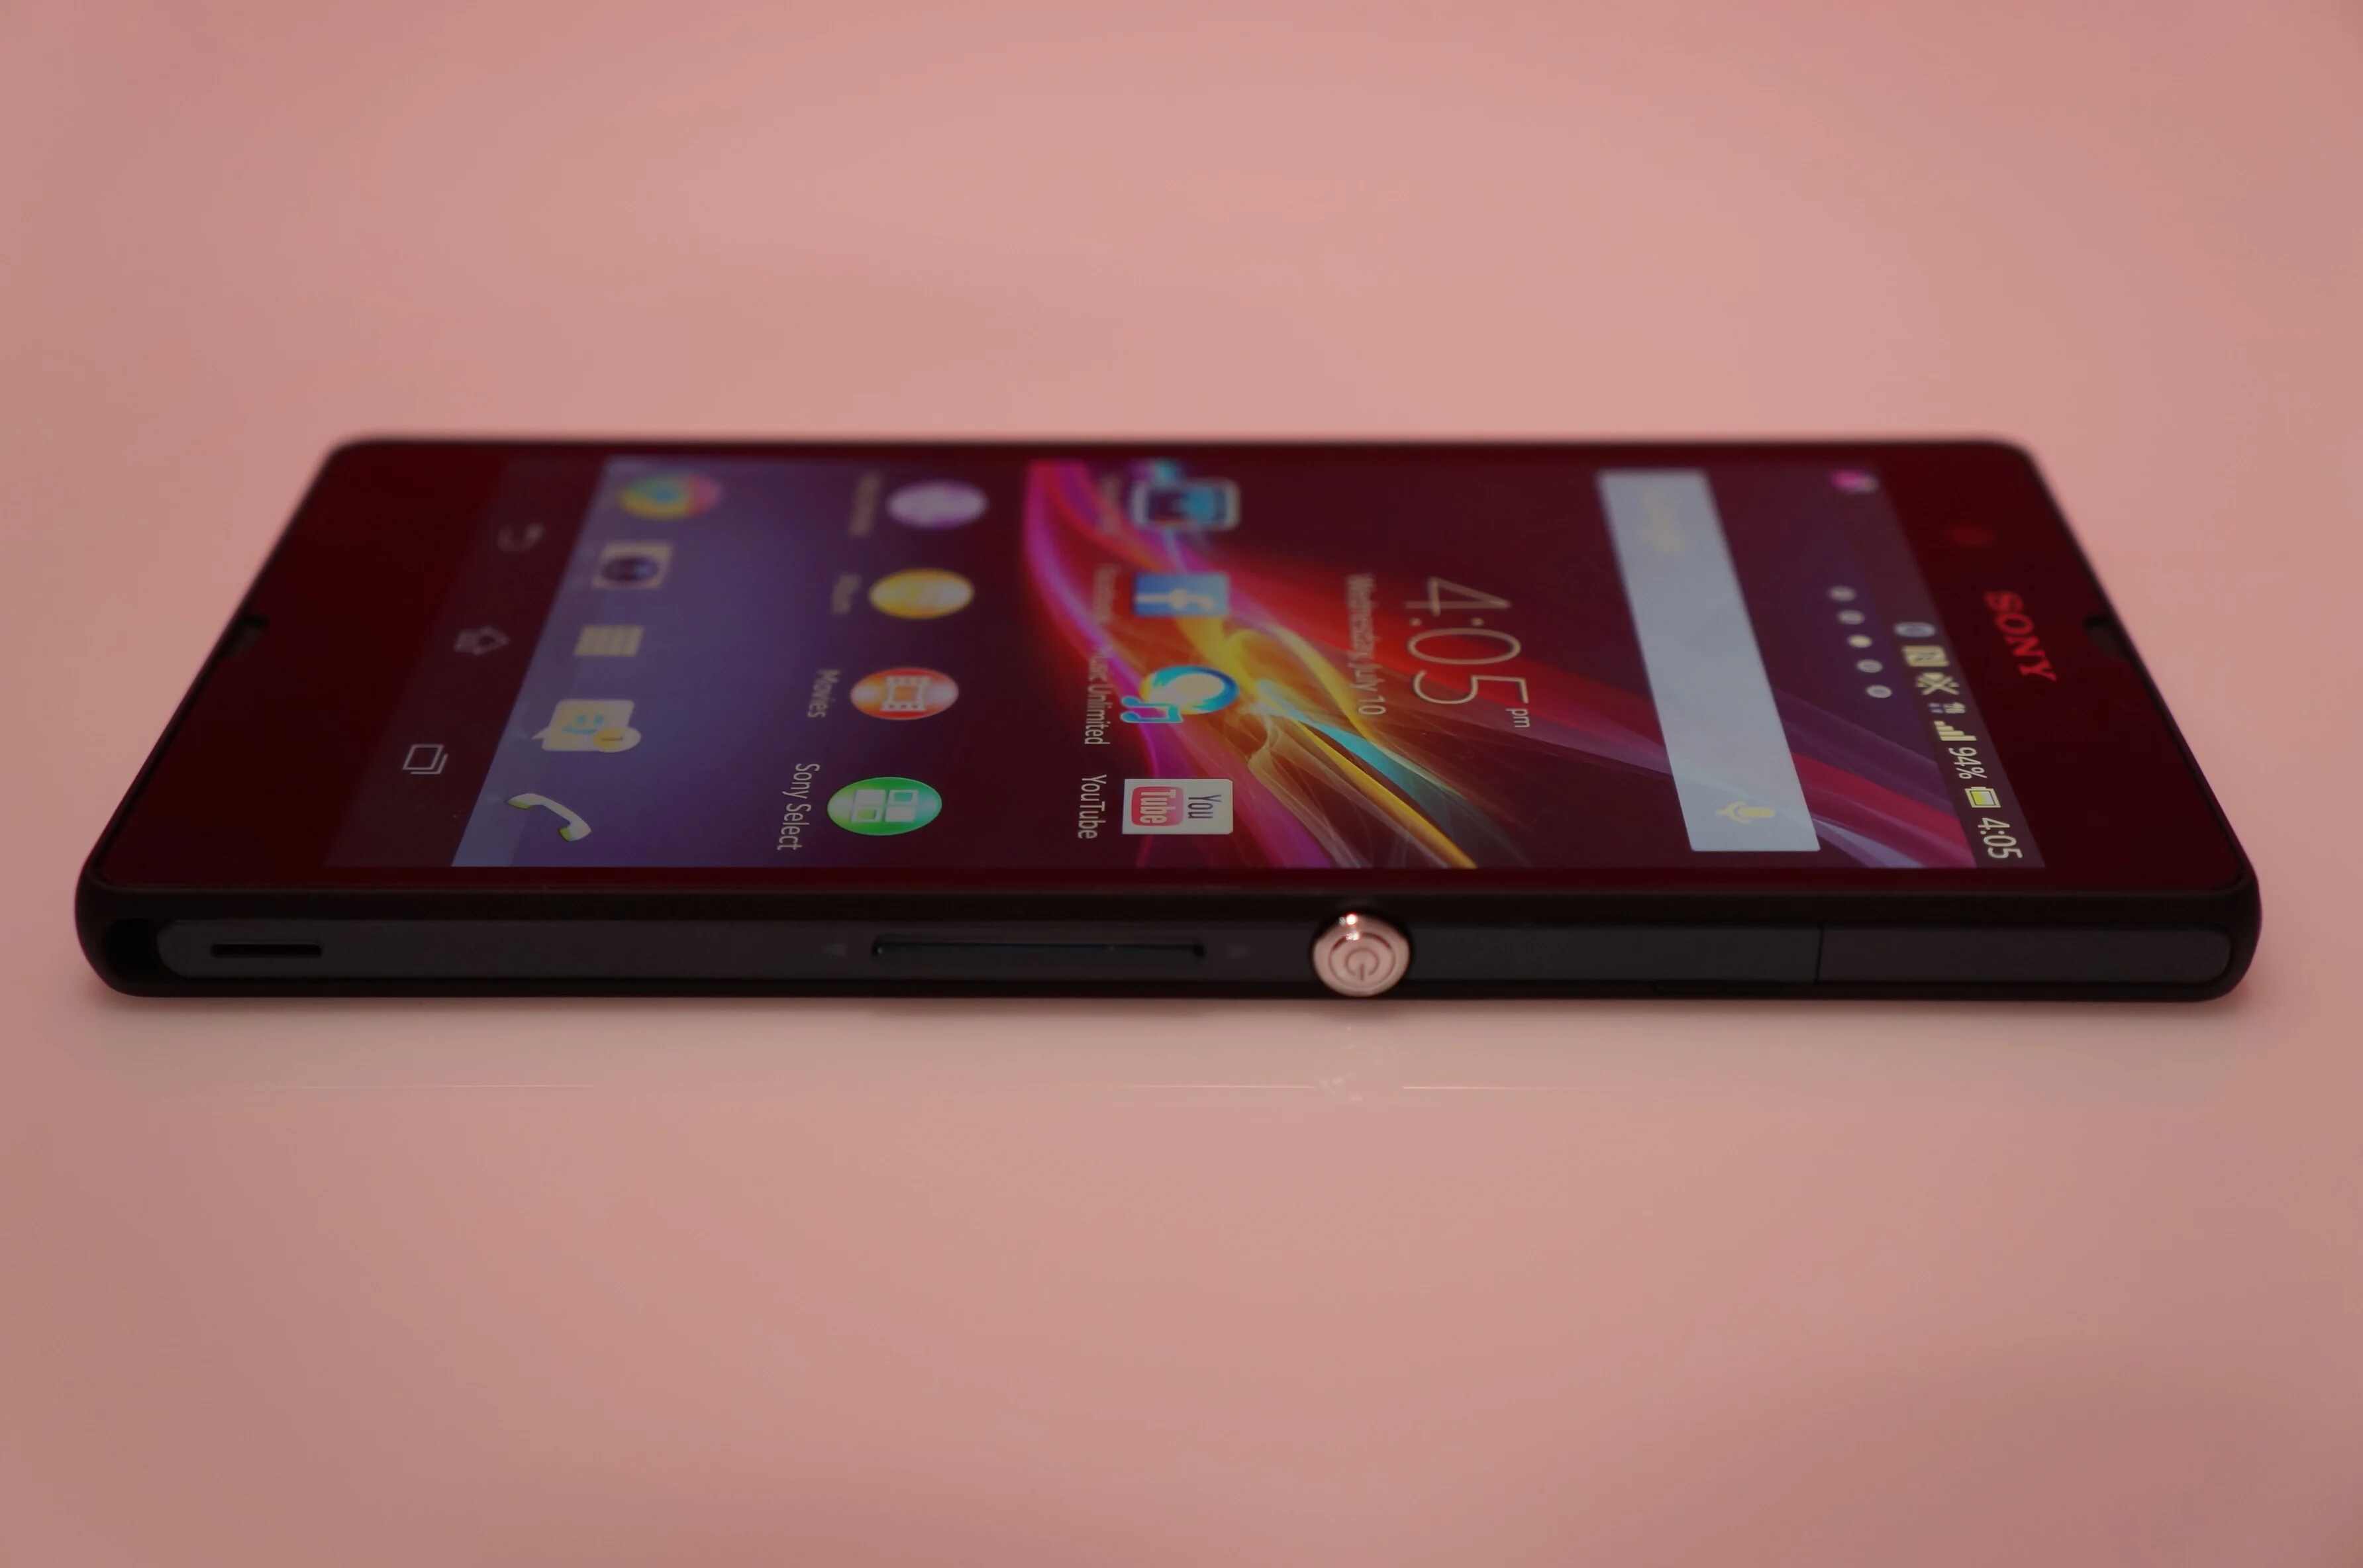
Step 2: Accessing the Settings Menu
Accessing the settings menu on your Xperia Z Ultra is the pivotal next step in the process of restoring your device to its factory settings. This essential phase enables you to navigate to the specific menu options required to initiate the factory reset, ensuring a seamless transition to the restoration process.
To access the settings menu, begin by unlocking your Xperia Z Ultra and navigating to the home screen. From the home screen, locate and tap the "Settings" icon, typically represented by a gear or cogwheel symbol. Upon tapping the "Settings" icon, you will be directed to the settings menu, where a comprehensive array of device customization and management options awaits.
Within the settings menu, you will encounter a diverse range of categories and options, each serving a distinct purpose in managing your Xperia Z Ultra. These categories may include "Wireless & networks," "Device," "Personal," "System," and more, providing a structured framework for accessing and adjusting various settings and features of your device.
As you navigate through the settings menu, it is essential to locate the specific option for performing a factory reset. This option is typically found within the "System" or "Backup & reset" category, although the precise location may vary based on the device's software version and customization by the manufacturer.
Once you have identified the "Backup & reset" or similar category, tap on the option to reveal the available reset options. Within this section, you will likely encounter the "Factory data reset" or "Reset phone" option, which serves as the gateway to initiating the restoration process. It is important to carefully review any additional information or warnings provided within this section to ensure a clear understanding of the implications of the factory reset.
By effectively accessing the settings menu and navigating to the designated reset options, you have successfully positioned yourself to proceed with the crucial next step of performing the factory reset on your Xperia Z Ultra. With the settings menu at your fingertips, you are poised to embark on the restoration process, paving the way for a refreshed and optimized device experience.
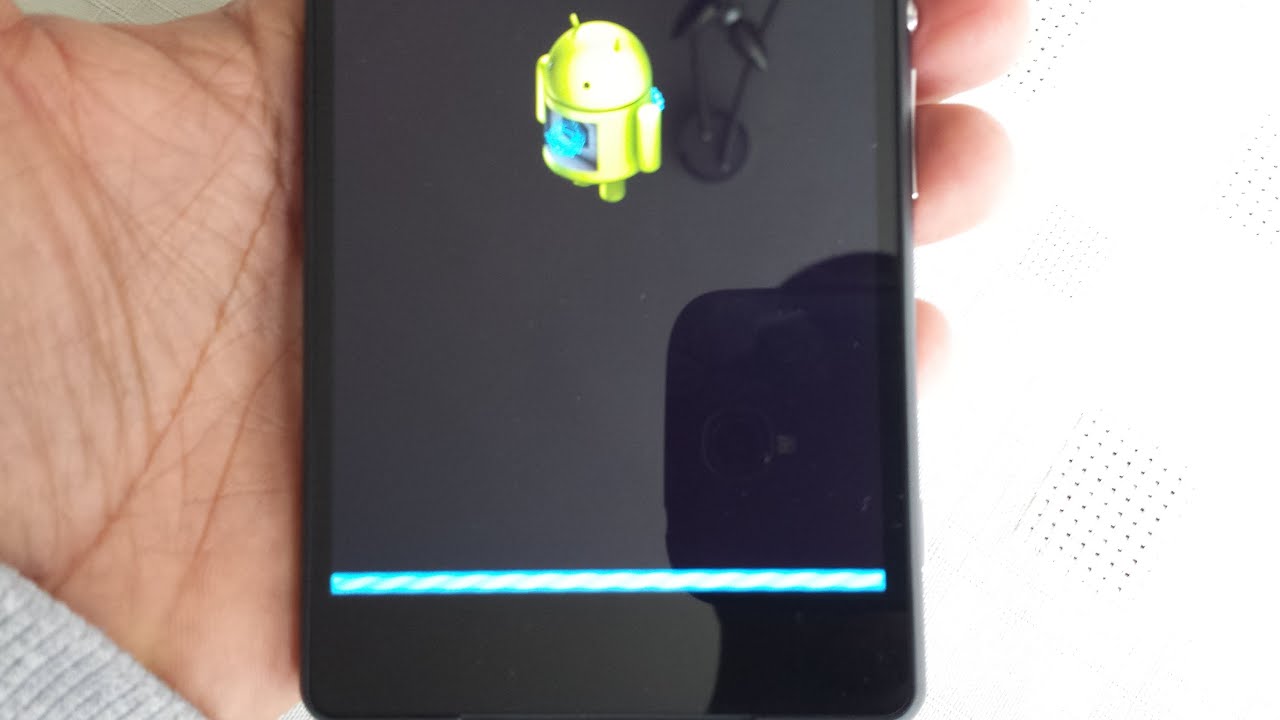
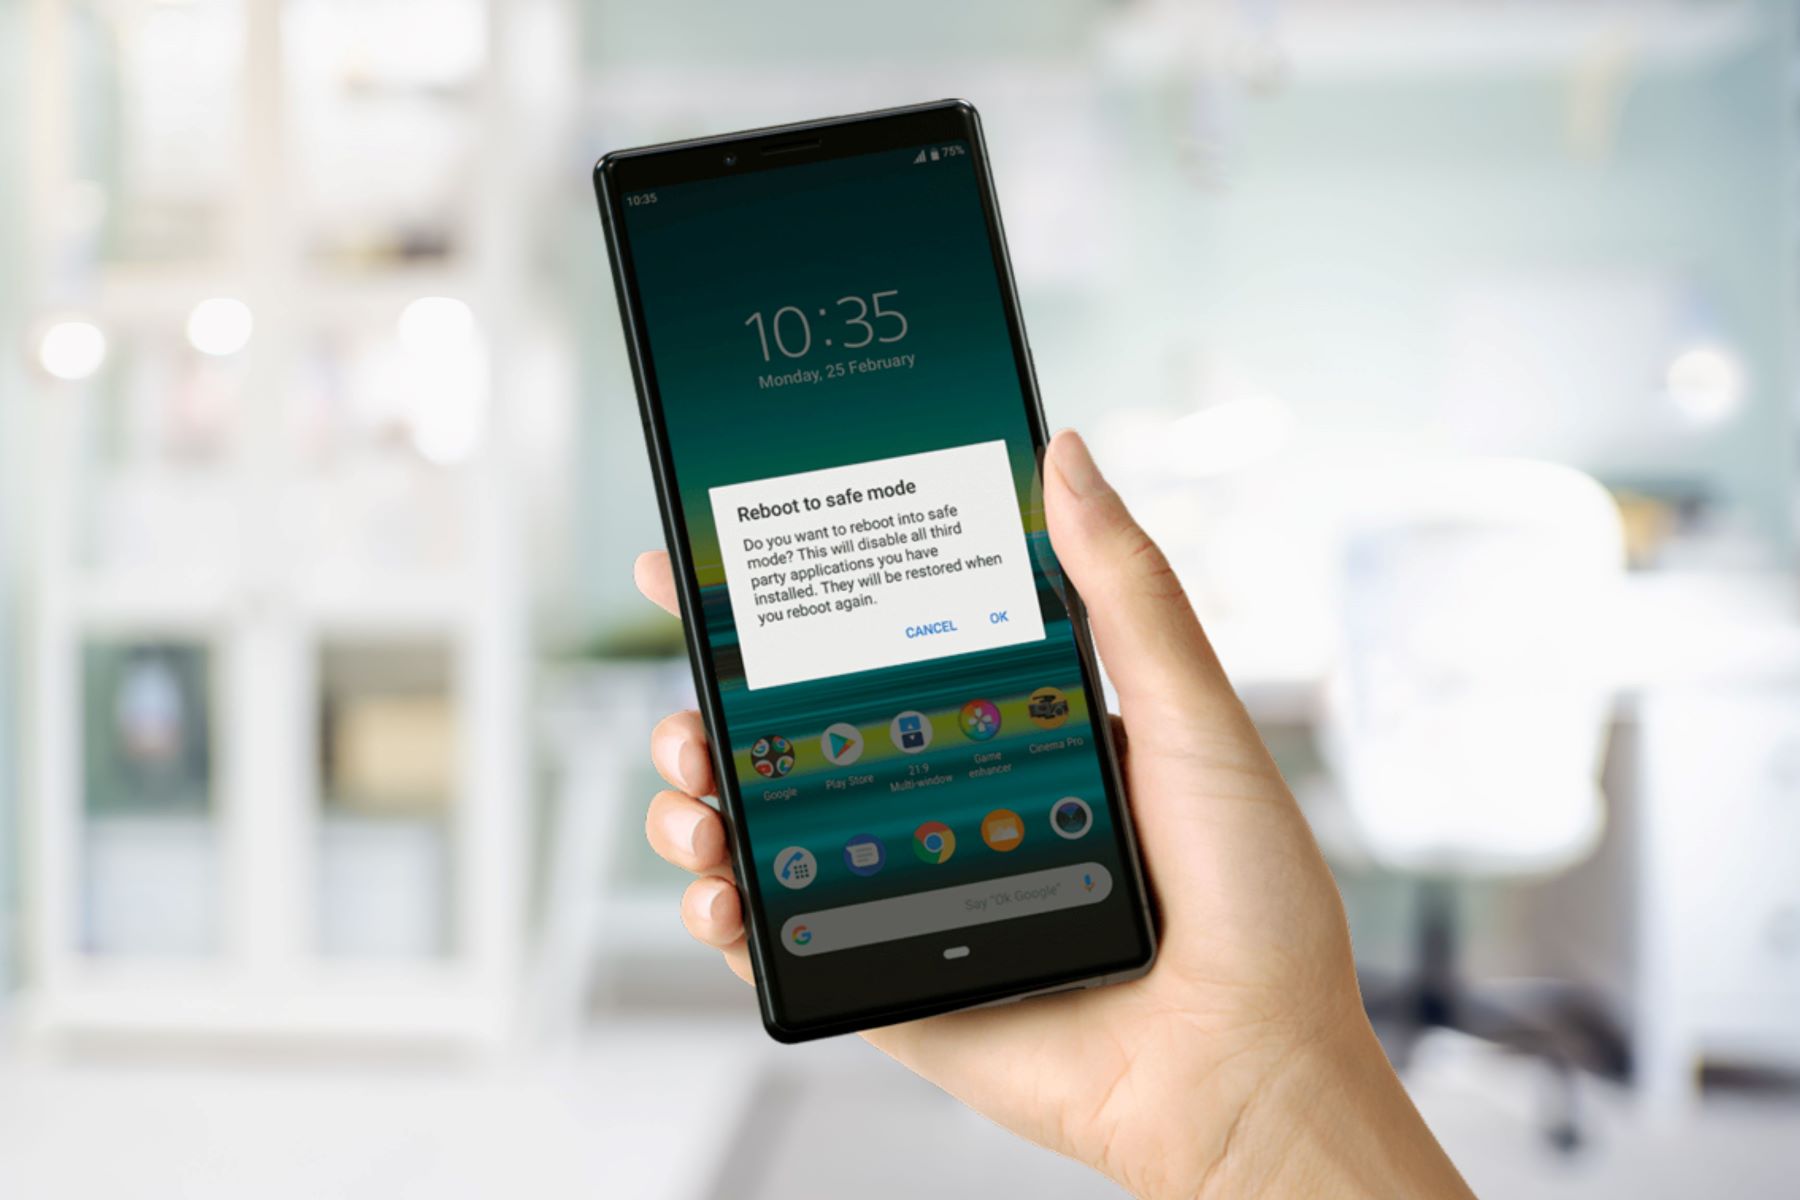
Step 3: Performing the Factory Reset
Performing the factory reset on your Xperia Z Ultra marks a pivotal phase in the restoration process, enabling you to reset the device to its original state and address persistent software issues. This comprehensive step is essential for resolving performance issues, eradicating software glitches, and ensuring a fresh start for your device.
To initiate the factory reset, navigate to the "Backup & reset" or similar category within the settings menu of your Xperia Z Ultra. Once within this section, locate and tap on the "Factory data reset" or "Reset phone" option, which serves as the gateway to the restoration process. Upon selecting this option, you will be presented with a final confirmation screen, emphasizing the irreversible nature of the factory reset and the permanent deletion of all data and settings on your device.
Before proceeding with the factory reset, it is crucial to ensure that you have backed up all essential data, including photos, videos, contacts, messages, and other files. This proactive measure safeguards your valuable information and facilitates a seamless restoration of your data following the reset.
Upon confirming your intent to perform the factory reset, the Xperia Z Ultra will commence the restoration process, systematically erasing all data and settings to restore the device to its factory state. This process may take several minutes to complete, during which the device will undergo a thorough reset, ensuring the removal of all personalized information and the restoration of default settings.
It is important to allow the device ample time to complete the factory reset, refraining from interrupting the process to prevent potential software complications. Once the reset is finalized, your Xperia Z Ultra will reboot, presenting a clean slate ready for reconfiguration and data restoration.
By successfully performing the factory reset, you have effectively reset your Xperia Z Ultra to its original state, providing a fresh foundation for addressing software issues and optimizing the performance of your device. With the restoration process complete, you are prepared to proceed to the final step of restoring your data, ensuring a seamless transition back to your personalized device setup.
Step 4: Restoring Your Data
After successfully performing the factory reset on your Xperia Z Ultra, the next crucial step involves restoring your backed-up data to reestablish your personalized device setup. This pivotal phase allows you to seamlessly reintegrate your photos, videos, contacts, messages, and other essential files, ensuring a smooth transition back to your familiar and customized device environment.
To initiate the data restoration process, begin by accessing the backup sources where you securely preserved your data. If you utilized the built-in backup features of your Xperia Z Ultra, such as the automatic backup to your Google account, you can seamlessly restore your app data, Wi-Fi passwords, and other settings by signing in to your Google account during the device setup process. This streamlined approach leverages the power of cloud-based backups to effortlessly reintegrate your essential data, minimizing the manual effort required for data restoration.
For manually backed-up media and files, such as photos, videos, and documents stored on your computer or cloud storage services, navigate to the designated backup location and selectively transfer your files back to your Xperia Z Ultra. Utilizing a USB connection to your computer or accessing cloud storage platforms allows you to efficiently restore your media and files, ensuring that your cherished memories and essential documents are readily accessible on your freshly reset device.
In the case of contacts and calendar events synced with your Google account, the restoration process is seamlessly facilitated by signing in to your Google account on the Xperia Z Ultra. Upon signing in, your contacts and calendar events will be automatically synchronized with your device, reestablishing your essential contact information and schedule without the need for manual intervention.
As you restore your data, take the opportunity to review and organize your files, ensuring that your device reflects your preferred data organization and accessibility. By selectively restoring your data and customizing your device setup, you can optimize the efficiency and personalization of your Xperia Z Ultra, setting the stage for a seamless transition back to your familiar digital environment.
With your data successfully restored, your Xperia Z Ultra is poised to deliver a refreshed and personalized user experience, empowered by the seamless reintegration of your essential files and settings. By diligently restoring your data, you have effectively completed the restoration process, culminating in a rejuvenated device ready to accompany you on your digital endeavors.
Conclusion
In conclusion, the process of restoring your Xperia Z Ultra to its factory settings is a transformative journey that empowers you to address software issues, optimize device performance, and prepare for a fresh start. By diligently following the step-by-step guide outlined in this comprehensive resource, you have gained the knowledge and confidence to navigate the restoration process with ease and precision.
Throughout this guide, you have embarked on a proactive approach to safeguarding your valuable data, accessing the settings menu, performing the factory reset, and seamlessly restoring your backed-up information. Each phase of the restoration process has been meticulously addressed, ensuring that you are equipped with the essential insights and instructions to effectively rejuvenate your Xperia Z Ultra.
The pivotal first step of backing up your data served as a proactive measure to preserve your photos, videos, contacts, messages, and other essential files, safeguarding them from the impending factory reset. By leveraging the built-in backup features and manual methods, you ensured that your valuable information was securely preserved, laying the foundation for a seamless restoration of your personalized data.
Accessing the settings menu on your Xperia Z Ultra marked a crucial phase in the restoration process, enabling you to navigate to the specific options required to initiate the factory reset. By effectively locating the designated reset options within the settings menu, you positioned yourself to seamlessly transition to the pivotal phase of performing the factory reset.
Performing the factory reset on your Xperia Z Ultra represented a transformative step in the restoration process, enabling you to reset the device to its original state and address persistent software issues. By meticulously following the instructions and ensuring the comprehensive backup of your data, you successfully reset your device, paving the way for a refreshed and optimized user experience.
The final phase of restoring your data allowed for the seamless reintegration of your backed-up information, ensuring a smooth transition back to your familiar and customized device environment. By selectively restoring your media, files, contacts, and calendar events, you have effectively personalized your Xperia Z Ultra, setting the stage for a rejuvenated and optimized digital experience.
With the restoration process complete, your Xperia Z Ultra stands ready to accompany you on your digital endeavors, empowered by a fresh start and seamlessly reestablished personalized data. By embracing the transformative journey of restoring your device to its factory settings, you have unlocked the potential for enhanced performance, optimized functionality, and a renewed digital experience with your Xperia Z Ultra.