Introduction
When it comes to managing contacts on your Sony Xperia L1, keeping your list organized is essential for efficient communication. However, there are times when you may need to remove certain contacts, whether due to outdated information or simply to declutter your address book. In this guide, we will walk you through the simple process of removing direct call contacts from your Sony Xperia L1. By following these steps, you can streamline your contact list and ensure that it only contains the most relevant and up-to-date information.
Whether you're a seasoned Xperia user or new to the device, understanding how to remove direct call contacts can be incredibly useful. This guide is designed to provide clear and concise instructions, allowing you to navigate your device with ease and confidence. By the end of this tutorial, you will have the knowledge and skills to efficiently manage your contacts, ensuring that your Xperia L1 remains a powerful tool for staying connected with friends, family, and colleagues.
Now, let's dive into the step-by-step process of removing direct call contacts from your Sony Xperia L1. With just a few simple taps, you can declutter your contact list and maintain a well-organized and efficient communication hub on your device. Let's get started!
Step 1: Open the Contacts App
To begin the process of removing direct call contacts from your Sony Xperia L1, you'll first need to open the Contacts app. This app serves as the central hub for managing all your saved contacts, making it the starting point for any contact-related tasks on your device.
-
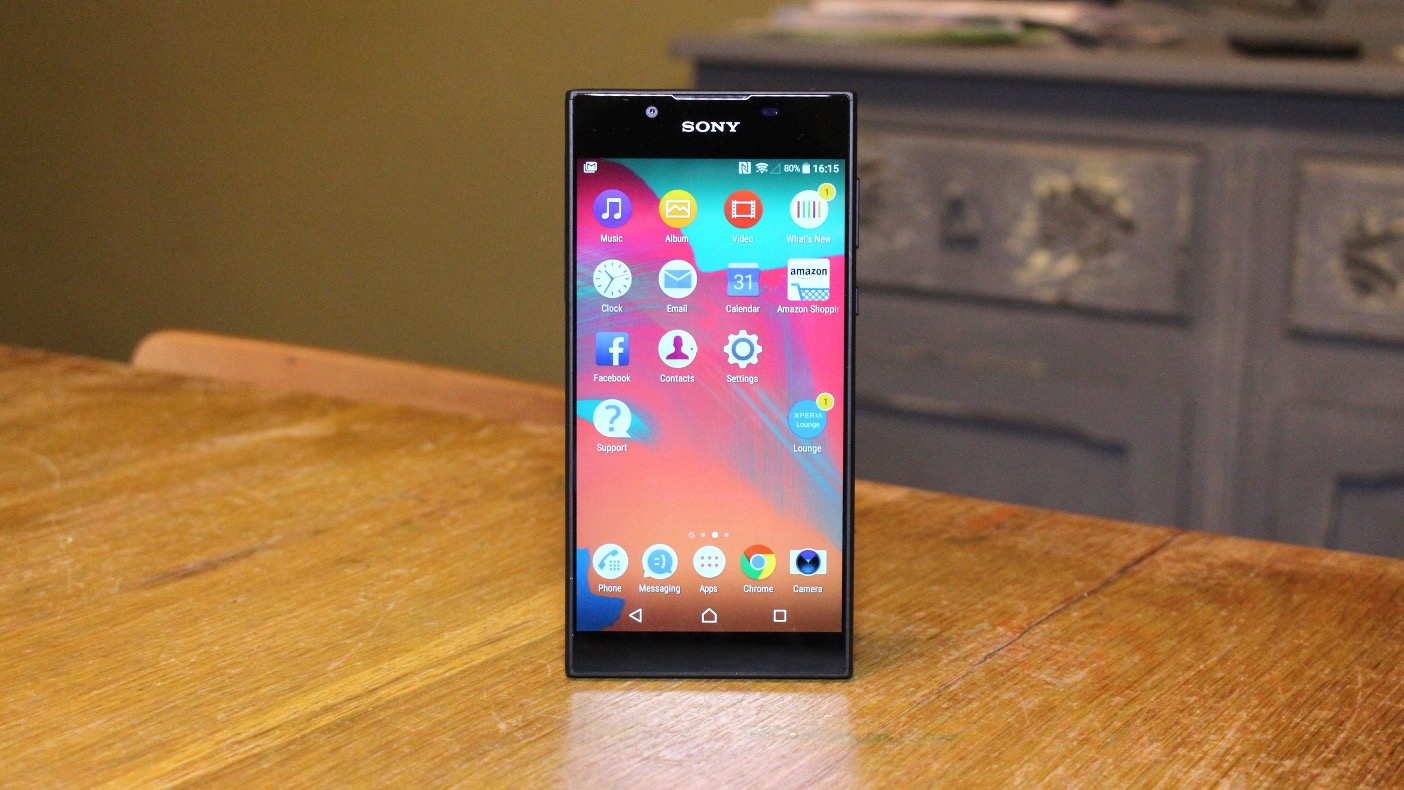
Locate the Contacts App Icon: On your Xperia L1's home screen, look for the Contacts app icon. It typically features a silhouette of a person or an address book, making it easily recognizable among your other app icons.
-
Tap the Contacts App Icon: Once you've located the Contacts app icon, simply tap on it to launch the application. This action will open the Contacts app, displaying your list of saved contacts and providing access to various contact management features.
-
Navigate to the Contacts Tab: Within the Contacts app, you may find different tabs or sections, such as Favorites, Groups, and All Contacts. To proceed with removing a direct call contact, navigate to the "All Contacts" or "Contacts" tab, where you can view a comprehensive list of all your saved contacts.
By following these simple steps, you can easily access the Contacts app on your Sony Xperia L1, setting the stage for the subsequent actions required to remove specific contacts from your list. With the Contacts app now open and ready for use, you're one step closer to efficiently managing your contacts and ensuring that your Xperia L1 remains a well-organized communication tool.
Opening the Contacts app is the foundational step in the process of removing direct call contacts from your Xperia L1. With this essential task completed, you're now prepared to proceed to the next step, where you'll select the specific contact that you wish to remove from your device.
Step 2: Select the Contact to Remove
Now that you have successfully opened the Contacts app on your Sony Xperia L1, the next step is to select the specific contact that you wish to remove from your device. This process allows you to pinpoint the contact you want to delete, ensuring that you can efficiently manage your contact list and maintain its relevance and accuracy.
-
Scroll Through the Contact List: Within the Contacts app, navigate through the list of saved contacts by swiping up or down on the screen. As you scroll, you'll see the names and details of your contacts, making it easy to locate the specific entry that you intend to remove.
-
Tap and Hold the Contact: Once you've identified the contact you want to delete, tap and hold their name to initiate the selection process. This action typically triggers a contextual menu or highlights the contact, indicating that it's now the active selection.
-
Review Contact Details: Before proceeding with the deletion, take a moment to review the contact's details to ensure that you are indeed targeting the correct entry. This quick review can help prevent accidental deletions and provide confirmation that you're removing the intended contact.
-
Access Contact Options: Upon selecting the contact, you may see a set of options or icons appear at the top or bottom of the screen, providing various actions that can be performed on the chosen contact. Look for the option that pertains to contact management, such as "Delete," "Remove," or an icon resembling a trash bin.
-
Initiate the Deletion: Once you've located the appropriate contact management option, proceed to initiate the deletion process. Depending on the interface of your Contacts app, this action may involve tapping a specific icon, selecting a "Delete" button, or confirming the removal through a prompt that appears on the screen.
By following these steps, you can effectively select the contact that you wish to remove from your Sony Xperia L1. This streamlined process empowers you to take control of your contact list, ensuring that it remains updated and free from unnecessary or outdated entries. With the contact now selected for deletion, you're ready to proceed to the final step, where you'll complete the removal process and confirm the elimination of the chosen contact from your device.
Now that you've successfully selected the contact to remove, you're poised to advance to the next and final step, where you'll complete the deletion process and finalize the removal of the chosen contact from your Sony Xperia L1.
Step 3: Delete the Contact
With the specific contact selected for removal, you are now ready to complete the deletion process and confirm the elimination of the chosen contact from your Sony Xperia L1. This final step ensures that the contact is effectively removed from your device, allowing you to maintain a streamlined and up-to-date contact list.
Once you have selected the contact you wish to delete, the following actions will guide you through the deletion process:
-
Confirm Deletion Prompt: After initiating the deletion process in the previous step, your Xperia L1 may prompt you to confirm the action. This confirmation step serves as a safeguard against accidental deletions, ensuring that you are intentionally removing the selected contact from your device.
-
Verify Contact Removal: Upon confirming the deletion, take a moment to verify that the selected contact has been successfully removed from your contact list. This verification can be done by navigating back to your contact list and ensuring that the targeted entry is no longer present.
-
Review Contact List: With the contact removed, it's beneficial to review your contact list to ensure that it reflects the changes you've made. By doing so, you can confirm that the contact has been effectively deleted and that your contact list now accurately represents your desired set of contacts.
By following these steps, you can confidently delete the selected contact from your Sony Xperia L1, ensuring that your contact list remains organized and relevant to your communication needs. This streamlined process empowers you to efficiently manage your contacts, allowing you to maintain a clutter-free and up-to-date list of individuals you wish to stay connected with.
With the completion of the deletion process, you have successfully removed the chosen contact from your Sony Xperia L1. By following these straightforward steps, you have demonstrated your ability to manage your contact list with ease and precision, ensuring that your device remains a reliable tool for seamless communication.
Now that you've completed the deletion process, take a moment to review your updated contact list and appreciate the streamlined organization that comes with removing unnecessary or outdated contacts. With this task accomplished, you can confidently navigate your Xperia L1's contact management features, knowing that you have the knowledge and skills to efficiently handle your contact list as needed.
Conclusion
In conclusion, the ability to remove direct call contacts from your Sony Xperia L1 is a valuable skill that empowers you to maintain a well-organized and relevant contact list. By following the simple yet effective steps outlined in this guide, you have gained the knowledge and confidence to efficiently manage your contacts, ensuring that your Xperia L1 remains a powerful tool for seamless communication.
As you navigate the Contacts app on your Xperia L1, the process of removing specific contacts becomes straightforward and accessible. From opening the app to selecting and deleting the targeted contact, each step is designed to streamline the contact management process, allowing you to maintain a clutter-free and accurate list of individuals you wish to stay connected with.
By taking the time to review and verify the contact removal, you can ensure that your contact list accurately reflects your communication needs, free from outdated or unnecessary entries. This attention to detail underscores the importance of maintaining an organized contact list, enabling you to efficiently reach out to the individuals who matter most to you.
Furthermore, the skills acquired through this guide extend beyond the act of contact deletion. They exemplify your ability to navigate and utilize the features of your Sony Xperia L1 with confidence and precision. As you continue to explore the capabilities of your device, the knowledge gained from managing contacts serves as a foundation for efficiently leveraging other essential functions and applications.
Ultimately, the process of removing direct call contacts from your Sony Xperia L1 not only enhances the organization of your device but also reflects your commitment to optimizing its functionality. By regularly reviewing and updating your contact list, you can ensure that your Xperia L1 remains a reliable communication hub, tailored to your specific needs and preferences.
With the completion of this guide, you have demonstrated your capability to effectively manage your contacts on the Sony Xperia L1, setting the stage for seamless and efficient communication. As you continue to utilize your device, the skills acquired from this process will serve you well, allowing you to maintain a well-curated contact list that aligns with your evolving communication requirements.