Introduction
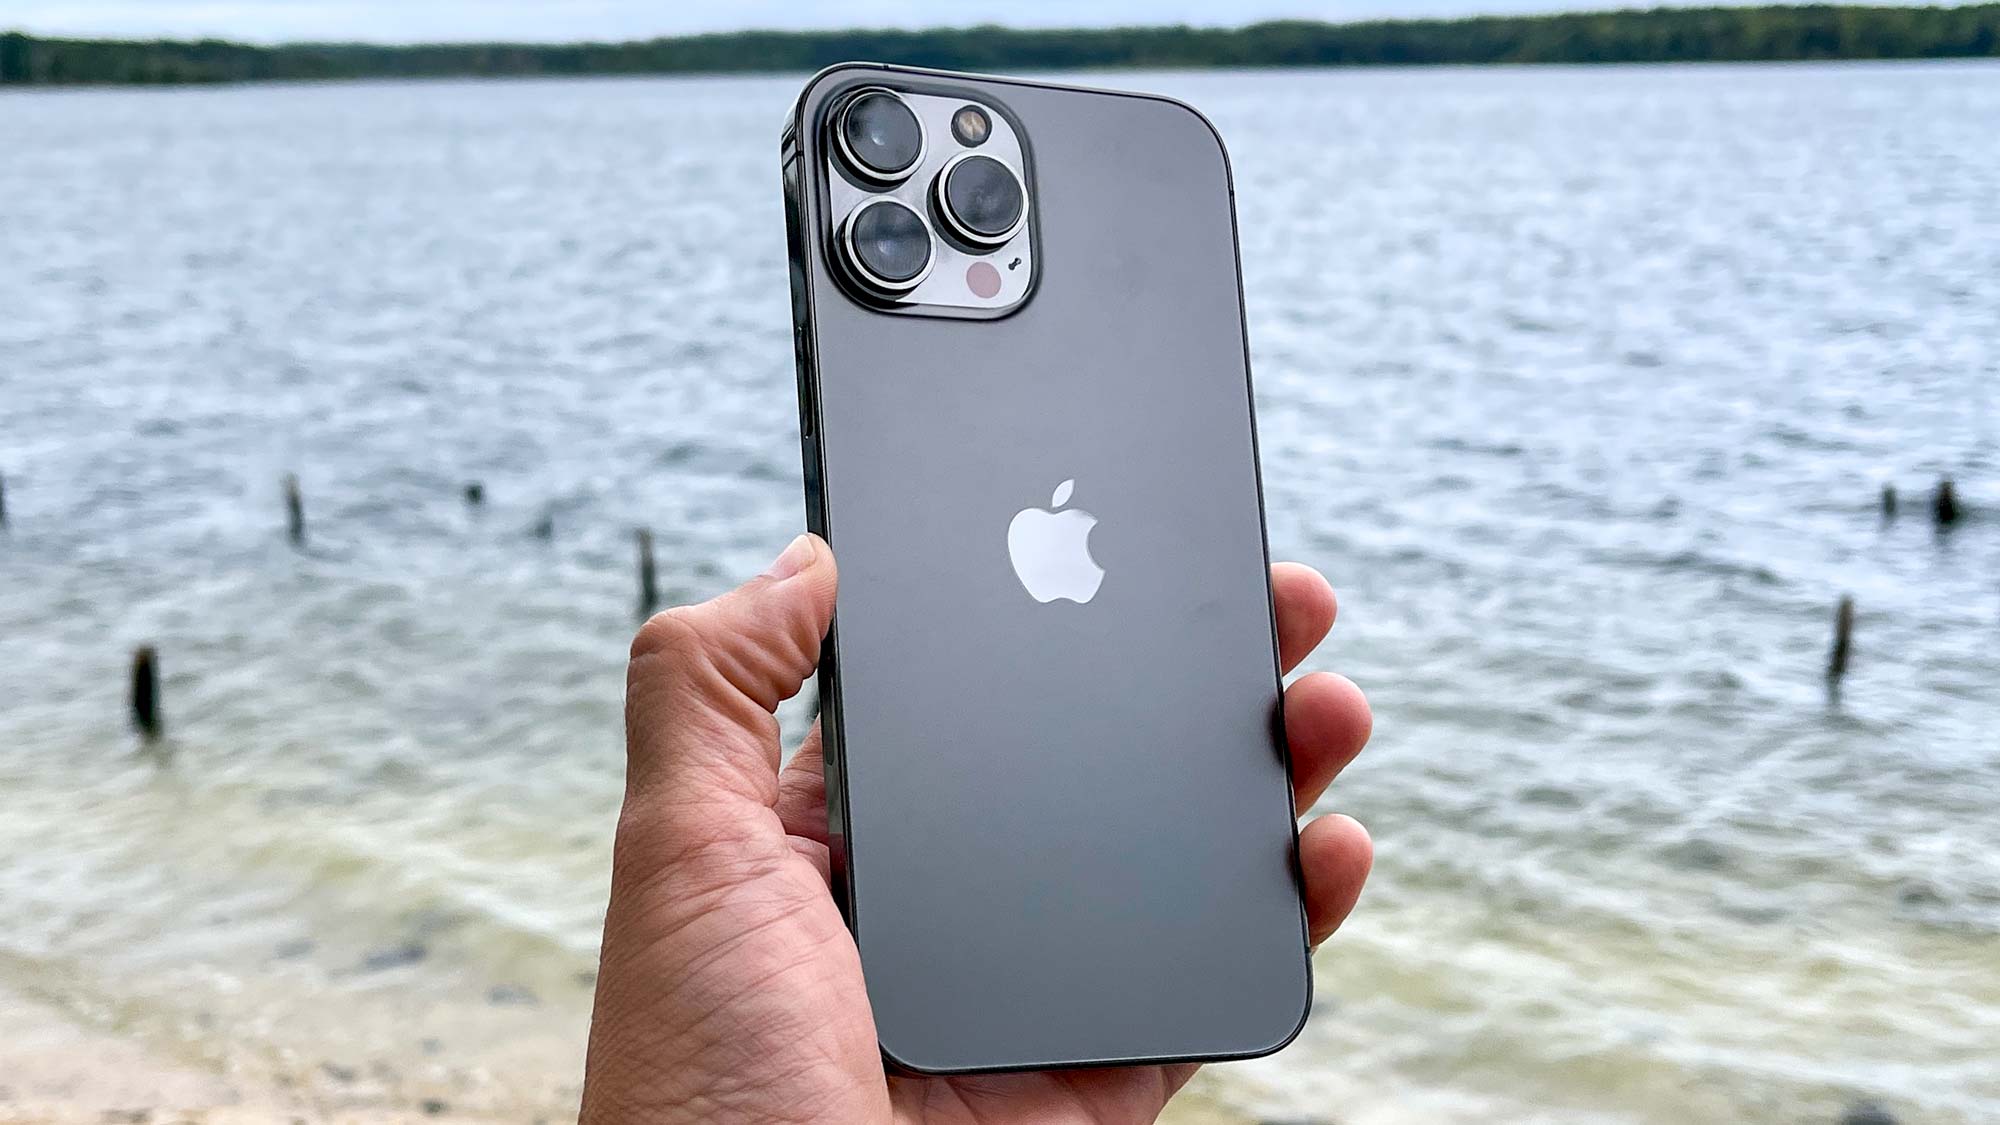
The iPhone 13 is a marvel of modern technology, boasting a sleek design and a plethora of advanced features. One essential component of the iPhone 13 is the SIM (Subscriber Identity Module) card, which enables users to connect to a cellular network and access a wide range of communication services. Whether you're setting up a new iPhone 13 or replacing an existing SIM card, knowing how to locate and access the SIM card slot is crucial.
In this comprehensive guide, we'll walk you through the process of locating the SIM card slot on the iPhone 13 and inserting the SIM card with ease. By following these simple steps, you'll be able to seamlessly set up your iPhone 13 and enjoy all the benefits of a reliable cellular connection.
The process of locating the SIM card slot on the iPhone 13 may seem daunting at first, especially for new users or those transitioning from older iPhone models. However, with the right guidance and a clear understanding of the device's layout, you'll find that it's a straightforward and manageable task. Whether you're a tech-savvy individual or someone who's new to the world of smartphones, this guide is designed to provide you with the knowledge and confidence to handle the setup process with ease.
So, without further ado, let's dive into the step-by-step process of locating the SIM card slot on your iPhone 13 and getting your device ready for action. With a few simple tools and a willingness to explore your iPhone's hardware, you'll soon be on your way to seamless connectivity and an enhanced mobile experience.
Step 1: Gather necessary tools
Before embarking on the task of locating the SIM card slot on your iPhone 13, it's essential to gather the necessary tools to ensure a smooth and hassle-free process. While the process itself is relatively straightforward, having the right tools at your disposal will make the task much more manageable and efficient. Here's what you'll need to get started:
1. iPhone 13
The first and most crucial tool you'll need is, of course, the iPhone 13 itself. Ensure that your device is powered off before proceeding with the SIM card installation process. This will minimize the risk of any potential damage to the device and ensure a safe and seamless setup.
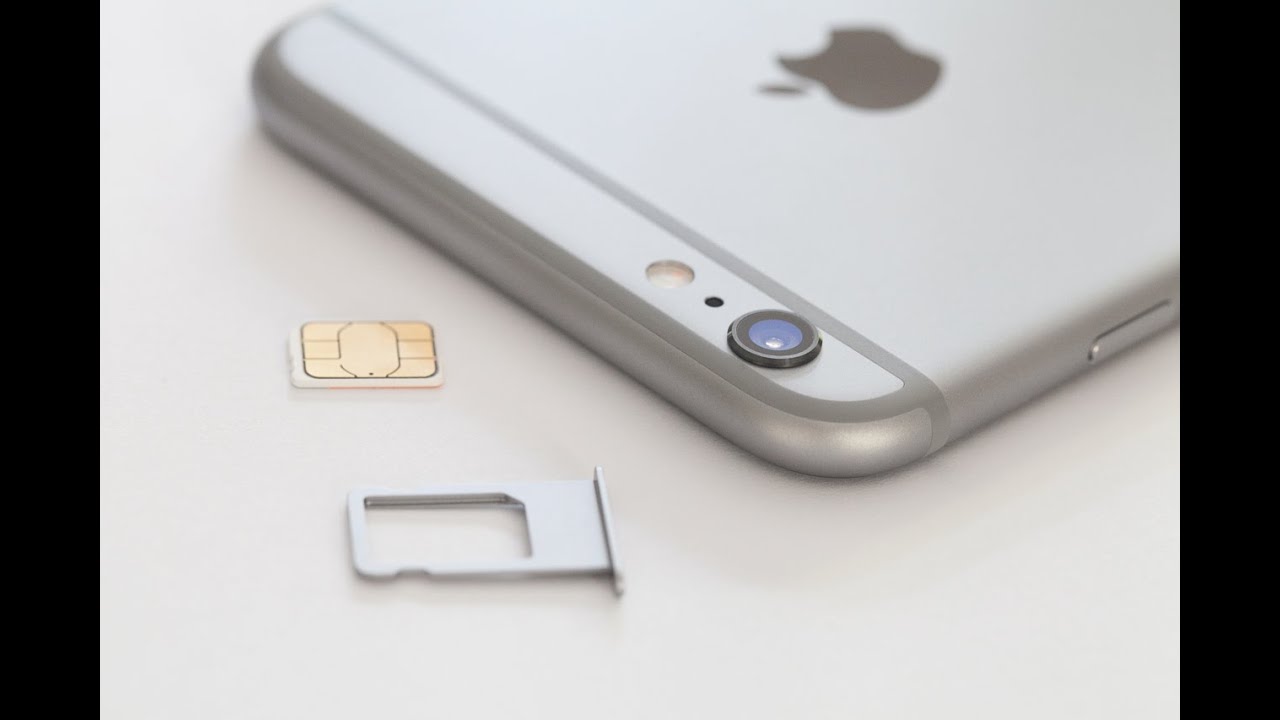
2. SIM card ejector tool
To access the SIM card slot on the iPhone 13, you'll need a SIM card ejector tool. This small, metal tool is typically included in the packaging of your iPhone 13. It's designed specifically for the purpose of ejecting the SIM card tray and accessing the SIM card slot. If you can't locate the ejector tool that came with your iPhone 13, a small paperclip can serve as an alternative, although the official ejector tool is recommended for the best results.
3. SIM card
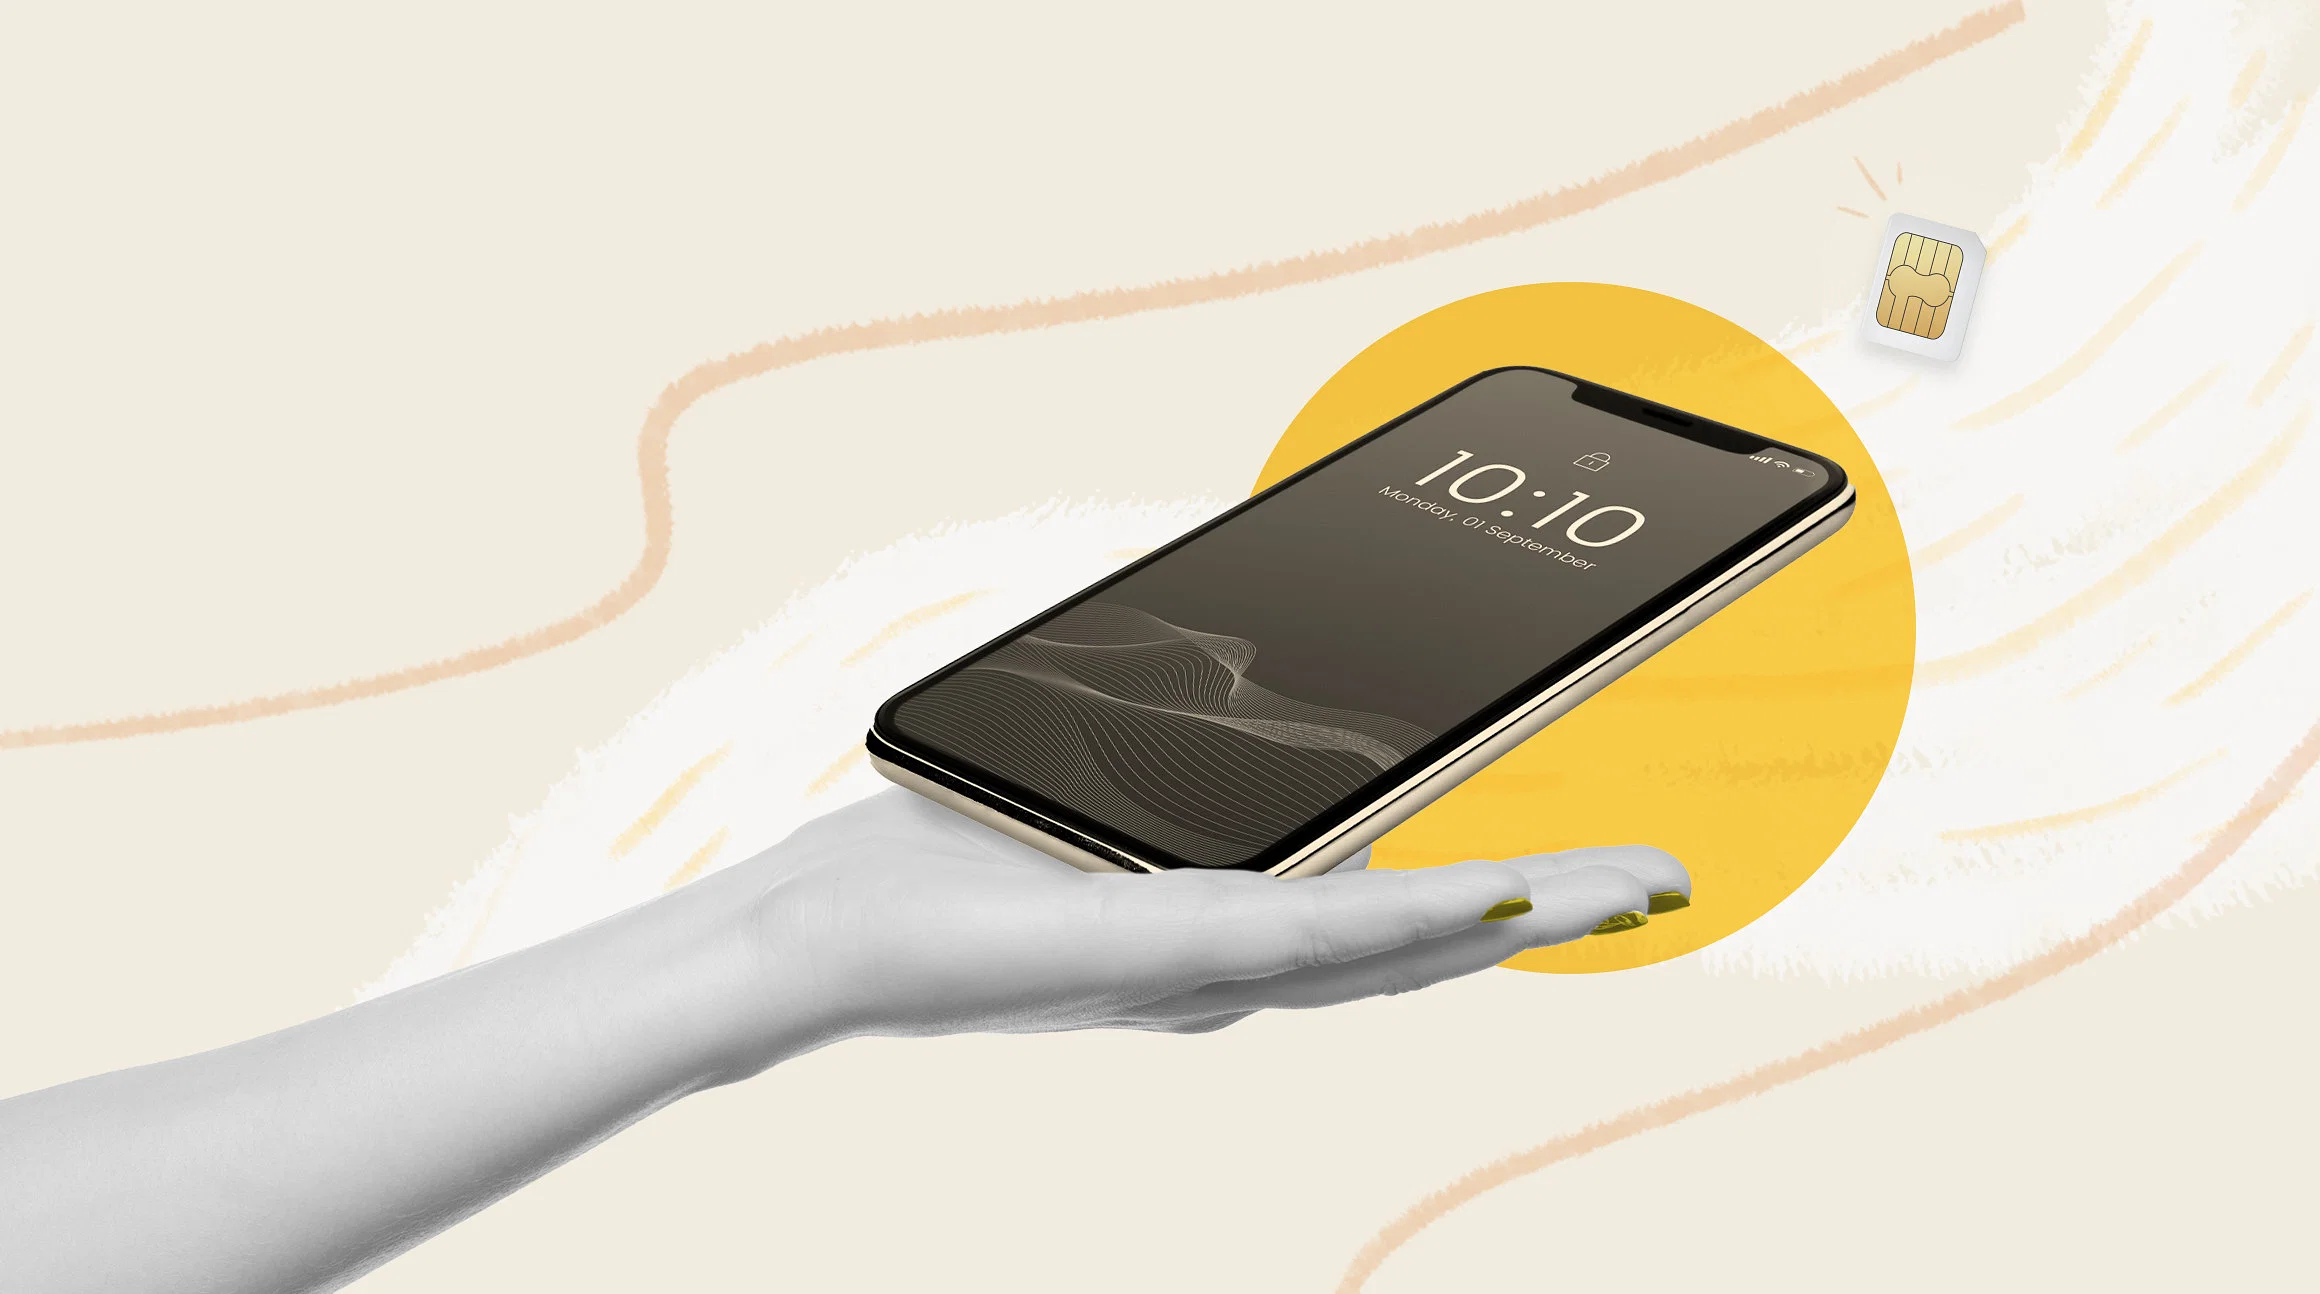
Of course, you'll need the SIM card itself. Whether you're setting up a new iPhone 13 or replacing an existing SIM card, having the SIM card ready at hand is essential. Ensure that the SIM card is compatible with the iPhone 13 and that it's activated and ready for use with your cellular network provider.
By gathering these essential tools, you'll be well-prepared to proceed with the process of locating the SIM card slot on your iPhone 13 and inserting the SIM card with confidence. With these tools in hand, you'll be equipped to navigate the setup process smoothly and efficiently, setting the stage for a seamless and enjoyable mobile experience with your iPhone 13.
Step 2: Locate the SIM card slot
Locating the SIM card slot on your iPhone 13 is the next crucial step in the setup process. The SIM card slot is where you'll insert the SIM card, allowing your device to connect to a cellular network and access essential communication services. While the iPhone 13's design is sleek and minimalistic, the SIM card slot is discreetly integrated into the device's frame. Here's a detailed guide to help you locate the SIM card slot with ease:
-
Identify the SIM card tray: The SIM card slot on the iPhone 13 is located on the right-hand side of the device. Look for a small, recessed slot along the right edge of the iPhone 13. This slot is the opening for the SIM card tray, which houses the SIM card once inserted. The placement of the SIM card slot may vary slightly depending on the specific model of the iPhone 13, but it is typically positioned near the device's top-right corner.
-
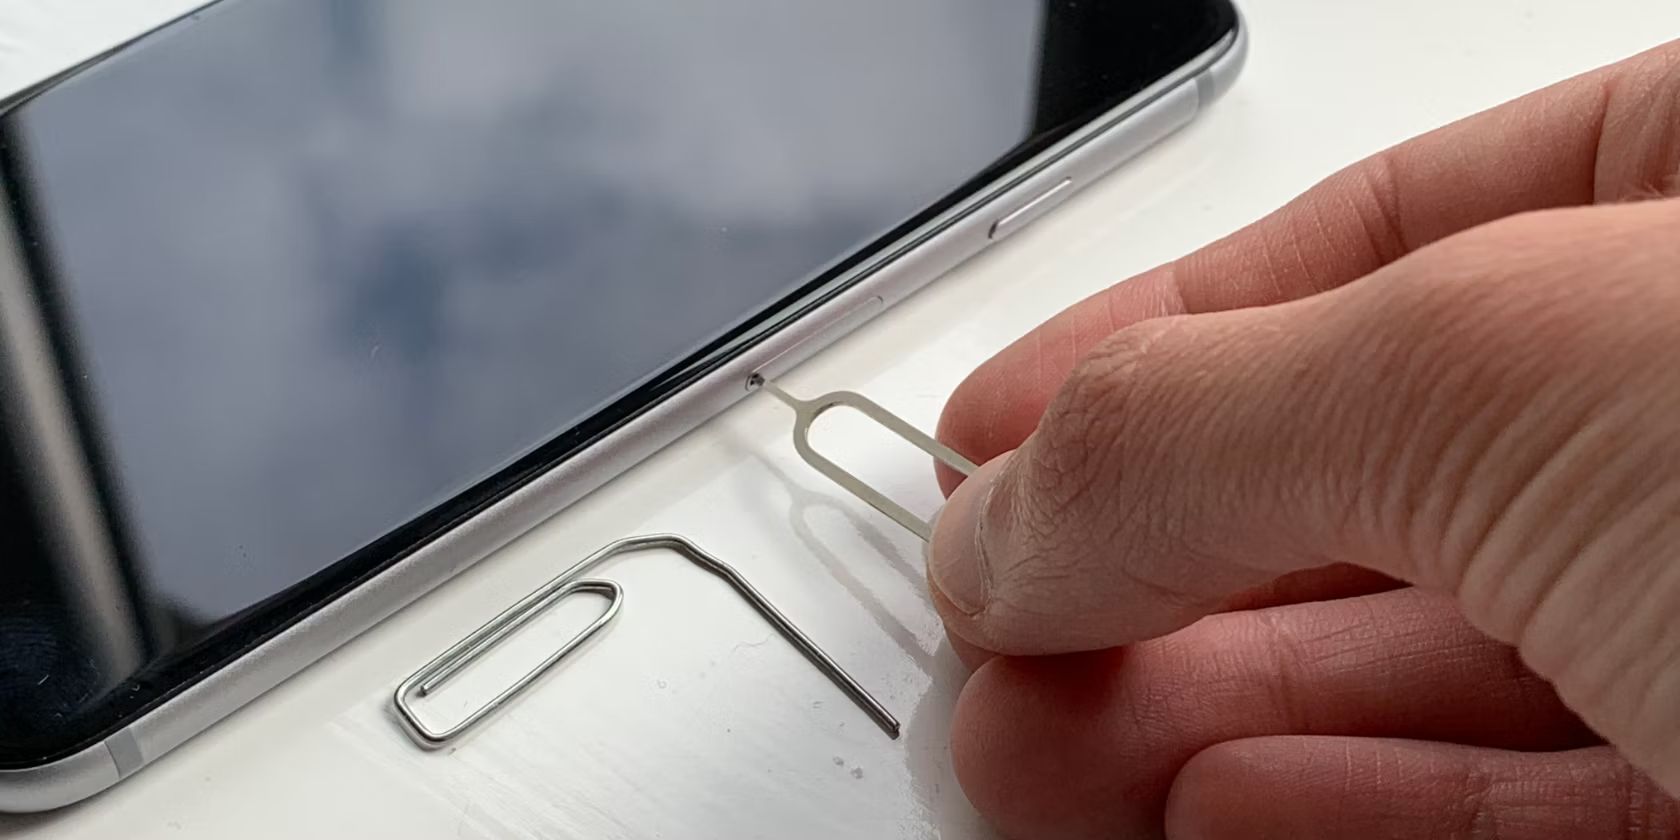
Use the SIM card ejector tool: Once you've identified the SIM card slot, it's time to prepare the SIM card ejector tool for use. Take the SIM card ejector tool, which is a small, metal pin with a narrow, pointed end, and ensure that it is readily accessible. If you're unable to locate the official SIM card ejector tool that came with your iPhone 13, a small paperclip can serve as a suitable alternative.
-
Insert the SIM card ejector tool: With the SIM card ejector tool in hand, gently insert the pointed end of the tool into the small pinhole located next to the SIM card slot. Apply light pressure to push the tool into the pinhole until you feel a slight resistance. This action will engage the internal mechanism and release the SIM card tray from the iPhone 13.
-
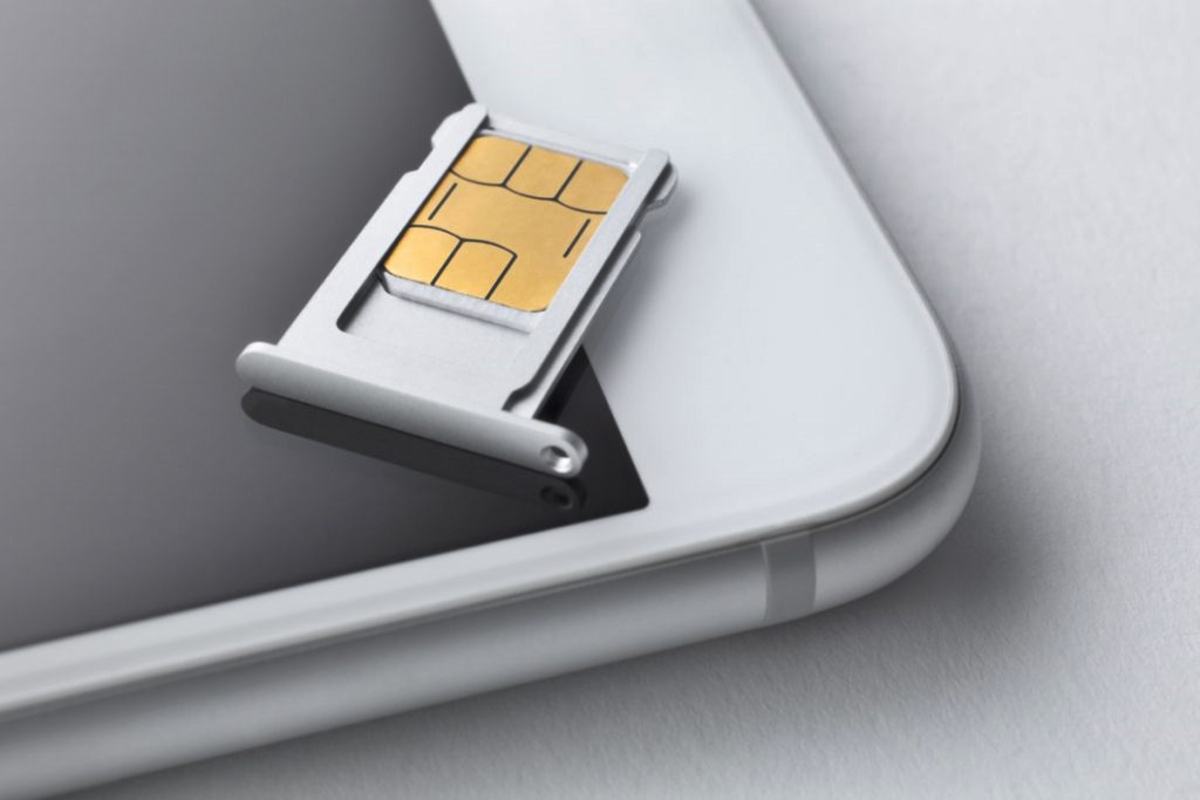
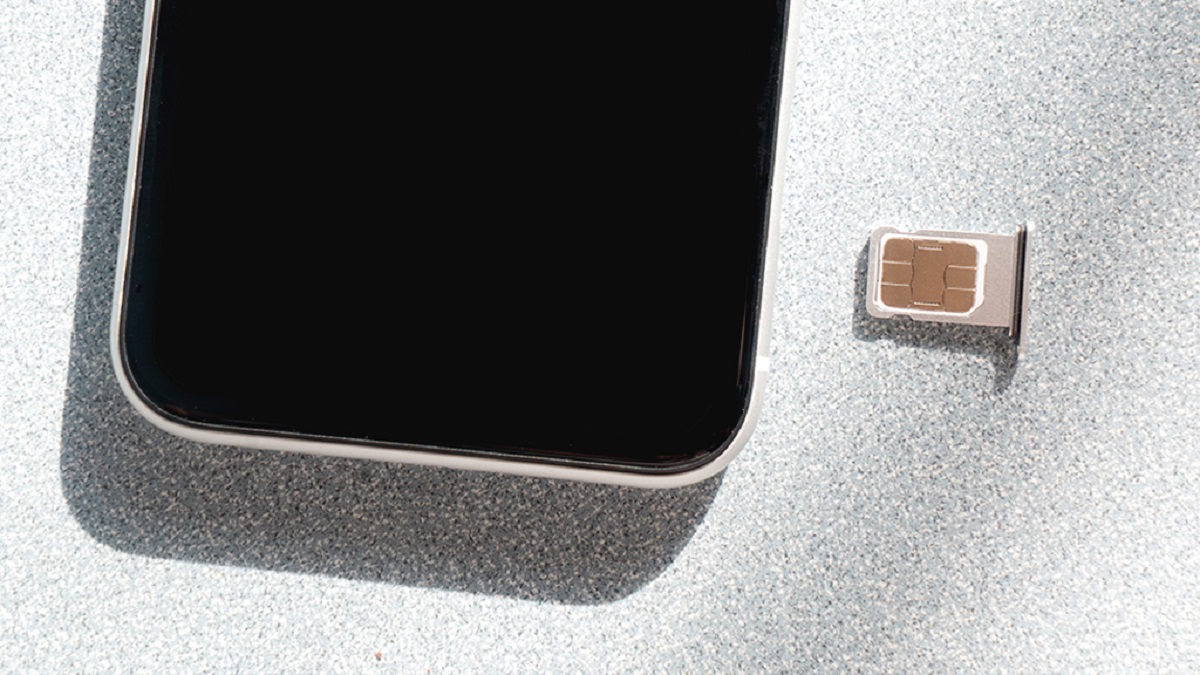
Carefully remove the SIM card tray: Once the SIM card tray is partially ejected from the device, carefully pull it out from the SIM card slot using the SIM card ejector tool. The tray will slide out smoothly, allowing you to access the compartment where the SIM card will be placed.
By following these steps, you can effectively locate the SIM card slot on your iPhone 13 and prepare to insert the SIM card. This process sets the stage for seamless connectivity and ensures that your device is ready to access cellular networks and essential communication services.
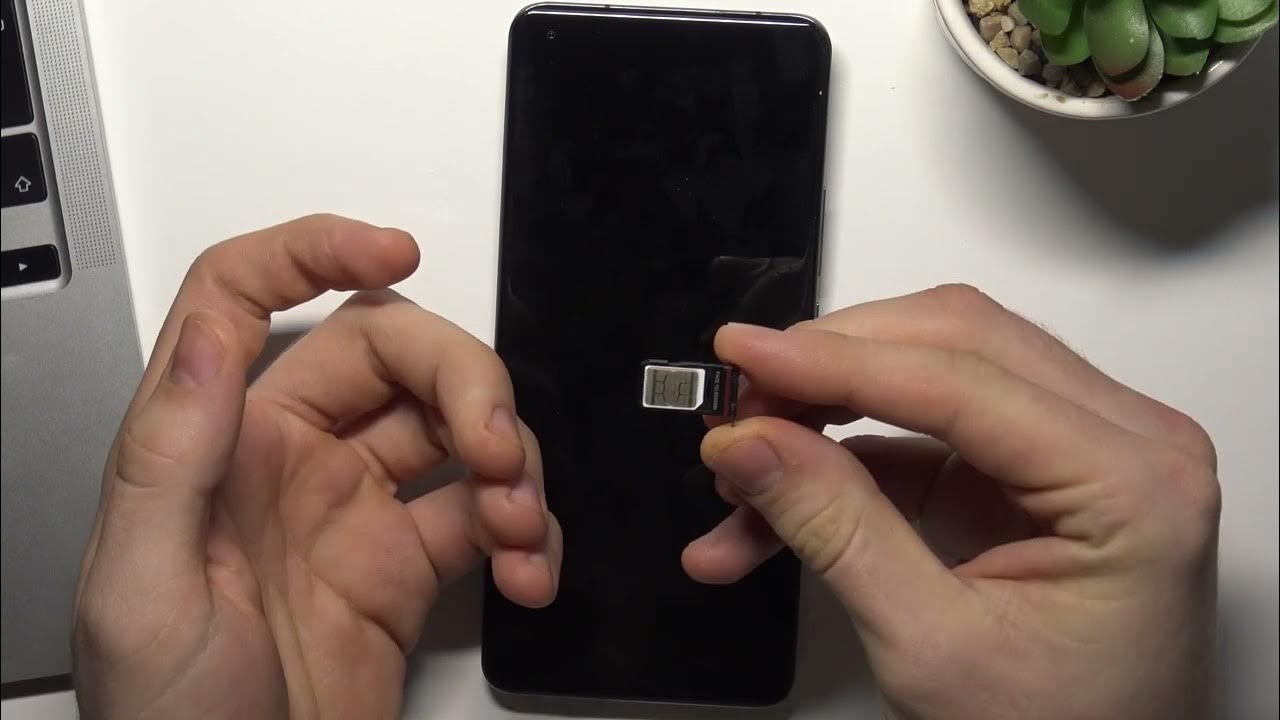
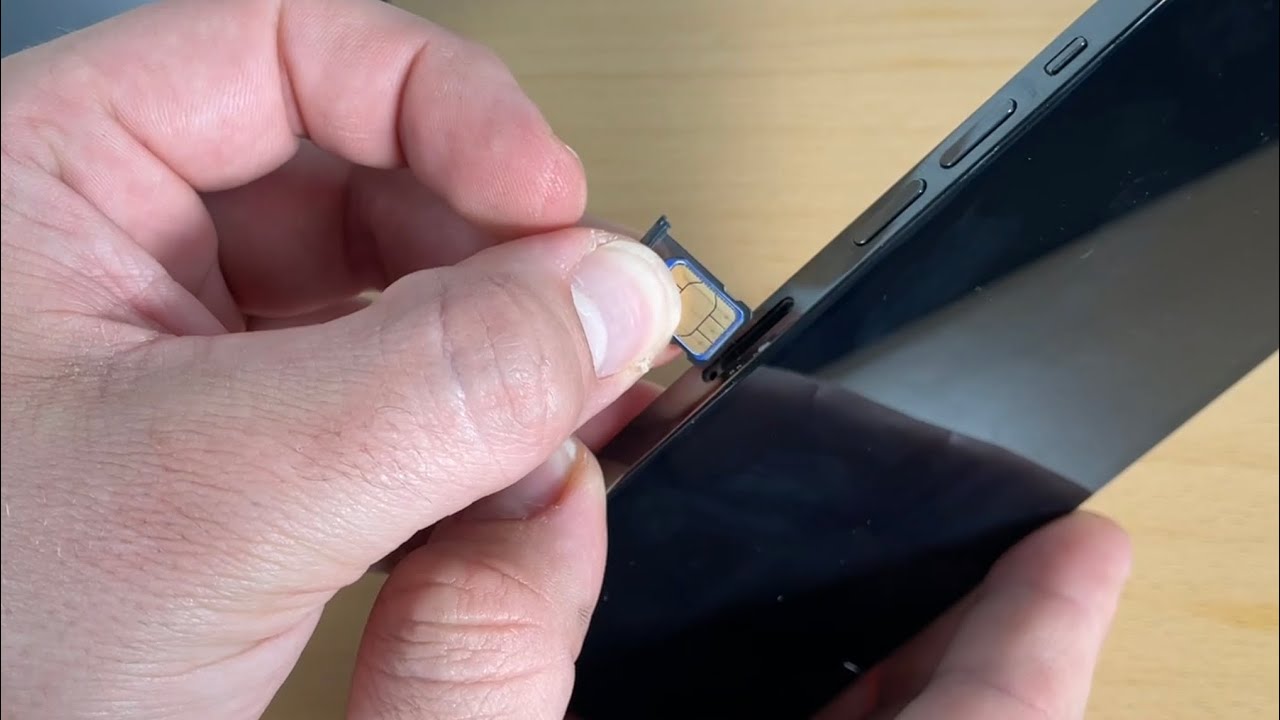
Step 3: Insert the SIM card
With the SIM card slot located and the SIM card tray accessible, the next step is to insert the SIM card into your iPhone 13. This process is straightforward and requires careful handling to ensure that the SIM card is securely placed within the device. Here's a detailed guide to help you navigate the process of inserting the SIM card with precision:
-
Prepare the SIM card: Before inserting the SIM card, ensure that it is compatible with the iPhone 13 and is activated by your cellular network provider. If you're using a new SIM card, carefully remove it from the packaging, handling it by the edges to avoid any damage to the delicate circuitry.
-
Position the SIM card: Examine the SIM card tray to identify the orientation for placing the SIM card. Most SIM card trays have a small diagram or indication that shows the correct positioning of the SIM card. Typically, the SIM card will be placed in the tray with the metal contacts facing downward and the notched corner aligned with the corresponding notch in the tray.
-
Place the SIM card in the tray: Gently position the SIM card within the designated area of the SIM card tray, ensuring that it fits securely and aligns with the tray's layout. Take care to avoid applying excessive force or bending the SIM card during this process, as it could lead to damage or connectivity issues.
-
Insert the SIM card tray: Once the SIM card is in place within the SIM card tray, carefully align the tray with the SIM card slot on the iPhone 13. Slide the tray back into the slot, applying gentle pressure to ensure that it fits snugly and sits flush with the device's frame. Be mindful of the orientation of the tray to avoid any resistance during insertion.
-
Verify the SIM card status: After inserting the SIM card tray, power on your iPhone 13 and allow the device to initialize. Once the device is powered up, check the status of the SIM card to ensure that it has been detected and is ready for use. Navigate to the device's settings and look for the SIM card information to confirm that it has been successfully inserted and recognized by the device.
By following these steps, you can confidently insert the SIM card into your iPhone 13, setting the stage for seamless connectivity and access to essential communication services. With the SIM card securely in place, your iPhone 13 is ready to harness the power of cellular networks and deliver a rich mobile experience.
Step 4: Turn on the iPhone 13
Turning on your iPhone 13 is the final step in the process of setting up the device after inserting the SIM card. This step is essential to ensure that the device initializes and is ready for use, allowing you to explore its features and capabilities. Here's a detailed guide to help you power on your iPhone 13 and get started with your mobile journey.
-
Press and hold the power button: Located on the right side of the iPhone 13, the power button is a small, circular button that serves as the primary control for powering the device on and off. To turn on your iPhone 13, press and hold the power button until the Apple logo appears on the screen. This signifies that the device is booting up and initializing its operating system.
-
Wait for the device to start up: After pressing the power button, the iPhone 13 will begin the startup process, during which the device's hardware and software components are initialized. Depending on the device's current state, the startup process may take a few moments to complete. Be patient as the device goes through this initial boot-up sequence.
-
Set up your iPhone 13: Once the device has successfully powered on, you'll be greeted with the "Hello" screen, indicating that the iPhone 13 is ready for setup. Follow the on-screen instructions to configure essential settings such as language, region, Wi-Fi network connection, and device passcode. Additionally, you'll have the option to restore your device from a previous backup or set it up as a new iPhone.
-
Activate cellular connectivity: As part of the setup process, your iPhone 13 will establish a connection with the inserted SIM card and activate cellular services. If the SIM card is recognized and the cellular network is accessible in your location, the device will display the network signal strength and carrier information, indicating that cellular connectivity is successfully established.
-
Explore your iPhone 13: With the setup complete and the device powered on, take the time to explore the features and functionalities of your iPhone 13. Familiarize yourself with the user interface, access the App Store to download essential apps, and customize the device to suit your preferences. Whether it's configuring notifications, setting up email accounts, or personalizing the home screen, your iPhone 13 offers a wealth of options to tailor the device to your liking.
By following these steps, you can effectively power on your iPhone 13 and embark on a seamless mobile experience. With the SIM card securely inserted and the device initialized, you're ready to harness the full potential of your iPhone 13 and enjoy the wealth of capabilities it has to offer.
Conclusion
Congratulations! You've successfully navigated the process of locating the SIM card slot on your iPhone 13, inserting the SIM card, and powering on the device. By following the step-by-step guide outlined in this article, you've gained valuable insights into setting up your iPhone 13 for seamless connectivity and access to essential communication services.
The journey of setting up a new device, whether it's a brand-new iPhone 13 or a replacement SIM card for an existing device, can be both exciting and empowering. With the right tools and a clear understanding of the process, you've taken a significant step towards unlocking the full potential of your iPhone 13 and embracing the myriad features it has to offer.
As you power on your iPhone 13 and explore its capabilities, take the time to familiarize yourself with the device's user interface, settings, and functionalities. Whether it's configuring notifications, customizing the home screen, or exploring the vast array of apps available on the App Store, your iPhone 13 is a gateway to a rich and immersive mobile experience.
The successful insertion of the SIM card into your iPhone 13 signifies the beginning of a seamless connection with cellular networks, allowing you to stay connected with friends, family, and colleagues, no matter where you are. With cellular connectivity established, you can harness the power of voice calls, text messages, and high-speed data services, enabling you to stay productive and connected while on the go.
Furthermore, the setup process serves as a foundation for personalizing your iPhone 13 to suit your preferences and lifestyle. Whether you're a productivity enthusiast, a creative professional, or an avid multimedia consumer, your iPhone 13 offers a wealth of options to tailor the device to your unique needs. From configuring security features to exploring advanced camera functionalities, the possibilities are endless.
As you embark on your mobile journey with the iPhone 13, remember that the device is designed to adapt to your evolving needs and preferences. Stay curious, explore new features, and make the most of the innovative technologies integrated into your iPhone 13. Whether it's leveraging the power of augmented reality apps, staying organized with productivity tools, or capturing memorable moments with the advanced camera system, your iPhone 13 is a versatile companion that's ready to empower and inspire you.
With the SIM card securely in place and your iPhone 13 powered on, you're now equipped to embrace the boundless opportunities that await in the digital realm. Whether it's staying connected with loved ones, pursuing your passions, or achieving your professional goals, your iPhone 13 is a powerful tool that's ready to accompany you on your journey.
So, go ahead, dive into the world of possibilities that your iPhone 13 has to offer, and make the most of every moment with a device that's designed to elevate your mobile experience. Cheers to a seamless setup process and the beginning of an enriching journey with your iPhone 13!