Introduction
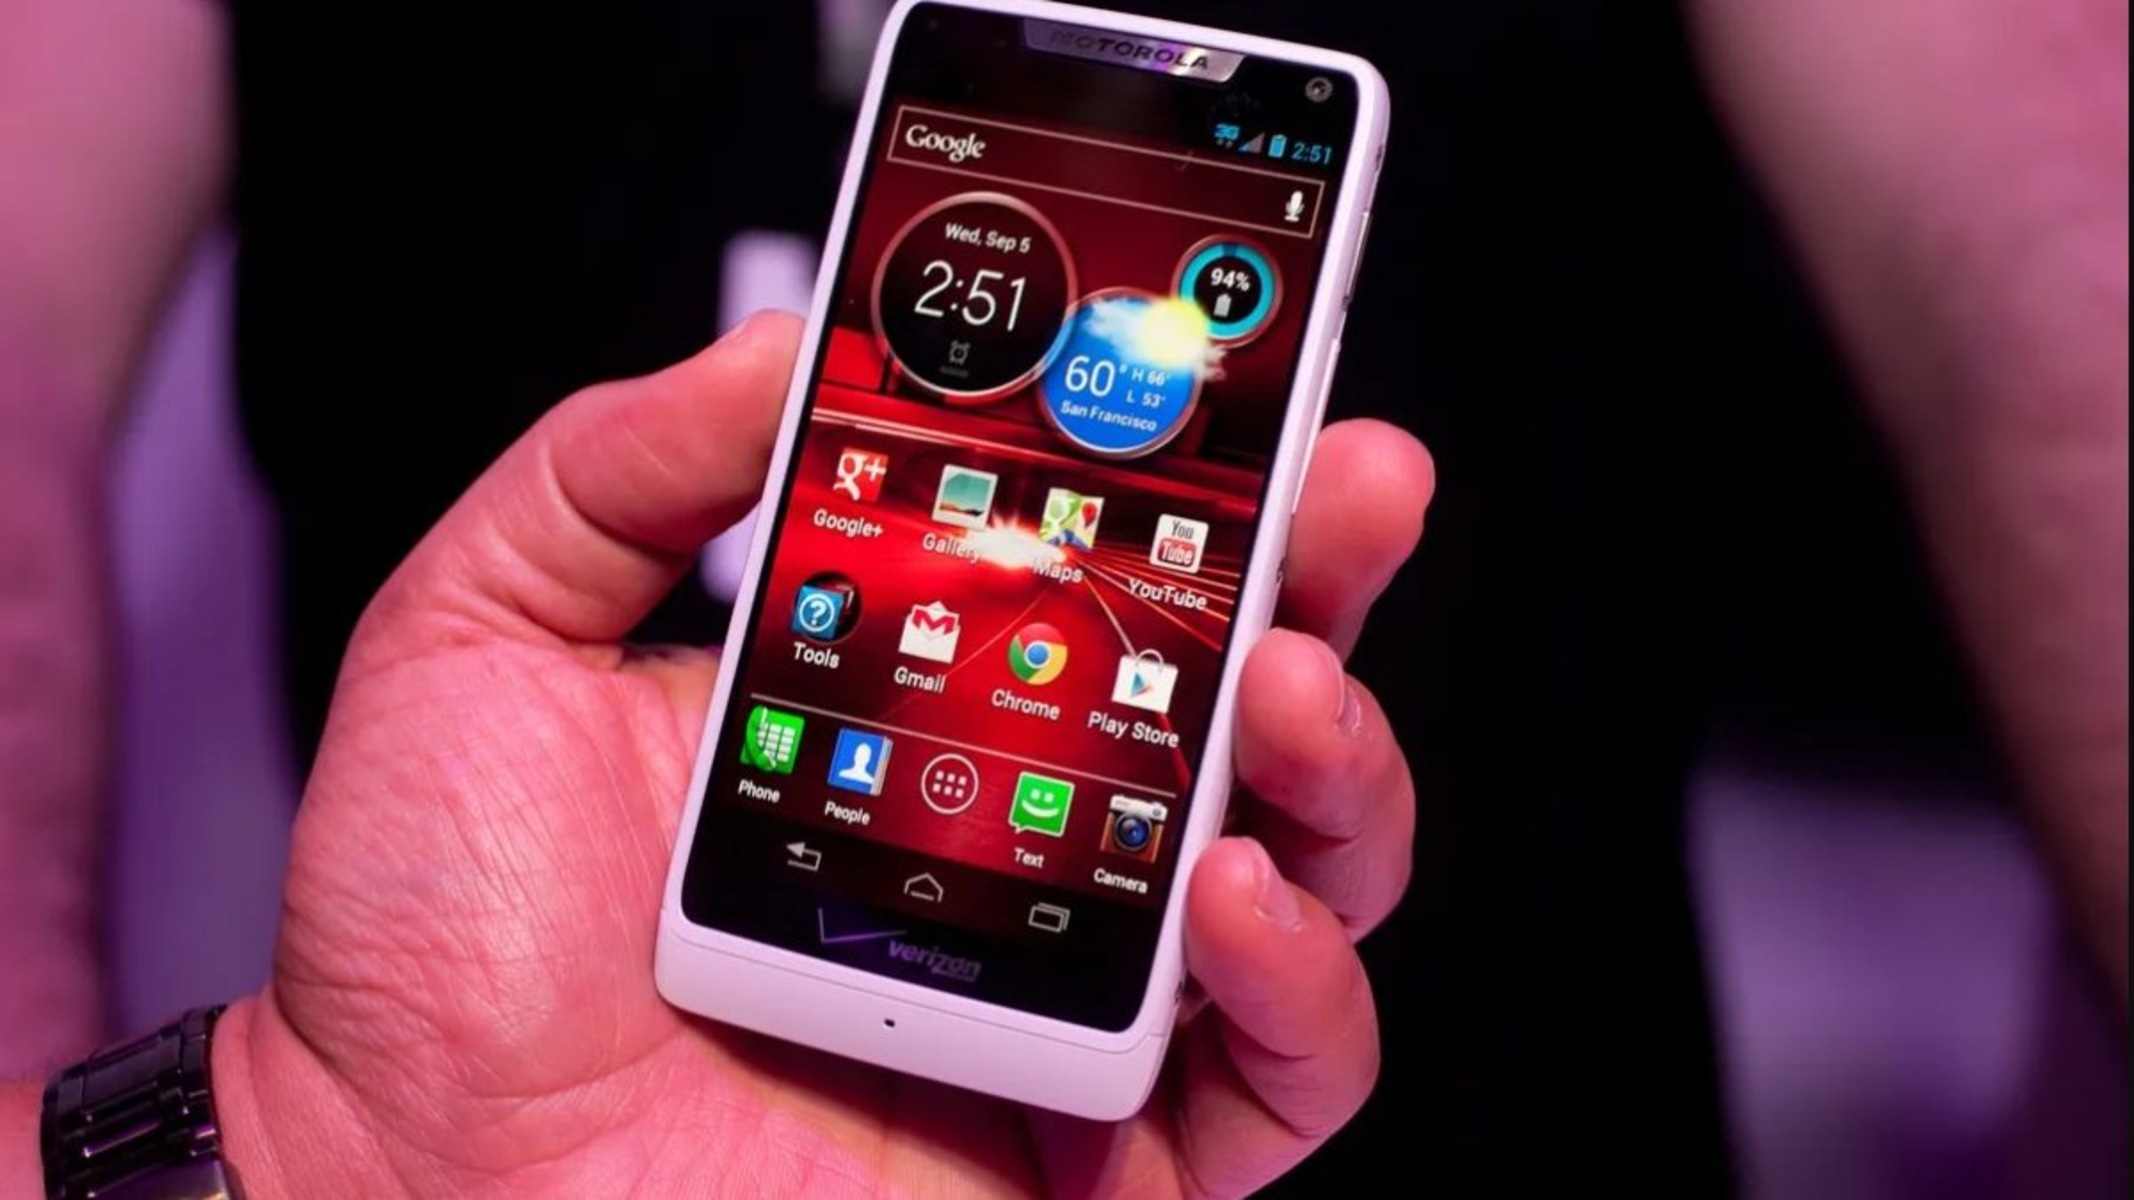
The Motorola Razr M is a remarkable device that has stood the test of time, offering a blend of sleek design and impressive functionality. However, as technology advances, users often seek ways to customize and optimize their devices to suit their unique preferences. One popular method of achieving this is by installing a custom ROM, which can unlock a world of new features and performance enhancements.
In this comprehensive guide, we will walk you through the step-by-step process of installing a custom ROM on your Motorola Razr M. Whether you're a tech enthusiast looking to explore the full potential of your device or simply seeking to breathe new life into your trusted companion, this guide is designed to equip you with the knowledge and confidence to embark on this exciting journey.
By the end of this tutorial, you will have a deeper understanding of the intricacies involved in unlocking the bootloader, installing a custom recovery, downloading the custom ROM, and executing the installation process. Each step is crucial in ensuring a smooth and successful transition to a custom ROM, and we are here to guide you through every stage with clarity and precision.
So, without further ado, let's dive into the world of custom ROMs and unleash the true power of your Motorola Razr M. Get ready to embark on an adventure that will redefine your smartphone experience and open up a realm of possibilities that were previously beyond reach. Are you ready to take the leap? Let's begin our journey towards a more personalized and optimized mobile device experience.
Step 1: Unlocking the Bootloader
Unlocking the bootloader is the first crucial step in the process of installing a custom ROM on your Motorola Razr M. The bootloader acts as a security checkpoint, restricting the device from booting into unauthorized software. By unlocking the bootloader, you gain the freedom to install custom firmware and unleash the full potential of your device.
Before proceeding, it's important to note that unlocking the bootloader will erase all data on your device. Therefore, it's essential to back up any important files, photos, and documents to prevent data loss.
To initiate the bootloader unlocking process, you will need to enable Developer Options on your device. This can be done by navigating to Settings, selecting About Phone, and tapping on the Build Number multiple times until you see a message confirming that Developer Options have been enabled.
Once Developer Options are accessible, enter the menu and enable USB debugging. This allows your device to communicate with your computer during the bootloader unlocking process.
Next, you will need to visit the official Motorola website or the website of your device's manufacturer to obtain the necessary tools and instructions for unlocking the bootloader. Each device may have specific requirements and procedures, so it's crucial to follow the official guidelines provided by the manufacturer to ensure a smooth and secure unlocking process.
After obtaining the required tools and instructions, connect your Motorola Razr M to your computer using a USB cable. Follow the provided instructions to enter the bootloader mode, which may involve powering off the device and then pressing a specific combination of hardware buttons to access the bootloader menu.
Once in the bootloader menu, follow the manufacturer's instructions to unlock the bootloader. This typically involves running a command or script on your computer to initiate the unlocking process. Your device may display a warning about unlocking the bootloader, and you will need to confirm this action to proceed.
Upon successful completion of the bootloader unlocking process, your device will be ready to move on to the next step of installing a custom recovery. With the bootloader unlocked, you have taken a significant stride towards customizing and optimizing your Motorola Razr M to align with your unique preferences and requirements.
Unlocking the bootloader is a pivotal moment in the journey towards a personalized and enhanced smartphone experience. It sets the stage for the subsequent steps, allowing you to delve deeper into the realm of custom ROMs and the myriad of possibilities they offer. With the bootloader unlocked, you are now poised to embark on the next phase of this transformative process.
Step 2: Installing a Custom Recovery
After successfully unlocking the bootloader of your Motorola Razr M, the next pivotal step in the process of installing a custom ROM is to install a custom recovery. A custom recovery is a powerful tool that allows you to create full device backups, install custom firmware, and perform various system-level operations that are not possible with the stock recovery provided by the manufacturer.
One of the most popular custom recoveries for Android devices is TWRP (Team Win Recovery Project). TWRP offers an intuitive and feature-rich interface, making it an ideal choice for users seeking to customize and optimize their devices. Before proceeding with the installation of TWRP or any other custom recovery, it's essential to ensure compatibility with your specific device model to avoid any potential issues.
To install TWRP or a custom recovery on your Motorola Razr M, you will need to download the appropriate recovery image file from a trusted source. It's crucial to verify the authenticity and compatibility of the recovery image to prevent any adverse effects on your device.
Once you have obtained the correct recovery image, you can proceed to the installation process. This typically involves using the Android Debug Bridge (ADB) and Fastboot, which are command-line tools that allow you to communicate with your device from a computer.
First, ensure that ADB and Fastboot are properly set up on your computer. You can download the Android SDK platform tools, which include ADB and Fastboot, from the official Android developer website. Once installed, you can open a command prompt or terminal window and navigate to the directory where the recovery image file is located.
Connect your Motorola Razr M to your computer using a USB cable and ensure that USB debugging is enabled in the Developer Options menu on your device. Then, reboot your device into fastboot mode by running the appropriate command in the command prompt or terminal window.
With your device in fastboot mode, you can proceed to flash the custom recovery image using the Fastboot command. The exact command may vary depending on the specific recovery image file and its format, so it's important to refer to the instructions provided by the custom recovery's developers.
Once the custom recovery image has been successfully flashed to your device, you can reboot into the newly installed custom recovery to verify its functionality. This is typically done by using the hardware buttons to enter the recovery mode, where you should see the custom recovery interface.
Installing a custom recovery opens up a world of possibilities for customizing and optimizing your Motorola Razr M. With this powerful tool at your disposal, you are now equipped to explore the realm of custom ROMs and unleash the full potential of your device. The installation of a custom recovery marks a significant milestone in your journey towards a more personalized and enhanced smartphone experience.
Step 3: Downloading the Custom ROM
Downloading the custom ROM is a pivotal stage in the process of customizing and optimizing your Motorola Razr M. A custom ROM is a customized version of the Android operating system, offering a wide array of features, performance enhancements, and visual modifications that go beyond what is typically provided by the stock firmware. By selecting a custom ROM that aligns with your preferences and requirements, you can breathe new life into your device and tailor it to suit your unique needs.
Before proceeding with the download, it's crucial to research and identify a reputable source for custom ROMs that is compatible with your specific device model. Trusted online forums, developer communities, and dedicated websites often serve as reliable platforms for accessing a diverse range of custom ROM options. It's essential to prioritize safety and authenticity when selecting a custom ROM, as downloading from unverified sources can pose security risks and potentially harm your device.
Once you have identified a suitable custom ROM for your Motorola Razr M, carefully review the available information to ensure compatibility and feature alignment with your preferences. Pay attention to user reviews, developer notes, and community feedback to gain insights into the performance, stability, and unique features offered by the custom ROM.
After making an informed decision, proceed to download the custom ROM file to your computer. Ensure that the file is obtained from a trusted source and that it is specifically designed for your device model to avoid compatibility issues. Custom ROM files are typically distributed in ZIP format and may vary in size depending on the included features and modifications.
Upon successful completion of the download, it's advisable to verify the integrity of the custom ROM file by performing a checksum validation. This process ensures that the downloaded file has not been corrupted or tampered with during the download process, providing an added layer of security and reliability.
With the custom ROM file securely downloaded and validated, you are now prepared to proceed to the next stage of the installation process. The custom ROM represents a gateway to a wealth of customization options, performance enhancements, and visual transformations that will redefine your smartphone experience. By selecting a custom ROM that resonates with your preferences, you are poised to embark on a transformative journey towards a more personalized and optimized mobile device experience.
Step 4: Installing the Custom ROM
With the bootloader unlocked, a custom recovery installed, and the custom ROM file securely downloaded, you are now poised to embark on the final and transformative step of installing the custom ROM on your Motorola Razr M. This pivotal stage represents the culmination of your efforts to customize and optimize your device, unlocking a realm of new features, performance enhancements, and visual modifications that will redefine your smartphone experience.
Before proceeding with the installation, it's crucial to ensure that your device is adequately charged to prevent any interruptions during the process. Additionally, it's advisable to back up any essential data and files to safeguard against potential data loss.
To initiate the installation of the custom ROM, begin by transferring the downloaded custom ROM file from your computer to the internal storage or SD card of your Motorola Razr M. This can be accomplished by connecting your device to the computer via a USB cable and transferring the custom ROM file to a readily accessible location on the device's storage.
Once the custom ROM file is successfully transferred, reboot your device into the custom recovery mode. This is typically achieved by powering off the device and then using a specific combination of hardware buttons to enter the recovery mode. In the custom recovery interface, navigate to the "Install" or "Install ZIP" option, depending on the specific custom recovery installed on your device.
Select the option to install the custom ROM and navigate to the location where the custom ROM file is stored on your device. Once the custom ROM file is selected, confirm the installation to commence the flashing process. The installation may take a few minutes to complete, during which the custom ROM will be flashed onto your device, replacing the stock firmware with the customized version.
After the installation is complete, you can choose to clear the device's cache and perform a factory reset from within the custom recovery to ensure a clean and optimized installation. Once these steps are executed, you can reboot your device, and you will be greeted by the newly installed custom ROM, ready to unveil its array of features and enhancements.
The installation of the custom ROM marks a significant milestone in your journey towards a more personalized and optimized smartphone experience. With the custom ROM seamlessly integrated into your Motorola Razr M, you are now empowered to explore a wealth of customization options, performance improvements, and visual transformations that will elevate your device to new heights. Congratulations on successfully installing a custom ROM and embracing the boundless potential it brings to your device.
Conclusion
In conclusion, the journey of installing a custom ROM on your Motorola Razr M has been a transformative and empowering experience. From unlocking the bootloader to installing a custom recovery and finally flashing the custom ROM, each step has contributed to reshaping your smartphone into a personalized and optimized device that aligns with your unique preferences and requirements.
By unlocking the bootloader, you have transcended the limitations imposed by the stock firmware, gaining the freedom to explore customizations and performance enhancements that were previously beyond reach. This pivotal step has opened the door to a world of possibilities, setting the stage for the subsequent stages of the installation process.
Installing a custom recovery has equipped you with a powerful tool that goes beyond the capabilities of the stock recovery provided by the manufacturer. With the custom recovery in place, you have gained the ability to create full device backups, install custom firmware, and perform system-level operations that are essential for customizing and optimizing your device to suit your individual needs.
Downloading the custom ROM marked a moment of anticipation and careful consideration. By selecting a custom ROM that resonates with your preferences and aligns with your device model, you have set the stage for a personalized and enhanced smartphone experience. The careful research and validation of the custom ROM file have ensured that you are embarking on this transformative journey with confidence and security.
Finally, the installation of the custom ROM represents the culmination of your efforts, bringing to fruition the vision of a device that is uniquely tailored to your preferences. As the custom ROM seamlessly integrates into your Motorola Razr M, you are greeted by a wealth of customization options, performance improvements, and visual transformations that redefine your smartphone experience.
With the custom ROM in place, your device has transcended its original boundaries, embracing a new identity that reflects your individuality and preferences. The installation process has not only enhanced the functionality and performance of your device but has also imbued it with a sense of personalization and uniqueness that sets it apart from conventional smartphones.
As you navigate through the interface of the newly installed custom ROM, you are greeted by a world of features and enhancements that cater to your specific needs, elevating your smartphone experience to new heights. The journey of installing a custom ROM on your Motorola Razr M has not only empowered you to optimize your device but has also provided a glimpse into the boundless potential of customization and personalization in the realm of mobile devices.
In essence, the installation of a custom ROM has transformed your Motorola Razr M into a reflection of your individuality, preferences, and aspirations, setting the stage for a dynamic and personalized smartphone experience that is uniquely yours.


