Introduction
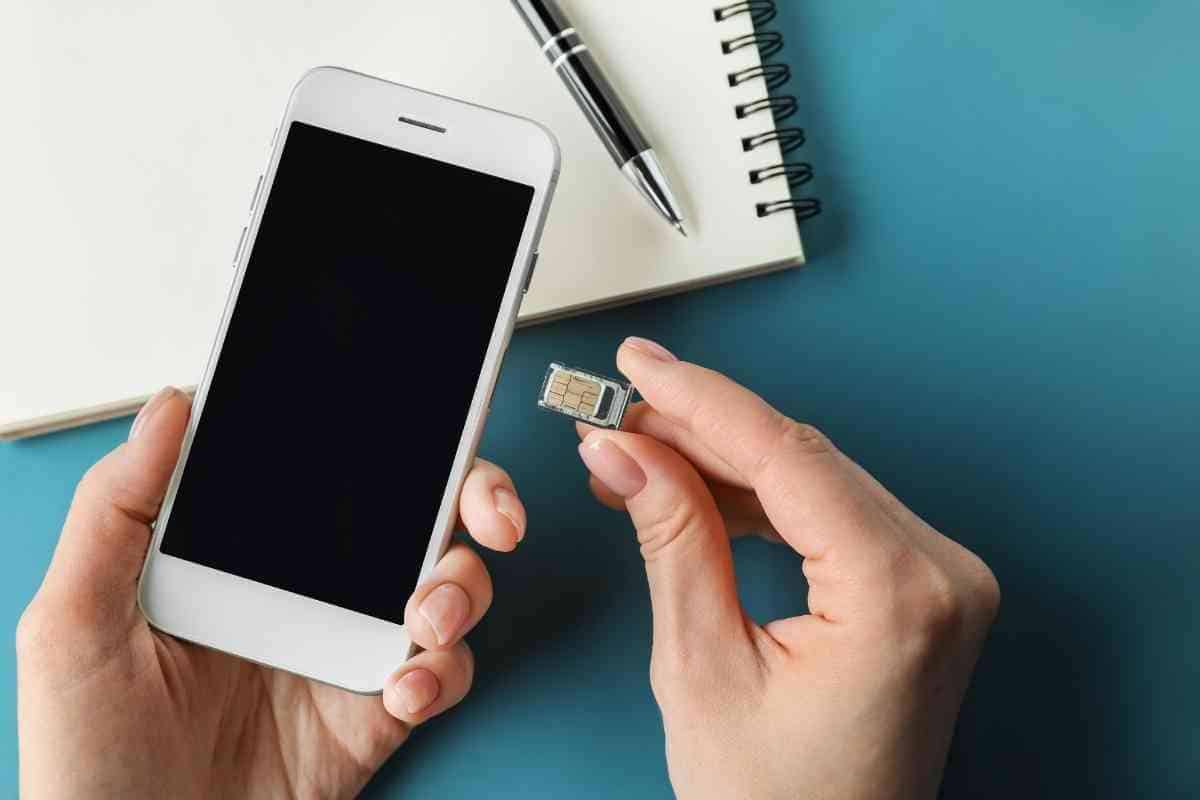
Inserting a SIM card into your mobile phone is a fundamental step in setting up your device for communication and connectivity. Whether you're activating a new phone or switching to a different carrier, understanding how to properly insert a SIM card is essential. This small, yet significant, piece of technology holds your unique subscriber information and enables your phone to connect to the cellular network, allowing you to make calls, send messages, and access mobile data.
In this comprehensive tutorial, we will guide you through the process of inserting a SIM card into your phone, providing clear and easy-to-follow steps. By following these instructions, you will be able to seamlessly integrate your SIM card into your device, ensuring that you can harness the full potential of your mobile communication capabilities.
The ability to insert a SIM card is a valuable skill for any mobile device user, as it empowers you to take control of your connectivity and tailor it to your specific needs. Whether you're preparing for a new adventure with a different carrier or simply need to replace a damaged SIM card, having the knowledge and confidence to perform this task will serve you well.
Now, let's embark on this journey of mobile device setup, as we walk you through the step-by-step process of inserting a SIM card into your phone. Get ready to unlock the potential of your device and stay connected in the digital world.
Step 1: Locate the SIM card slot
Before you can insert a SIM card into your phone, it's crucial to locate the SIM card slot. The placement of the SIM card slot varies among different phone models, but there are a few common locations where you can typically find it:
-
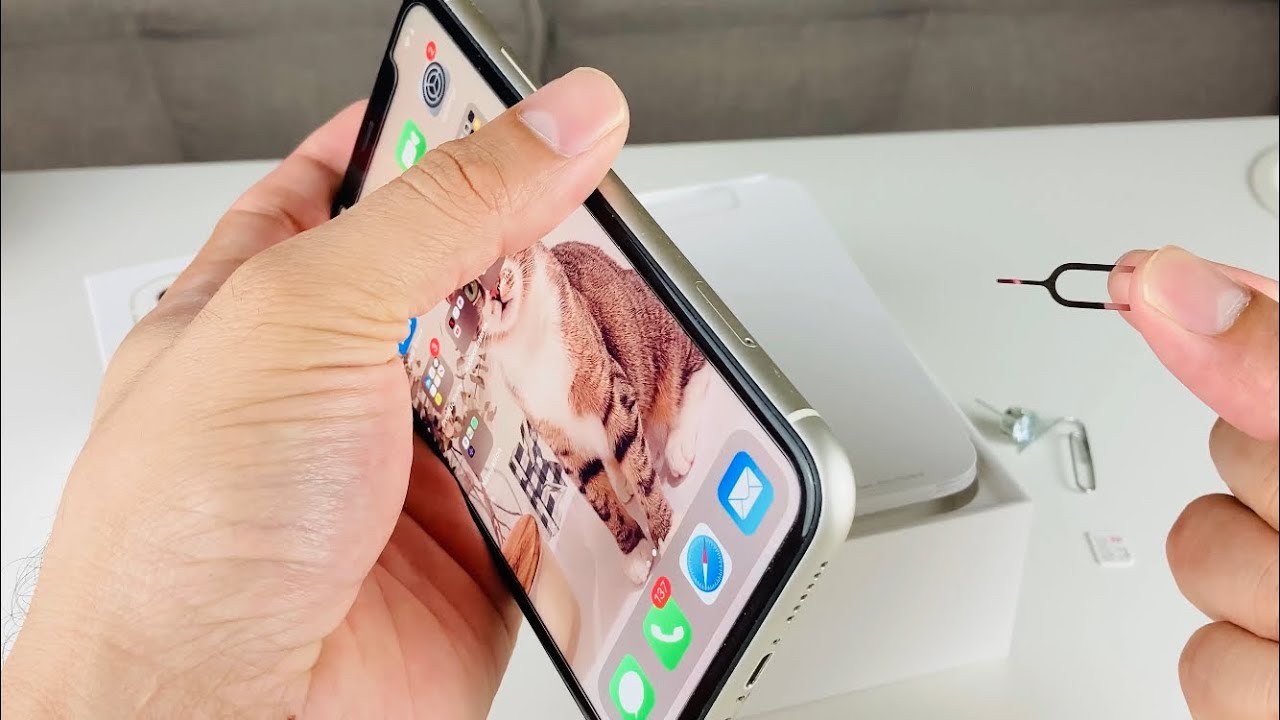
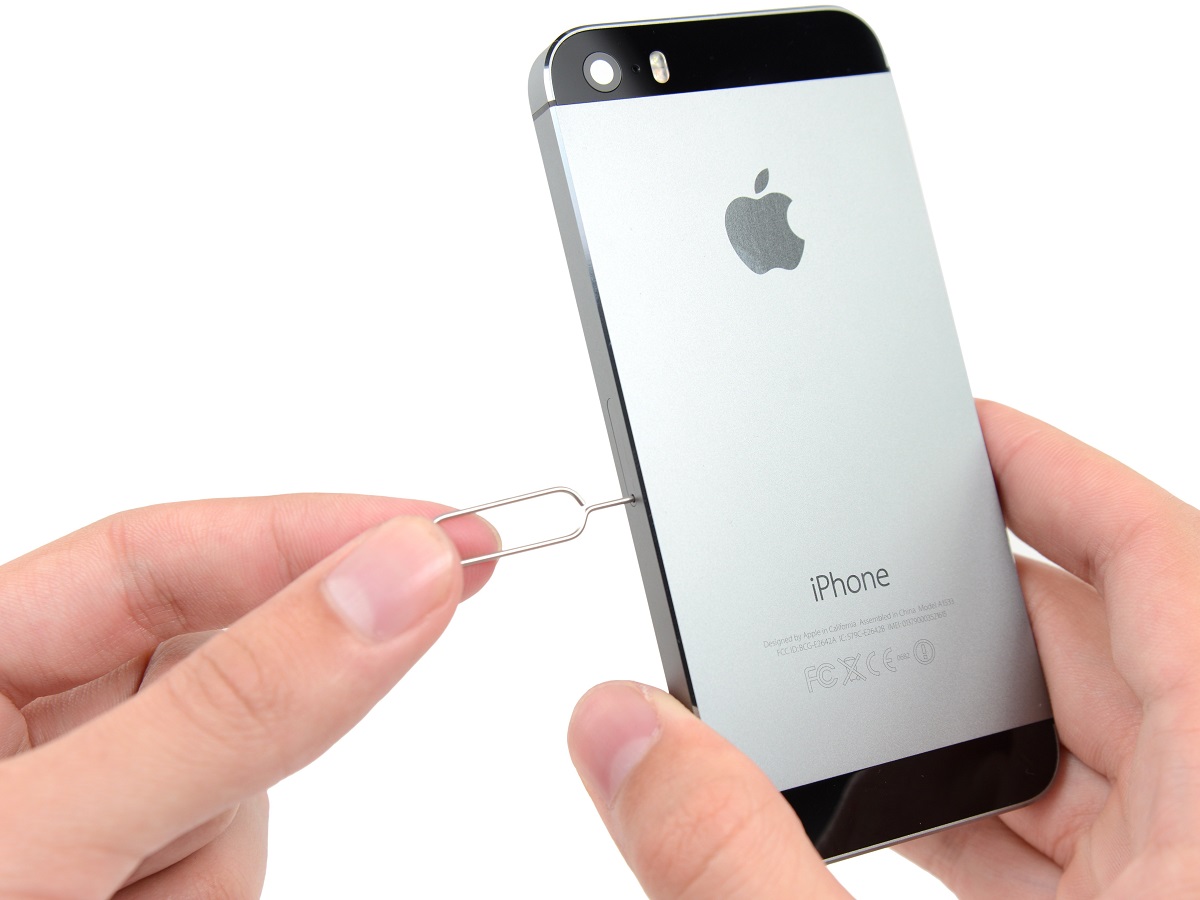
External SIM Tray: Many modern smartphones feature an external SIM tray, usually located on the side of the device. To access the SIM card slot, you'll need a SIM ejector tool or a small paperclip to gently push into the pinhole next to the tray, causing it to pop out. Once the tray is ejected, you can proceed to insert the SIM card.
-
Under the Back Cover: In some older or budget-friendly phone models, the SIM card slot may be located underneath the back cover. To access it, you'll need to power off your phone and carefully remove the back cover. The SIM card slot is typically positioned near the battery compartment and can be easily identified by its size and shape.
-
Within the Battery Compartment: Certain phones have the SIM card slot positioned within the battery compartment. After removing the back cover and the battery, you'll notice the SIM card slot adjacent to the battery area. It's important to handle the battery with care and avoid damaging any internal components while accessing the SIM card slot.
-
Integrated Tray: Some high-end smartphones have an integrated SIM card tray that is accessed by using a SIM ejector tool to pop it out from the device. The SIM card slot is usually located at the top or side of the phone, and the tray itself is designed to securely hold the SIM card in place.
By familiarizing yourself with the specific location of the SIM card slot on your phone, you can confidently proceed to the next steps of the SIM card insertion process. Taking the time to identify the slot's location ensures that you approach the task with precision and avoid any potential damage to your device. Now that you've located the SIM card slot, you're ready to move on to the next step of the SIM card insertion process.
Step 2: Turn off your phone
Turning off your phone is a crucial step in the process of inserting a SIM card. By powering down your device, you ensure that it is in a safe and stable state for the SIM card insertion. This step is essential to prevent any potential damage to the phone and the SIM card itself.
To turn off your phone, follow these simple steps:
-
Locate the power button: The power button is typically located on the side or top of the phone, depending on the model. It is often distinguishable by a small icon representing the power symbol.
-
Press and hold the power button: Press and hold the power button until the on-screen prompt appears, indicating the option to power off the device.
-
Select "Power off" or "Shut down": Once the prompt appears, tap on the option to power off the phone. Some devices may require you to swipe or confirm the action before initiating the shutdown process.
-
Wait for the phone to power down: After selecting the "Power off" option, your phone will begin the shutdown sequence. You may see a brief animation or a message indicating that the device is powering off.
-
Verify that the phone is off: To confirm that the phone is completely powered down, ensure that the screen is blank, and there are no active lights or indicators illuminated on the device.
By following these steps, you can safely power off your phone in preparation for the SIM card insertion. This simple yet important action sets the stage for the next steps in the process, allowing you to proceed with confidence and peace of mind.
Once your phone is powered off, you are ready to move on to the next step of the SIM card insertion process. With the device in a safe and inactive state, you can proceed with the following steps to seamlessly integrate the SIM card into your phone.
Step 3: Remove the back cover
Removing the back cover of your phone is a critical step in the process of inserting a SIM card. This step is necessary for accessing the SIM card slot, which may be located beneath the back cover, especially in older or budget-friendly phone models. By carefully removing the back cover, you create the space needed to seamlessly integrate the SIM card into your device.
To remove the back cover, follow these detailed steps:
-
Identify the Back Cover: Take a moment to familiarize yourself with the design of your phone. The back cover is the panel located at the rear of the device, and it is often distinguishable by its smooth surface and the presence of the phone's brand or model name.
-
Locate the Notch or Indentation: Many phones are designed with a small notch or indentation along the edge of the back cover. This feature allows you to grip the cover securely and initiate the removal process. The notch is often positioned near the top or bottom of the device, and it may be visible along one of the sides as well.
-
Apply Gentle Pressure: Using your fingertips, apply gentle pressure to the notch or indentation. If your phone has a removable back cover, you will notice that it starts to detach from the main body of the device. It's important to exercise caution and avoid applying excessive force to prevent any damage to the cover or the internal components of the phone.
-
Gradually Release the Clips: As the back cover begins to loosen, continue to apply gentle pressure and gradually release the clips securing the cover in place. These clips are designed to hold the cover securely, and by exerting gentle and consistent pressure, you can detach the cover without causing any damage.
-
Lift and Remove the Cover: Once the clips are released, carefully lift the back cover away from the phone. Take your time to ensure a smooth and controlled removal, being mindful of any cables or connectors that may be attached to the cover.
By following these steps, you can successfully remove the back cover of your phone, gaining access to the internal components and, most importantly, the SIM card slot. With the back cover removed, you are now prepared to proceed to the next step of the SIM card insertion process, seamlessly integrating the SIM card into your device.
Step 4: Insert the SIM card
With the back cover safely removed, you can now proceed to the pivotal step of inserting the SIM card into your phone. The SIM card, a small, rectangular chip that holds your unique subscriber information, is the key to unlocking your phone's connectivity to the cellular network. By carefully inserting the SIM card into the designated slot, you pave the way for seamless communication and access to mobile data. Follow these detailed steps to ensure a smooth and successful insertion process:
-
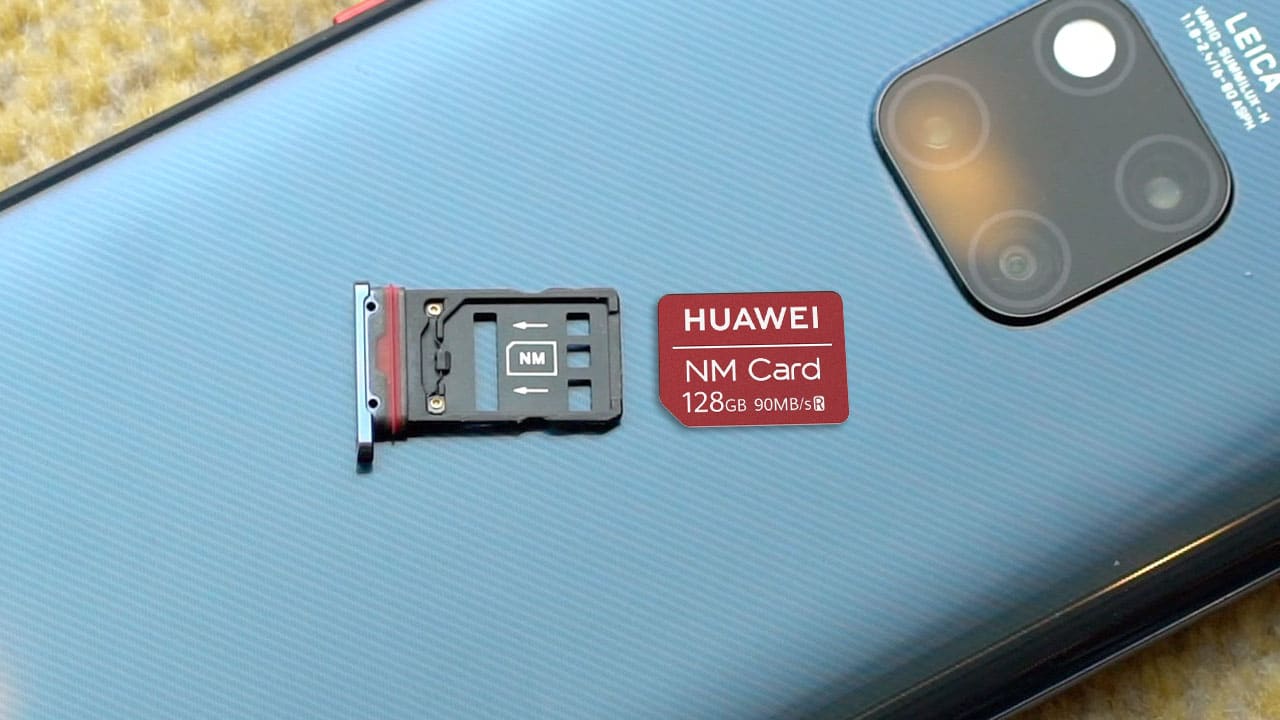
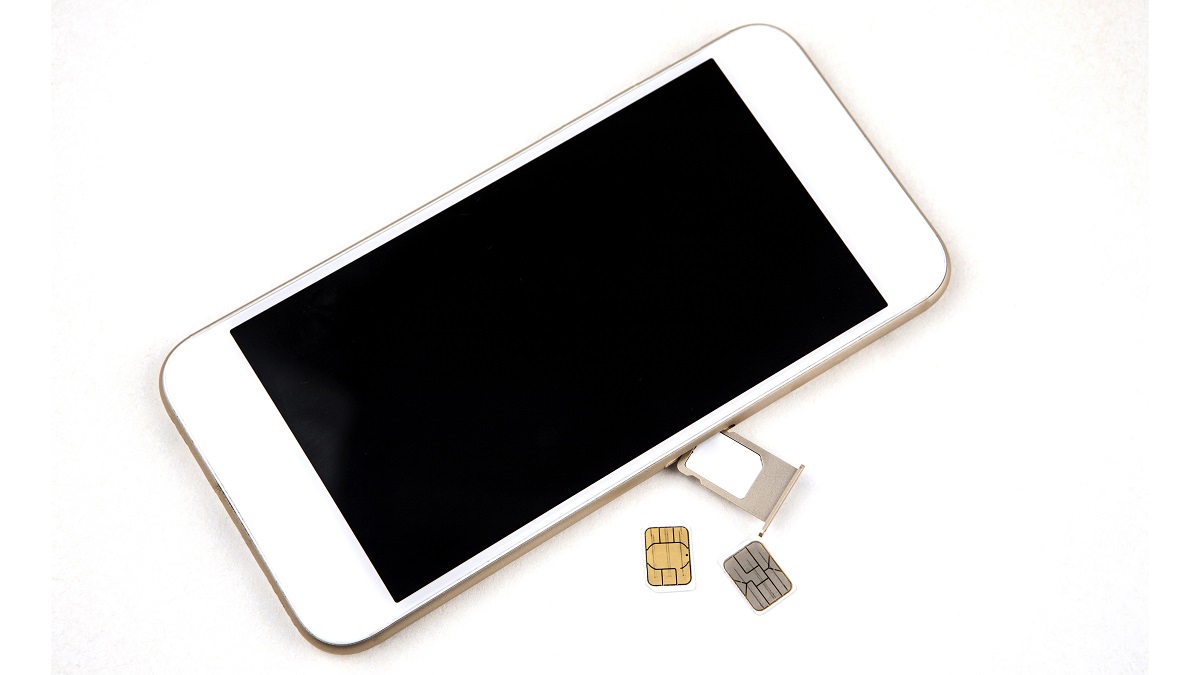
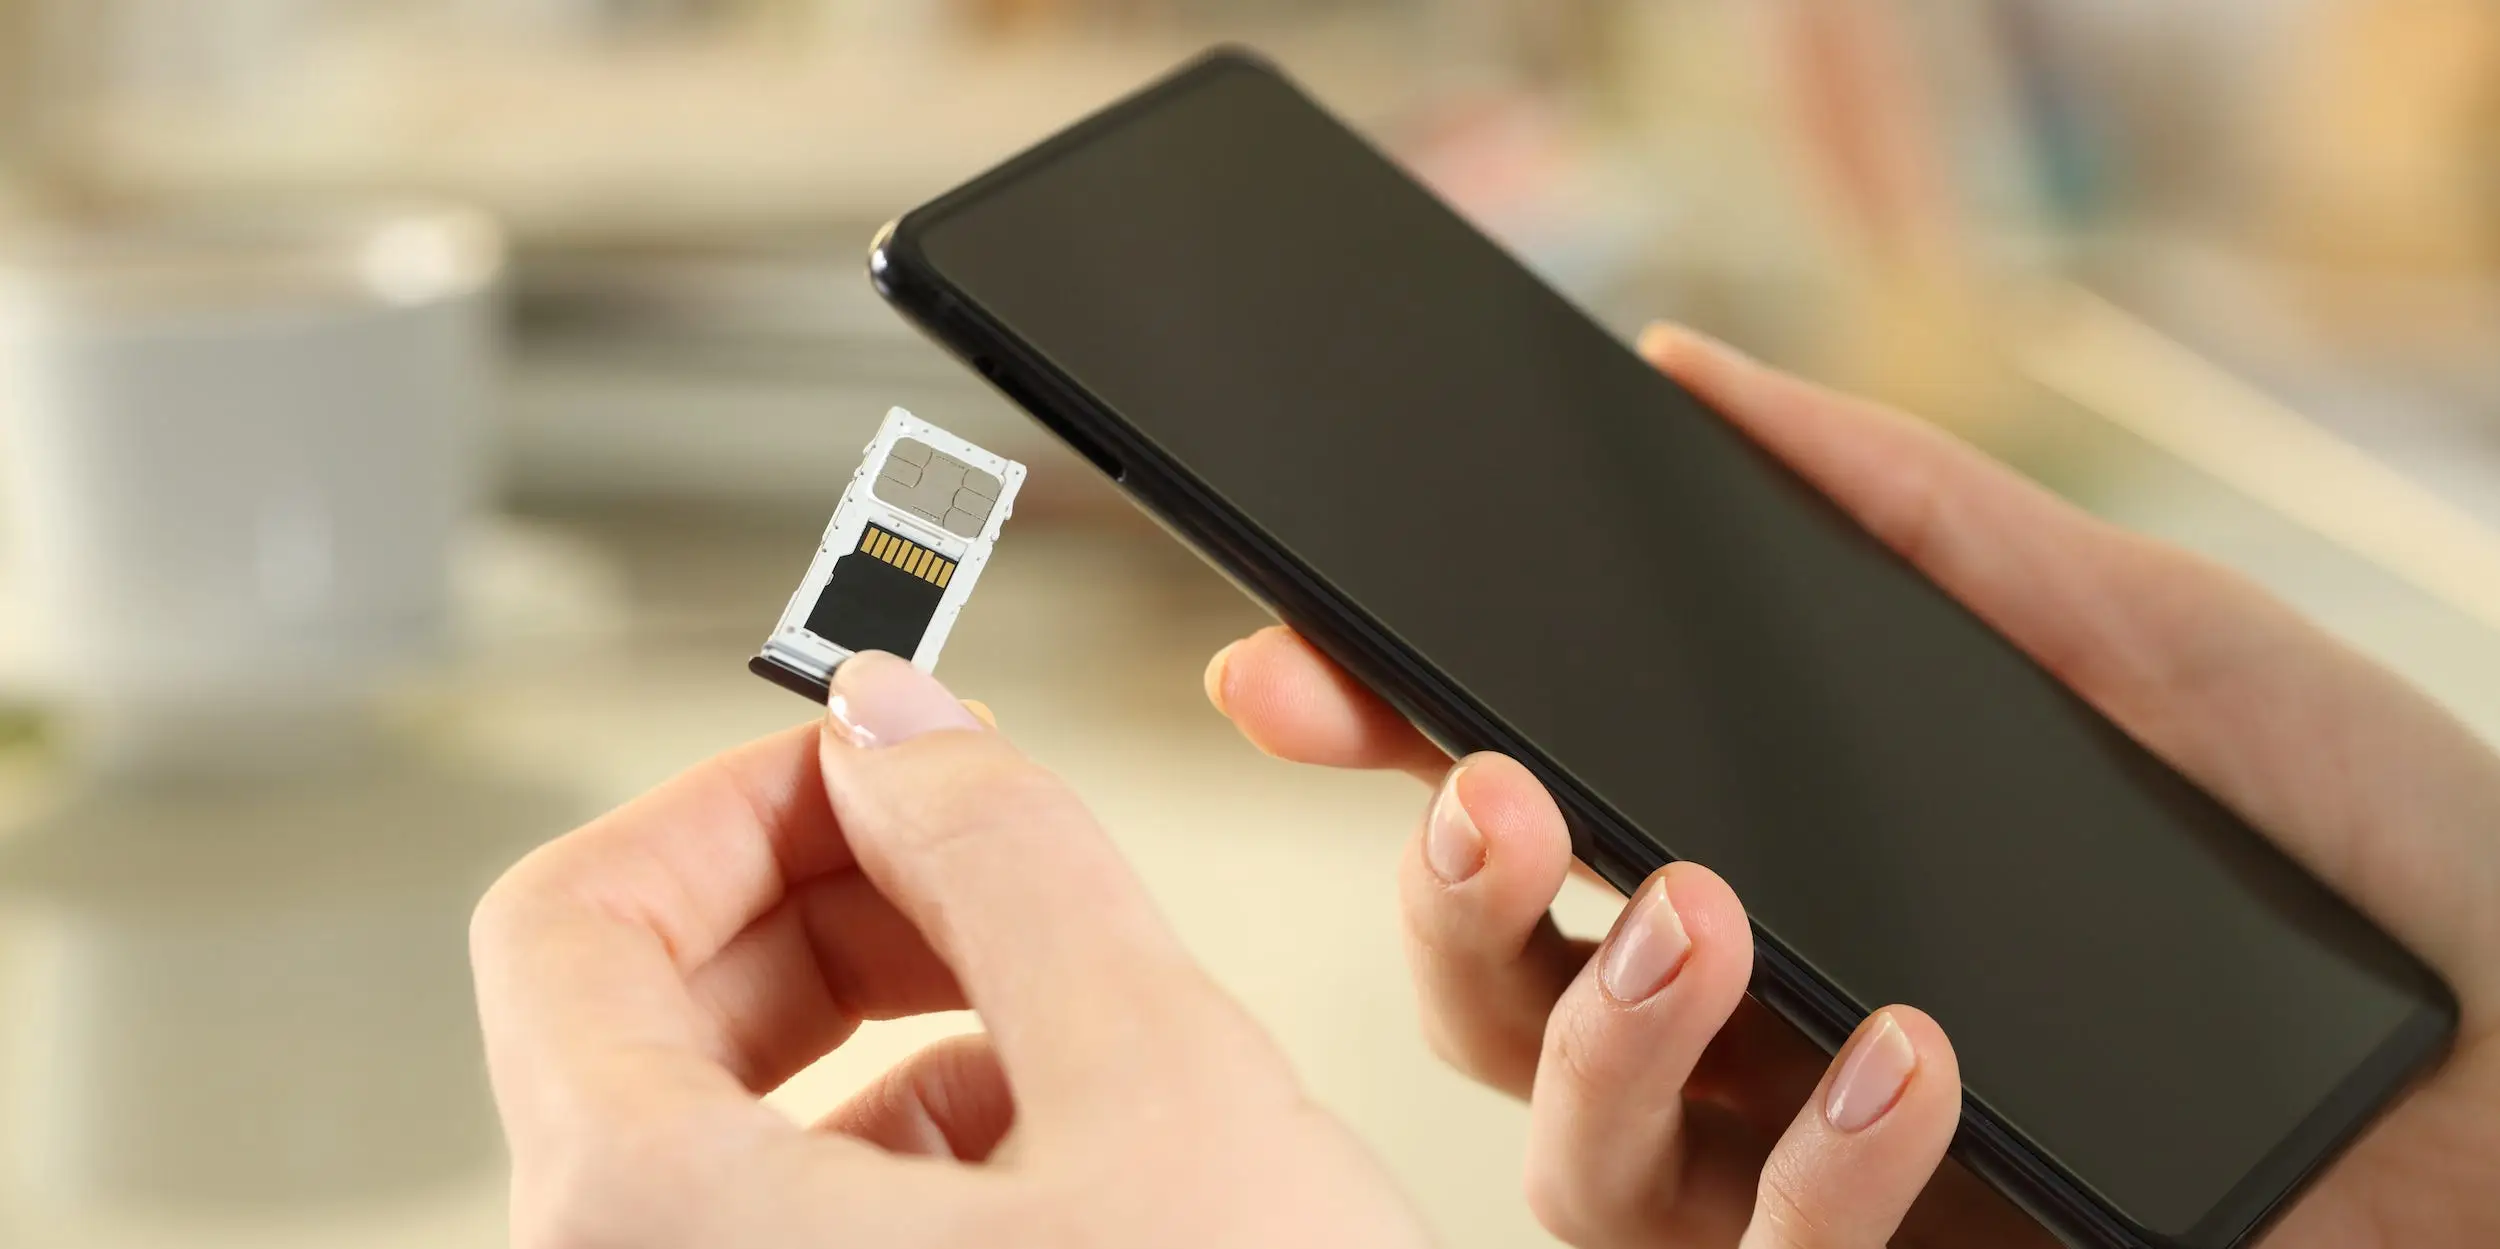
Retrieve the SIM card: Before inserting the SIM card, ensure that you have it readily available. The SIM card is a small, delicate chip that typically comes attached to a larger plastic card. Carefully detach the SIM card from the plastic frame, handling it with care to avoid any damage to its surface or internal components.
-
Orient the SIM card: Take a moment to identify the correct orientation for inserting the SIM card into the slot. Most SIM cards are designed with a notched corner or a subtle icon to indicate the proper alignment. Align the SIM card in accordance with the markings, ensuring that it fits seamlessly into the slot without any resistance.
-
Insert the SIM card: With the correct orientation in mind, gently place the SIM card into the designated slot. Apply light pressure to ensure that the SIM card is securely positioned within the slot. Take care to avoid using excessive force, as the SIM card and the slot are designed to fit together smoothly without the need for aggressive handling.
-
Secure the SIM card: Once the SIM card is inserted, ensure that it is securely in place. Depending on the type of SIM card slot, you may need to push it gently until it clicks into position or slides smoothly into place. This secure fit is essential to maintain a stable connection and prevent the SIM card from dislodging during regular use.
-
Verify the insertion: After inserting the SIM card, take a moment to visually confirm that it is properly seated in the slot. Check that the notched corner or the designated markings align with the slot, indicating that the SIM card is correctly oriented. Additionally, ensure that the SIM card is flush with the surface of the slot, without any protrusions or misalignments.
By following these meticulous steps, you can successfully insert the SIM card into your phone, setting the stage for seamless connectivity and communication. With the SIM card securely in place, you are now ready to proceed to the final steps of the insertion process, bringing you closer to harnessing the full potential of your mobile device.
Step 5: Replace the back cover
With the SIM card securely inserted into the designated slot, the next crucial step is to replace the back cover of your phone. The back cover serves as a protective layer, safeguarding the internal components and ensuring a seamless and cohesive design for your device. By carefully replacing the back cover, you not only protect the internal elements of your phone but also complete the SIM card insertion process, bringing your device one step closer to full functionality.
Follow these detailed steps to effectively replace the back cover of your phone:
-
Position the back cover: Take the back cover of your phone and align it with the main body of the device. Ensure that the cover is positioned correctly, with the edges and corners lining up precisely with the corresponding grooves and connectors on the phone. A proper alignment is essential to ensure a secure fit and overall stability.
-
Apply gentle pressure: Once the back cover is aligned with the phone, apply gentle and even pressure along the edges of the cover. Start from one side and gradually work your way around the perimeter of the device, pressing the cover firmly into place. It's important to exercise caution and avoid using excessive force, as the goal is to secure the cover without causing any damage.
-
Listen for clicks or snaps: As you apply pressure to the back cover, listen for audible clicks or snaps that indicate the cover is securely fastened to the phone. Many phones are designed with small clips or latches that engage when the cover is properly positioned. These audible cues signify that the cover is securely in place and provide reassurance that the insertion process is successful.
-
Verify the fit: After replacing the back cover, take a moment to visually inspect the edges and corners of the device. Ensure that the cover sits flush with the main body of the phone, without any gaps or misalignments. A seamless and uniform fit indicates that the cover is securely in place, providing protection for the internal components.
-
Test the cover: Once the back cover is replaced, perform a gentle test by lightly pressing on various areas of the cover. This test helps confirm that the cover is securely fastened and does not shift or detach during regular use. A stable and secure cover enhances the overall durability and functionality of your device.
By following these meticulous steps, you can effectively replace the back cover of your phone, completing the essential process of inserting a SIM card. With the back cover securely in place, your device is now fully equipped to harness the power of the SIM card and connect to the cellular network, enabling seamless communication and access to mobile data.
Step 6: Turn on your phone
After successfully inserting the SIM card and replacing the back cover, the final step in the process is to turn on your phone. This pivotal action initiates the boot-up sequence, allowing the device to power up and establish connectivity with the cellular network. By turning on your phone, you set the stage for seamless communication, access to mobile data, and the full utilization of your device's capabilities.
To turn on your phone, follow these simple yet essential steps:
-
Press and hold the power button: Locate the power button on your phone, typically positioned on the side or top of the device. Press and hold the power button for a few seconds until you see the screen light up or receive a vibration feedback, indicating that the device is powering on.
-
Wait for the boot-up sequence: After initiating the power-on process, your phone will begin the boot-up sequence. During this time, the device's internal components are initialized, and the operating system is loaded, preparing the phone for regular use. Depending on your phone model, you may see the manufacturer's logo or a loading screen as the device boots up.
-
Enter your PIN or unlock pattern: If your SIM card is protected by a PIN or if your phone requires an unlock pattern or passcode, you will be prompted to enter this security measure after the boot-up sequence. This additional layer of security ensures that only authorized users can access the phone and its associated services.
-
Confirm network connectivity: Once your phone is powered on and unlocked, it will establish connectivity with the cellular network. You may see signal bars or an indicator displaying the network name, confirming that your phone is successfully connected. This connectivity enables you to make calls, send messages, and access mobile data, empowering you to stay connected in the digital world.
-
Verify SIM card recognition: As your phone boots up, it will recognize the inserted SIM card and retrieve the subscriber information associated with it. This seamless integration ensures that your phone can identify the SIM card and utilize its functionalities, including making and receiving calls, sending messages, and accessing mobile data services.
By following these straightforward steps, you can effectively turn on your phone after inserting the SIM card, completing the essential process of setting up your device for connectivity and communication. With your phone powered on and connected to the cellular network, you are now ready to embark on your digital journey, leveraging the full potential of your mobile device and staying connected with ease.
Conclusion
Congratulations! You have successfully navigated the process of inserting a SIM card into your phone, equipping your device with the essential component that enables seamless connectivity and communication. By following the comprehensive steps outlined in this tutorial, you have gained valuable insights into the intricacies of setting up your mobile device and harnessing its full potential.
The ability to insert a SIM card is a foundational skill for any mobile device user, empowering you to take control of your connectivity and tailor it to your specific needs. Whether you are activating a new phone, switching to a different carrier, or simply replacing a damaged SIM card, the knowledge and confidence you have gained in this process will serve you well in various scenarios.
By locating the SIM card slot, turning off your phone, removing the back cover, inserting the SIM card, replacing the back cover, and turning on your phone, you have seamlessly integrated the SIM card into your device, setting the stage for uninterrupted communication, access to mobile data, and the utilization of essential mobile services.
As you power on your phone and witness the seamless recognition of the inserted SIM card, you can take pride in the accomplishment of setting up your device for optimal functionality. The successful completion of this process signifies your readiness to stay connected in the digital world, communicate with ease, and leverage the myriad capabilities of your mobile device.
In addition to the practical aspects of SIM card insertion, this tutorial has provided you with a deeper understanding of the intricate components that form the backbone of modern mobile communication. From the delicate yet powerful nature of the SIM card to the careful handling of the back cover, each step in this process has offered insights into the inner workings of your device.
By mastering the art of SIM card insertion, you have taken a significant step in becoming a savvy and empowered mobile device user. This newfound expertise not only enhances your ability to manage your device effectively but also instills a sense of confidence in navigating various aspects of mobile technology.
As you embark on your journey with a fully equipped and seamlessly integrated device, remember the knowledge and skills you have acquired in this tutorial. Whether it's guiding a friend through the SIM card insertion process or confidently managing your own device, the experiences and insights gained here will continue to serve you well in your mobile endeavors.
With your phone now primed for connectivity and communication, you are poised to embrace the countless opportunities and experiences that await in the digital realm. Stay connected, stay informed, and continue to explore the vast horizons of mobile technology with confidence and enthusiasm.