Introduction
Inserting a SIM card into your Redmi Note 3 is a fundamental step in setting up your device for communication. Whether you're a new user or simply need a refresher, understanding the process of inserting a SIM card is essential. This guide will walk you through the step-by-step process, ensuring that you can seamlessly integrate your SIM card into your Redmi Note 3.
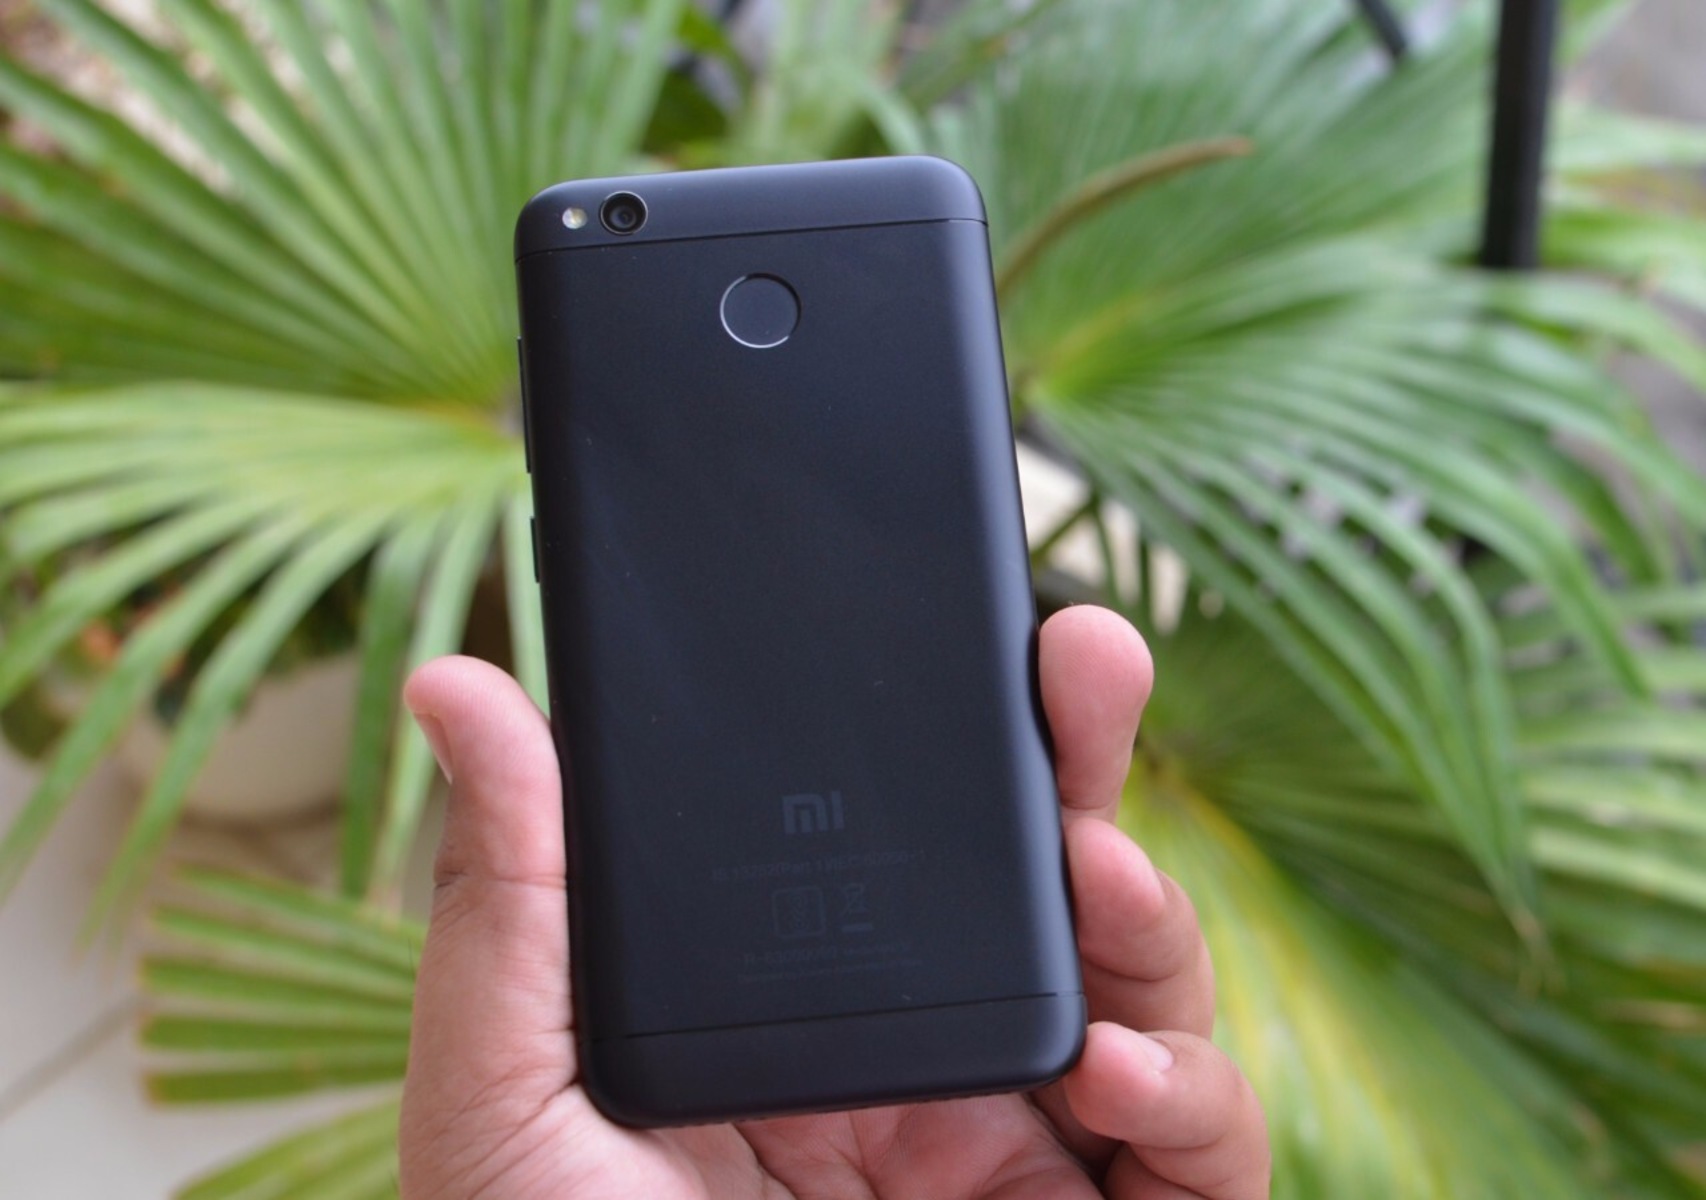
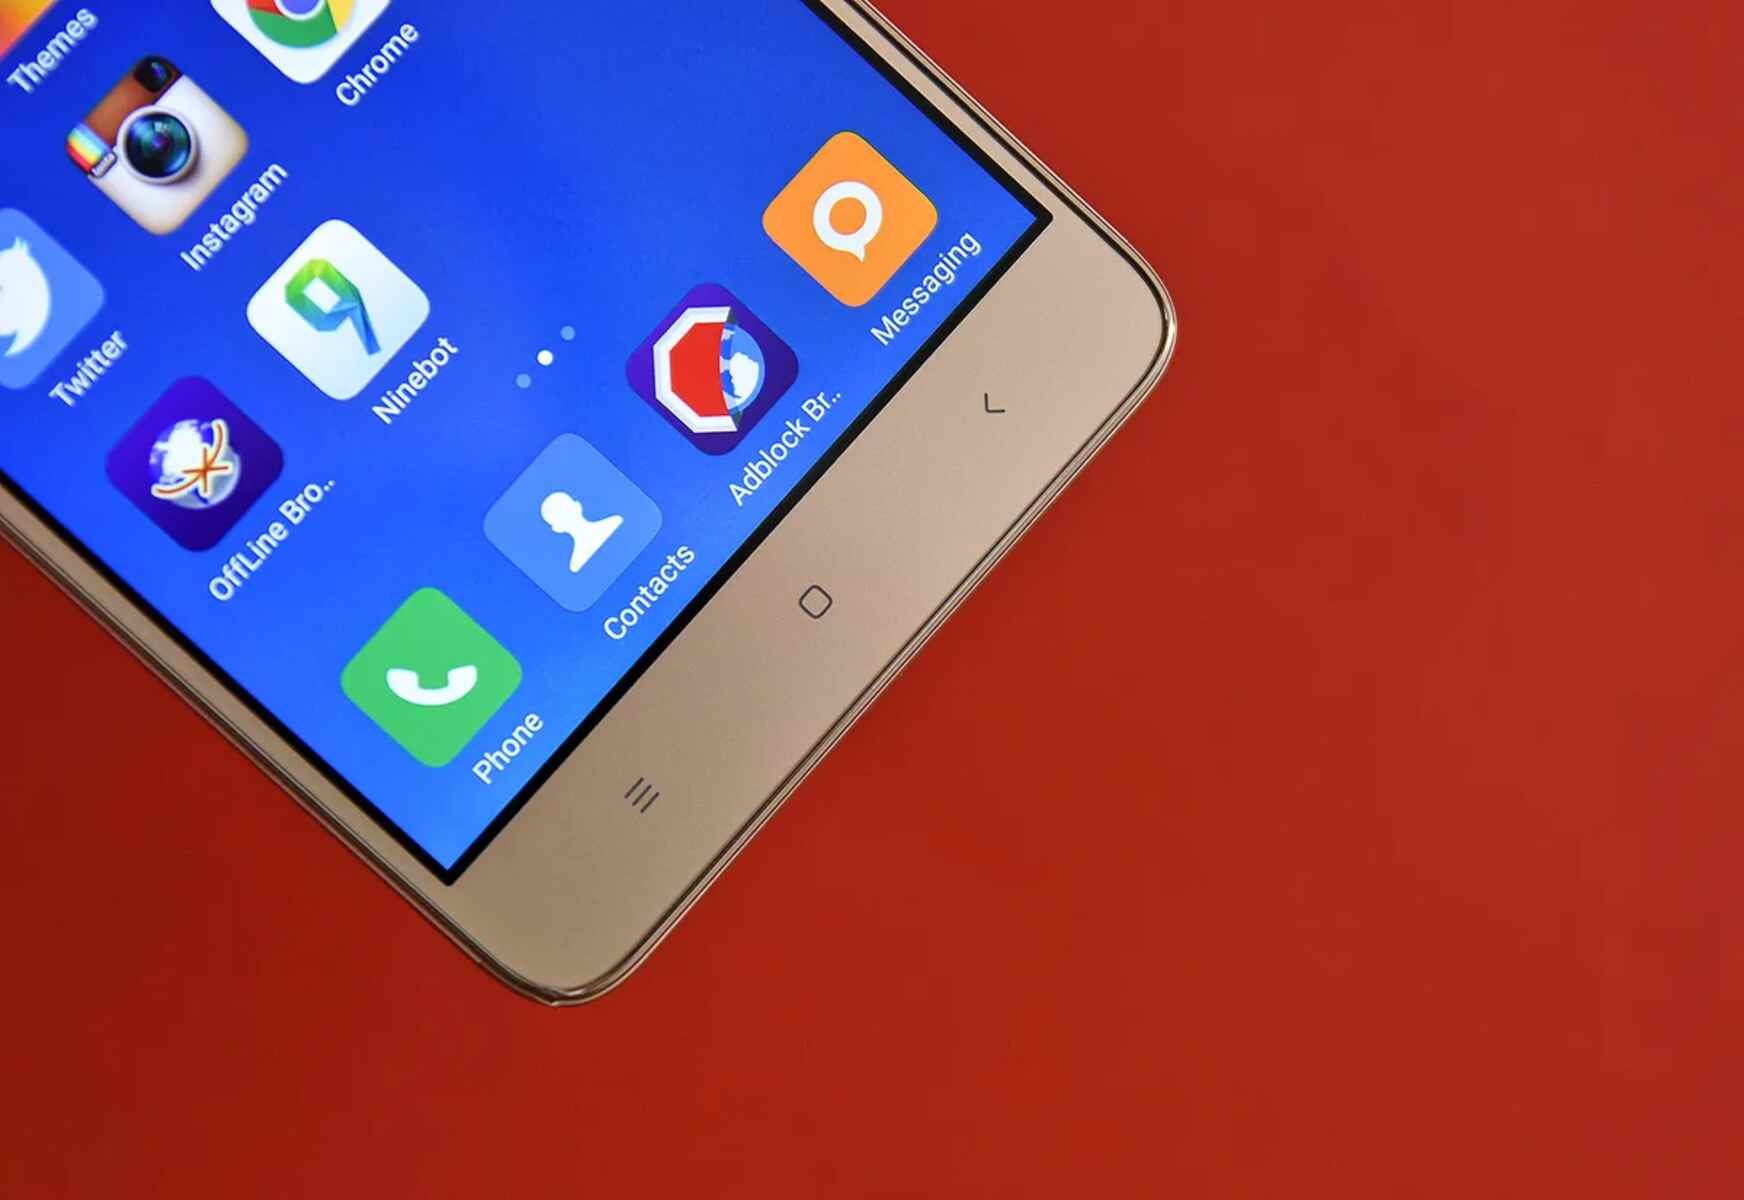
The Redmi Note 3, known for its sleek design and powerful performance, is a popular choice among smartphone users. Equipped with impressive features and a user-friendly interface, this device offers a seamless mobile experience. However, to fully utilize its capabilities, it's crucial to correctly insert a SIM card into the designated slot.
By following this comprehensive guide, you'll gain the confidence to handle this task with ease. Whether you're transitioning from a different device or setting up your Redmi Note 3 for the first time, understanding the SIM card insertion process is a valuable skill. Let's delve into the step-by-step instructions to ensure that you can effortlessly insert your SIM card into the Redmi Note 3.
Step 1: Locate the SIM card tray
The first step in inserting a SIM card into your Redmi Note 3 is to locate the SIM card tray. This tray is designed to securely hold your SIM card and ensure proper connectivity. To begin, you'll need to identify the location of the SIM card tray on your device.
-
Turn Off Your Device: Before proceeding, it's important to power off your Redmi Note 3. This ensures that you can safely access the SIM card tray without any risk of damaging the device or the SIM card itself.
-
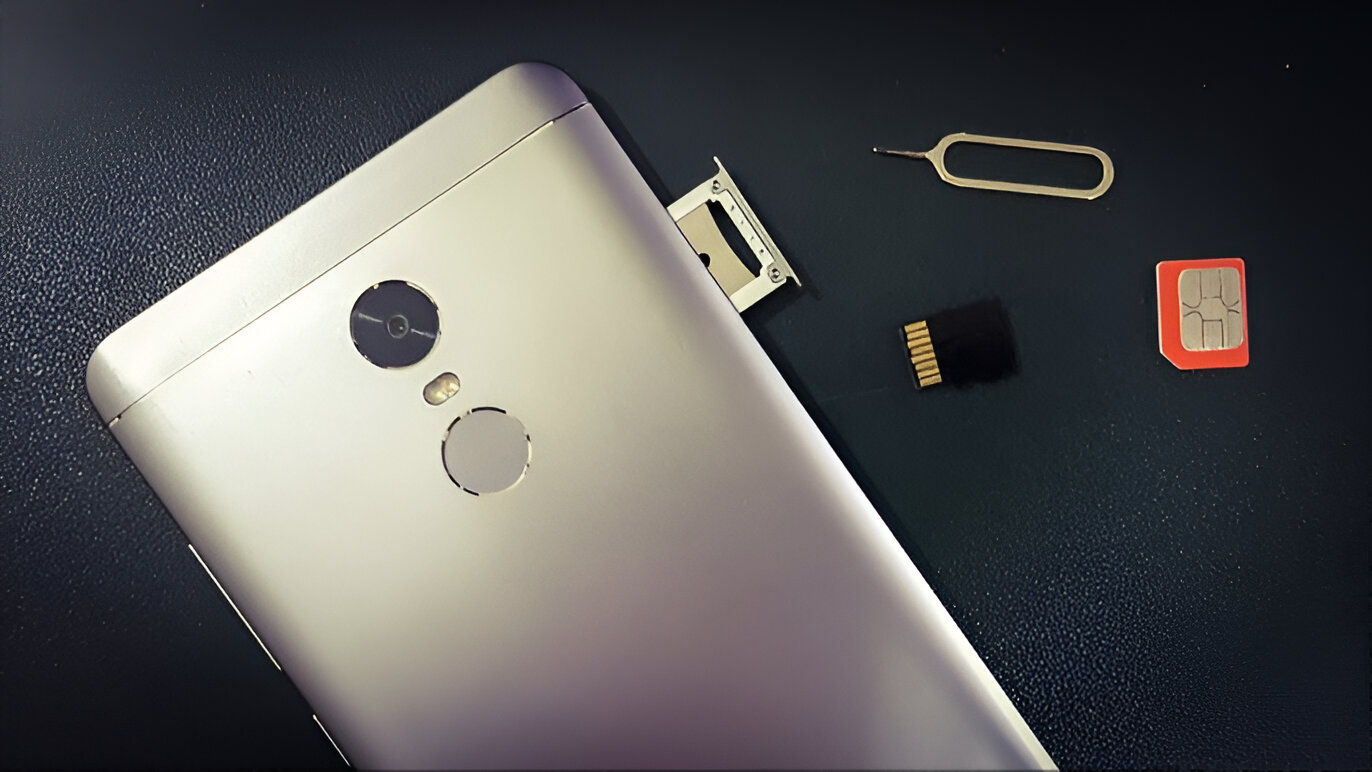
Locate the SIM Card Tray Slot: Once your device is powered off, examine the sides of the Redmi Note 3 to find the SIM card tray slot. Typically, this slot is located on the side of the device, and it may be accompanied by a small pinhole.
-
Use the Ejection Pin: To access the SIM card tray, you'll need to use the provided ejection pin. This pin is usually included in the packaging of your Redmi Note 3. If you can't locate the ejection pin, a small paperclip can serve as an alternative tool.
-
Insert the Ejection Pin: Gently insert the ejection pin or unfolded paperclip into the pinhole next to the SIM card tray slot. Apply light pressure to release the SIM card tray from its secured position.
-
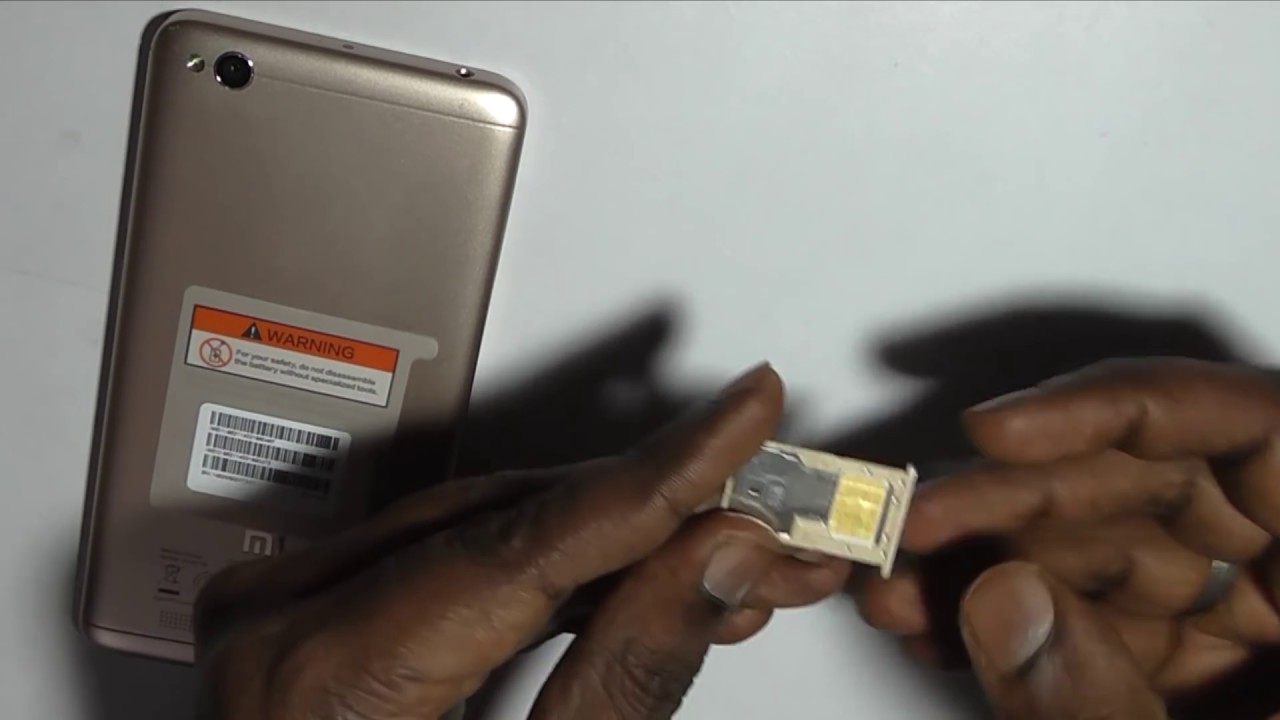
Carefully Remove the SIM Card Tray: Once the SIM card tray is partially ejected, carefully pull it out from the device. Take note of the orientation of the tray to ensure that you can easily insert the SIM card.
Locating the SIM card tray is the initial step in the process of inserting a SIM card into your Redmi Note 3. By following these instructions, you can confidently proceed to the next step of inserting the SIM card into the tray.
Step 2: Insert the SIM card
With the SIM card tray now accessible, you are ready to proceed with inserting the SIM card into your Redmi Note 3. This step is crucial, as it establishes the connection between your device and the mobile network, enabling you to make calls, send messages, and access mobile data. Follow these detailed instructions to seamlessly insert the SIM card:
-
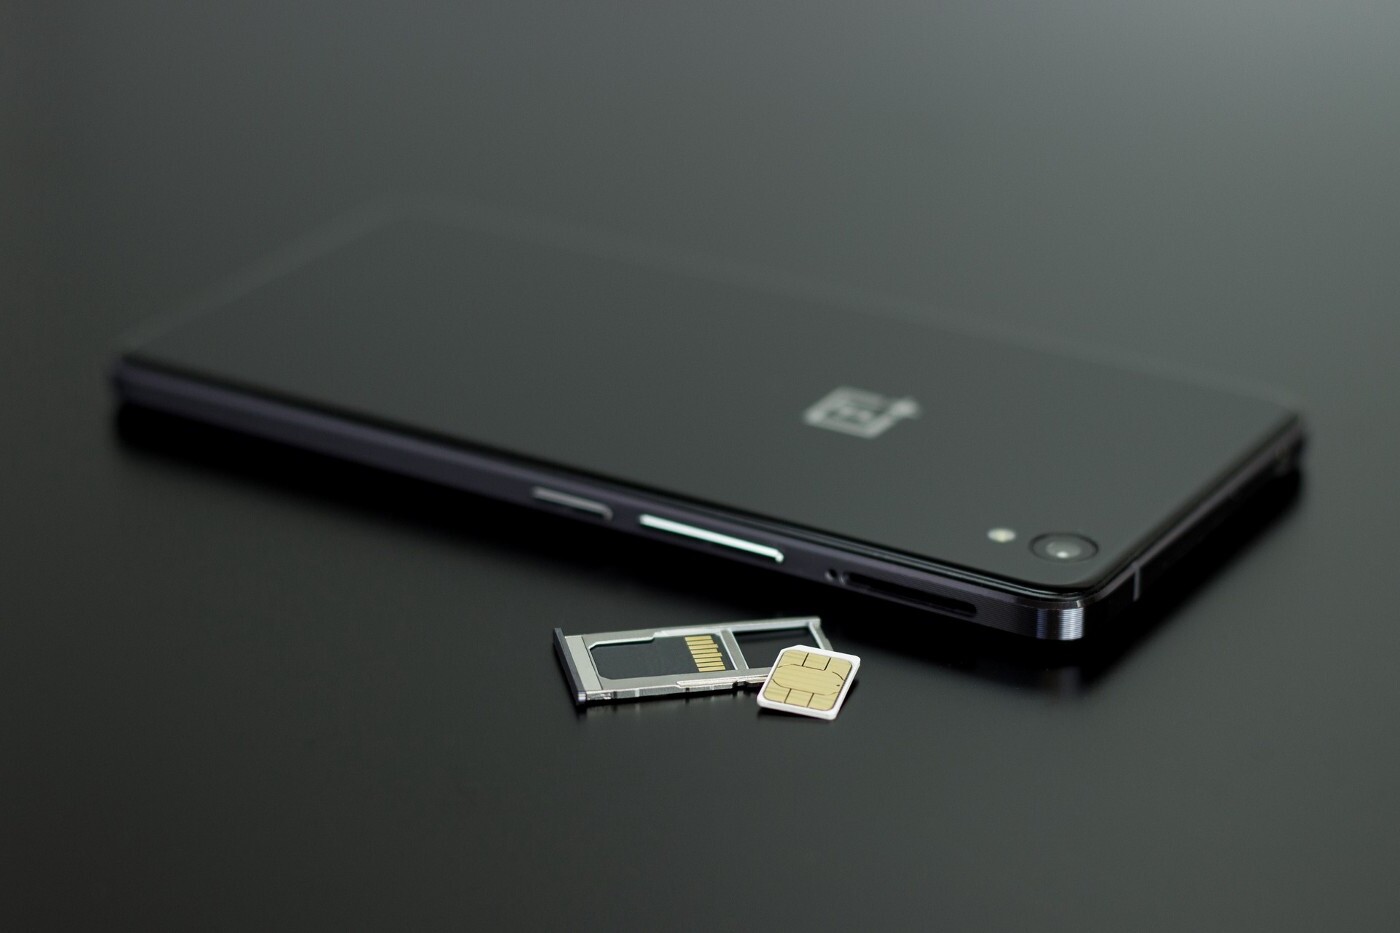
Prepare the SIM Card: Before inserting the SIM card, ensure that it is compatible with the Redmi Note 3. The device supports nano-SIM cards, which are commonly used in modern smartphones. If your SIM card is larger, such as a micro-SIM or standard SIM, you will need to obtain a nano-SIM adapter or request a replacement nano-SIM from your mobile service provider.
-
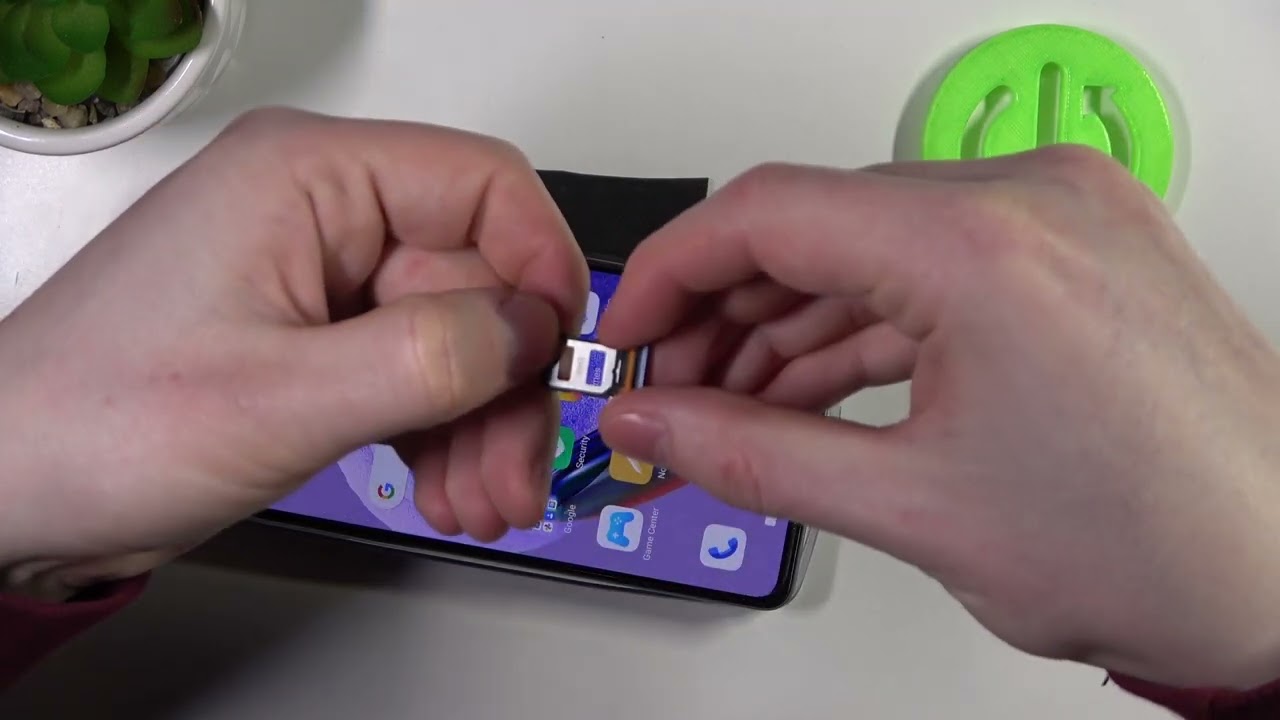
Position the SIM Card: Examine the SIM card tray to identify the designated area for the SIM card. The tray is designed to accommodate the SIM card in a specific orientation, ensuring a secure fit. Place the SIM card into the tray, aligning it with the provided guides to ensure that it sits flush and does not protrude from the tray.
-
Insert the SIM Card Tray: Once the SIM card is positioned correctly in the tray, carefully reinsert the tray into the SIM card slot on your Redmi Note 3. Ensure that the tray slides in smoothly and aligns with the device's frame. Apply gentle pressure to secure the tray in place, taking care not to force it or misalign it during the insertion process.
-
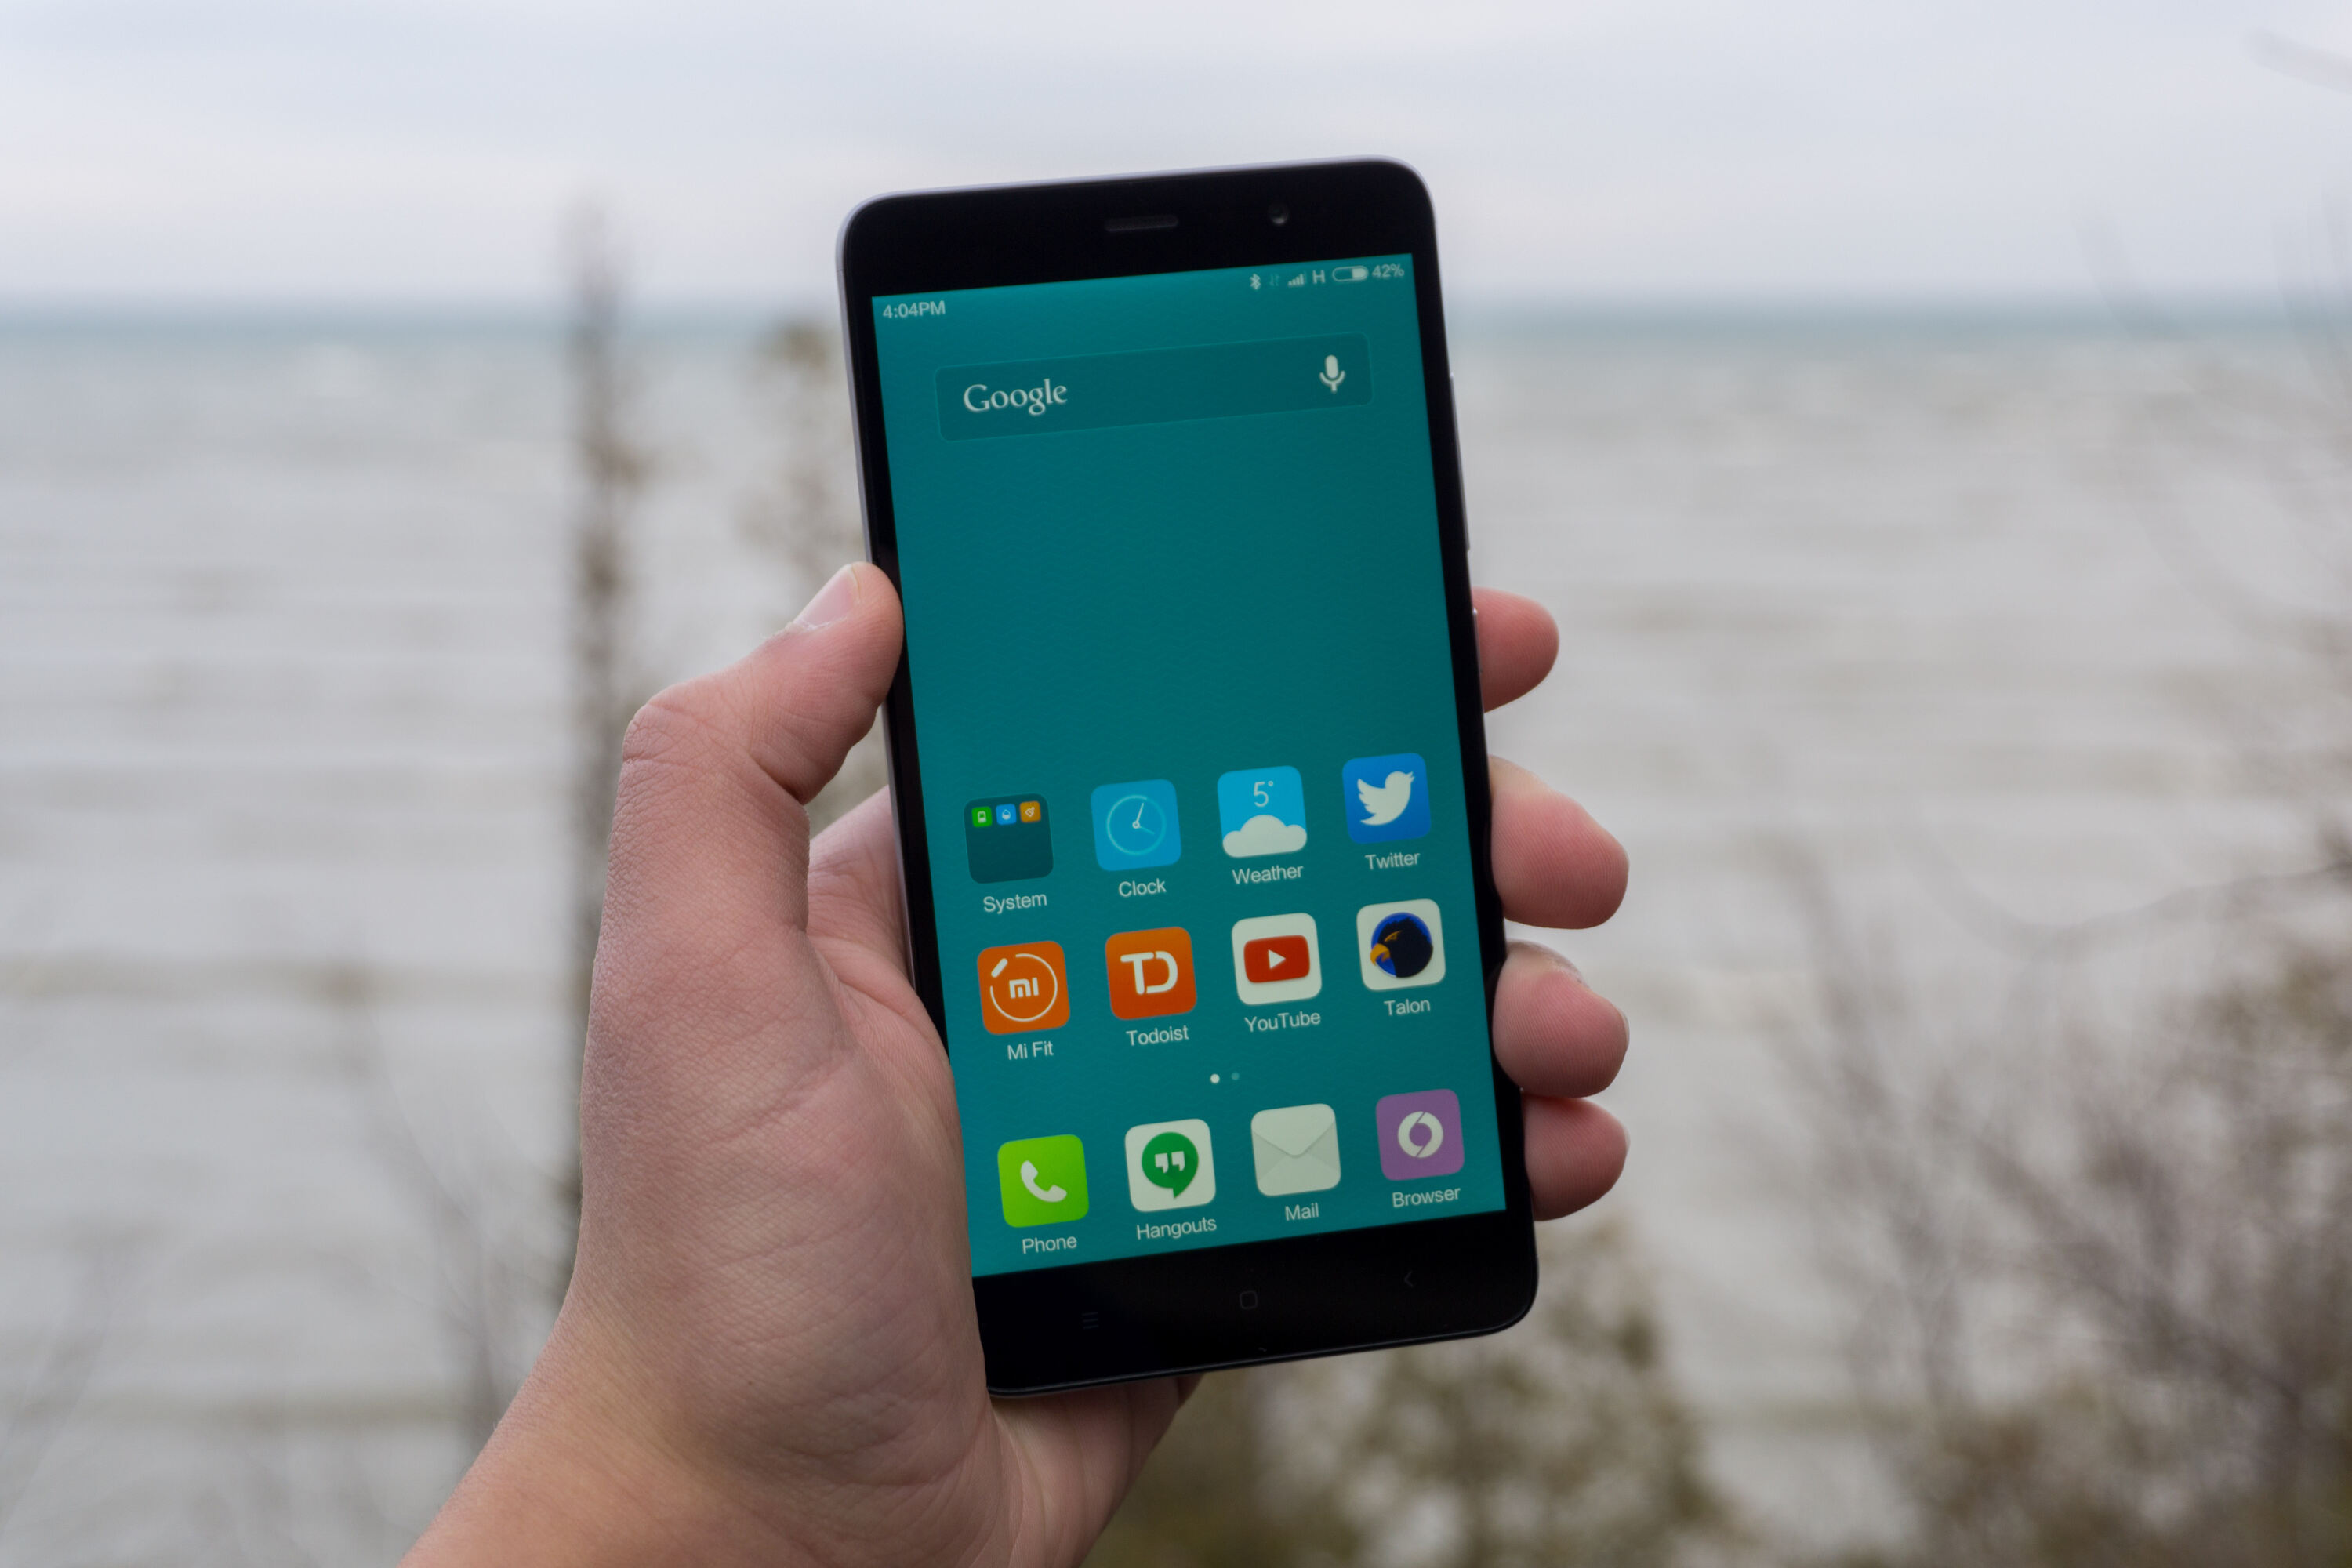
Power On Your Device: After successfully inserting the SIM card tray back into the device, power on your Redmi Note 3 to initiate the SIM card recognition process. The device will detect the presence of the SIM card and configure the necessary settings to establish connectivity with the mobile network.
By following these steps, you have effectively inserted the SIM card into your Redmi Note 3, setting the stage for seamless communication and mobile connectivity. With the SIM card securely in place, you can now proceed to configure additional settings and explore the full range of features offered by your Redmi Note 3.
Remember, the proper insertion of the SIM card is essential for maintaining a stable connection to the mobile network and ensuring that you can fully utilize the communication capabilities of your device.
Step 3: Insert the SIM card tray back into the phone
After successfully positioning the SIM card in the tray and ensuring that it aligns seamlessly with the designated guides, the next crucial step is to insert the SIM card tray back into your Redmi Note 3. This step finalizes the process of integrating the SIM card with your device, allowing you to harness the full potential of mobile connectivity. Follow these detailed instructions to ensure a smooth and secure reinsertion of the SIM card tray:
-
Align the Tray: Before reinserting the SIM card tray, take a moment to verify that the orientation is correct. Align the tray in a manner that corresponds to the slot on the side of your Redmi Note 3. Ensuring proper alignment is essential for a seamless insertion process.
-
Gently Slide the Tray: With the tray properly aligned, gently slide it back into the SIM card slot on your device. Exercise caution to avoid applying excessive force, as the tray should slide in smoothly without resistance. If you encounter any resistance, pause and reassess the alignment to prevent potential damage to the tray or the device.
-
Secure the Tray: As the tray approaches its fully inserted position, apply gentle pressure to secure it within the slot. Ensure that the tray sits flush with the device's frame, indicating that it is securely in place. Take care to avoid any misalignment or uneven positioning, as this can affect the stability of the SIM card connection.
-
Power On Your Device: Once the SIM card tray is securely reinserted, power on your Redmi Note 3 to initiate the recognition and configuration process. The device will detect the presence of the SIM card and establish the necessary connections to enable seamless communication and mobile data access.
By following these steps, you have successfully completed the process of inserting the SIM card tray back into your Redmi Note 3. This final step ensures that the SIM card is securely integrated with your device, setting the stage for uninterrupted communication and connectivity. With the SIM card tray securely in place, you can confidently explore the full range of features and capabilities offered by your Redmi Note 3.
Remember, the proper reinsertion of the SIM card tray is essential for maintaining a stable connection to the mobile network and ensuring that you can fully utilize the communication capabilities of your device. With the SIM card securely integrated, you are now ready to embark on a seamless mobile experience with your Redmi Note 3.
Conclusion
In conclusion, the process of inserting a SIM card into your Redmi Note 3 is a fundamental step that paves the way for seamless communication and connectivity. By following the step-by-step guide outlined in this article, you have gained the essential knowledge and confidence to handle this task with ease. Understanding the intricacies of inserting a SIM card ensures that you can fully harness the communication capabilities of your Redmi Note 3, enabling you to make calls, send messages, and access mobile data without any hindrances.
With the detailed instructions provided, you have successfully located the SIM card tray, positioned the SIM card, and securely reinserted the tray into your device. This meticulous process ensures that the SIM card is seamlessly integrated with your Redmi Note 3, establishing a stable connection to the mobile network. As a result, you can enjoy uninterrupted communication and leverage the full range of features offered by your device.
It's important to emphasize the significance of correctly inserting the SIM card, as this directly impacts the device's ability to maintain a stable connection to the mobile network. By adhering to the step-by-step instructions and exercising caution during the process, you have effectively set the stage for a seamless mobile experience with your Redmi Note 3.
As you power on your device and initiate the SIM card recognition process, you can proceed with confidence, knowing that you have successfully completed the essential task of inserting a SIM card into your Redmi Note 3. This marks the beginning of a seamless and uninterrupted mobile experience, allowing you to stay connected and explore the full potential of your device's communication capabilities.
In essence, the process of inserting a SIM card into your Redmi Note 3 is a foundational step that sets the stage for a seamless and reliable mobile experience. By following the comprehensive guide provided, you have equipped yourself with the knowledge and skills to effortlessly handle this essential task, ensuring that your Redmi Note 3 is fully optimized for communication and connectivity.