Introduction
Inserting a memory card into your Xiaomi Redmi 4 can significantly expand its storage capacity, allowing you to store more photos, videos, and apps. Whether you're a photography enthusiast, a music lover, or simply someone who needs extra space for their files, adding a memory card to your device can be a game-changer. In this guide, we'll walk you through the process of inserting a memory card into your Xiaomi Redmi 4, ensuring that you can seamlessly expand your device's storage capabilities.
By following the steps outlined in this guide, you'll be able to make the most of your Xiaomi Redmi 4's expandable storage feature. Whether you're a tech-savvy individual or a newcomer to the world of mobile devices, this step-by-step tutorial will equip you with the knowledge and confidence to insert a memory card into your device with ease. Let's dive in and explore the simple yet impactful process of enhancing your Xiaomi Redmi 4's storage capacity.
Step 1: Locate the memory card slot
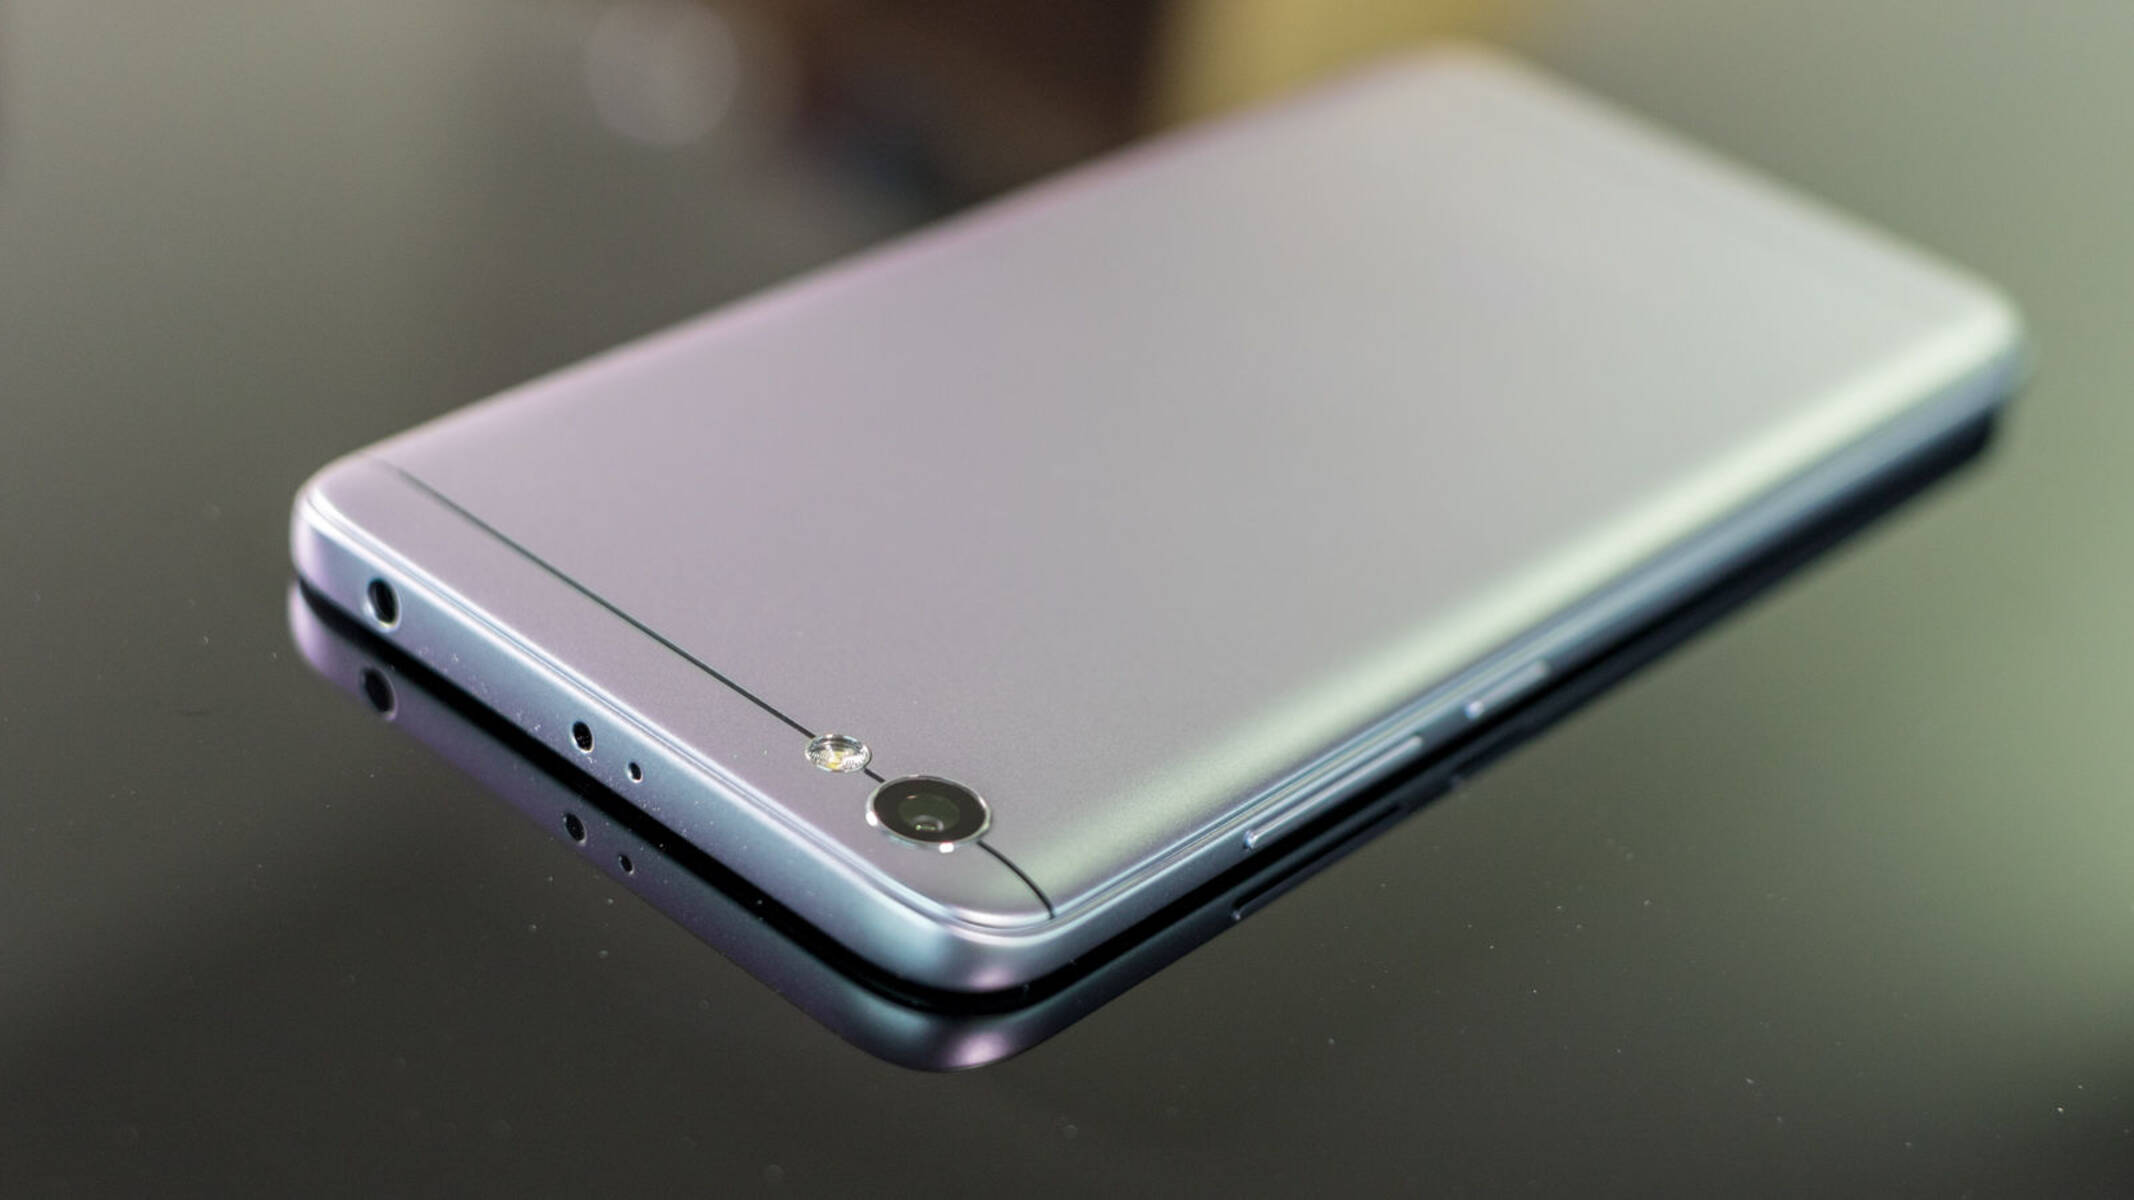
Before you can insert a memory card into your Xiaomi Redmi 4, it's essential to locate the memory card slot. This slot is designed to accommodate a microSD card, which will serve as an extension of your device's internal storage. By identifying the precise location of the memory card slot, you can proceed with confidence and precision in the subsequent steps of the process.
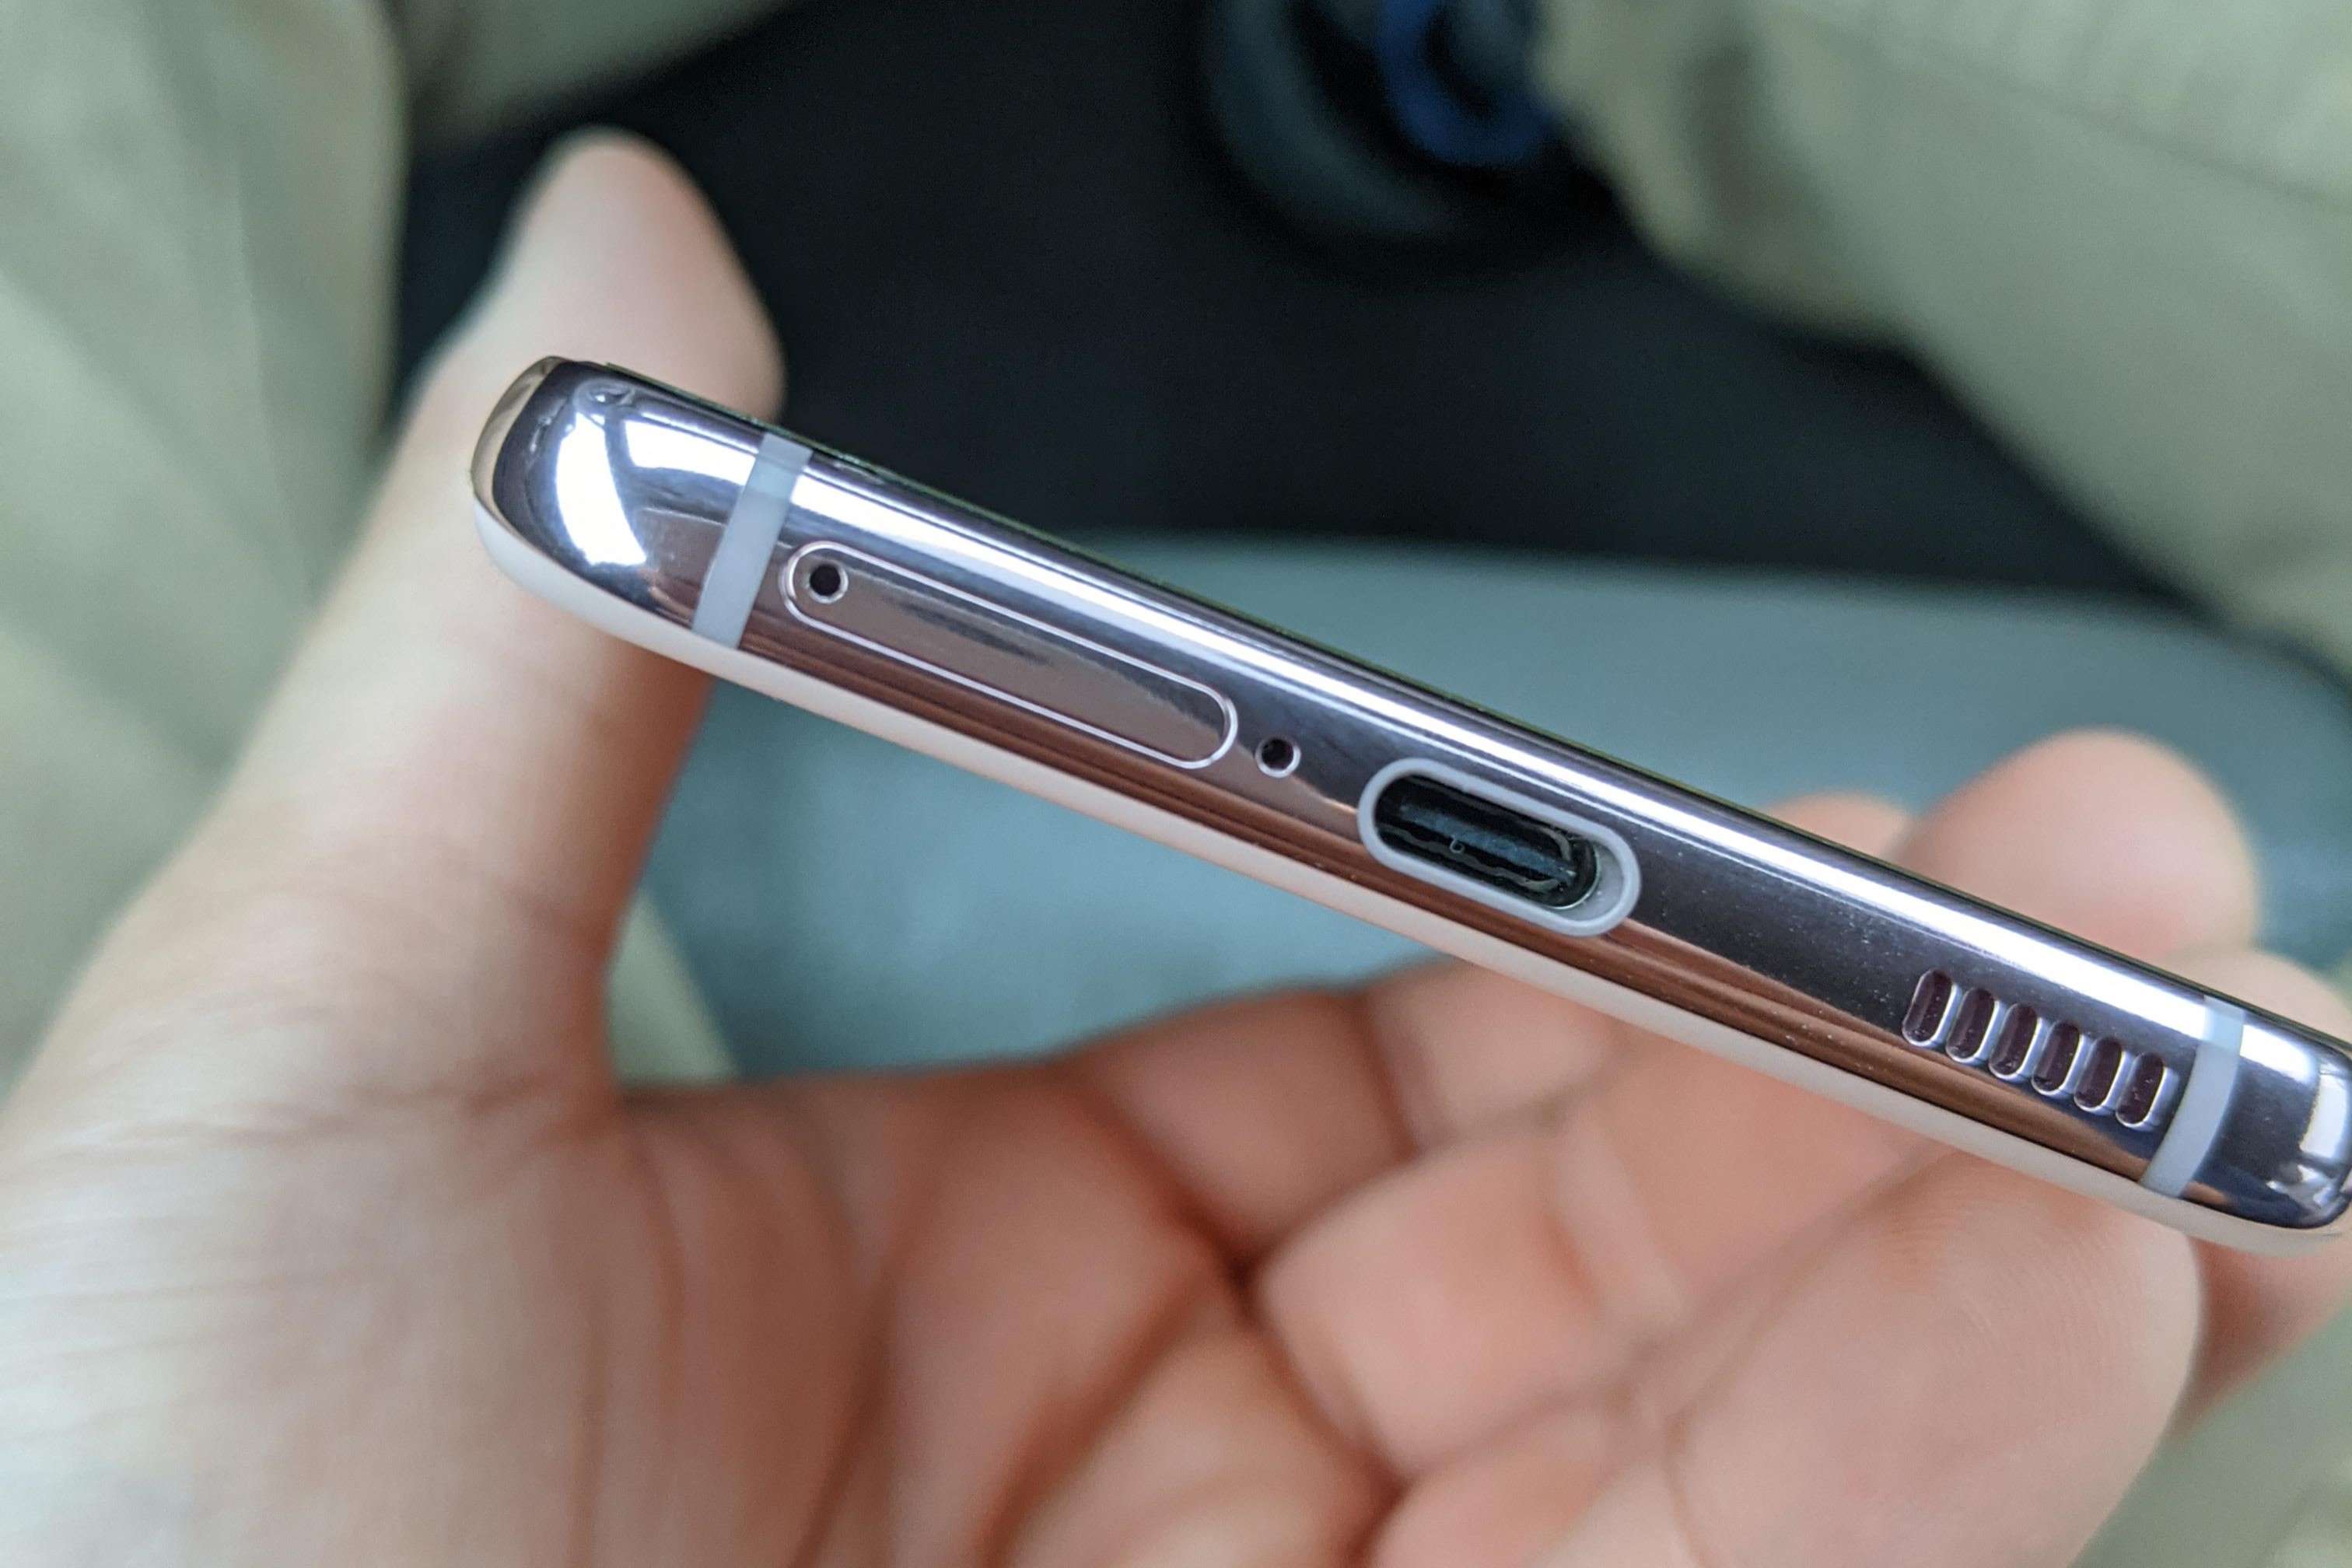
To locate the memory card slot on your Xiaomi Redmi 4, start by holding the device in a comfortable position, ensuring that the screen is facing you. Next, locate the SIM card tray, which is typically situated on the left-hand side of the device. The SIM card tray is a small, discreet compartment that is designed to house both the SIM card and the memory card.
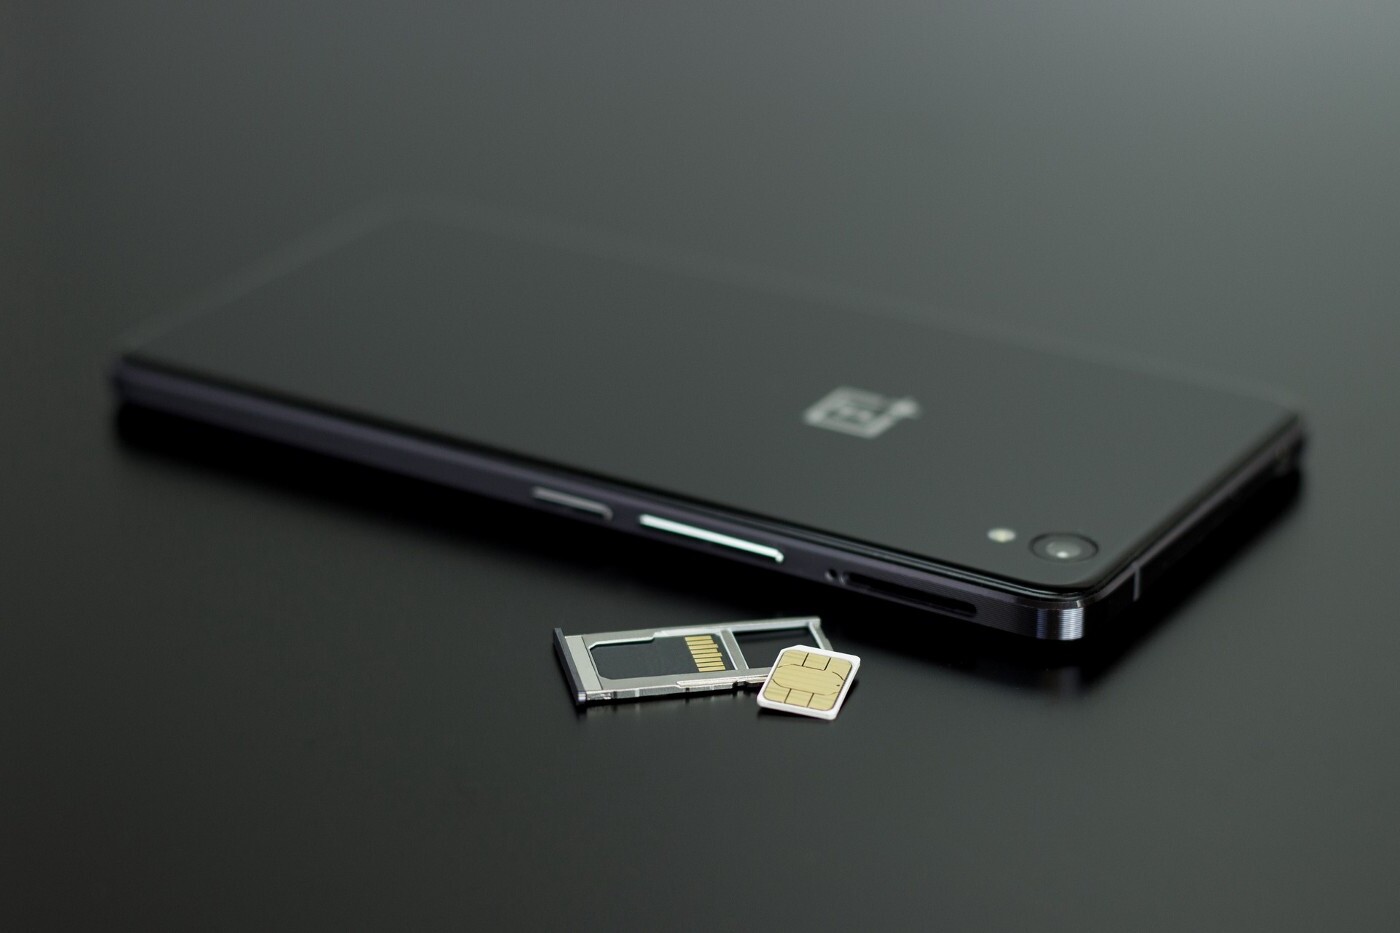
Upon identifying the SIM card tray, you will notice a small pinhole adjacent to it. This pinhole serves as the entry point for the SIM card ejection tool, which is included with your Xiaomi Redmi 4. To access the memory card slot, gently insert the SIM card ejection tool into the pinhole and apply slight pressure. This will cause the SIM card tray to pop out, revealing the slots for the SIM card and the memory card.
Once the SIM card tray is ejected, you will be able to distinguish between the SIM card slot and the memory card slot. The memory card slot is typically positioned above or below the SIM card slot, depending on the specific model of your Xiaomi Redmi 4. It is important to note that the memory card slot is designed to accommodate a microSD card, which is a common storage medium used in mobile devices.
By carefully locating the memory card slot on your Xiaomi Redmi 4, you have taken the crucial first step towards expanding your device's storage capacity. With this essential knowledge in hand, you are now prepared to proceed to the next step of the process: inserting the memory card into the designated slot.
Step 2: Insert the memory card
With the memory card slot of your Xiaomi Redmi 4 now accessible, you are ready to proceed with the next crucial step: inserting the memory card. This process involves carefully positioning the microSD card into the designated slot, ensuring a secure and seamless integration with your device's storage system.
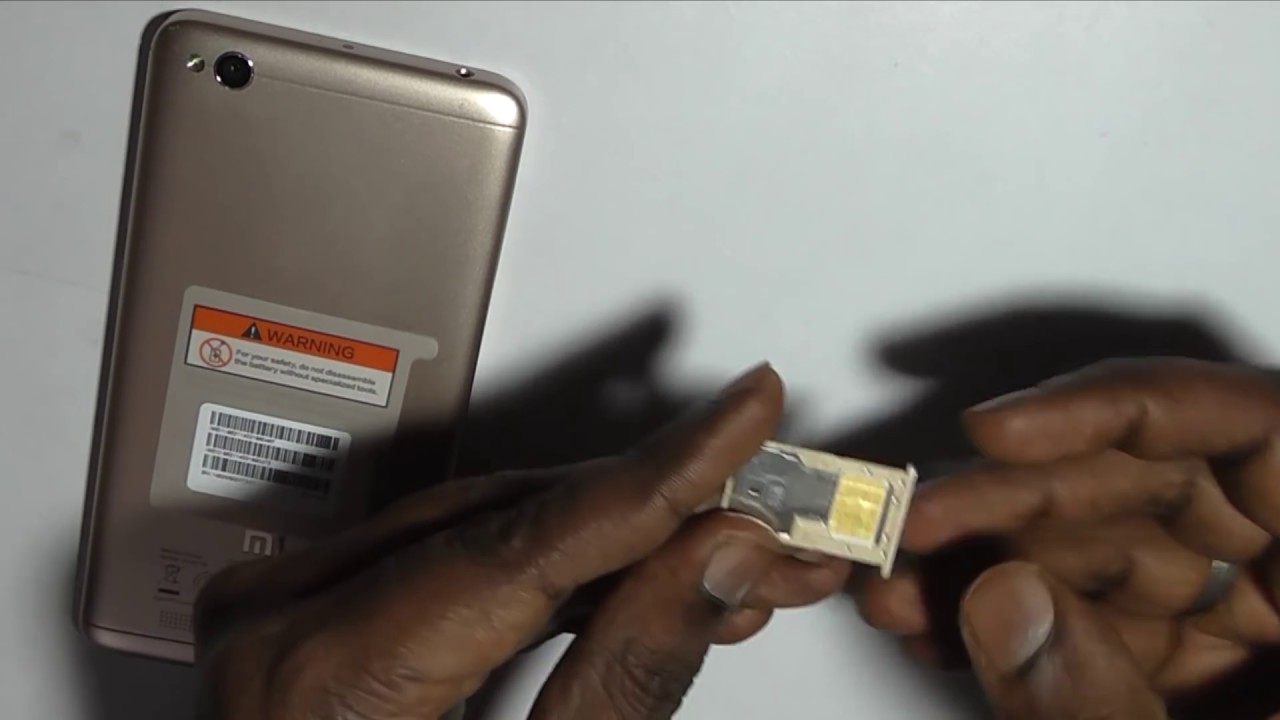
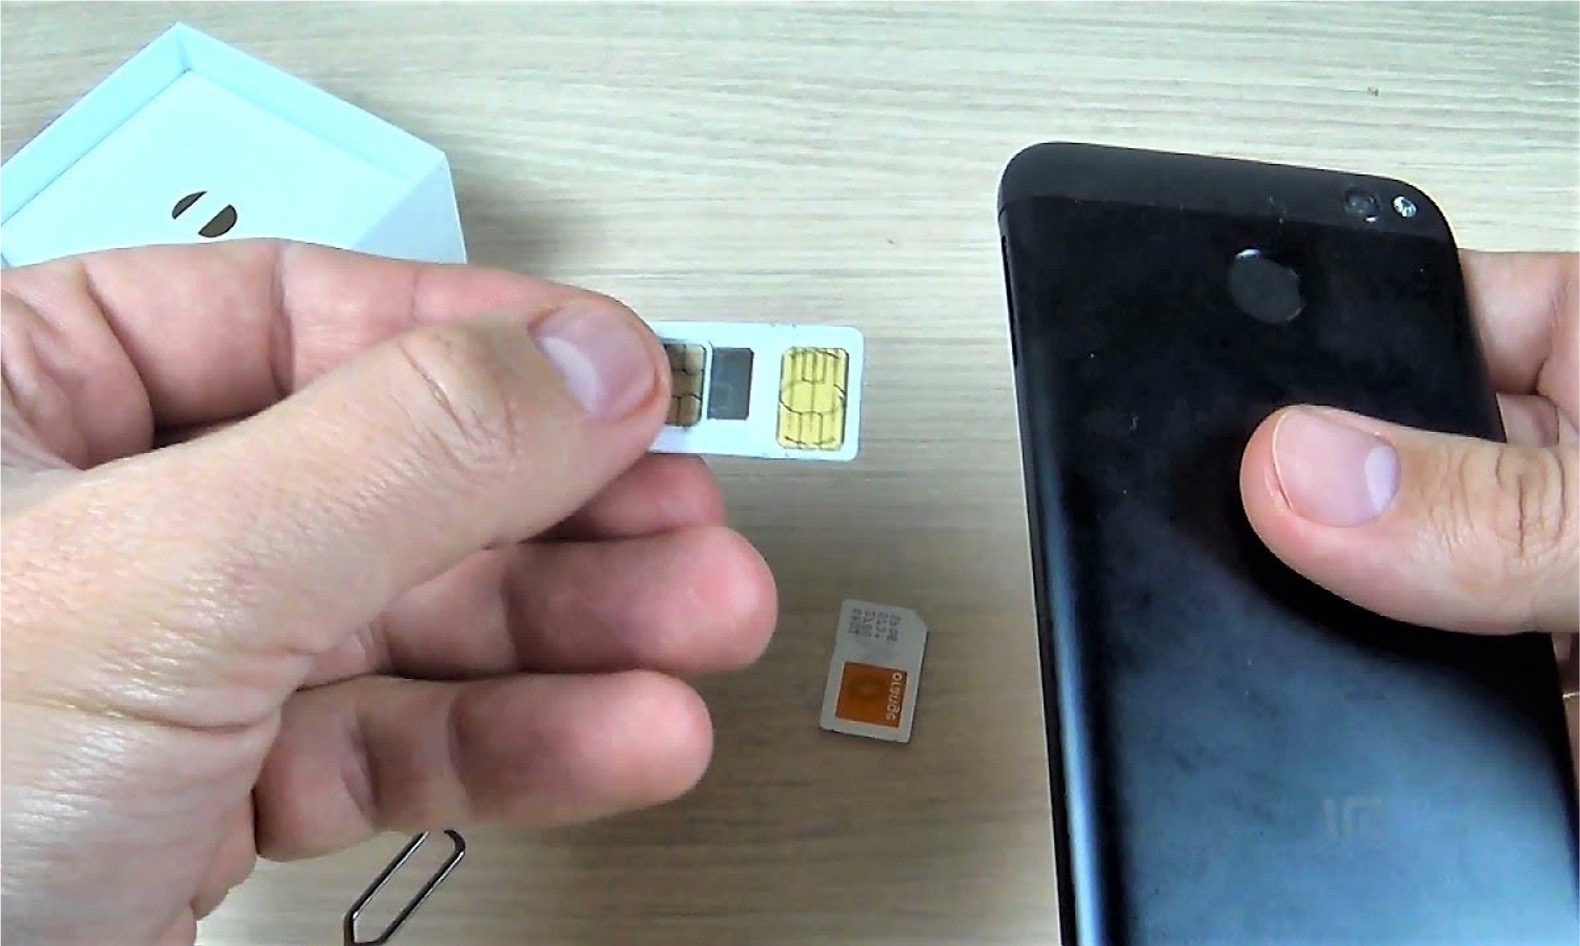
To begin, retrieve the microSD card that you intend to insert into your Xiaomi Redmi 4. MicroSD cards are compact, versatile storage devices that are widely used in mobile devices due to their small form factor and impressive storage capacities. Before handling the microSD card, it is advisable to inspect it for any visible damage or irregularities. This visual inspection will help ensure that the microSD card is in optimal condition for insertion into your device.
Once you have confirmed the integrity of the microSD card, carefully position it in alignment with the memory card slot on the SIM card tray. The microSD card features a distinctive shape that corresponds to the slot, allowing for a seamless fit when inserted correctly. It is essential to align the microSD card with the slot in a precise manner, ensuring that it is oriented in the correct direction for insertion.
With the microSD card positioned correctly, gently apply pressure to insert it into the memory card slot. It is important to exercise caution and precision during this step, as the microSD card should slide smoothly into the slot without encountering any resistance. Avoid using excessive force when inserting the microSD card, as this could potentially cause damage to both the card and the device.
As the microSD card is inserted into the memory card slot, you may feel a subtle click or resistance, indicating that the card has been securely positioned within the slot. This tactile feedback serves as a reassuring confirmation that the microSD card has been successfully inserted and is ready to enhance your Xiaomi Redmi 4's storage capabilities.
By following these steps, you have effectively inserted a microSD card into the memory card slot of your Xiaomi Redmi 4, expanding its storage capacity and unlocking new possibilities for storing photos, videos, music, and other digital content. With the memory card securely in place, you are now prepared to proceed to the next step: securing the memory card within the device.
Step 3: Secure the memory card
Securing the memory card within your Xiaomi Redmi 4 is a critical aspect of the process, ensuring that the card remains firmly in place and seamlessly integrates with your device's storage system. By following the steps outlined below, you can effectively secure the memory card, providing peace of mind and optimal functionality.
Upon inserting the microSD card into the memory card slot, it is essential to proceed with the securing process to prevent any potential dislodgment or instability. To begin, gently push the SIM card tray back into its original position within the device. This action should be carried out with precision and care, ensuring that the tray aligns seamlessly with the surrounding components.
As the SIM card tray is reinserted, you may feel a subtle resistance, indicating that the tray is securely positioned within the device. It is important to exert gentle pressure and avoid any abrupt or forceful movements during this step, as the goal is to achieve a smooth and secure fit for the tray.
Once the SIM card tray is fully reinserted, take a moment to verify that it sits flush with the exterior of the device, maintaining a seamless and uniform profile. This visual confirmation serves as an assurance that the tray, along with the inserted memory card, is securely housed within your Xiaomi Redmi 4.
In addition to visually inspecting the tray's alignment, it is advisable to perform a gentle tap or press on the area of the tray to confirm its stability. This tactile verification can provide reassurance that the memory card is firmly secured within the device, minimizing the risk of accidental dislodgment during everyday use.
By securing the memory card within your Xiaomi Redmi 4, you have effectively completed a crucial step in the process of expanding your device's storage capacity. The secure integration of the memory card ensures that you can confidently store and access a wealth of digital content without concerns about the card's stability or functionality.
With the memory card firmly in place, you are now ready to proceed to the final step: checking the memory card status to confirm its successful integration with your Xiaomi Redmi 4.
Step 4: Check the memory card status
After inserting and securing the memory card in your Xiaomi Redmi 4, it is essential to verify the status of the memory card to ensure its successful integration with the device's storage system. By checking the memory card status, you can confirm that the device recognizes the additional storage capacity provided by the memory card and that it is ready for use.
To check the memory card status on your Xiaomi Redmi 4, begin by navigating to the device's Settings menu. This can typically be accessed by tapping the Settings icon on the home screen or by swiping down from the top of the screen and selecting the Settings option.
Within the Settings menu, locate and select the "Storage" or "Storage & memory" option. This section provides a comprehensive overview of the device's storage capacity, including the internal storage and any external storage devices, such as the inserted memory card.
Upon accessing the Storage menu, you will be presented with detailed information about the device's storage usage, including the amount of available space on both the internal storage and the memory card. This visual representation allows you to quickly assess the impact of the inserted memory card on the device's overall storage capacity.
In addition to viewing the available storage space, you can also verify the status of the memory card by checking for any error messages or warnings related to the external storage. If the memory card has been successfully recognized and integrated with the device, it should be listed as an available storage option without any accompanying error indicators.
Furthermore, you can explore additional settings and options within the Storage menu to customize the behavior of the memory card, such as designating it as the default storage location for photos, videos, or app installations. This level of control empowers you to optimize the usage of the memory card according to your specific storage needs and preferences.
By checking the memory card status through the device's Settings menu, you can ensure that the memory card has been successfully recognized and integrated with your Xiaomi Redmi 4. This verification process provides peace of mind and confidence in the expanded storage capacity of your device, allowing you to fully leverage the benefits of the inserted memory card for storing and accessing your digital content.
Conclusion
In conclusion, the process of inserting a memory card into your Xiaomi Redmi 4 serves as a gateway to expanding the device's storage capacity and unlocking new possibilities for storing and accessing digital content. By following the step-by-step guide outlined in this tutorial, you have gained valuable insights into the seamless integration of a microSD card with your device, empowering you to make the most of its expandable storage feature.
With the memory card securely inserted and integrated with your Xiaomi Redmi 4, you can now enjoy the freedom to capture more photos, record longer videos, and download additional apps without concerns about running out of storage space. The added convenience and flexibility offered by the expanded storage capacity enable you to personalize your device according to your digital lifestyle, whether you are a photography enthusiast, a music aficionado, or a multimedia content creator.
Furthermore, the ability to check the memory card status through the device's Settings menu provides a valuable opportunity to monitor the impact of the inserted memory card on the device's overall storage capacity. This proactive approach allows you to stay informed about the available storage space and make informed decisions regarding the organization and management of your digital content.
By successfully completing the process of inserting and securing a memory card in your Xiaomi Redmi 4, you have taken a significant step towards optimizing the device's functionality and versatility. The seamless integration of the memory card enhances the device's capabilities, ensuring that you can store, access, and enjoy a diverse range of digital content without limitations.
In essence, the process of inserting a memory card into your Xiaomi Redmi 4 represents a simple yet impactful way to enhance your mobile experience, providing you with the freedom to expand your device's storage capacity and tailor it to your unique preferences and needs. With the memory card in place, you are well-equipped to embark on a seamless and enriched digital journey, empowered by the expanded storage capabilities of your Xiaomi Redmi 4.