Checking Jio SIM Compatibility with Redmi Note 3
Before embarking on the journey of activating your Jio SIM on the Redmi Note 3, it's crucial to ensure that the SIM card is compatible with your device. The Redmi Note 3 is a popular smartphone known for its impressive features, but it's essential to confirm its compatibility with the Jio SIM to avoid any potential issues down the road.
Step 1: Check Device Specifications
The first step in this process is to verify the specifications of your Redmi Note 3. You can easily access this information by navigating to the "Settings" menu on your device. Once there, locate the "About Phone" section, where you will find detailed information about your device, including the model number and software version.
Step 2: Verify 4G LTE Support
Next, it's important to confirm that your Redmi Note 3 supports 4G LTE connectivity. Jio SIM cards operate on 4G networks, so it's imperative that your device is equipped to handle this technology. By checking the device specifications, you can ensure that your Redmi Note 3 is compatible with the 4G LTE bands used by Jio.
Step 3: Consult Official Sources
In some cases, it may be beneficial to consult official sources to validate the compatibility of your Redmi Note 3 with Jio SIM cards. You can visit the official website of Redmi or Jio to access detailed information about device compatibility. Additionally, reaching out to customer support for either Redmi or Jio can provide you with the assurance you need regarding the compatibility of your device with the Jio SIM.
By following these steps, you can confidently determine whether your Redmi Note 3 is compatible with the Jio SIM card. This proactive approach ensures a seamless activation process and minimizes the risk of encountering compatibility issues. Once you have confirmed the compatibility of your device, you can proceed with obtaining and activating your Jio SIM card with peace of mind.
Remember, ensuring compatibility at the outset sets the stage for a smooth and successful activation process, allowing you to fully leverage the benefits of your Jio connection on the Redmi Note 3.
Obtaining Jio SIM Card
Acquiring a Jio SIM card is the pivotal first step in unlocking the array of high-speed data, unlimited voice calls, and a plethora of digital services offered by Jio. The process of obtaining a Jio SIM card for your Redmi Note 3 is designed to be straightforward and hassle-free, ensuring that you can swiftly transition to enjoying the benefits of Jio's extensive network coverage.
Step 1: Locate a Jio Store or Retailer
The initial step in obtaining your Jio SIM card involves identifying a nearby Jio store or authorized retailer. Jio has established an extensive network of stores and retailers across the country, making it convenient for individuals to access their services. Utilize the official Jio website or mobile app to pinpoint the nearest Jio store or authorized retailer in your vicinity.
Step 2: Gather Required Documents
Before visiting the Jio store or retailer, ensure that you have the necessary documents for SIM card activation. Typically, you will need to provide a valid proof of identity, proof of address, and a passport-sized photograph. Commonly accepted documents include Aadhaar card, passport, voter ID, or driver's license for identity proof, and utility bills or rental agreement for address proof.
Step 3: Visit the Jio Store or Retailer
Once you have assembled the required documents, visit the designated Jio store or authorized retailer. Upon arrival, approach the customer service desk and express your interest in obtaining a Jio SIM card. The staff will guide you through the process and assist with the necessary paperwork.
Step 4: Complete the KYC Process
To comply with regulatory requirements, you will be required to complete the Know Your Customer (KYC) process. This involves submitting the aforementioned documents for verification. The staff will initiate the necessary procedures to validate your documents and initiate the SIM card activation process.
Step 5: Receive and Insert the Jio SIM Card
Upon successful completion of the KYC process, you will be provided with a new Jio SIM card. Ensure that the SIM card is securely inserted into your Redmi Note 3 as per the device's instructions. It's important to handle the SIM card with care to avoid any damage during the insertion process.
By following these steps, you can seamlessly obtain a Jio SIM card for your Redmi Note 3, setting the stage for the subsequent activation process. The simplicity and efficiency of this process underscore Jio's commitment to delivering a superior customer experience, allowing users to swiftly access their comprehensive range of services.
Inserting Jio SIM Card into Redmi Note 3
Inserting a Jio SIM card into your Redmi Note 3 is a straightforward process that paves the way for accessing Jio's extensive range of services. This pivotal step sets the stage for harnessing high-speed data, unlimited voice calls, and a host of digital offerings. By following the device-specific guidelines for SIM card insertion, you can seamlessly integrate your Jio connection with the Redmi Note 3, unlocking a world of connectivity and convenience.
Step 1: Power Off the Device
Before proceeding with the SIM card insertion, it's essential to power off your Redmi Note 3. This precautionary measure ensures the safety of both the device and the SIM card during the insertion process. By powering off the device, you mitigate the risk of any potential damage that may occur if the SIM card is inserted while the device is powered on.
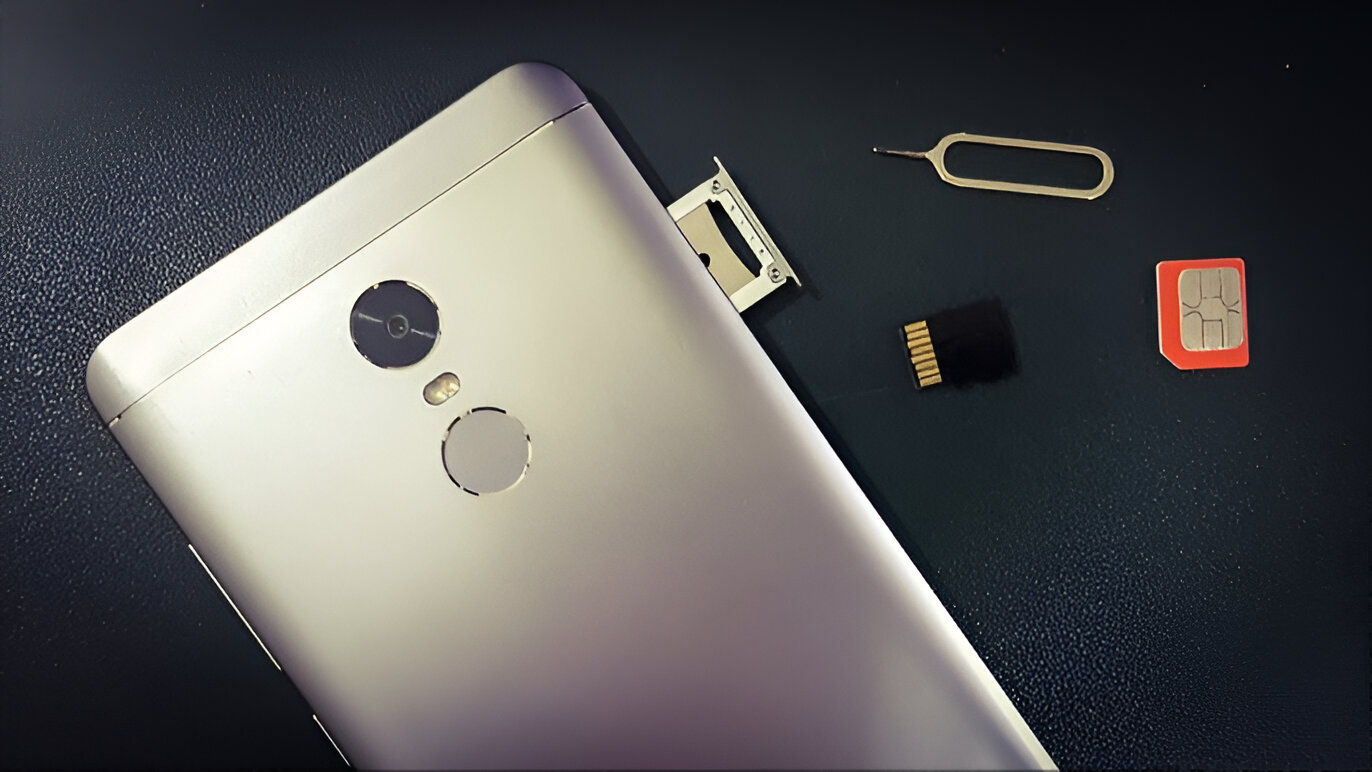
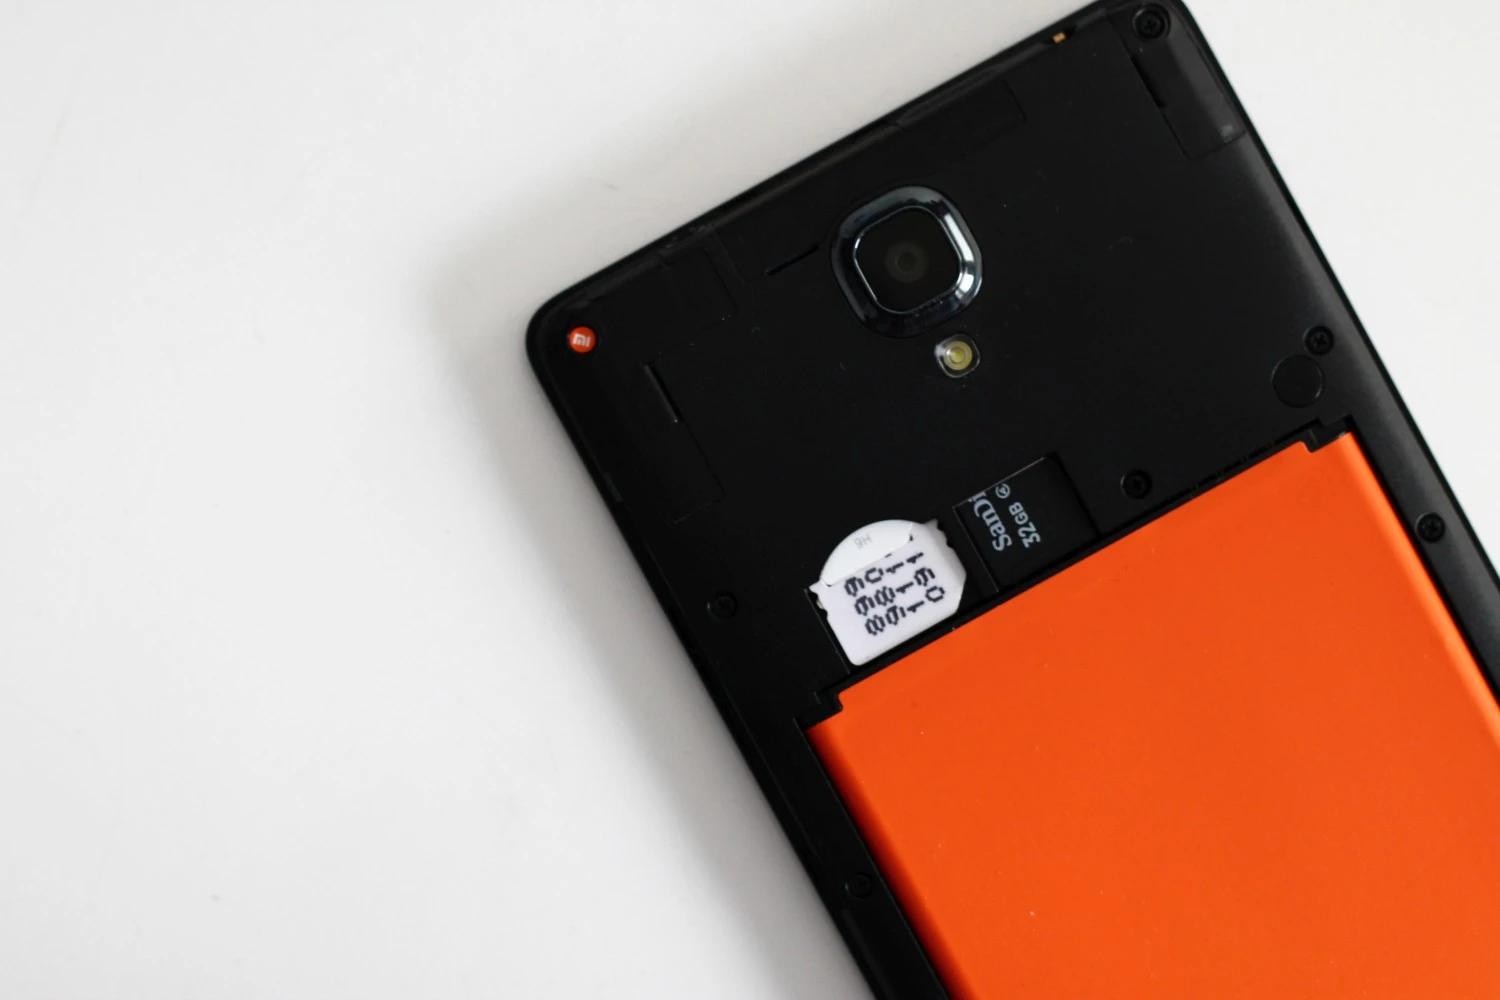
Step 2: Locate the SIM Card Tray
The Redmi Note 3 features a dedicated SIM card tray that accommodates the SIM card. To access the SIM card tray, you will need the SIM ejector tool provided with the device or a small, pointed object such as a paperclip. Locate the SIM card tray slot on the side of the device and gently insert the SIM ejector tool into the provided slot to release the tray.
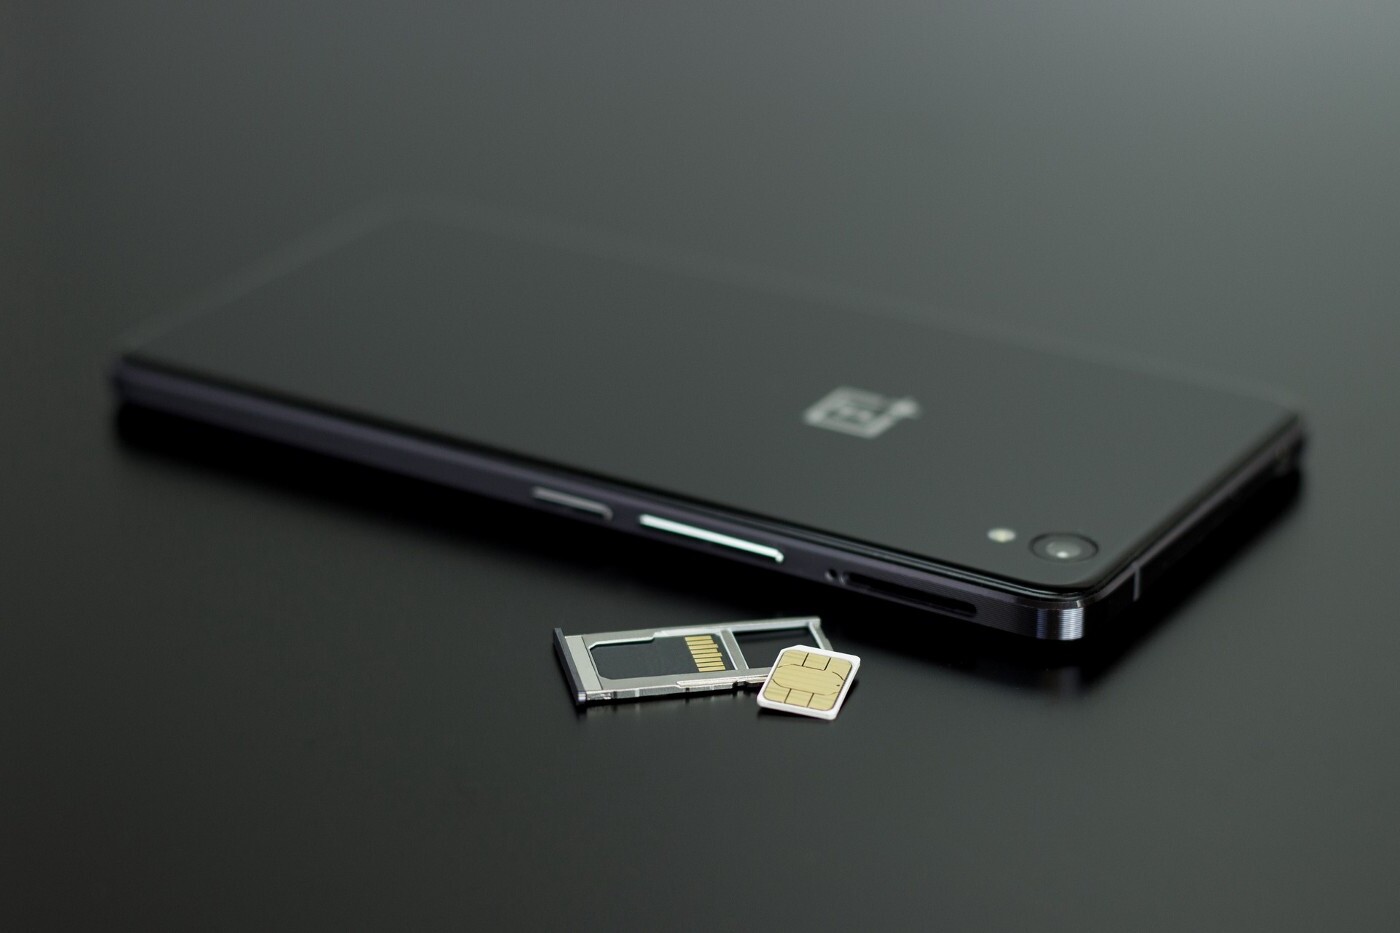
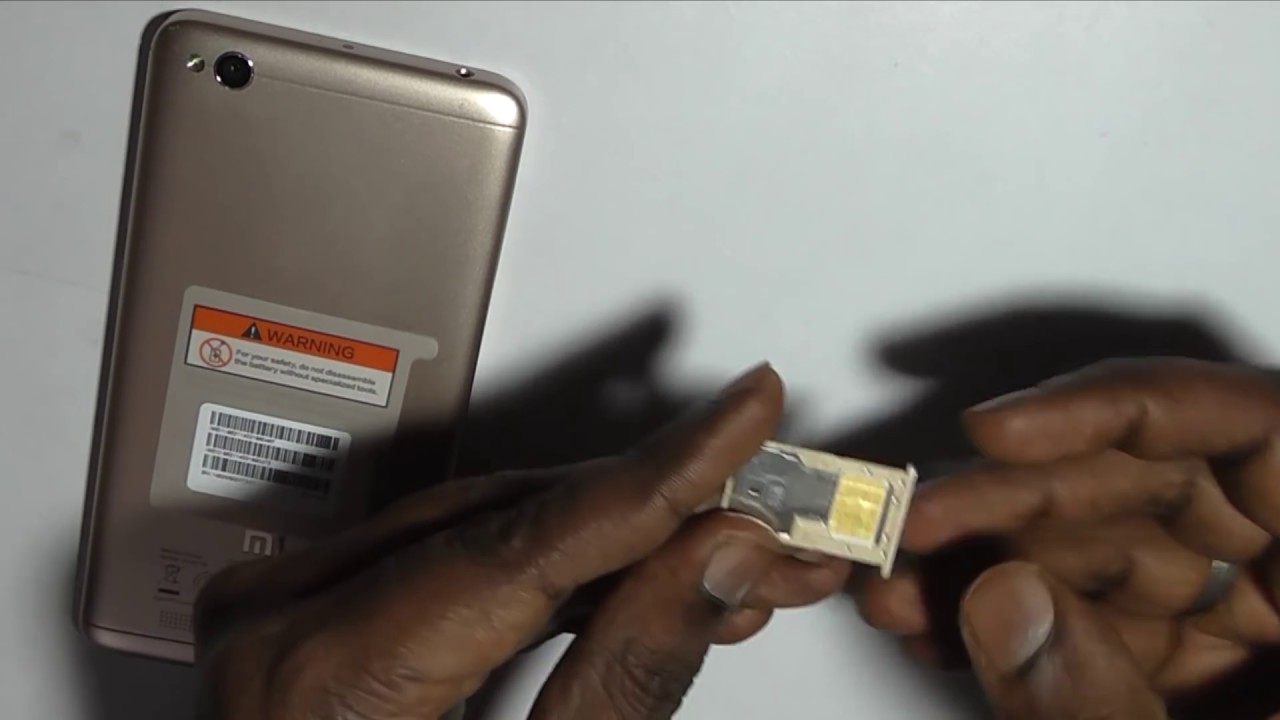
Step 3: Insert the Jio SIM Card
Once the SIM card tray is ejected, carefully place the Jio SIM card into the designated slot on the tray. Ensure that the SIM card is positioned correctly, aligning it with the provided guidelines to prevent any potential damage to the card or the device. Take care to handle the SIM card with caution to avoid any bending or damage to the delicate components.
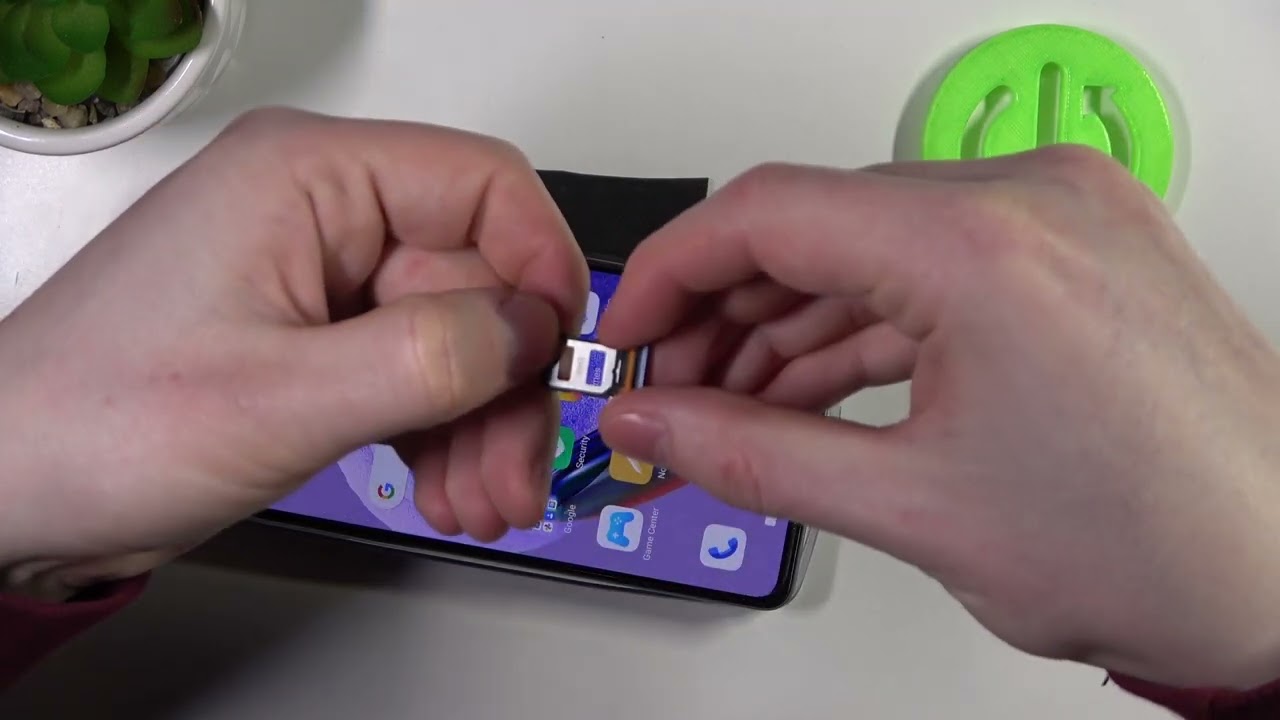
Step 4: Reinsert the SIM Card Tray
After securely placing the Jio SIM card on the tray, gently slide the SIM card tray back into the designated slot on the Redmi Note 3. Ensure that the tray is inserted in the correct orientation to prevent any resistance or misalignment. Once the tray is fully inserted, apply gentle pressure to ensure that it is securely in place.
Step 5: Power On the Device
With the Jio SIM card successfully inserted into the Redmi Note 3, power on the device to initiate the SIM card recognition process. The device will detect the newly inserted SIM card and configure the necessary settings to enable connectivity. Once the device is powered on, you can proceed with the activation process to unleash the full potential of your Jio connection.
By following these steps, you can seamlessly insert a Jio SIM card into your Redmi Note 3, setting the stage for activating and leveraging the myriad benefits offered by Jio's expansive network. This pivotal integration process ensures that your Redmi Note 3 is primed to harness the power of Jio's high-speed data, voice calling, and digital services, enhancing your connectivity and communication experience.
Activating Jio SIM Card through Jio App
Activating your Jio SIM card through the Jio App is a seamless and convenient process that empowers users to swiftly unlock the full spectrum of Jio's services. The Jio App serves as a comprehensive platform that not only facilitates the activation of SIM cards but also offers a myriad of features and functionalities to enhance the overall user experience. By leveraging the intuitive interface and robust capabilities of the Jio App, users can effortlessly initiate and complete the activation process, setting the stage for harnessing high-speed data, unlimited voice calls, and a diverse range of digital services.
Step 1: Download and Install the Jio App
The first step in activating your Jio SIM card through the Jio App involves downloading and installing the application on your Redmi Note 3. The Jio App is readily available for download from the Google Play Store, ensuring easy access for users. Once the app is successfully installed on your device, proceed to launch it to commence the activation process.
Step 2: Register or Log In to Your Jio Account
Upon launching the Jio App, you will be prompted to either register for a new account or log in using your existing credentials. If you are a new user, follow the on-screen instructions to create a Jio account, providing the necessary details as prompted. For existing users, simply log in using your registered mobile number and password to access the app's functionalities.
Step 3: Navigate to the SIM Activation Section
Once you have successfully logged in to the Jio App, navigate to the designated section for SIM card activation. The app's intuitive interface ensures that users can effortlessly locate the activation feature, streamlining the overall process. Upon accessing the SIM activation section, you will be presented with clear and concise instructions to guide you through the subsequent steps.
Step 4: Enter SIM Card Details and Verification
In this phase, you will be required to input the relevant details of your Jio SIM card, including the SIM card number and other pertinent information. Ensure that the details entered are accurate and correspond to the information associated with your Jio SIM card. Following this, the app will initiate the verification process to validate the provided details and authenticate the SIM card for activation.
Step 5: Confirm and Initiate Activation
After successfully entering and verifying the SIM card details, the Jio App will prompt you to confirm the activation request. Review the provided information to ensure its accuracy before proceeding to initiate the activation process. Once confirmed, the app will commence the activation procedure, configuring the SIM card to enable seamless connectivity and access to Jio's extensive range of services.
By following these steps, users can effortlessly activate their Jio SIM card through the Jio App, leveraging the app's user-friendly interface and robust functionalities to streamline the activation process. This approach underscores Jio's commitment to delivering a superior user experience, ensuring that users can swiftly access and enjoy the full suite of services offered by Jio on their Redmi Note 3.
Verifying Jio SIM Activation
After completing the activation process for your Jio SIM card, it's essential to verify the activation status to ensure that the SIM card is fully operational and ready to deliver the comprehensive range of services offered by Jio. Verifying the activation of your Jio SIM on the Redmi Note 3 provides peace of mind and confirms that you can seamlessly harness high-speed data, unlimited voice calls, and a myriad of digital offerings. The verification process serves as the final checkpoint, affirming that your Jio connection is primed to deliver an unparalleled communication and connectivity experience.
Step 1: Power On the Device
Upon completing the activation process, power on your Redmi Note 3 to initiate the SIM card recognition and configuration. By powering on the device, you allow it to establish connectivity with the Jio network and synchronize the necessary settings to enable seamless operation. This step serves as the initial trigger for the device to recognize and activate the Jio SIM card.
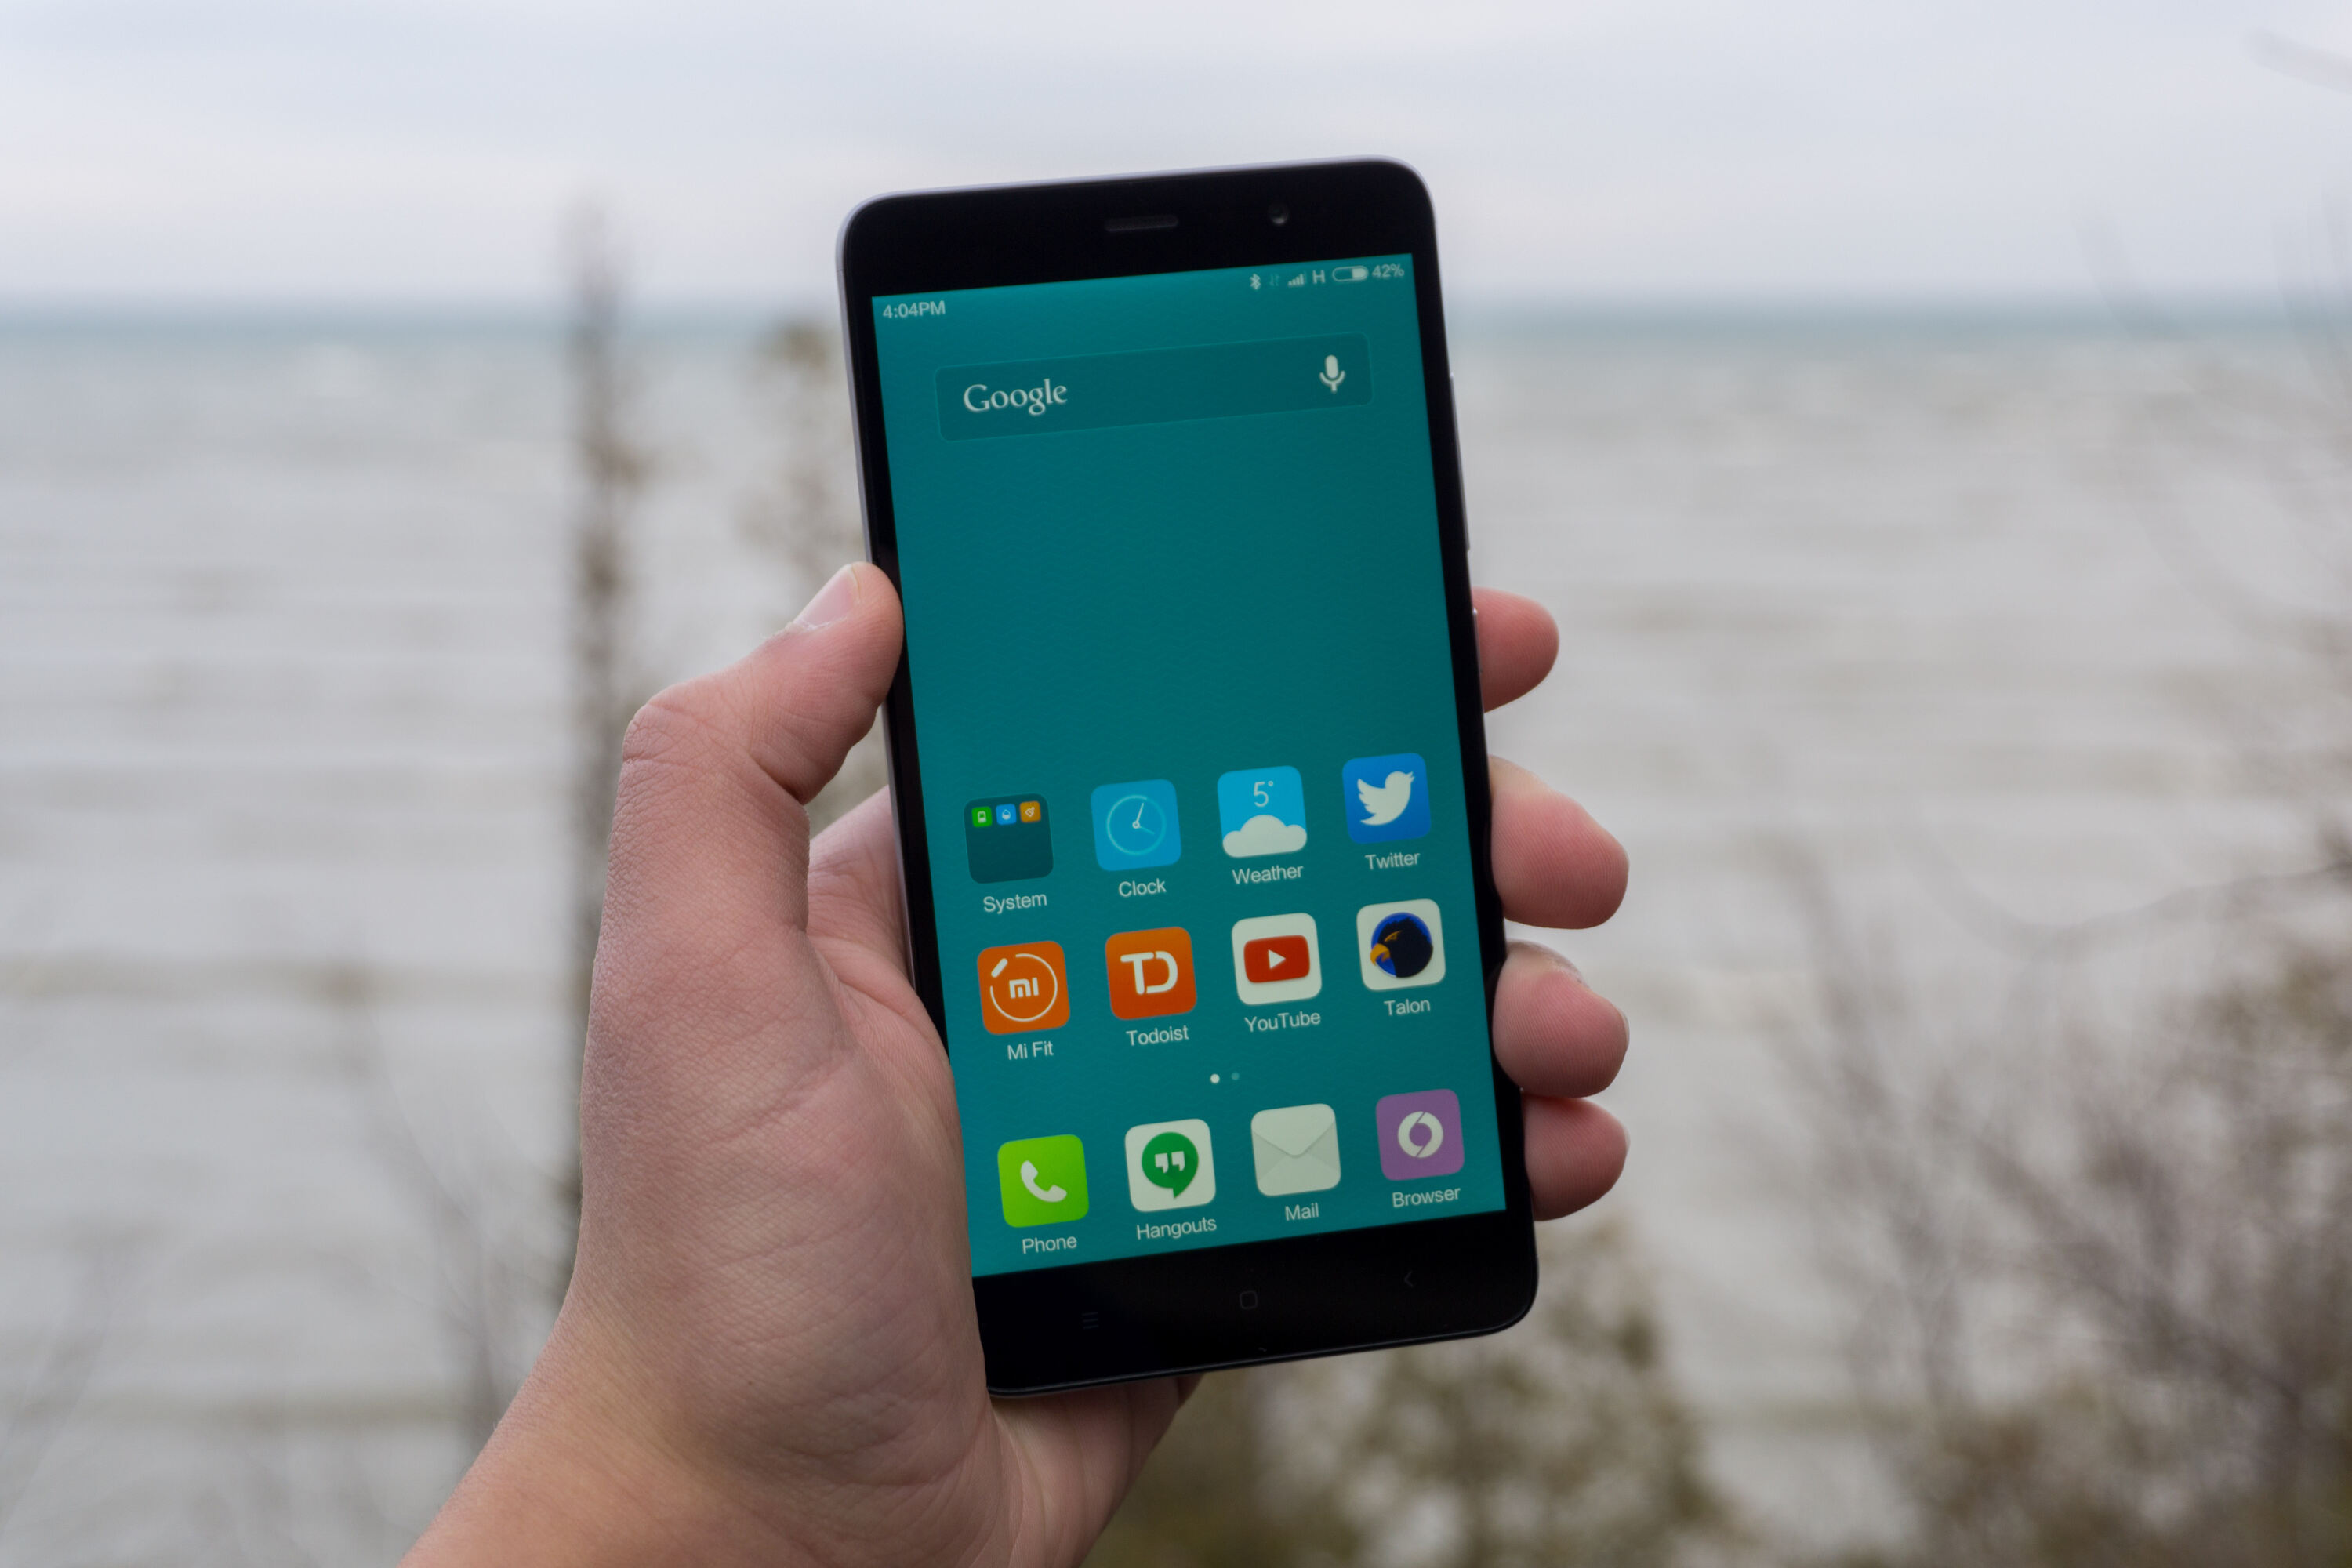
Step 2: Check Network Signal
Once the device is powered on, observe the signal strength indicator on the device's screen to verify the presence of the Jio network signal. A strong and stable network signal icon, typically represented by the "4G" or "LTE" symbol, indicates that the Jio SIM card has been successfully activated and is operational. This visual confirmation provides assurance that the SIM card is seamlessly integrated with the device and is ready for use.
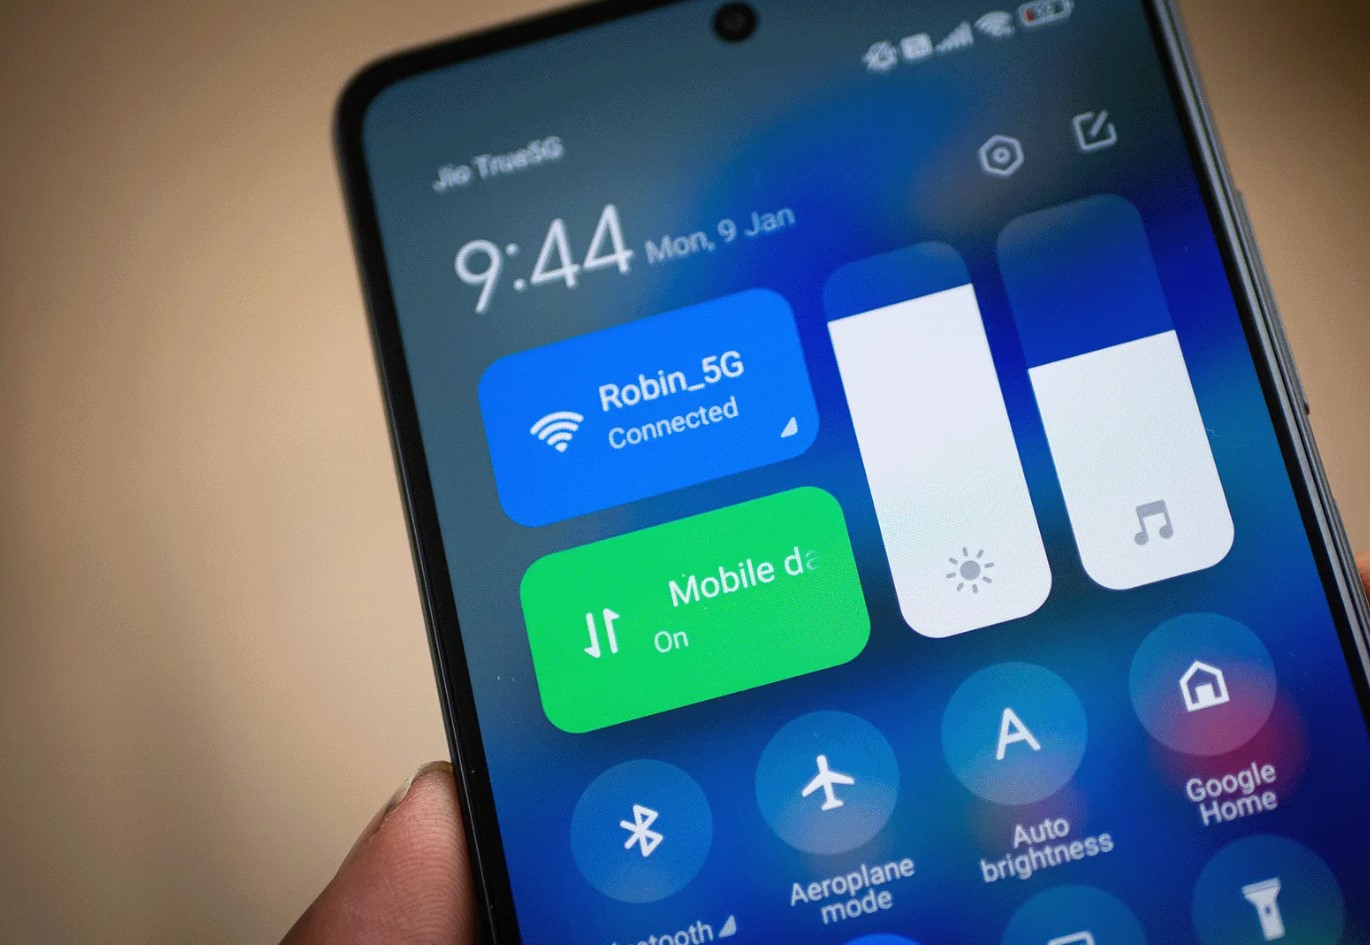
Step 3: Initiate a Test Call or Data Usage
To further validate the activation of your Jio SIM card, initiate a test call or access high-speed data services on your Redmi Note 3. By placing a test call or engaging in data usage, you can confirm that the SIM card is fully functional and capable of facilitating voice calls and data connectivity. This practical verification step ensures that the Jio SIM activation process has been completed successfully, allowing you to leverage the full spectrum of Jio's services.
Step 4: Access Jio App Features
Navigate to the Jio App on your Redmi Note 3 and access the app's features to ensure seamless integration with your activated Jio SIM card. By exploring the app's functionalities, such as managing your account, accessing digital content, or utilizing value-added services, you can affirm that the Jio SIM activation has enabled comprehensive access to the diverse offerings provided by Jio.
By diligently following these verification steps, you can confidently confirm the successful activation of your Jio SIM card on the Redmi Note 3. This meticulous approach ensures that your Jio connection is fully operational, empowering you to capitalize on the extensive benefits and services offered by Jio. The verification process serves as the final seal of assurance, affirming that your Redmi Note 3 is seamlessly integrated with Jio's robust network, ready to deliver unparalleled connectivity and communication experiences.