Introduction
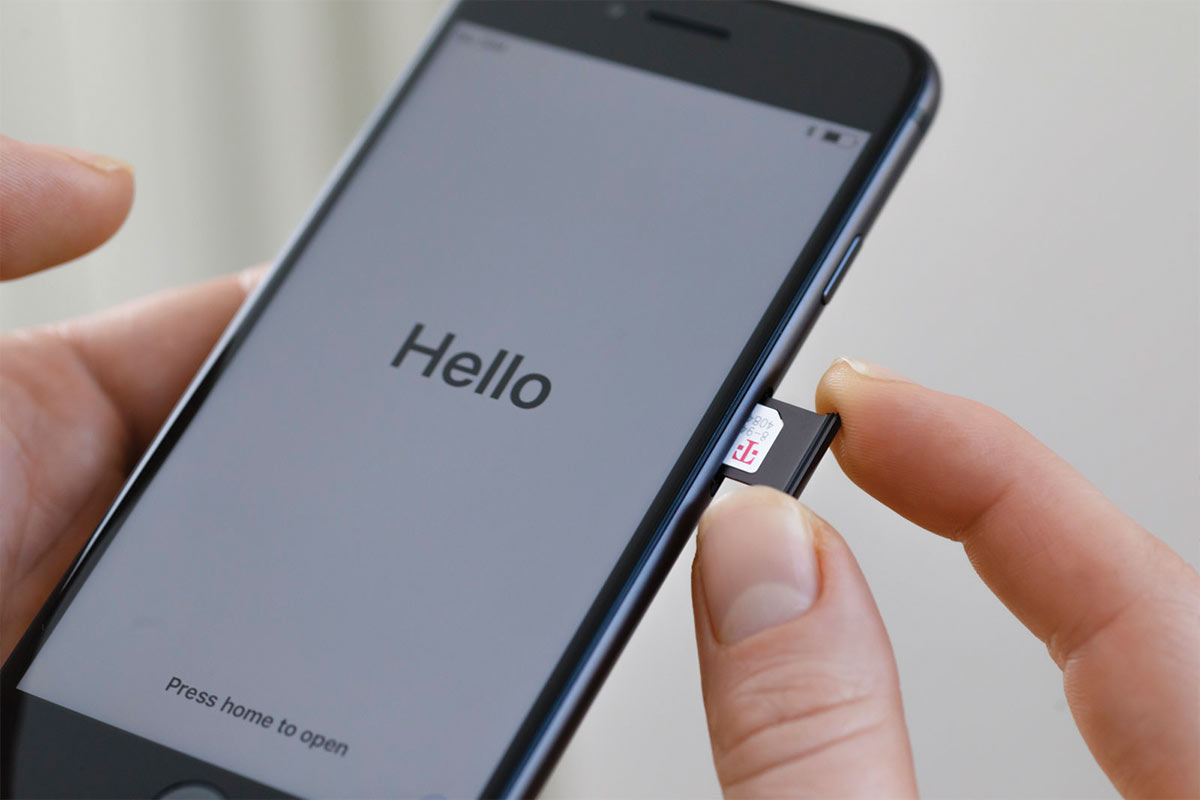
Inserting a SIM card into an iPhone X is a straightforward process that allows you to connect to a cellular network and enjoy seamless communication, browsing, and more. Whether you're setting up a new device or replacing an existing SIM card, this guide will walk you through the simple steps to complete the process with ease.
The SIM card, which stands for Subscriber Identity Module, is a small, removable card that securely stores your mobile subscriber information. It enables your iPhone X to connect to your mobile network and make calls, send texts, and access mobile data. Understanding how to insert and manage your SIM card is essential for optimizing your device's functionality.
By following the steps outlined in this guide, you will gain the confidence to handle the SIM card installation process independently, ensuring that your iPhone X is ready to keep you connected wherever you go. Let's delve into the step-by-step instructions for inserting a SIM card into your iPhone X and get you one step closer to unlocking its full potential.
Step 1: Locate the SIM Card Tray
Before diving into the process of inserting a SIM card into your iPhone X, it's crucial to locate the SIM card tray. This small yet significant component is designed to securely house your SIM card and ensure a stable connection to your mobile network.
To begin, you'll need to identify the SIM card tray's precise location on your iPhone X. The SIM card tray on the iPhone X is typically situated on the right-hand side of the device. It is essential to handle your iPhone X with care during this step to avoid any damage to the device or the SIM card tray.
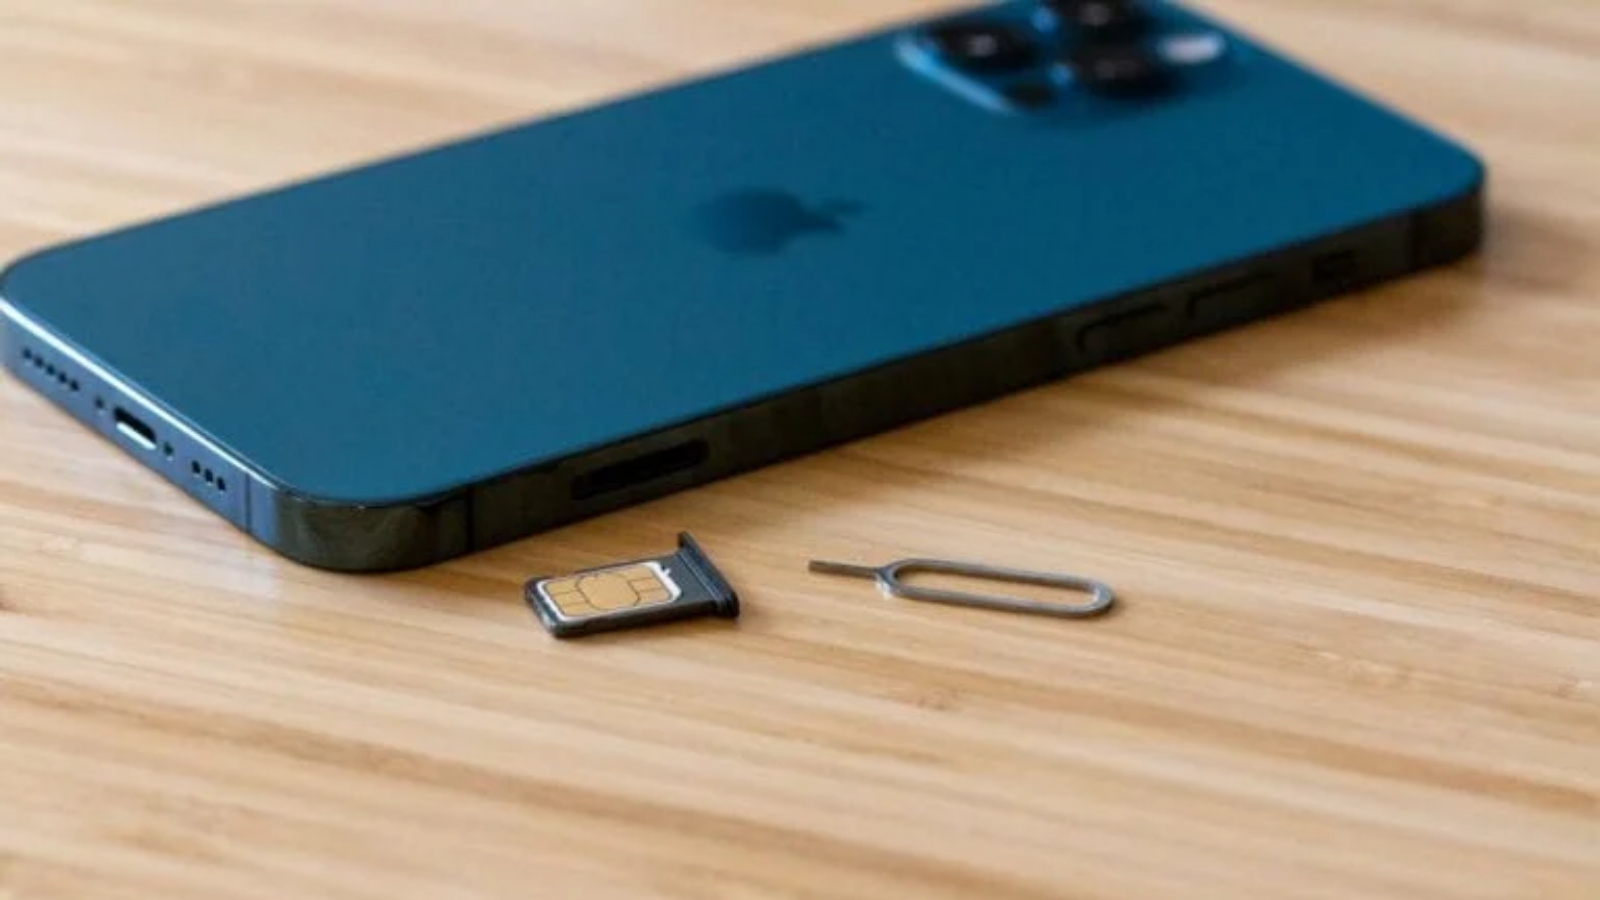
Upon locating the SIM card tray, you'll notice a small pinhole adjacent to it. This pinhole is strategically placed to accommodate the SIM card ejection tool, which is provided with your iPhone X. The ejection tool is a tiny, needle-like instrument that facilitates the safe removal and insertion of the SIM card tray.
With the SIM card tray and ejection tool in sight, you're now ready to proceed to the next step of the process. Familiarizing yourself with the physical layout of your iPhone X and its components sets the stage for a smooth and successful SIM card installation.
By taking the time to locate the SIM card tray, you're demonstrating a proactive approach to understanding your device's hardware. This foundational knowledge will serve you well not only during the SIM card insertion process but also in the overall maintenance and care of your iPhone X.
Now that you've successfully pinpointed the SIM card tray on your iPhone X, it's time to move on to the next step, where you'll learn how to safely eject the SIM card tray in preparation for inserting your SIM card.
Next, let's delve into the process of ejecting the SIM card tray from your iPhone X, setting the stage for the seamless insertion of your SIM card.
Step 2: Eject the SIM Card Tray
Ejecting the SIM card tray from your iPhone X is a crucial preparatory step that paves the way for the seamless insertion of your SIM card. This process requires precision and care to ensure that the SIM card tray is safely removed without causing any damage to your device.
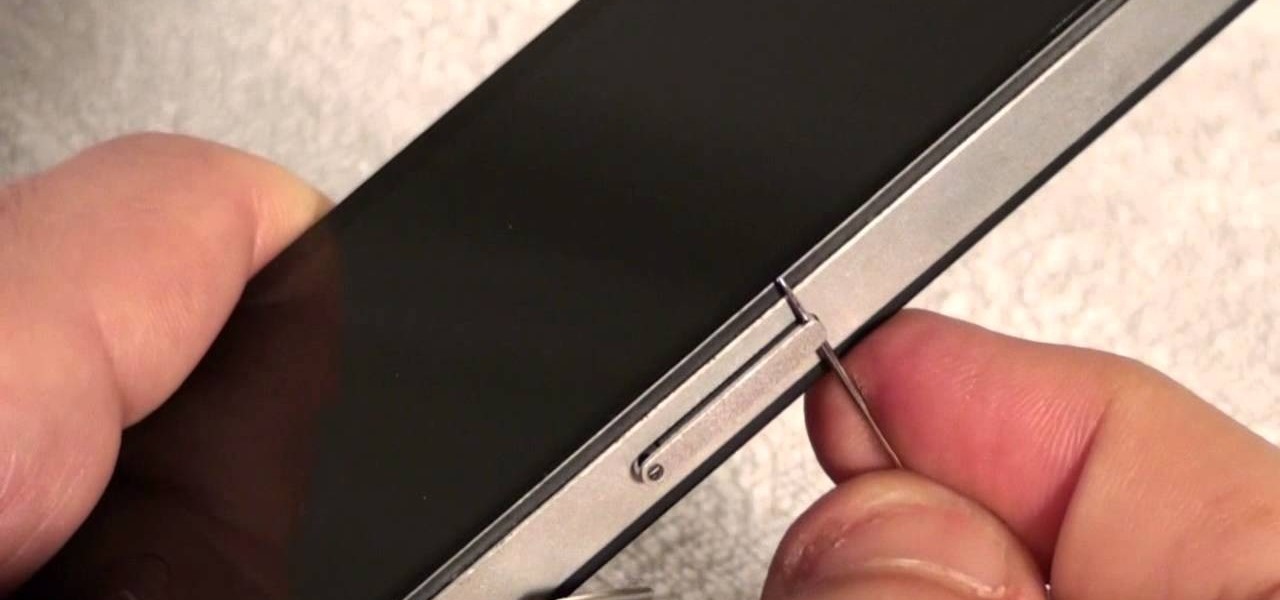
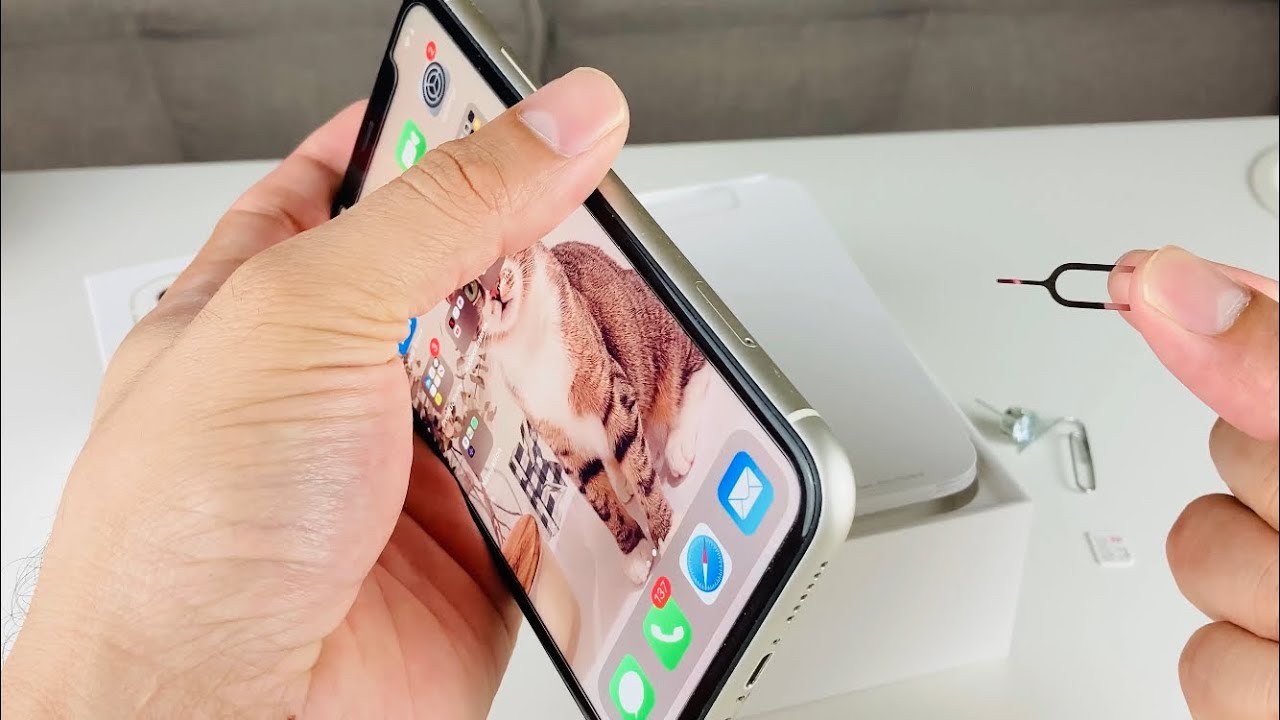
To begin, locate the small pinhole adjacent to the SIM card tray on the right-hand side of your iPhone X. This pinhole serves as the entry point for the SIM card ejection tool, which is designed to facilitate the smooth removal and insertion of the SIM card tray.
Retrieve the SIM card ejection tool that came with your iPhone X. This tool is a slender, needle-like instrument that provides the necessary leverage to eject the SIM card tray without exerting excessive force on your device. Its compact design and purposeful construction make it an essential companion for managing your iPhone X's SIM card tray.
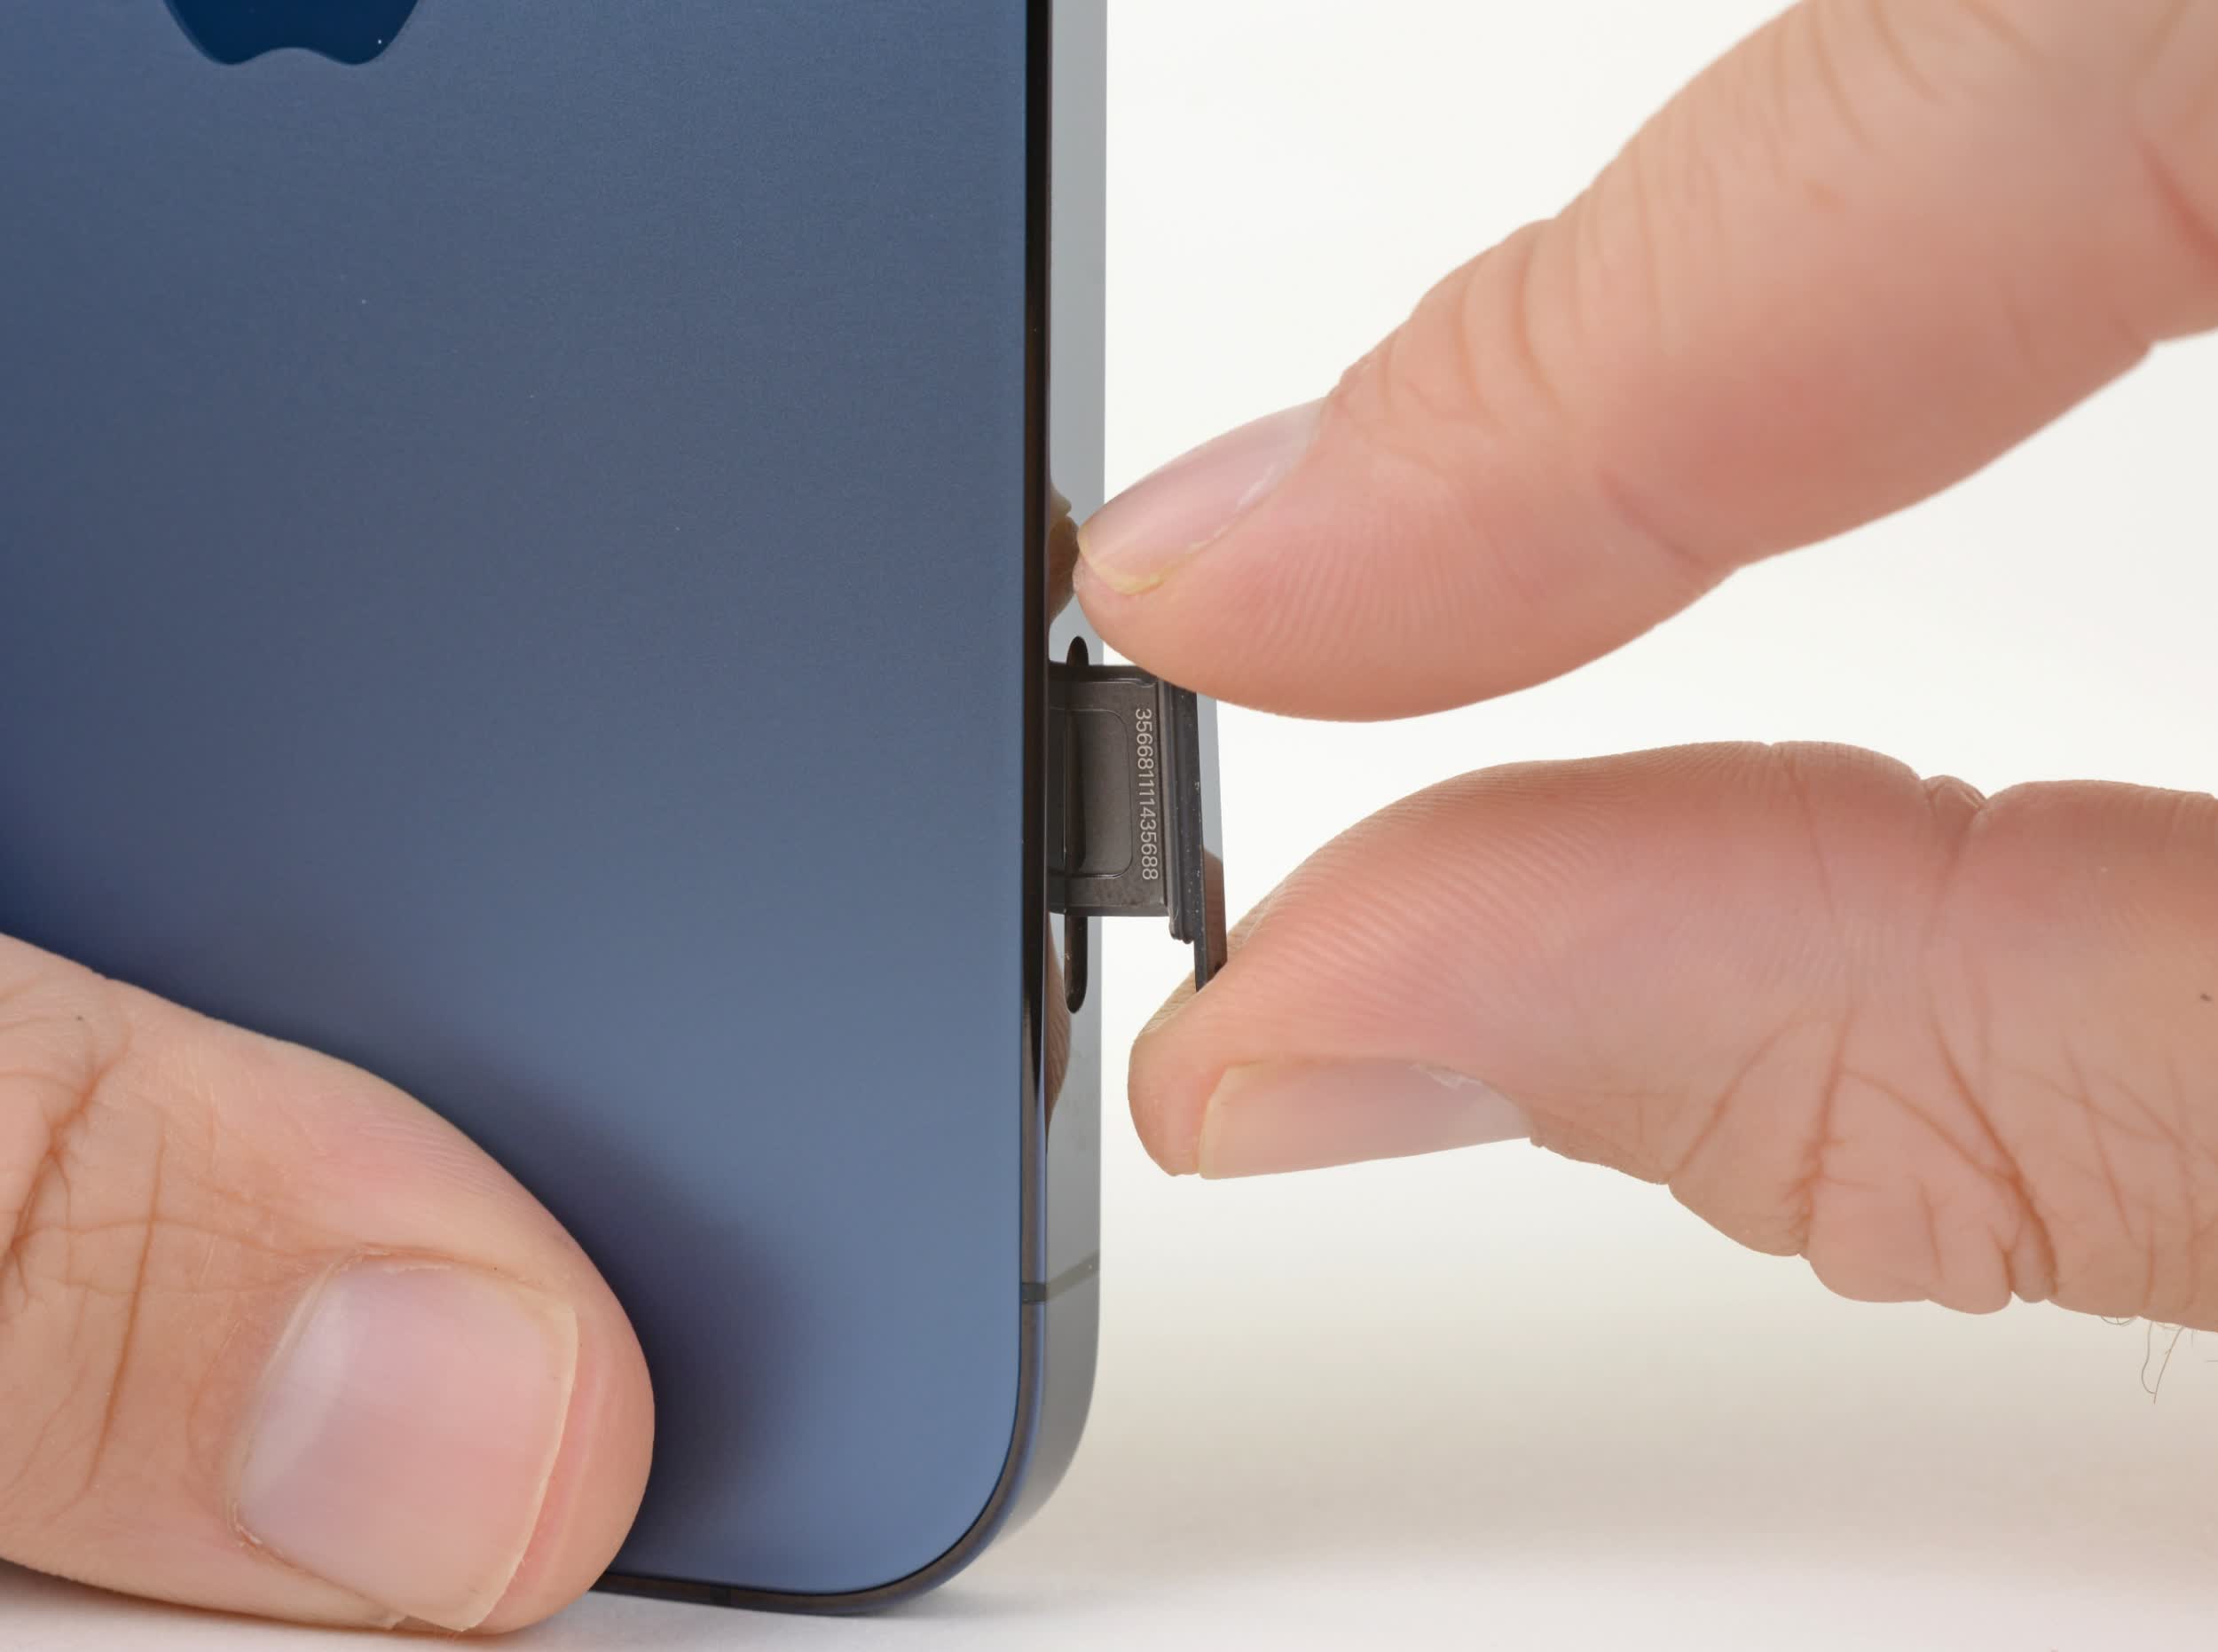
Insert the SIM card ejection tool into the pinhole next to the SIM card tray. Apply gentle pressure to ensure that the tool is securely inserted. Once in place, exert a steady and controlled force to initiate the ejection process. You will feel a slight resistance as the SIM card tray begins to emerge from its slot.
Carefully withdraw the SIM card tray from your iPhone X once it is partially ejected. Handle the tray with caution, ensuring that you maintain a firm grip without applying undue pressure. As the tray slides out, take note of its orientation and the position of the existing SIM card, if applicable.
With the SIM card tray successfully removed, set it aside in a secure location, making sure to keep it free from dust or debris. This ensures that the SIM card insertion process takes place in a clean and controlled environment, minimizing the risk of any foreign particles interfering with the connection.
By following these meticulous steps to eject the SIM card tray from your iPhone X, you have set the stage for the next phase of the process: inserting your SIM card. Your attention to detail and careful execution reflect a proactive approach to managing your device's hardware, ensuring that you can confidently proceed with the subsequent steps.
Now that the SIM card tray is safely removed, you're ready to move on to the next step, where you'll learn how to insert your SIM card into the iPhone X with precision and ease.
Step 3: Insert the SIM Card
With the SIM card tray successfully ejected from your iPhone X, you're now prepared to embark on the pivotal stage of inserting your SIM card. This process demands precision and attentiveness to ensure a seamless and secure installation.
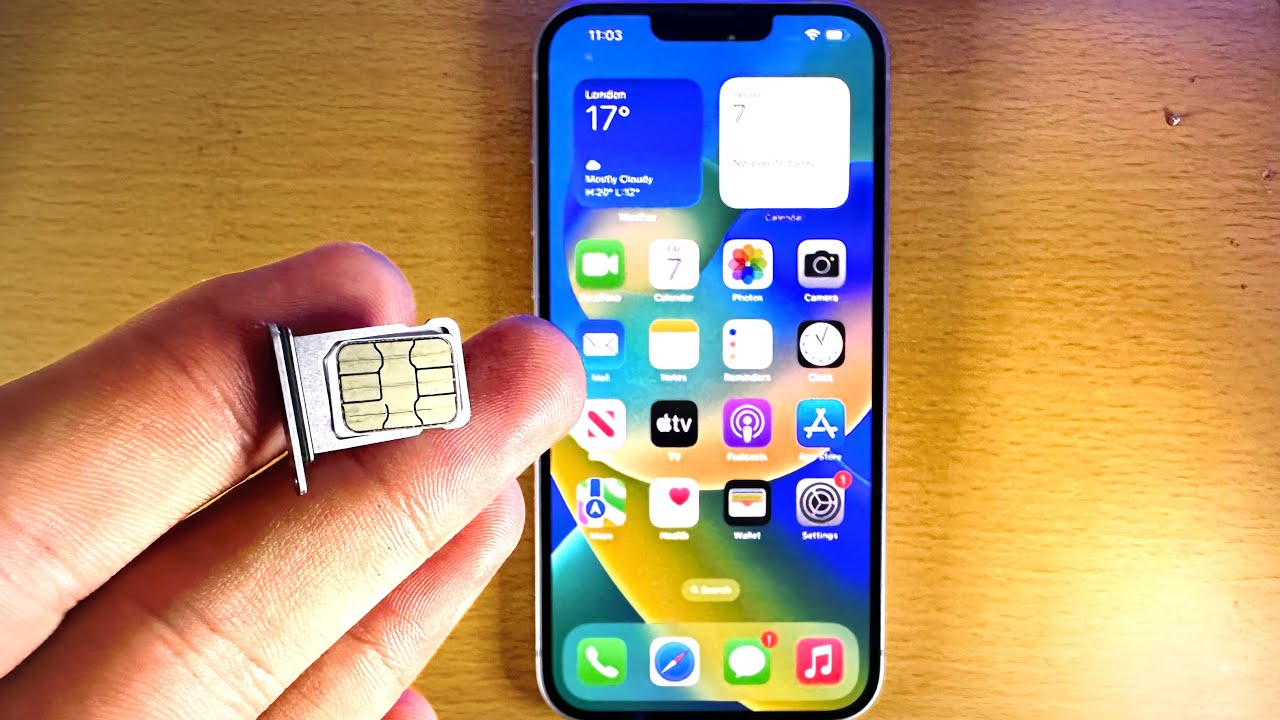
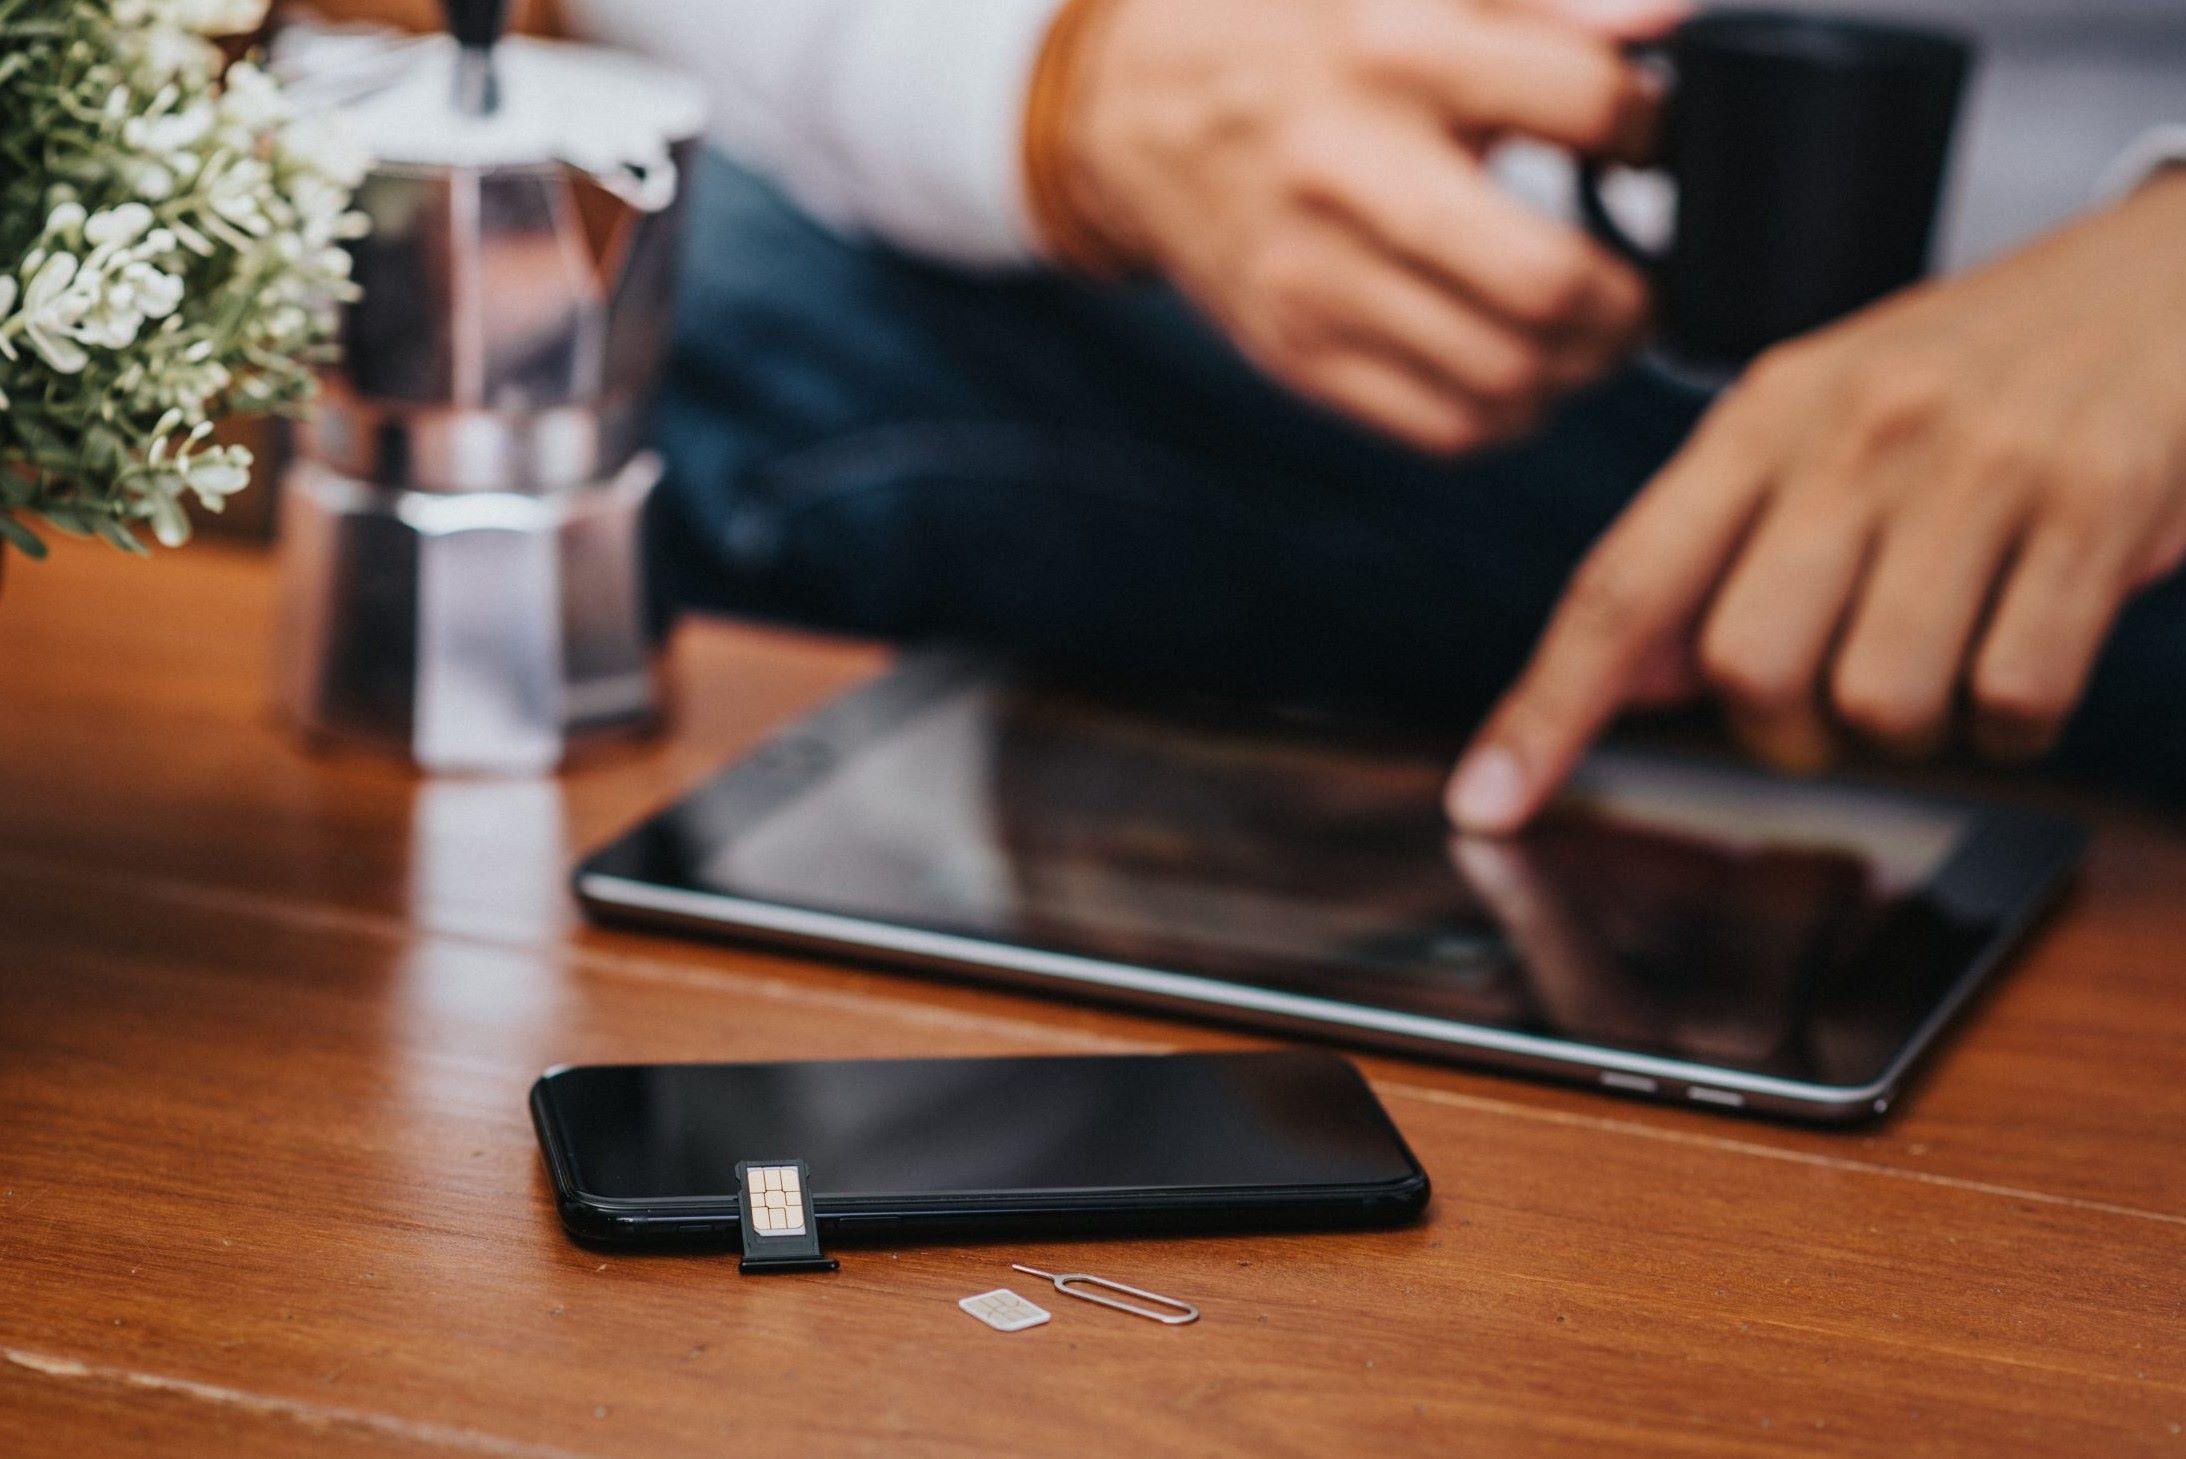
Begin by carefully removing your SIM card from its packaging or your previous device, if applicable. Take a moment to inspect the SIM card, noting its shape and the orientation of the notched corner. This corner serves as a guide for aligning the SIM card correctly within the tray, ensuring a proper fit and connection.
Next, delicately position the SIM card within the designated area on the SIM card tray. Align the notched corner of the SIM card with the corresponding notch on the tray, taking care to match the shape and size of the card to the available space. Gently place the SIM card into the tray, ensuring that it rests securely without any protrusions or misalignments.
Once the SIM card is snugly nestled within the tray, it's time to carefully maneuver the tray back into its slot on the iPhone X. Hold the device steady and align the tray with the SIM card slot, taking note of the orientation to ensure a seamless insertion. Apply gentle pressure to guide the tray back into place, taking care to avoid any abrupt movements or misalignment.
As the SIM card tray smoothly slides back into the iPhone X, you'll feel a subtle click, indicating that the tray is securely repositioned. This reassuring tactile feedback signifies the successful reintegration of the SIM card tray, setting the stage for your iPhone X to establish a stable connection with your mobile network.
By meticulously following these steps to insert your SIM card into the iPhone X, you've demonstrated a keen eye for detail and a proactive approach to managing your device's hardware. This focused attention ensures that your SIM card is securely and optimally positioned, laying the groundwork for uninterrupted connectivity and seamless communication.
With the SIM card securely inserted, you're now poised to proceed to the final step, where you'll reinsert the SIM card tray and finalize the installation process, bringing you one step closer to harnessing the full potential of your iPhone X.
Step 4: Reinsert the SIM Card Tray
With the SIM card now securely positioned within the tray, the final step entails reinserting the tray into your iPhone X, culminating in the successful installation of your SIM card. This pivotal phase requires careful precision and a steady hand to ensure that the tray is seamlessly integrated, allowing your device to establish a stable connection with your mobile network.
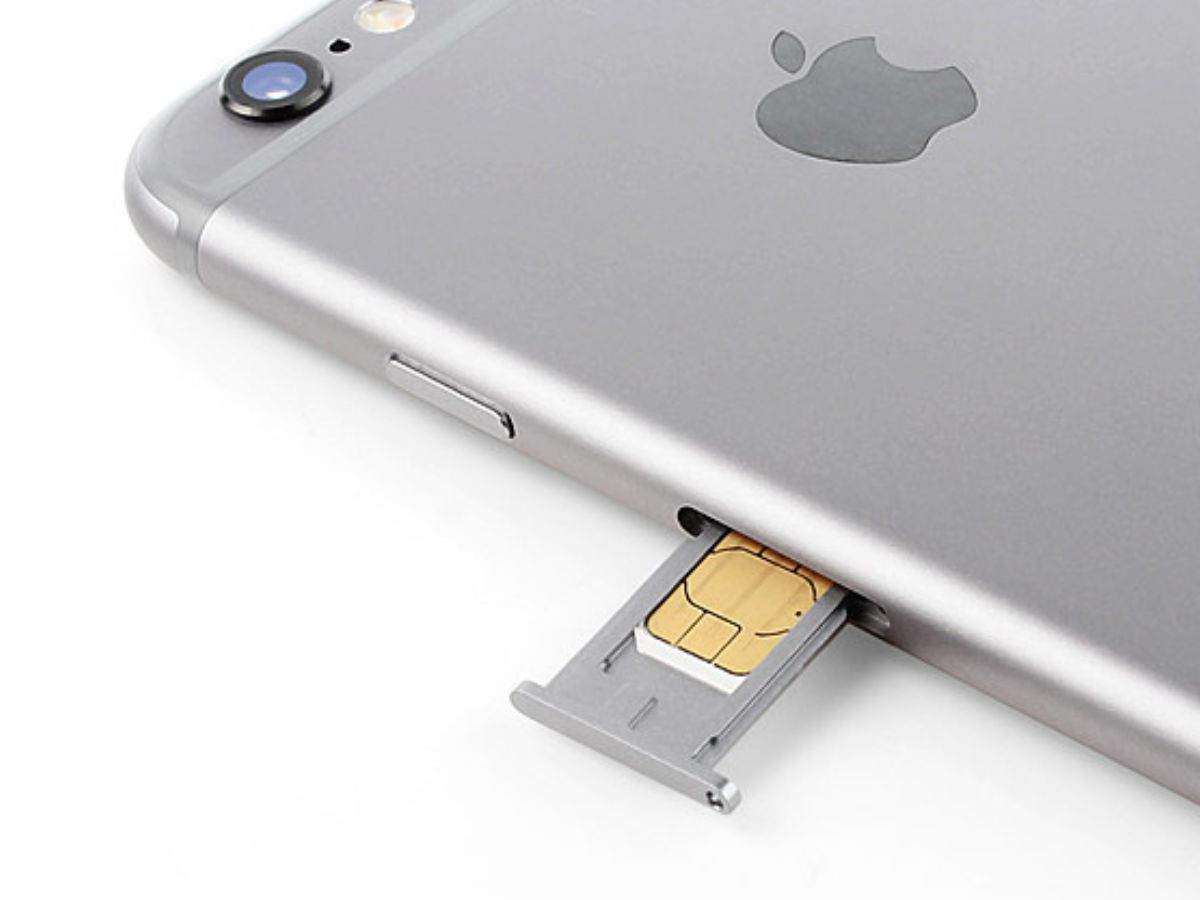
Begin by holding the SIM card tray firmly, aligning it with the designated slot on the side of your iPhone X. Take a moment to verify the orientation of the tray, ensuring that it is positioned correctly to facilitate a smooth reintegration. The SIM card tray's shape and size are specifically tailored to fit snugly within the slot, providing a secure housing for your SIM card.
Once you've verified the alignment, gently guide the SIM card tray back into its slot, maintaining a steady and controlled motion to prevent any jarring movements. As the tray approaches the slot, apply gentle pressure to facilitate its smooth insertion, taking care to avoid any resistance or misalignment.
As the SIM card tray seamlessly slides back into place, you'll feel a subtle click, signifying that it is securely repositioned within your iPhone X. This tactile confirmation assures you that the tray is firmly integrated, setting the stage for your device to establish a robust connection with your mobile network.
By meticulously reinserting the SIM card tray, you've completed the final step of the installation process with precision and care, ensuring that your iPhone X is ready to harness the full potential of your SIM card. Your attentive approach to managing the hardware components of your device reflects a proactive stance, setting the stage for uninterrupted connectivity and seamless communication.
With the SIM card tray securely repositioned, your iPhone X is now primed to establish a stable connection with your mobile network, allowing you to enjoy seamless communication, browsing, and more. The successful completion of the SIM card installation process underscores your proactive approach to managing your device's hardware, ensuring that you can confidently navigate the intricacies of your iPhone X with ease.
Conclusion
Congratulations! By following this comprehensive step-by-step guide, you've successfully navigated the process of inserting a SIM card into your iPhone X. This essential task empowers you to establish a seamless connection with your mobile network, enabling a wide array of communication and browsing capabilities on your device.
Throughout this journey, you've demonstrated a proactive and attentive approach to managing your iPhone X's hardware components. From locating the SIM card tray to delicately inserting and repositioning the SIM card, you've showcased a keen eye for detail and a commitment to ensuring a secure and stable connection for your device.
By familiarizing yourself with the physical layout of your iPhone X and understanding the purpose of the SIM card tray, you've gained valuable insights into the foundational aspects of your device's hardware. This knowledge not only facilitates the successful insertion of your SIM card but also equips you with a deeper understanding of your iPhone X's inner workings.
As you proceed with your iPhone X, the ability to confidently manage the SIM card installation process positions you as an empowered user, capable of optimizing your device's functionality with ease. The seamless integration of your SIM card sets the stage for uninterrupted connectivity, allowing you to stay connected, communicate, and access mobile data with unparalleled convenience.
Furthermore, the meticulous attention to detail and precision exhibited throughout this process reflects your commitment to maintaining your device in optimal condition. By approaching the SIM card installation with care and attentiveness, you've set a solid foundation for the ongoing maintenance and management of your iPhone X.
As you embark on your journey with your iPhone X, the successful insertion of your SIM card serves as a testament to your proactive and resourceful approach to device management. With a stable connection established, you're now poised to explore the full spectrum of features and capabilities that your iPhone X has to offer, knowing that you've adeptly managed this fundamental aspect of its functionality.
In essence, the successful insertion of your SIM card into your iPhone X represents a significant milestone in your journey as a device user. Your proactive engagement with the hardware installation process underscores your commitment to maximizing the potential of your iPhone X, ensuring that you can navigate the digital landscape with confidence and ease.