Introduction
Inserting a SIM card into your Galaxy S7 is a fundamental task that allows you to connect to your mobile network and access various communication services. Whether you're setting up a new device or replacing an existing SIM card, understanding the process is essential for seamless connectivity. This step-by-step guide will walk you through the straightforward process of inserting a SIM card into your Galaxy S7, ensuring that you can quickly and effortlessly establish a connection with your mobile network.
The Galaxy S7, renowned for its sleek design and impressive features, incorporates a SIM card tray that is ingeniously integrated into the device's structure. By following the simple instructions outlined in this guide, you can successfully insert a SIM card into your Galaxy S7 and enjoy uninterrupted access to your mobile network.
Ensuring that your SIM card is correctly inserted is crucial for maintaining a stable connection and optimizing the functionality of your device. Whether you're a seasoned smartphone user or a newcomer to the world of mobile devices, this guide will provide you with the essential knowledge and confidence to complete the SIM card insertion process efficiently.
Next, let's delve into the step-by-step instructions for inserting a SIM card into your Galaxy S7, allowing you to harness the full potential of your device's connectivity features.
Step 1: Locate the SIM card tray
The first step in inserting a SIM card into your Galaxy S7 is to locate the SIM card tray. The SIM card tray is a small, discreet component of the device's design, typically situated on the upper edge of the phone. To access the SIM card tray, you will need to use the SIM ejection tool provided with your Galaxy S7 or a suitable alternative, such as a paperclip.
Upon locating the SIM card tray, you will notice a small pinhole adjacent to it. This pinhole is designed to accommodate the SIM ejection tool, allowing you to effortlessly access the SIM card tray without the need for additional tools or specialized knowledge. The strategic placement of the SIM card tray and the accompanying pinhole demonstrates the user-friendly design philosophy that Samsung has incorporated into the Galaxy S7.
By positioning the SIM card tray on the upper edge of the device, Samsung has ensured convenient accessibility while maintaining the sleek and seamless aesthetic of the phone. This thoughtful design consideration reflects the brand's commitment to user experience and practical functionality.
Once you have identified the location of the SIM card tray and the adjacent pinhole, you are ready to proceed to the next step in the process of inserting your SIM card into the Galaxy S7. This initial step sets the stage for the subsequent actions, laying the foundation for a smooth and uncomplicated SIM card insertion process.
With the SIM card tray now within reach, you are poised to advance to the next step, which involves utilizing the SIM ejection tool to access the tray and initiate the SIM card insertion process. This marks the beginning of an engaging and rewarding journey toward establishing seamless connectivity and harnessing the full potential of your Galaxy S7.
The strategic placement of the SIM card tray and the accompanying pinhole demonstrates the user-friendly design philosophy that Samsung has incorporated into the Galaxy S7.
Step 2: Insert the SIM ejection tool into the small hole
With the SIM card tray located, the next step is to utilize the SIM ejection tool to access the tray. The SIM ejection tool, a small and slender instrument provided with your Galaxy S7, is specifically designed to facilitate the removal and insertion of the SIM card tray. Its compact size and precision engineering make it an indispensable component of the SIM card insertion process.
To begin, take the SIM ejection tool and firmly grasp it between your thumb and index finger. Position the pointed end of the tool into the small hole adjacent to the SIM card tray. Applying gentle pressure, insert the tool into the hole until you feel a slight resistance, indicating that the tool has engaged with the internal mechanism of the SIM card tray.
As you insert the SIM ejection tool into the small hole, it's important to maintain a steady hand and exercise caution to avoid exerting excessive force. The deliberate and controlled insertion of the tool ensures that you can access the SIM card tray without causing any damage to the device or compromising its integrity.
The tactile feedback from the SIM ejection tool interacting with the internal mechanism of the SIM card tray signifies that you have successfully initiated the process of accessing the tray. This simple yet crucial action sets the stage for the subsequent steps, paving the way for a seamless and efficient SIM card insertion experience.
The precision and ergonomic design of the SIM ejection tool exemplify Samsung's commitment to providing users with intuitive and user-friendly solutions. By incorporating this purpose-built tool into the Galaxy S7 package, Samsung has demonstrated its dedication to enhancing the overall user experience and simplifying essential device maintenance tasks.
With the SIM ejection tool securely inserted into the small hole, you are now ready to proceed to the next step in the process of inserting your SIM card into the Galaxy S7. This pivotal stage in the process underscores the meticulous attention to detail that Samsung has applied to every aspect of the device's design, ensuring that users can effortlessly navigate essential tasks with confidence and ease.
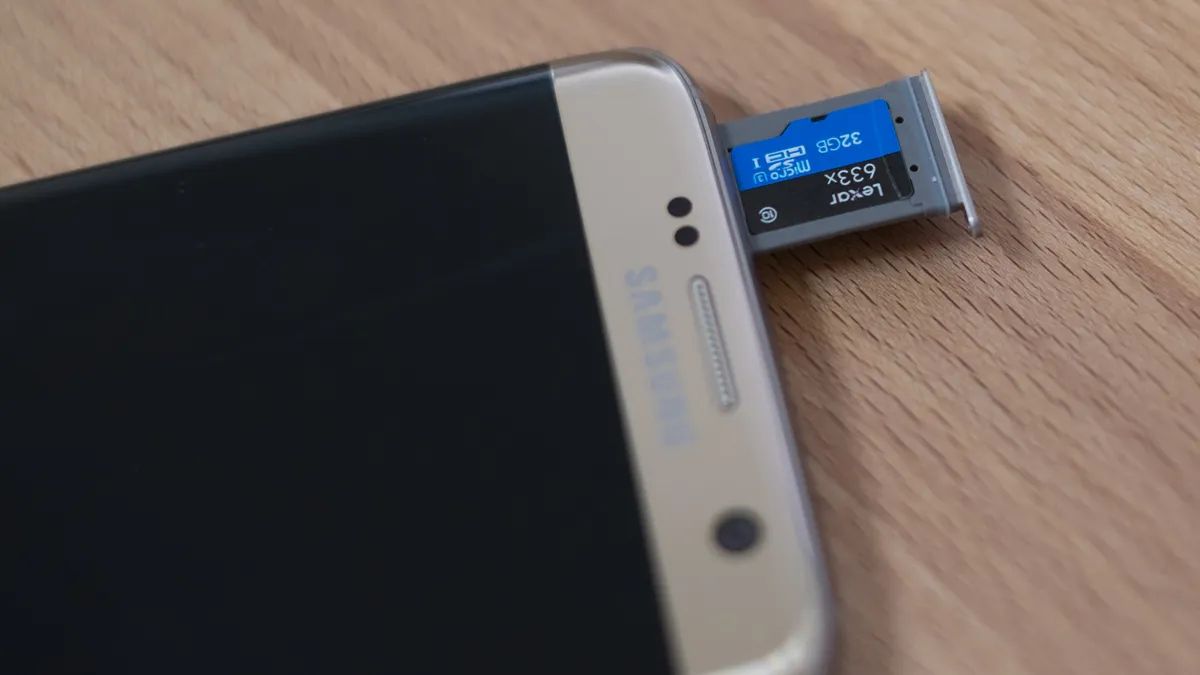
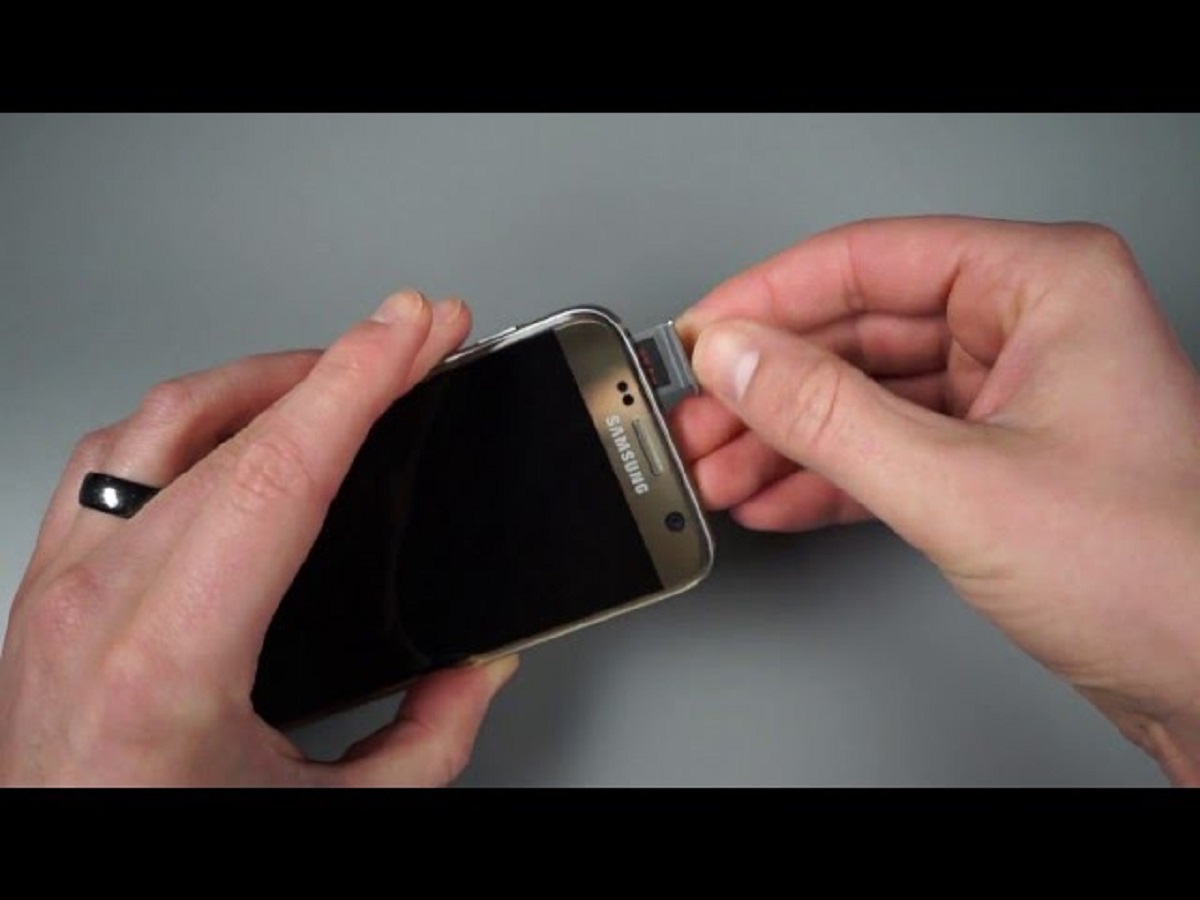
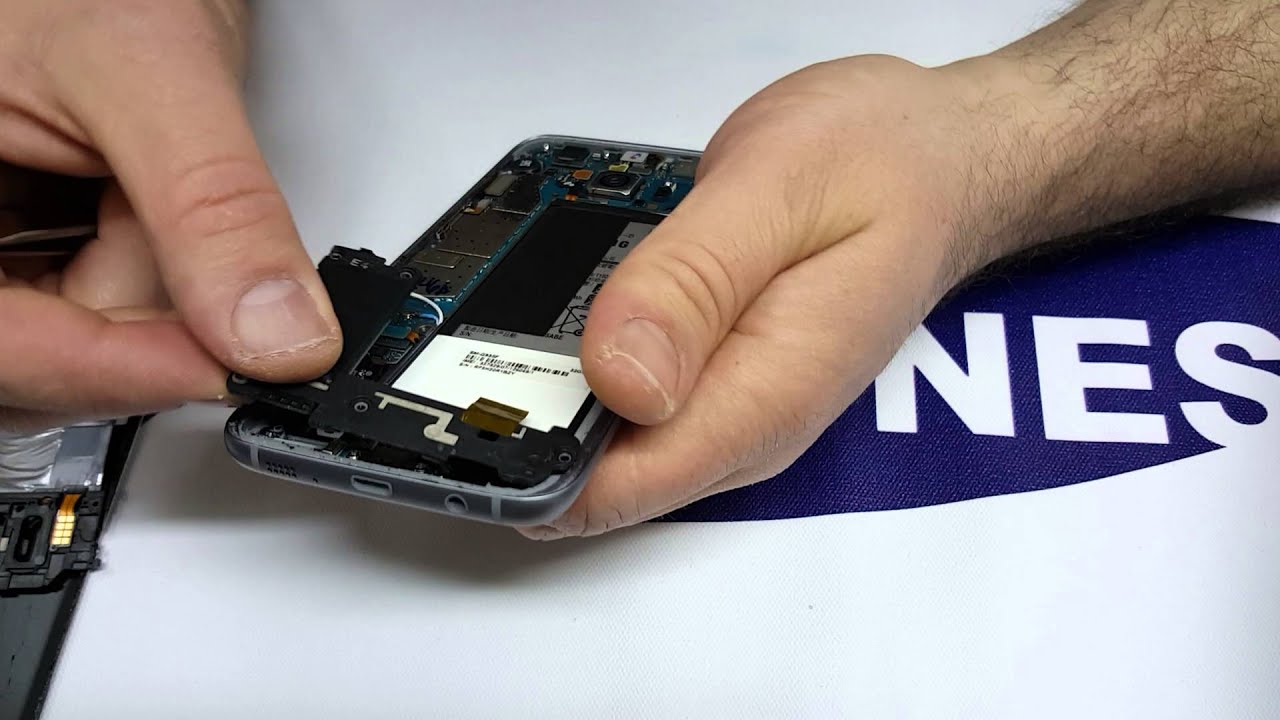
Step 3: Remove the SIM card tray
Once the SIM ejection tool is securely inserted into the small hole adjacent to the SIM card tray, the next step is to gently exert pressure on the tool. Applying a slight amount of force, push the tool inward until you feel a subtle resistance, indicating that the internal mechanism of the SIM card tray has been disengaged.
As the SIM ejection tool interacts with the internal mechanism, you will notice the SIM card tray protruding slightly from the device. The smooth and controlled movement of the tray signifies that it is ready to be removed, allowing you to access the compartment where the SIM card will be placed.
With the SIM card tray now partially ejected, carefully grasp the exposed edge of the tray between your thumb and index finger. Exercise caution to ensure a firm yet gentle grip on the tray, maintaining control over its movement as you proceed to remove it from the device.
As you steadily pull the SIM card tray out of the device, you will observe the compartment where the SIM card will be positioned. The design of the SIM card tray ensures that it can be effortlessly removed, providing easy access to the designated area for inserting the SIM card.
The smooth and seamless extraction of the SIM card tray exemplifies the user-centric design approach that Samsung has implemented in the Galaxy S7. By prioritizing ease of use and practical functionality, Samsung has streamlined the process of removing the SIM card tray, simplifying an essential task for users.
With the SIM card tray now removed from the device, you are one step closer to inserting your SIM card into the Galaxy S7. This pivotal stage in the process marks a seamless transition toward the subsequent steps, setting the stage for the final phase of the SIM card insertion process.
The effortless removal of the SIM card tray underscores Samsung's commitment to providing users with intuitive and user-friendly solutions. By ensuring that essential device maintenance tasks are straightforward and accessible, Samsung has elevated the overall user experience, empowering users to navigate the SIM card insertion process with confidence and ease.
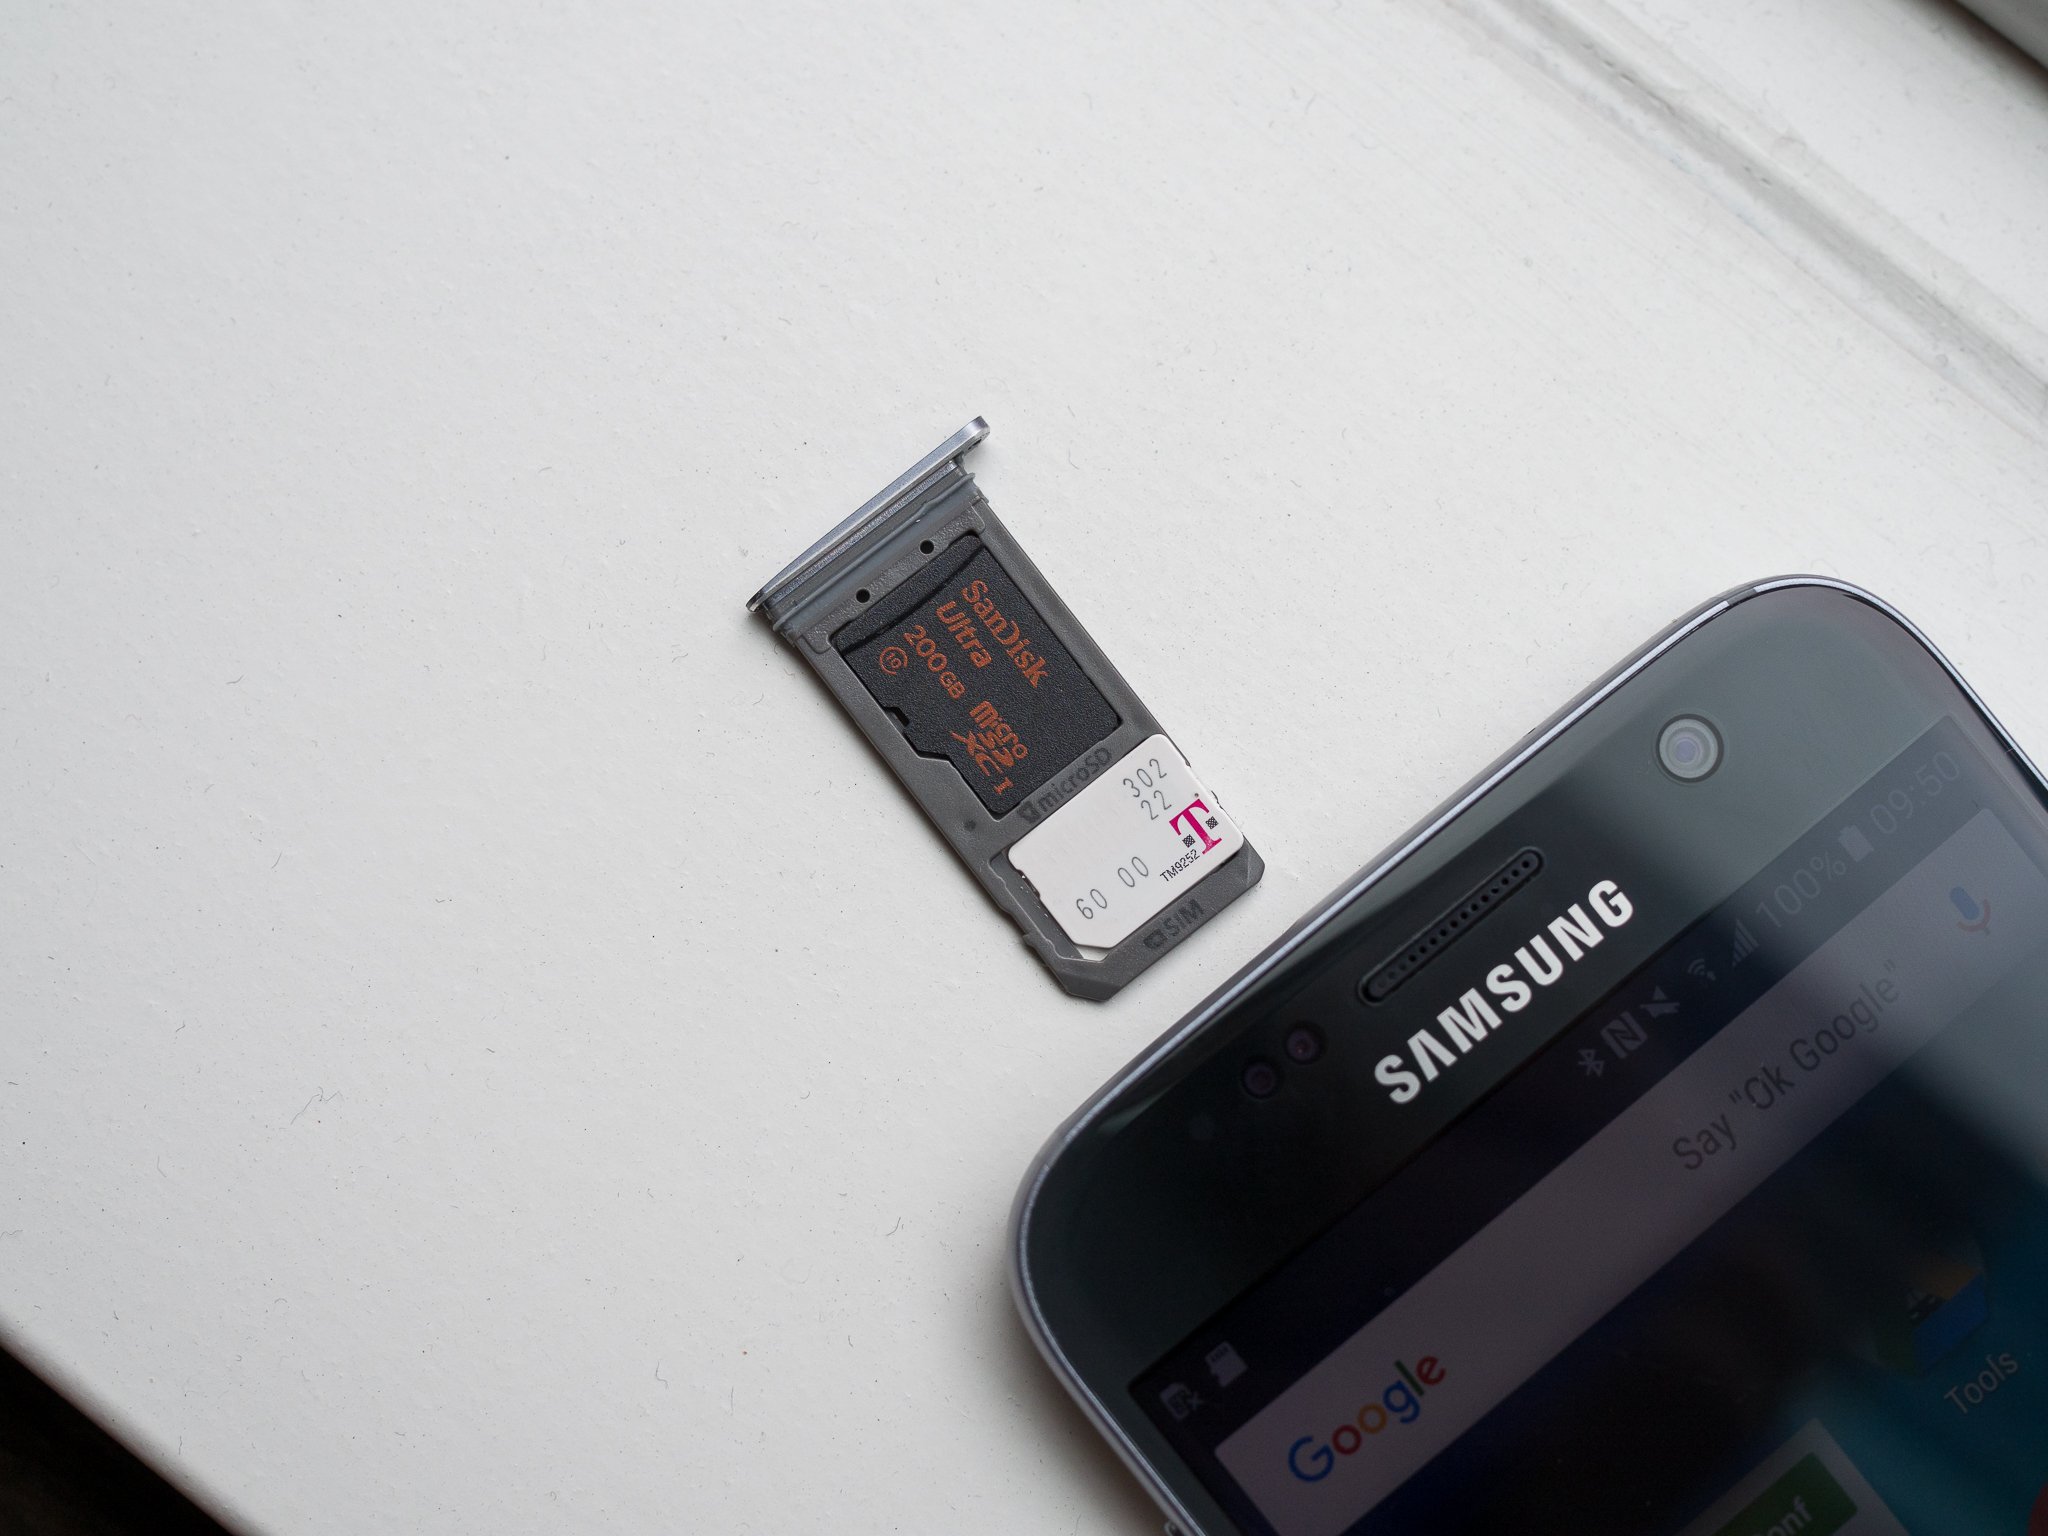
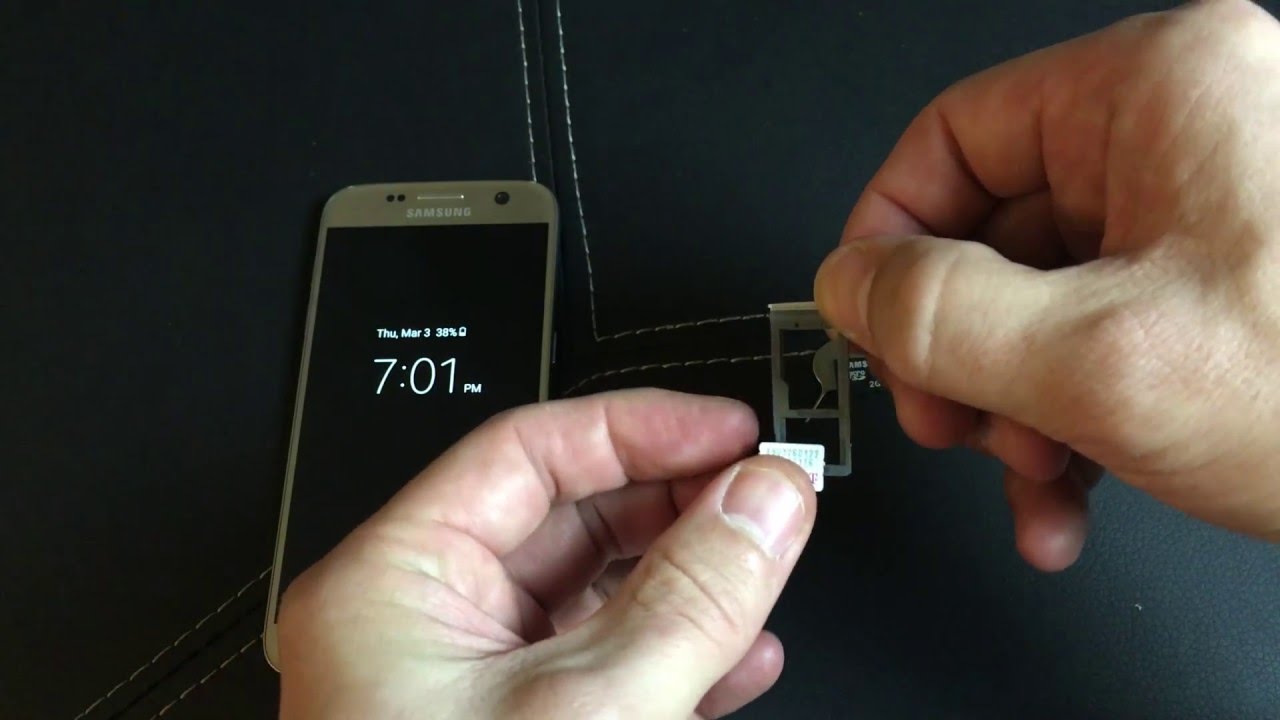
Step 4: Place the SIM card on the tray
With the SIM card tray successfully removed from your Galaxy S7, the next crucial step is to position the SIM card onto the tray. Before proceeding, carefully inspect the SIM card to ensure that it is free from any damage and correctly aligned for insertion. The SIM card, a small and slender component essential for connecting to your mobile network, plays a pivotal role in facilitating seamless communication and data access on your device.
Upon examining the SIM card, identify the orientation that aligns with the SIM card tray. Most SIM cards feature a notched corner or a specific logo that indicates the correct positioning for insertion. Align the SIM card with the designated area on the tray, ensuring that it sits flush and securely within the allocated space. The precise alignment of the SIM card is essential for establishing a stable connection with your mobile network and optimizing the functionality of your Galaxy S7.
As you position the SIM card onto the tray, exercise caution to prevent any accidental damage to the card or the tray itself. The delicate nature of the SIM card requires gentle handling and precise alignment to guarantee a successful insertion. By aligning the SIM card accurately, you are laying the foundation for a reliable and uninterrupted connection to your mobile network, enabling you to harness the full potential of your Galaxy S7's communication features.
Once the SIM card is securely positioned on the tray, take a moment to ensure that it sits flat and level, without any protrusions or misalignment. The smooth and seamless placement of the SIM card on the tray reflects your meticulous attention to detail, underscoring your commitment to completing the SIM card insertion process with precision and care.
With the SIM card now securely positioned on the tray, you are poised to advance to the final step in the process of inserting your SIM card into the Galaxy S7. This pivotal stage in the process signifies a seamless transition toward completing the SIM card insertion process, setting the stage for the subsequent phase of reinserting the SIM card tray into your device.
The careful and deliberate placement of the SIM card onto the tray exemplifies your commitment to ensuring a seamless and reliable connection to your mobile network, reflecting the user-centric design philosophy that Samsung has integrated into the Galaxy S7. By prioritizing ease of use and practical functionality, Samsung has streamlined the SIM card insertion process, empowering users to complete essential tasks with confidence and ease.
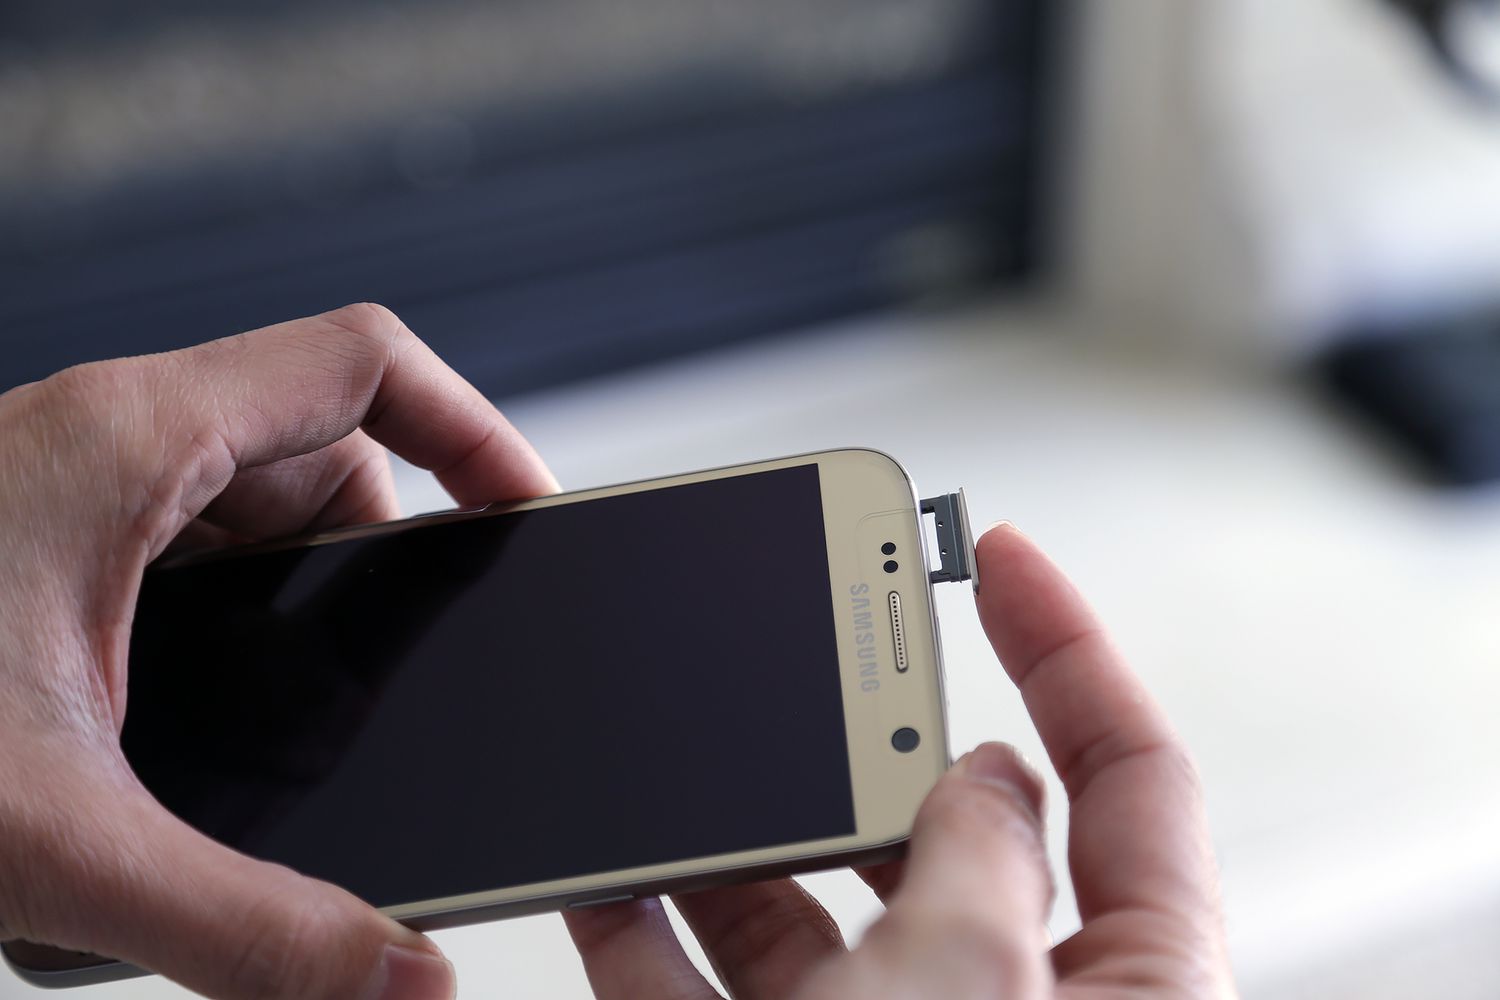
Step 5: Reinsert the SIM card tray into the device
With the SIM card securely positioned on the tray, the final step in the process of inserting your SIM card into the Galaxy S7 is to reinsert the SIM card tray into the device. This pivotal action marks the culmination of the SIM card insertion process, ensuring that your Galaxy S7 is ready to establish a stable and reliable connection with your mobile network.
Begin by carefully aligning the SIM card tray with the corresponding slot on the device. The precise alignment of the tray is essential for seamless reinsertion, allowing it to seamlessly integrate with the internal mechanism of the Galaxy S7. Take a moment to ensure that the tray is positioned correctly, maintaining a steady hand as you prepare to reinsert it into the device.
As you guide the SIM card tray back into its designated slot, apply gentle and consistent pressure to facilitate smooth reintegration. The deliberate and controlled movement of the tray ensures that it seamlessly aligns with the internal components of the device, signaling the successful completion of the SIM card insertion process.
Once the SIM card tray is fully reinserted into the device, take a moment to verify that it sits flush and level, seamlessly blending with the sleek design of the Galaxy S7. The smooth and effortless reintegration of the tray reflects your meticulous attention to detail, underscoring your commitment to completing the SIM card insertion process with precision and care.
As the SIM card tray seamlessly integrates with the device, you have successfully completed the process of inserting your SIM card into the Galaxy S7. This final step signifies the culmination of an engaging and rewarding journey toward establishing seamless connectivity and harnessing the full potential of your device's communication features.
The completion of the SIM card insertion process underscores Samsung's commitment to providing users with intuitive and user-friendly solutions. By ensuring that essential device maintenance tasks are straightforward and accessible, Samsung has elevated the overall user experience, empowering users to navigate the SIM card insertion process with confidence and ease.
With the SIM card tray securely reinserted into the device, your Galaxy S7 is now primed to connect to your mobile network, enabling you to enjoy uninterrupted communication, data access, and a seamless mobile experience.
Conclusion
In conclusion, the process of inserting a SIM card into your Galaxy S7 encompasses a seamless and user-friendly experience, reflecting Samsung's commitment to providing intuitive solutions for essential device maintenance tasks. By following the step-by-step guide outlined in this article, you have gained the essential knowledge and confidence to complete the SIM card insertion process efficiently, ensuring that your Galaxy S7 is ready to establish a stable and reliable connection with your mobile network.
The deliberate design considerations, such as the strategic placement of the SIM card tray and the inclusion of the purpose-built SIM ejection tool, exemplify Samsung's dedication to enhancing the overall user experience. The user-centric approach adopted in the Galaxy S7's design ensures that essential tasks, such as inserting a SIM card, are straightforward and accessible for users of varying technical expertise.
As you navigated through the process, you experienced the seamless integration of the SIM card tray with the device, reflecting the meticulous attention to detail that Samsung has applied to every aspect of the Galaxy S7's design. The smooth and effortless insertion of the SIM card onto the tray, followed by the seamless reintegration of the tray into the device, underscores the user-friendly nature of the Galaxy S7's design, empowering users to complete essential tasks with confidence and ease.
By completing the SIM card insertion process, you have unlocked the full potential of your Galaxy S7's connectivity features, enabling uninterrupted communication, data access, and a seamless mobile experience. The successful insertion of the SIM card sets the stage for harnessing the device's impressive capabilities, allowing you to stay connected and engaged with the world around you.
The comprehensive understanding gained from this guide equips you with the knowledge to confidently manage essential device maintenance tasks, ensuring that your Galaxy S7 remains optimized for seamless connectivity and reliable performance. As you embark on your journey with the Galaxy S7, you can approach essential tasks, such as SIM card insertion, with a sense of assurance and proficiency, knowing that Samsung has prioritized user experience and practical functionality in every aspect of the device's design.
In essence, the process of inserting a SIM card into your Galaxy S7 embodies the seamless convergence of user-centric design, intuitive functionality, and uncompromising reliability, culminating in an experience that empowers you to seamlessly connect and engage with your mobile network.