Introduction
Activating your SIM card on your iPad is an essential step to ensure that you can access cellular data and make calls from your device. Whether you've just purchased a new iPad or are switching to a new carrier, activating your SIM card is crucial for seamless connectivity. In this comprehensive guide, we will walk you through the step-by-step process of activating your SIM card on your iPad. By following these instructions, you'll be able to enjoy the full range of features and benefits that come with a cellular-enabled iPad.
Whether you're a tech enthusiast or a casual user, understanding how to activate your SIM card can significantly enhance your overall iPad experience. With the increasing reliance on mobile devices for work, entertainment, and communication, having a properly activated SIM card is more important than ever. This guide aims to simplify the activation process, making it accessible to users of all levels of technical expertise.
By the end of this guide, you'll have a clear understanding of how to locate the SIM card slot on your iPad, insert the SIM card correctly, connect to a Wi-Fi network, and navigate the on-screen prompts to complete the activation process. We'll provide detailed explanations and tips to ensure that you can easily follow each step, empowering you to take full advantage of your iPad's cellular capabilities.
Now, let's dive into the step-by-step process of activating your SIM card on your iPad, so you can experience the convenience and flexibility of using your device on the go.
Step 1: Locate the SIM card slot on your iPad
Locating the SIM card slot on your iPad is the first crucial step in activating your SIM card and enabling cellular connectivity. Depending on the iPad model you have, the SIM card slot may be located on different sides of the device. Here's a detailed guide to help you easily locate the SIM card slot on your iPad:
iPad Models with Cellular Capability
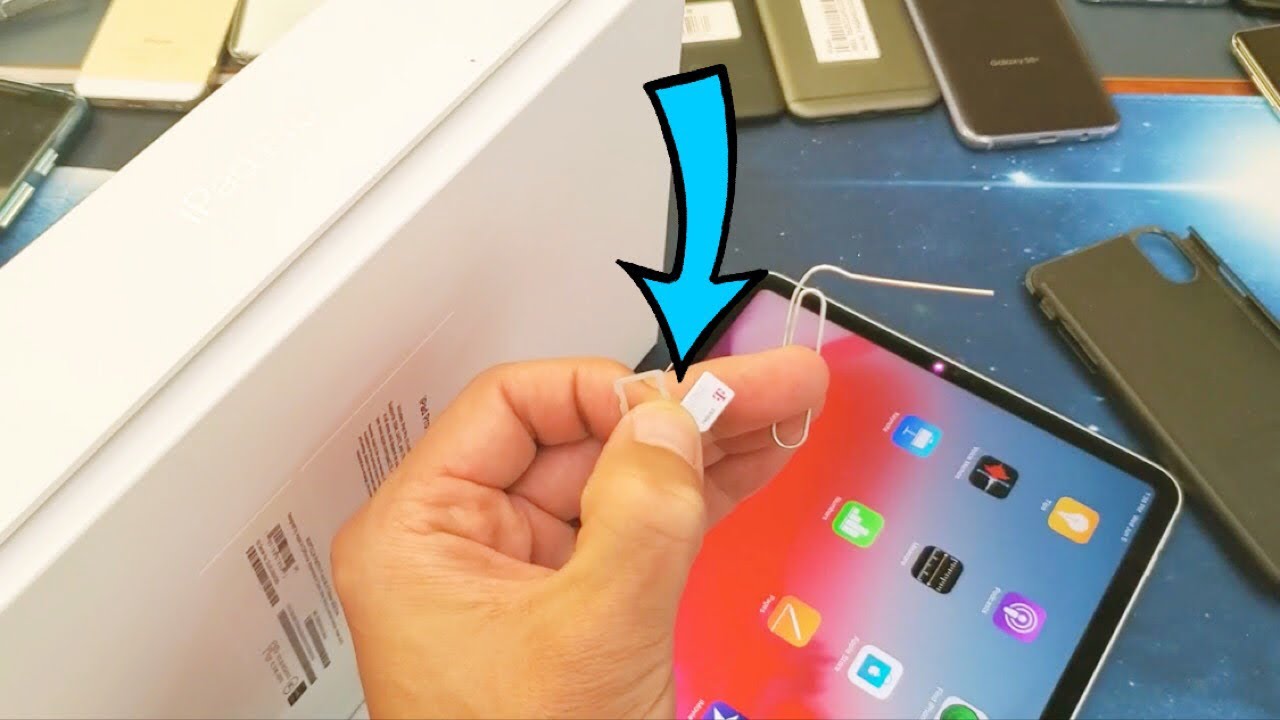
If you own an iPad model with cellular capability, such as the iPad Pro, iPad Air, or iPad mini, you'll find the SIM card slot on the right side of the device. Look for a small tray with a pinhole next to it, typically near the volume buttons. This tray is designed to hold the SIM card securely in place while ensuring a proper connection to the cellular network.
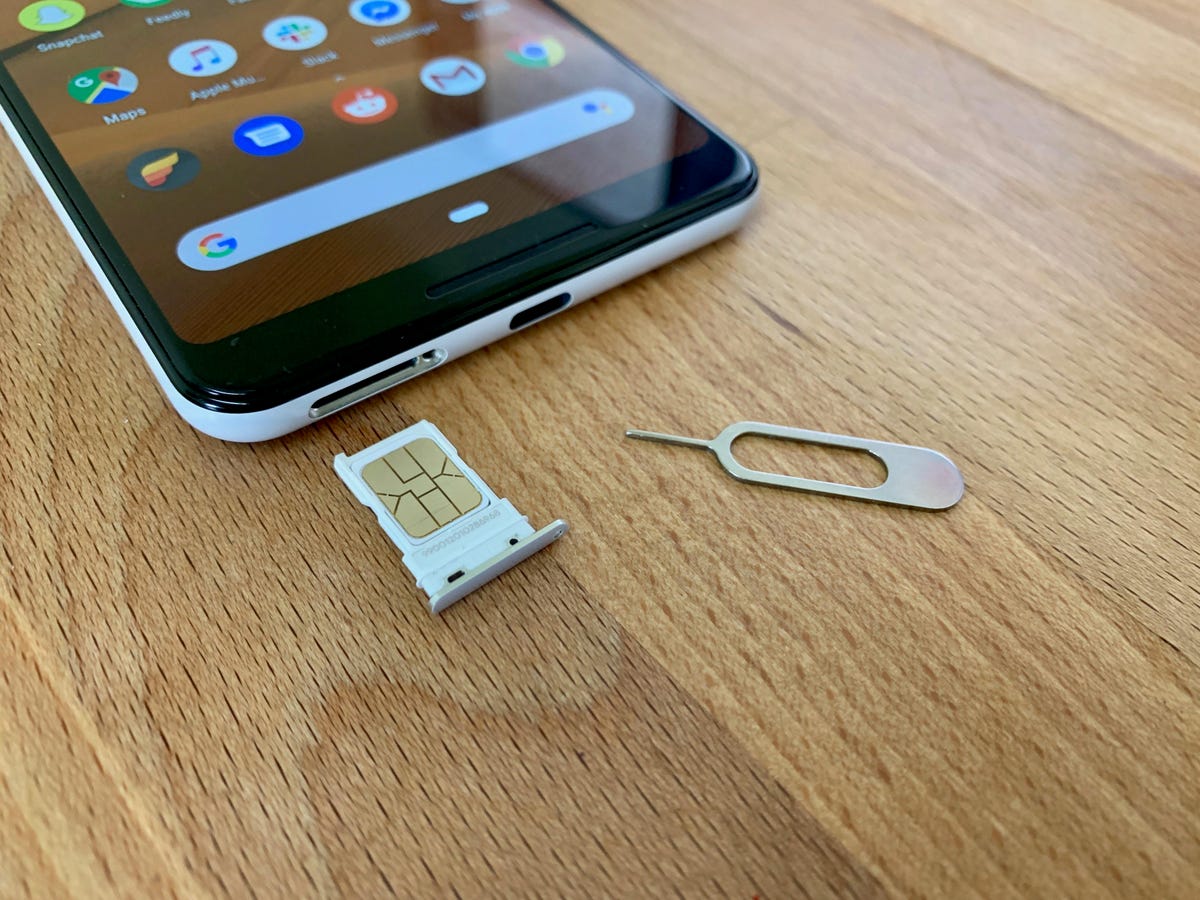
Ejecting the SIM Card Tray
To access the SIM card slot, you'll need the SIM eject tool that came with your iPad or a small paperclip. Insert the eject tool or unfolded paperclip into the pinhole next to the tray, applying gentle pressure. This will release the tray, allowing you to carefully pull it out from the device.
iPad Models without Cellular Capability
For iPad models without cellular capability, such as the standard iPad, you won't find a SIM card slot. These models rely solely on Wi-Fi connectivity and do not support cellular data or calls. If you're unsure about your iPad's cellular capability, you can check the device specifications on the official Apple website or consult the user manual that came with your iPad.
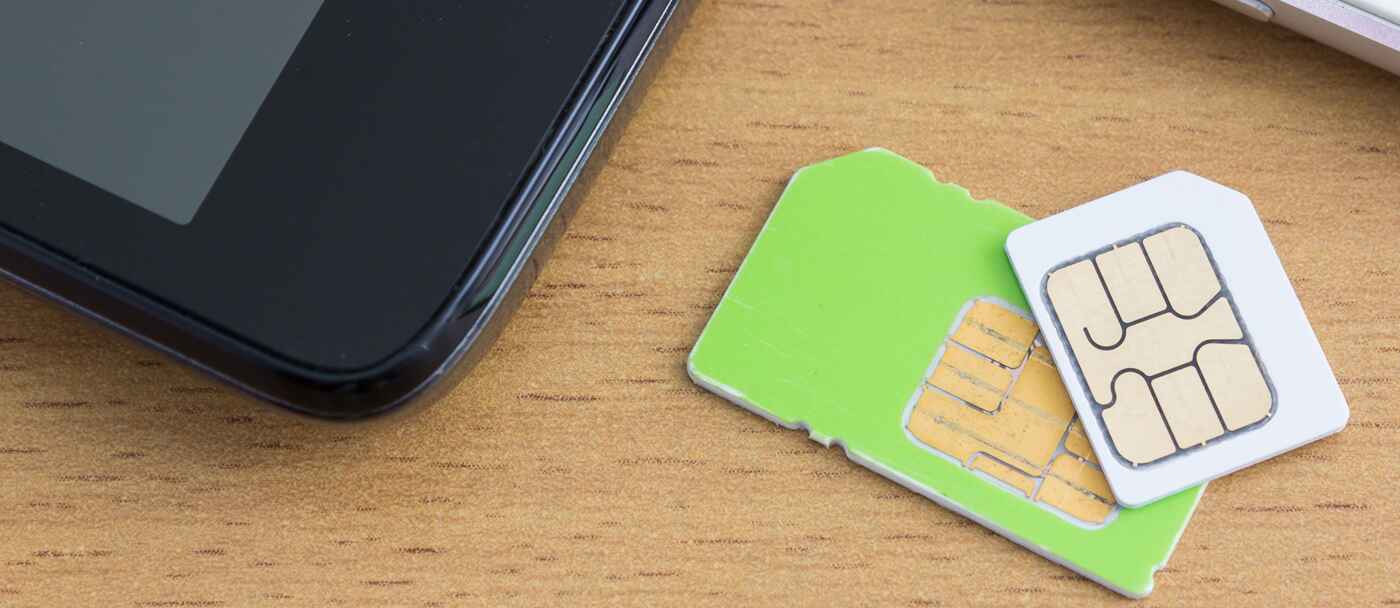
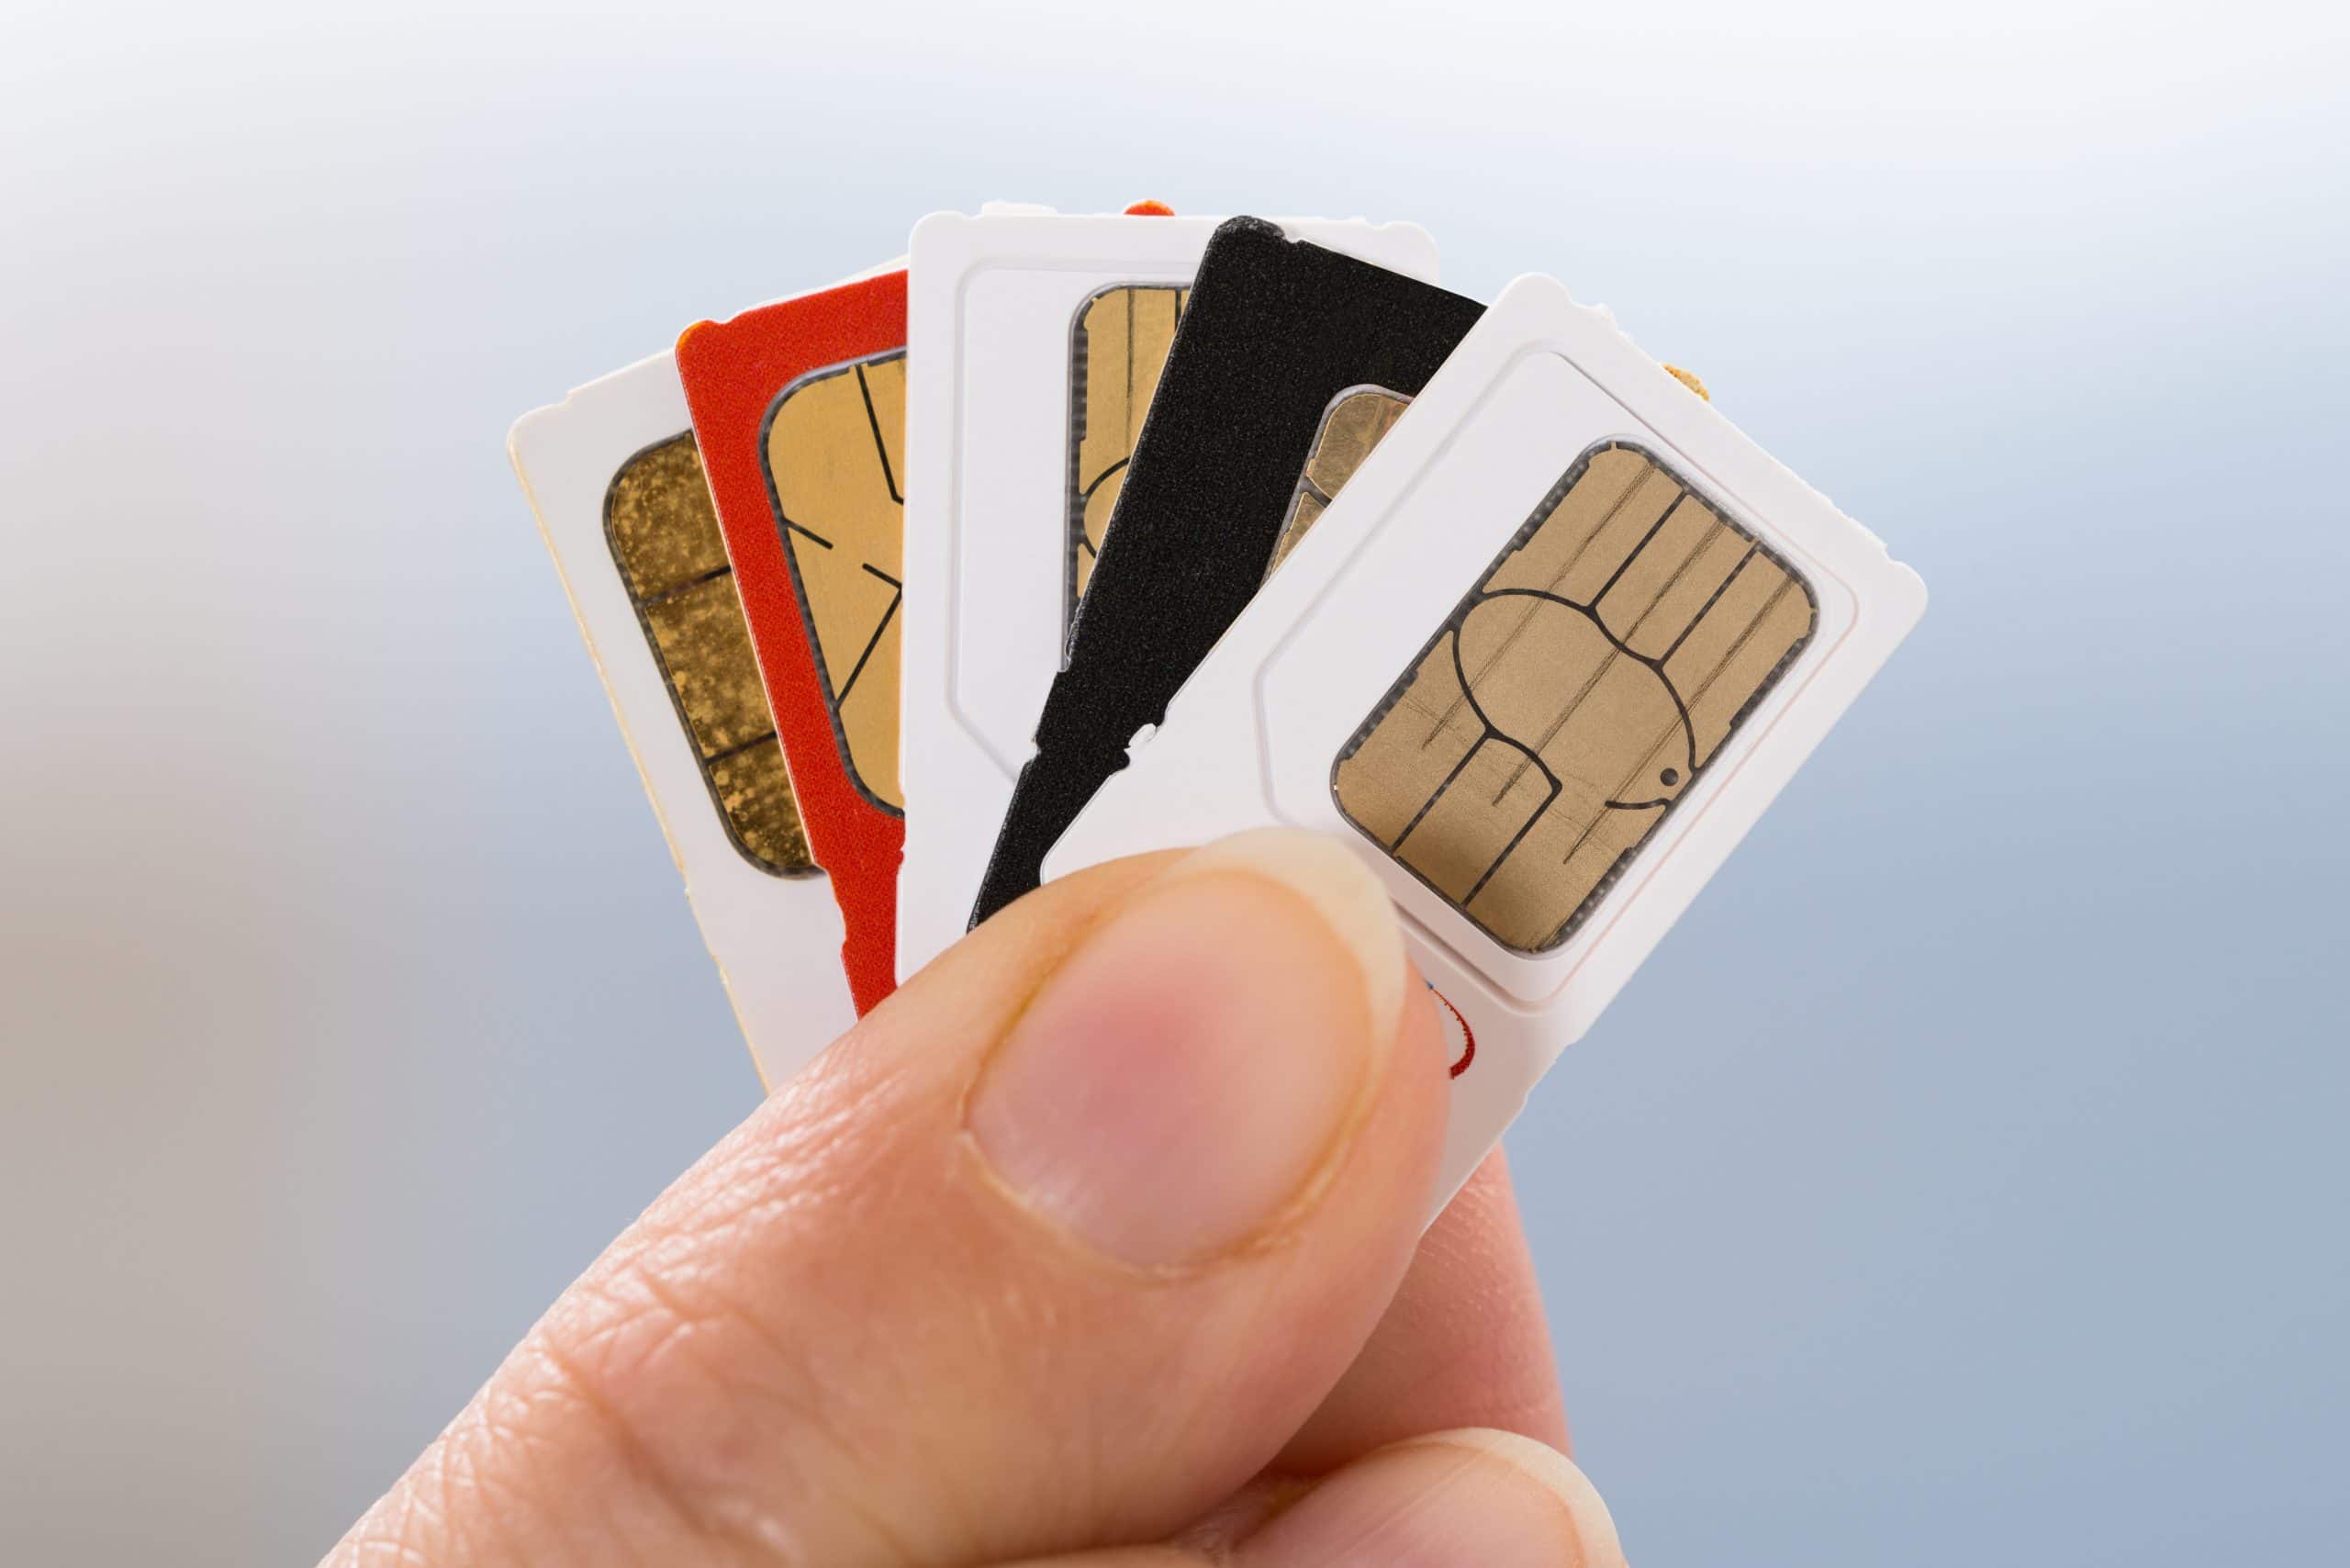
Understanding SIM Card Sizes
It's important to note that different iPad models may require different SIM card sizes. While newer models typically use nano-SIM cards, older models may be compatible with micro-SIM cards. Before activating your SIM card, ensure that you have the correct SIM card size that matches your iPad's SIM card slot.
By following these instructions, you can easily locate the SIM card slot on your iPad, setting the stage for the subsequent steps of inserting the SIM card and activating cellular connectivity. With the SIM card slot identified, you're now ready to proceed to the next step of the activation process.
Next, we'll delve into the process of inserting the SIM card into your iPad, ensuring that it is properly positioned for seamless activation and connectivity.
Step 2: Insert the SIM card
After successfully locating the SIM card slot on your iPad, the next crucial step is to insert the SIM card correctly. This process ensures that your iPad can establish a connection to the cellular network, enabling you to access mobile data and make calls. Properly inserting the SIM card is essential for seamless activation and uninterrupted connectivity. Follow these detailed steps to insert the SIM card into your iPad:
-
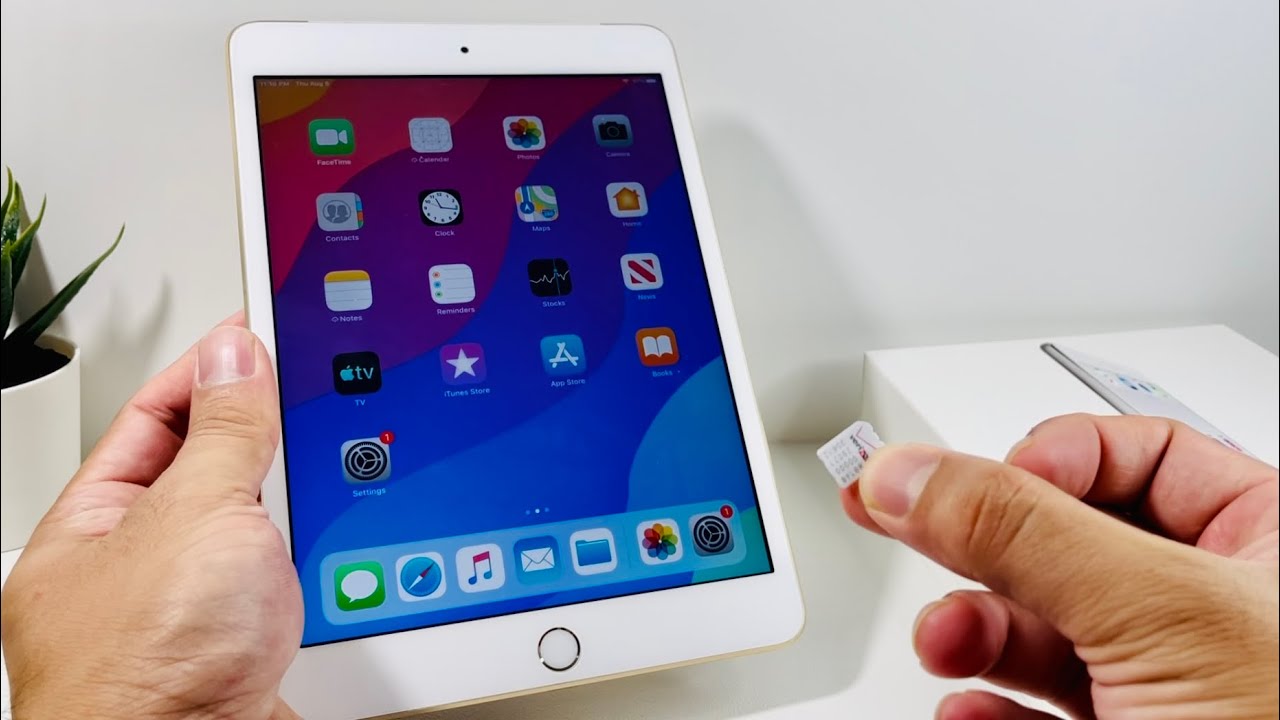
Prepare the SIM Card: Before inserting the SIM card, ensure that it is free from any damage and compatible with your iPad's SIM card slot size. If needed, carefully detach the SIM card from the plastic frame it may be attached to, ensuring that it remains flat and undamaged.
-
Align the SIM Card: Hold the SIM card with the gold contacts facing down and the notched corner aligned with the notched area in the SIM card slot. It's important to align the SIM card correctly to prevent any potential damage to the contacts or the slot.
-
Insert the SIM Card: Gently slide the SIM card into the SIM card slot, ensuring that it fits smoothly without using excessive force. The SIM card should slide in easily, with minimal resistance. Avoid applying pressure or inserting the SIM card at an angle, as this can cause damage to the slot.
-
Secure the SIM Card Tray: If your iPad model features a removable SIM card tray, carefully place the SIM card tray back into the slot, ensuring that it sits flush with the device's frame. Take care to align the tray properly to avoid any misalignment or potential damage.
By following these steps, you can confidently insert the SIM card into your iPad, setting the stage for the subsequent activation process. With the SIM card securely in place, your iPad is now ready for the next steps to activate the SIM card and establish seamless connectivity.
Now that the SIM card is correctly inserted, the subsequent steps will focus on turning on your iPad, connecting to a Wi-Fi network, and navigating the on-screen prompts to complete the activation process. These steps are crucial for ensuring that your SIM card is fully activated, allowing you to enjoy the full range of cellular features on your iPad.
Step 3: Turn on your iPad and connect to a Wi-Fi network
After successfully inserting the SIM card into your iPad, the next pivotal step is to power on your device and establish a connection to a Wi-Fi network. This step is crucial in initiating the activation process for your SIM card, as it allows your iPad to communicate with the cellular network and complete the necessary configurations. Follow these detailed instructions to seamlessly turn on your iPad and connect to a Wi-Fi network:
-
Power On Your iPad: Press and hold the power button located on the top or side of your iPad until the Apple logo appears on the screen. Once the logo is displayed, release the power button, and your iPad will boot up, displaying the familiar lock screen or home screen.
-
Unlock Your iPad: If your iPad is secured with a passcode or biometric authentication, such as Touch ID or Face ID, proceed to unlock the device by entering your passcode or using the designated biometric method. This step ensures that you have full access to the device's settings and connectivity options.
-
Access the Settings Menu: Navigate to the Settings app on your iPad's home screen. The Settings app features a gear icon and is typically located among the other app icons. Tap on the Settings app to access the device's settings and configuration options.
-
Select Wi-Fi: Within the Settings menu, locate and tap on the "Wi-Fi" option. This action will prompt your iPad to scan for available Wi-Fi networks in the vicinity. The Wi-Fi menu displays a list of detected networks, including both public and private Wi-Fi connections.
-
Choose a Wi-Fi Network: From the list of available Wi-Fi networks, select the network you wish to connect to by tapping on its name. If the selected network is secured with a password, you will be prompted to enter the password to authenticate the connection. Once the correct password is entered, your iPad will establish a connection to the selected Wi-Fi network.
-
Verify the Connection: Upon successful connection to the Wi-Fi network, your iPad will display a Wi-Fi icon in the status bar at the top of the screen. This icon indicates that your device is connected to the Wi-Fi network, enabling it to access the internet and proceed with the activation process for your SIM card.
By following these steps, you can effectively power on your iPad and connect to a Wi-Fi network, laying the foundation for the subsequent phase of activating your SIM card. The successful establishment of a Wi-Fi connection is essential for seamlessly completing the activation process and ensuring that your iPad is fully equipped to leverage its cellular capabilities.
Step 4: Follow the on-screen prompts to activate your SIM card
After successfully connecting to a Wi-Fi network, your iPad is now ready to guide you through the final phase of activating your SIM card. The on-screen prompts provided by the iPad's operating system will seamlessly lead you through the activation process, ensuring that your SIM card is fully operational and ready to utilize the cellular network. Here's a detailed overview of the steps to follow as you navigate the on-screen prompts to activate your SIM card:
-
SIM Card Activation Prompt: Upon establishing a Wi-Fi connection, your iPad may automatically detect the inserted SIM card and prompt you to activate it. If the prompt does not appear automatically, you can initiate the activation process manually by accessing the device's settings and selecting the "Cellular" or "Mobile Data" option.
-
Carrier Activation: If you're activating a new SIM card or switching to a new carrier, the on-screen prompts will guide you through the carrier activation process. You may be required to enter specific details, such as your carrier-provided activation code or your personal information, to initiate the activation with your chosen carrier.
-
Network Configuration: As part of the activation process, your iPad will communicate with the carrier's network to configure the necessary settings for cellular connectivity. This includes establishing the appropriate network profiles, enabling data services, and ensuring that your iPad can seamlessly connect to the cellular network.
-
Completion Confirmation: Once the activation process is initiated and the necessary configurations are in place, your iPad will display a confirmation message indicating the successful activation of your SIM card. This confirmation serves as a reassurance that your iPad is now fully equipped to utilize cellular data and make calls using the activated SIM card.
-
Testing Connectivity: After completing the activation process, you can test the connectivity of your activated SIM card by accessing the internet, sending text messages, and making calls. This step allows you to verify that the activation was successful and that your iPad can seamlessly utilize the cellular network for various communication and data-related tasks.
By following the on-screen prompts, you can effectively activate your SIM card and ensure that your iPad is fully equipped to leverage its cellular capabilities. The intuitive guidance provided by the on-screen prompts simplifies the activation process, making it accessible to users of all levels of technical expertise. With the activation completed, you can now enjoy the convenience and flexibility of using your iPad on the go, without any limitations on cellular connectivity.
Conclusion
In conclusion, activating your SIM card on your iPad is a fundamental process that empowers you to harness the full potential of your device's cellular capabilities. By following the step-by-step guide outlined in this comprehensive overview, you have gained the knowledge and confidence to seamlessly activate your SIM card and enjoy uninterrupted connectivity on your iPad.
The journey began with the essential task of locating the SIM card slot on your iPad, a pivotal step that sets the stage for inserting the SIM card correctly. Understanding the specific location of the SIM card slot and the corresponding SIM card size requirements ensures a smooth and error-free activation process.
The subsequent step involved delicately inserting the SIM card into the designated slot, aligning it properly to establish a secure connection with the cellular network. By following the detailed instructions provided, you were able to ensure that the SIM card was positioned correctly, laying the foundation for successful activation.
Powering on your iPad and connecting to a Wi-Fi network marked the next crucial phase, enabling your device to communicate with the cellular network and initiate the activation process. The seamless connection to a Wi-Fi network provided the necessary environment for your iPad to configure the SIM card and complete the activation seamlessly.
Finally, navigating the on-screen prompts to activate your SIM card encapsulated the culmination of the activation process. The intuitive guidance offered by the iPad's operating system ensured that you could effortlessly complete the activation, empowering you to utilize cellular data and make calls with ease.
With the activation process now successfully completed, your iPad is fully equipped to serve as a reliable companion for communication, productivity, and entertainment, whether you're at home, in the office, or on the go. The convenience of having a fully activated SIM card on your iPad opens up a world of possibilities, allowing you to stay connected and productive in diverse settings.
As you embark on your journey with an activated SIM card on your iPad, remember to explore the myriad of features and functionalities that cellular connectivity brings. From seamless internet access to the flexibility of making calls from your iPad, the activated SIM card enhances the versatility and utility of your device.
In essence, by activating your SIM card on your iPad, you have unlocked a realm of opportunities, seamlessly integrating cellular connectivity into your digital lifestyle. Embrace the newfound freedom and flexibility, knowing that your iPad is now fully equipped to keep you connected and productive wherever you go.