Introduction
When it comes to staying connected on the go, iPads with cellular capabilities offer the flexibility and convenience of accessing data and making calls without reliance on Wi-Fi networks. However, to leverage these features, it's essential to know how to locate the SIM card slot on your iPad and how to insert or remove the SIM card.
Understanding the process of accessing the SIM card slot is crucial for anyone who wants to use their iPad for cellular data or make calls using a SIM card. Whether you've just purchased a new iPad or are simply exploring the functionalities of your existing device, knowing the ins and outs of the SIM card slot can enhance your overall iPad experience.
In this comprehensive guide, we will walk you through the steps to identify your iPad model, locate the SIM card slot, and effectively insert or remove the SIM card. By the end of this article, you'll have a clear understanding of how to manage the SIM card on your iPad, empowering you to make the most of its cellular capabilities effortlessly. So, let's dive in and unravel the mysteries of the SIM card slot on your iPad!
Step 1: Identifying the iPad Model
Before delving into the specifics of locating the SIM card slot on your iPad, it's crucial to identify the model of your device. This step is essential as the location of the SIM card slot may vary based on the iPad model.
To determine the model of your iPad, start by navigating to the "Settings" app on your device. Once there, tap on "General" and then select "About." Here, you'll find a wealth of information about your iPad, including its model name and number.
Alternatively, if your iPad has a physical Home button, you can identify the model by examining the back of the device. The model number is usually printed on the lower portion of the back cover. By referencing this number, you can easily determine the specific model of your iPad.
It's important to note that each iPad model may have distinct features and capabilities, so identifying the exact model is crucial for accurate guidance on locating the SIM card slot. Whether you have the iPad Pro, iPad Air, iPad Mini, or the standard iPad, understanding the model is the first step towards effectively managing the SIM card on your device.
By taking the time to identify your iPad model, you're setting the stage for a seamless experience in locating the SIM card slot and ensuring that you can make the most of your iPad's cellular capabilities. With this knowledge in hand, you're now ready to proceed to the next step of pinpointing the SIM card slot on your specific iPad model.
Step 2: Locating the SIM Card Slot on iPad
Locating the SIM card slot on your iPad is a pivotal step in harnessing its cellular capabilities. The placement of the SIM card slot may differ based on the iPad model, and understanding its precise location is essential for seamless SIM card management.
iPad Pro and iPad Air
For the iPad Pro and iPad Air models, the SIM card slot can be found on the right side of the device. Look for a small tray with a pinhole. This pinhole is designed to accommodate the SIM card removal tool, which is typically provided with the iPad at the time of purchase. Inserting the removal tool into the pinhole will eject the SIM card tray, allowing you to insert or replace the SIM card as needed.
iPad Mini and Standard iPad
In contrast, the SIM card slot for the iPad Mini and the standard iPad is located on the left side of the device. Similar to the iPad Pro and iPad Air, a pinhole can be found adjacent to the slot. By using the provided SIM card removal tool, you can effortlessly access the SIM card tray and manage your SIM card with ease.
By familiarizing yourself with the specific location of the SIM card slot on your iPad model, you'll be well-equipped to navigate the process of inserting, removing, or replacing the SIM card whenever necessary. This understanding empowers you to make the most of your iPad's cellular capabilities, ensuring that you can stay connected and access data on the go.
Additional Considerations
It's important to handle the SIM card and the SIM card removal tool with care. When ejecting the SIM card tray, apply gentle pressure to avoid any damage to the device or the SIM card slot. Additionally, always power off your iPad before inserting or removing the SIM card to prevent any potential data or hardware issues.
With the SIM card slot location demystified, you're now prepared to proceed to the next step of effectively managing the SIM card on your iPad. Whether you're looking to set up cellular data connectivity or replace an existing SIM card, understanding the location of the SIM card slot is a fundamental aspect of leveraging your iPad's full range of functionalities.
Step 3: Inserting and Removing the SIM Card
Once you've located the SIM card slot on your iPad, the next crucial step is to understand the process of inserting and removing the SIM card. Whether you're setting up cellular data connectivity for the first time or replacing an existing SIM card, mastering this procedure is essential for seamless SIM card management.
Inserting the SIM Card
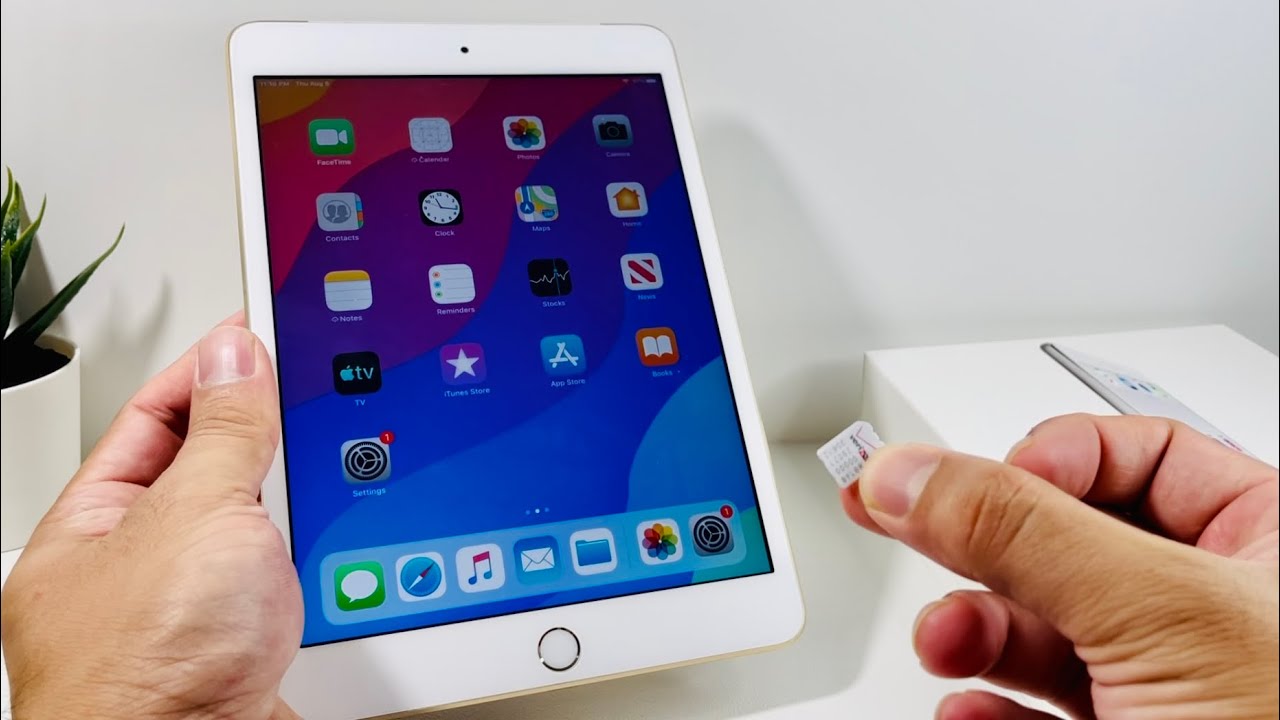
To insert a SIM card into your iPad, begin by powering off the device. This precautionary step ensures that the iPad is safely powered down before you proceed with the SIM card management process. Once the iPad is turned off, locate the SIM card tray on the designated side of the device, based on your iPad model.
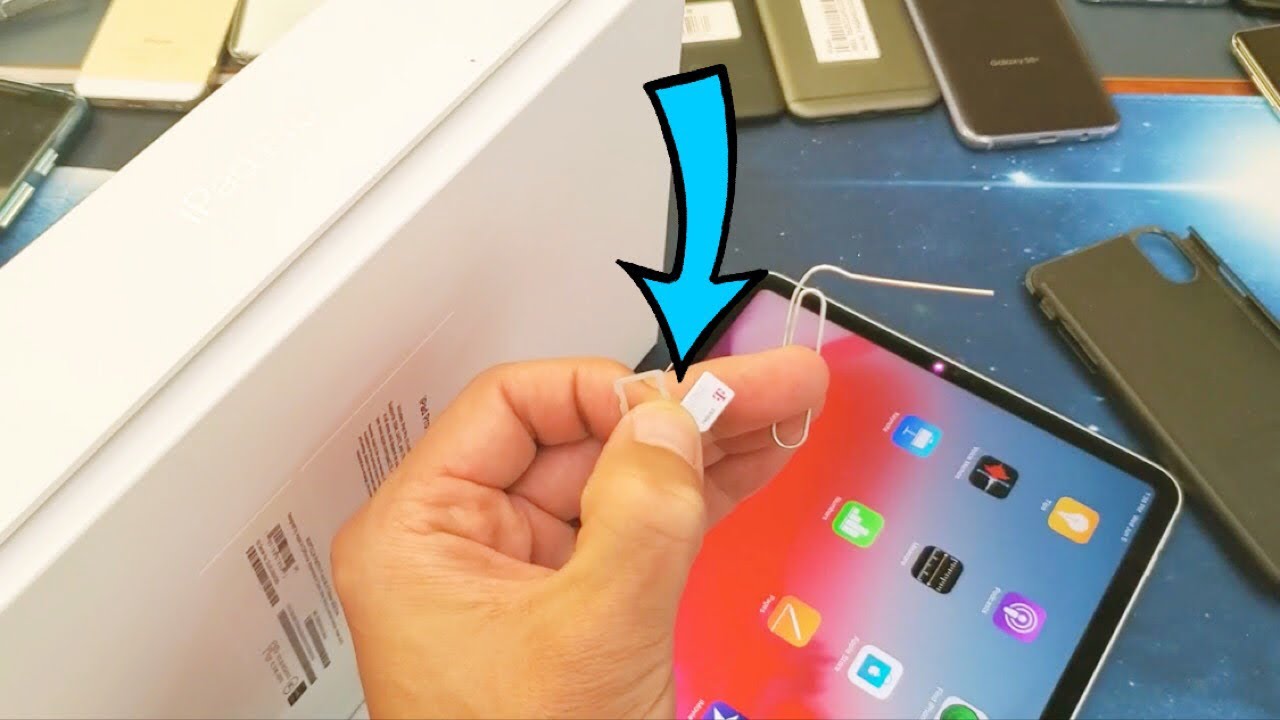
Using the provided SIM card removal tool or a small paperclip, gently insert it into the pinhole adjacent to the SIM card slot. Applying slight pressure will cause the SIM card tray to pop out, allowing you to access the tray and insert the SIM card securely. Ensure that the SIM card is aligned correctly with the tray, matching the shape of the slot to prevent any potential damage to the card or the device.
After placing the SIM card in the tray, carefully slide it back into the SIM card slot until it is flush with the iPad's exterior. Once the tray is securely in place, you can power on your iPad and proceed to set up your cellular data connectivity, following the prompts provided on the device.
Removing the SIM Card
Should the need arise to remove the SIM card from your iPad, the process is equally straightforward. Again, begin by powering off the device to ensure safe handling of the SIM card and the SIM card tray. Once the iPad is powered down, use the SIM card removal tool or a paperclip to eject the SIM card tray from the designated slot.
Gently remove the SIM card tray from the iPad, ensuring careful handling to prevent any damage to the device or the SIM card itself. Once the tray is removed, simply push the existing SIM card out of the tray and proceed with inserting a new SIM card if necessary.
After replacing or removing the SIM card, securely reinsert the SIM card tray back into the designated slot on your iPad. Once the tray is in place, you can power on your device and resume your activities, whether it's accessing cellular data or making calls using the SIM card.
By understanding the precise steps involved in inserting and removing the SIM card from your iPad, you can effectively manage your device's cellular capabilities with confidence and ease. Whether you're a new iPad user or seeking to optimize your existing device, mastering the SIM card management process is a valuable skill that enhances your overall iPad experience.
Conclusion
In conclusion, mastering the process of locating the SIM card slot on your iPad and effectively managing the SIM card is a valuable skill that empowers you to make the most of your device's cellular capabilities. By following the steps outlined in this guide, you've gained a comprehensive understanding of how to identify your iPad model, locate the SIM card slot, and seamlessly insert or remove the SIM card as needed.
Understanding the specific location of the SIM card slot based on your iPad model is the first step towards leveraging its cellular functionalities. Whether you have an iPad Pro, iPad Air, iPad Mini, or the standard iPad, knowing where to find the SIM card slot ensures that you can effortlessly access and manage your SIM card, enabling seamless connectivity and data access on the go.
Moreover, the process of inserting and removing the SIM card has been demystified, allowing you to handle these tasks with confidence and ease. Whether you're setting up cellular data connectivity for the first time or replacing an existing SIM card, the step-by-step instructions provided in this guide equip you with the knowledge to navigate the SIM card management process effectively.
By familiarizing yourself with the nuances of managing the SIM card on your iPad, you're well-prepared to stay connected, access data, and make calls using your device's cellular capabilities. This understanding enhances the overall functionality of your iPad, providing you with the flexibility to utilize its full range of features on the go.
In essence, the ability to confidently manage the SIM card on your iPad contributes to a seamless and enriched user experience. Whether you're a professional on the move, a student accessing educational resources, or an individual staying connected with loved ones, the convenience of cellular connectivity on your iPad is now within your grasp, thanks to your newfound knowledge of the SIM card slot and management process.
With this guide as your companion, you're equipped to harness the full potential of your iPad's cellular capabilities, ensuring that you can stay connected and productive wherever your journey takes you. So, go ahead, confidently manage your iPad's SIM card, and embrace the boundless possibilities of connectivity and communication at your fingertips.