Introduction
Inserting a SIM card into a flip phone is a fundamental step in setting up your device for communication. Whether you're a tech-savvy individual or someone who is new to the world of mobile devices, understanding how to insert a SIM card into a flip phone is essential. This guide will walk you through the process, providing a step-by-step approach to ensure a seamless experience.
A Subscriber Identity Module (SIM) card is a small, removable card that stores crucial information for connecting to a mobile network. It contains unique details such as the user's phone number, network authorization, and personal data. When you insert a SIM card into your flip phone, you enable it to make and receive calls, send text messages, and access mobile data services.
Whether you've just purchased a new flip phone or are switching to a different device, knowing how to insert a SIM card is a valuable skill. By following the steps outlined in this guide, you'll be able to successfully insert a SIM card into your flip phone and start using it for communication purposes.
Now, let's delve into the step-by-step process of inserting a SIM card into your flip phone, ensuring that you can seamlessly connect to your mobile network and enjoy the full functionality of your device.
Step 1: Locate the SIM card slot
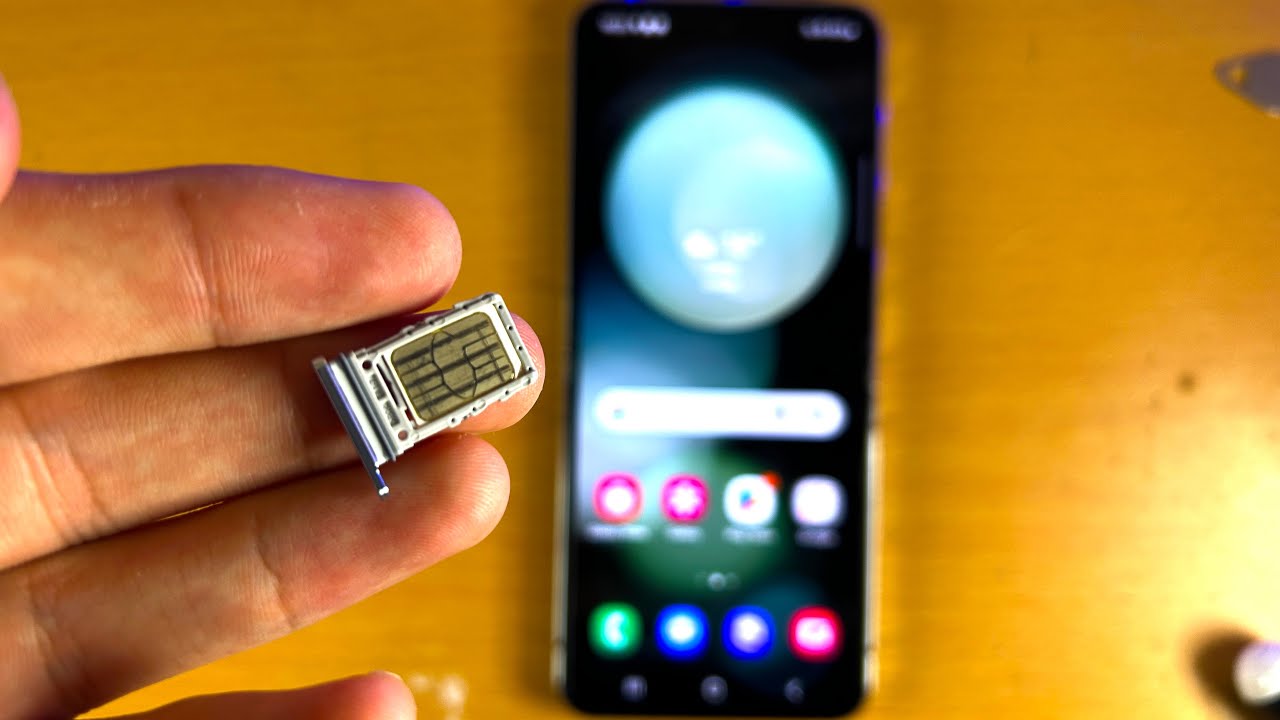
Before you can insert a SIM card into your flip phone, it's crucial to locate the SIM card slot. The SIM card slot is typically situated on the back of the phone, beneath the battery cover. However, the exact location may vary depending on the specific model of your flip phone.
To locate the SIM card slot, gently turn the phone over and examine the back cover. Look for a small, discreet slot that is designed to accommodate the SIM card. In some flip phones, the SIM card slot may be positioned next to the phone's battery, while in others, it may be located near the bottom of the device.
If you're having trouble finding the SIM card slot, refer to the user manual that came with your flip phone. The manual often contains detailed illustrations and instructions that can help you identify the location of the SIM card slot with ease.
In modern flip phones, the SIM card slot is designed to be user-friendly, featuring a small icon or label that indicates its presence. This visual cue can be immensely helpful in pinpointing the exact location of the slot, ensuring that you can proceed with inserting the SIM card accurately.
Once you've successfully located the SIM card slot, you're ready to move on to the next step in the process of inserting a SIM card into your flip phone. With the knowledge of the SIM card slot's location at your fingertips, you can confidently proceed to the subsequent steps, ultimately enabling your flip phone to connect to the mobile network and unlock its full potential for communication and connectivity.
Step 2: Open the back cover of the flip phone
Opening the back cover of a flip phone is a crucial step in the process of inserting a SIM card. This step allows you to access the internal compartment where the SIM card slot is located, enabling you to proceed with the subsequent steps seamlessly.
To open the back cover of your flip phone, begin by identifying the specific mechanism designed to secure the cover in place. In most flip phones, the back cover is held in position by a small latch or a series of clips that ensure a snug fit. Depending on the model of your flip phone, the method of opening the back cover may vary.
Once you've identified the securing mechanism, gently apply pressure to the designated area to release the latch or unfasten the clips. It's essential to exercise caution and avoid using excessive force, as this may lead to damage to the back cover or the phone itself. If you encounter resistance while attempting to open the back cover, take a moment to reassess the securing mechanism and adjust your approach accordingly.
As the back cover loosens, carefully lift it away from the body of the flip phone. Pay close attention to any resistance or obstacles that may impede the smooth removal of the cover. Some flip phones feature a hinge mechanism that connects the back cover to the main body of the device. If your flip phone includes this feature, ensure that you pivot the cover gently to avoid placing strain on the hinge.
Upon successfully removing the back cover, take a moment to familiarize yourself with the internal layout of the flip phone. You may notice the battery, the SIM card slot, and other components housed within the device. This brief inspection can provide valuable insight into the organization of the internal components, setting the stage for the subsequent steps in the SIM card insertion process.
With the back cover of your flip phone now open, you are ready to proceed to the next step of inserting the SIM card. By following these detailed instructions and exercising care throughout the process, you can confidently navigate the task of opening the back cover, setting the stage for a smooth and successful SIM card insertion experience.
Step 3: Insert the SIM card
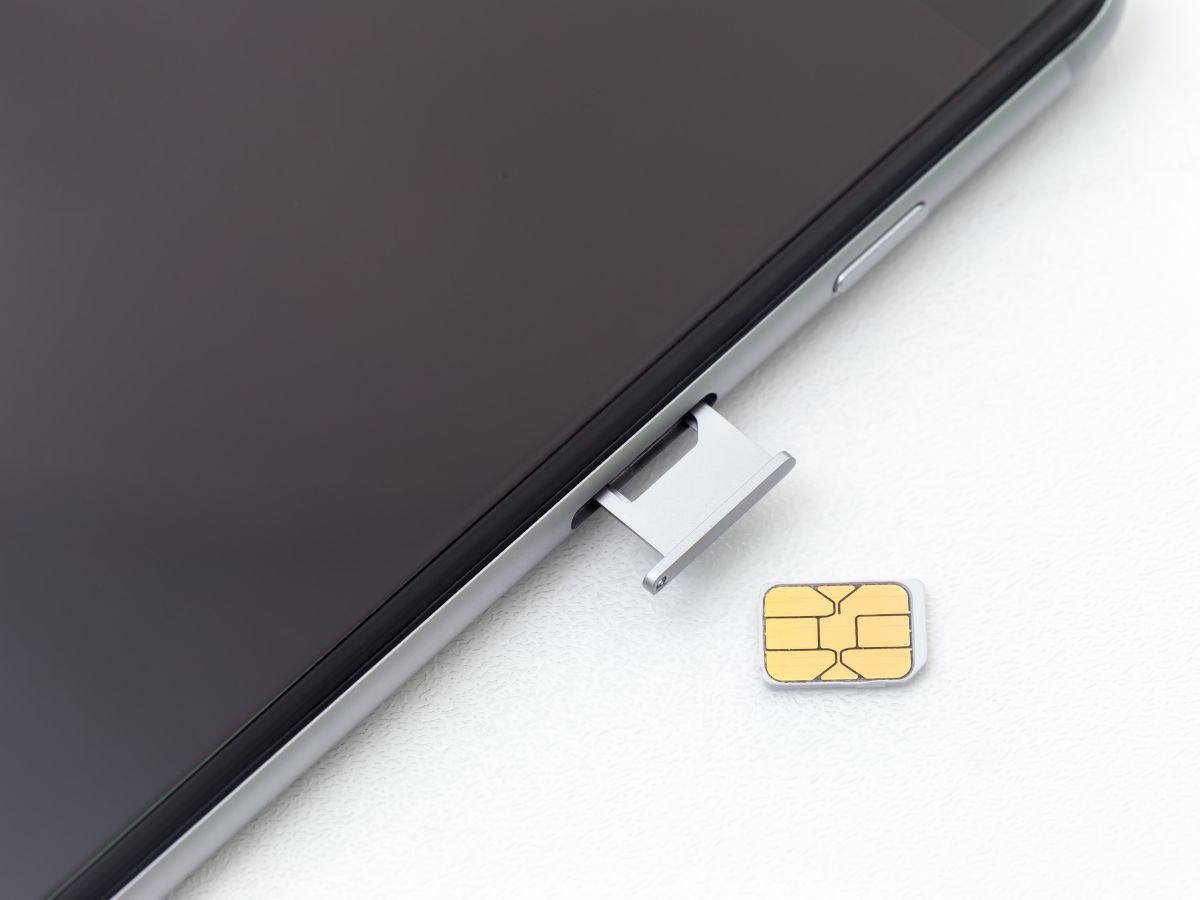
With the back cover of your flip phone open, you are now ready to proceed with the pivotal step of inserting the SIM card. The SIM card slot, which you located in the earlier step, is now accessible, awaiting the insertion of the SIM card to enable connectivity with your mobile network.
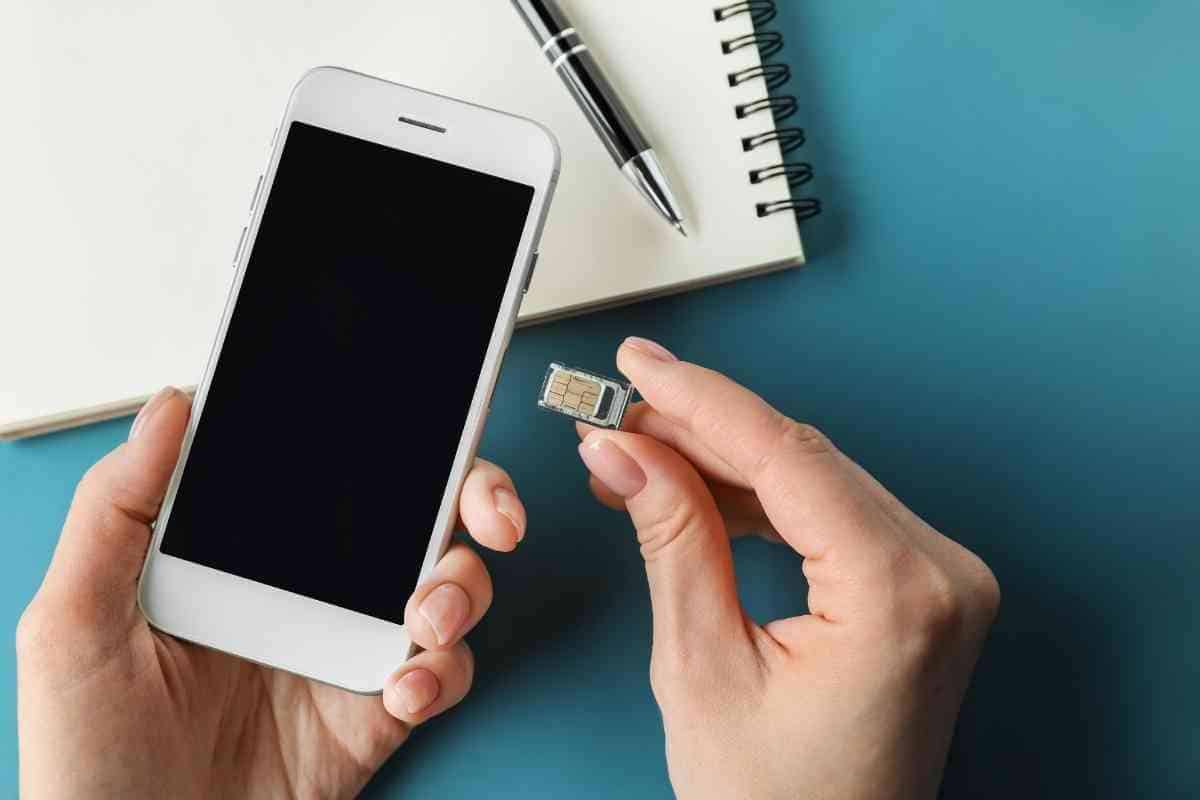
Before inserting the SIM card, take a moment to examine the card itself. A standard SIM card is a small, rectangular piece with a metallic chip embedded in its surface. This chip contains vital information that allows the SIM card to communicate with the mobile network, facilitating seamless connectivity for your flip phone.
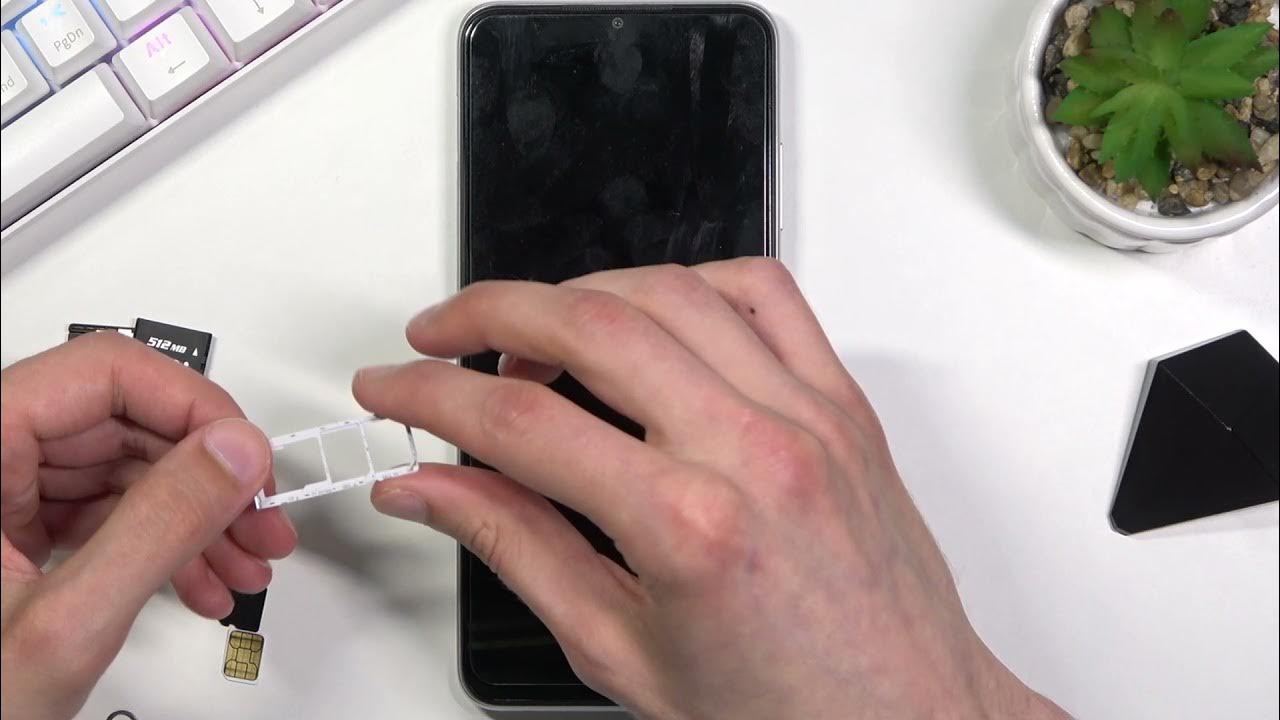
To insert the SIM card, carefully align it with the designated slot within the phone. The SIM card slot is designed to accommodate the specific dimensions of the card, ensuring a snug and secure fit. As you position the SIM card, be mindful of the orientation indicated by any visual cues or markings near the slot. Most SIM card slots feature a small diagram or label that illustrates the correct alignment for inserting the card.
Gently slide the SIM card into the slot, applying steady and even pressure to ensure a smooth insertion. Take care to avoid forcing the card into the slot, as this may cause damage to both the card and the phone. With a gentle and deliberate motion, you should feel the SIM card slotting into place, signaling that it is securely positioned within the flip phone.
Once the SIM card is inserted, take a moment to verify that it is seated properly within the slot. Ensure that the card lies flat and is not protruding from the slot, as this may hinder the reassembly of the phone and affect its functionality. A well-inserted SIM card sits flush within the slot, ready to facilitate the vital connection between your flip phone and the mobile network.
With the SIM card successfully inserted, you have completed a crucial stage in the process of setting up your flip phone for communication. The secure placement of the SIM card within the designated slot sets the stage for the subsequent steps, ultimately leading to the seamless activation of your device for connectivity and communication purposes.
Step 4: Close the back cover
After successfully inserting the SIM card into your flip phone, the next crucial step is to close the back cover securely. This step is essential for ensuring the proper functioning and integrity of your device, as it encases the internal components and safeguards them from external elements. By following the detailed instructions below, you can complete the process of inserting a SIM card into your flip phone with precision and care.
To close the back cover, begin by aligning it with the body of the flip phone. Take note of any grooves or guides along the edges of the cover, as these are designed to interlock with corresponding features on the phone's main body. Aligning the back cover accurately is pivotal in ensuring a seamless closure that provides a snug and secure fit.
As you position the back cover, apply gentle pressure to the edges, gradually guiding it into place. Take care to maintain even pressure across the entire perimeter of the cover, allowing it to settle into position smoothly. If your flip phone features a latch mechanism, listen for a soft click or feel for a subtle resistance as the latch engages, indicating that the cover is securely fastened.
Once the back cover is in position, take a moment to inspect the edges and seams to ensure that the cover is aligned correctly. A well-closed back cover sits flush with the body of the flip phone, with no gaps or unevenness along the edges. This meticulous attention to detail ensures that the internal components remain protected and that the SIM card is securely housed within the device.
With the back cover securely closed, your flip phone is now fully equipped to establish a connection with the mobile network and enable seamless communication and connectivity. This pivotal step marks the culmination of the SIM card insertion process, setting the stage for the subsequent activation of your device and the utilization of its communication features.
By following these detailed instructions and exercising care throughout the process, you can confidently navigate the task of closing the back cover, ultimately ensuring the optimal functionality and integrity of your flip phone.
Step 5: Turn on the phone and check for connectivity
With the SIM card securely inserted and the back cover closed, the final step in the process of setting up your flip phone for communication is to power on the device and verify its connectivity to the mobile network. This pivotal step marks the culmination of the SIM card insertion process, ultimately enabling you to harness the full functionality of your flip phone for calls, text messages, and mobile data usage.
To turn on your flip phone, locate the power button, typically situated along the side or the top of the device. Depress the power button for a few seconds until the screen lights up, indicating that the phone is booting up. As the device powers on, you may observe the startup screen or the manufacturer's logo, signifying that the internal components are initializing.
Once the flip phone is powered on, take a moment to ensure that the signal bars or connectivity indicators are displayed on the screen. These visual cues provide valuable insight into the device's ability to establish a connection with the mobile network. Signal bars, often depicted as ascending bars or dots, signify the strength of the cellular signal, with more bars indicating a stronger connection.
After confirming the presence of signal bars or connectivity indicators, proceed to check the functionality of the phone by placing a test call or sending a text message. Initiating a call or composing a text message allows you to verify that the SIM card is recognized by the device and that it can communicate with the mobile network seamlessly. As the call connects or the message sends successfully, you can be assured that your flip phone is fully activated and ready for use.
In addition to making a test call or sending a text message, consider accessing the internet browser or a mobile app that requires data connectivity. By attempting to browse a website or launch an app, you can confirm that the mobile data services associated with your SIM card are operational, allowing you to harness the full spectrum of connectivity offered by your flip phone.
By completing these verification steps, you can ensure that your flip phone is fully activated and capable of seamless communication and connectivity. The successful power-up and connectivity check mark the culmination of the SIM card insertion process, empowering you to leverage the full potential of your device for staying connected and accessing mobile services.
With the completion of these steps, you have successfully inserted a SIM card into your flip phone and verified its connectivity, setting the stage for a seamless communication experience. Whether you're making calls, sending messages, or accessing mobile data, your flip phone is now fully equipped to meet your communication needs effectively and reliably.
Conclusion
In conclusion, the process of inserting a SIM card into a flip phone is a fundamental step in setting up the device for seamless communication and connectivity. By following the step-by-step guide outlined in this article, you have gained valuable insights into the intricacies of inserting a SIM card into your flip phone, enabling you to navigate the process with confidence and precision.
From locating the SIM card slot to powering on the device and verifying its connectivity, each step in the process plays a crucial role in ensuring the successful insertion and activation of the SIM card. By carefully opening the back cover, aligning and inserting the SIM card, and closing the cover securely, you have set the stage for the seamless operation of your flip phone, allowing you to make calls, send text messages, and access mobile data services with ease.
The successful insertion of a SIM card into your flip phone not only facilitates communication but also opens the door to a world of connectivity, empowering you to stay in touch with loved ones, colleagues, and friends while on the go. Whether you're using your flip phone for personal or professional purposes, the ability to insert a SIM card and activate the device is a valuable skill that enhances its functionality and utility.
As you power on your flip phone and observe the signal bars or connectivity indicators, you can take pride in the knowledge that you have successfully completed the process of setting up your device for communication. The ability to verify the connectivity and functionality of your flip phone serves as a testament to your adeptness in navigating the intricacies of mobile devices, ultimately empowering you to make the most of your communication tools.
In essence, the process of inserting a SIM card into a flip phone is more than a technical task; it is a gateway to seamless communication and connectivity. By following the steps outlined in this guide and exercising care and precision throughout the process, you have equipped your flip phone to serve as a reliable and effective communication tool, ready to keep you connected and informed in the fast-paced world of mobile communication.
With the completion of the SIM card insertion process, you are now poised to embark on a journey of seamless communication and connectivity, harnessing the full potential of your flip phone to stay in touch, share moments, and access vital information on the go. As you embark on this journey, may your flip phone serve as a steadfast companion, enabling you to navigate the digital landscape with confidence and ease.