Introduction
Moving contacts from a feature phone to an iPhone can be an essential task when upgrading to a new device. While it may seem daunting at first, there are several methods to seamlessly transfer your contacts. Whether you're tech-savvy or a novice, the process can be relatively straightforward with the right guidance.
As feature phones and smartphones operate on different platforms, transferring contacts requires a bit of finesse. Fortunately, there are multiple options available, including using a SIM card, utilizing a third-party app, or leveraging iCloud. Each method has its advantages and considerations, so it's crucial to choose the one that best suits your needs and technical comfort level.
The transition from a feature phone to an iPhone can mark a significant shift in your digital lifestyle. With the wealth of features and functionalities that iPhones offer, having your contacts readily available on your new device is a crucial first step. By exploring the various methods for transferring contacts, you can ensure a smooth and efficient migration, allowing you to seamlessly integrate your contacts into your iPhone's ecosystem.
In the following sections, we'll delve into each method, providing step-by-step instructions and insights to help you make an informed decision. Whether you prefer a direct transfer using a SIM card, the convenience of a third-party app, or the seamless integration offered by iCloud, you'll find the guidance you need to move your contacts to your new iPhone with ease. Let's explore these methods in detail to empower you to make the best choice for your specific needs.
Using a SIM Card
Transferring contacts from a feature phone to an iPhone using a SIM card is a straightforward and traditional method. Most feature phones store contacts on the SIM card, making it a convenient medium for transferring them to a new device. Here’s a step-by-step guide to help you seamlessly move your contacts using a SIM card:
- Export Contacts: On your feature phone, navigate to the contacts app and look for an option to export contacts to the SIM card. This process may vary depending on the phone model, so refer to the user manual for specific instructions.
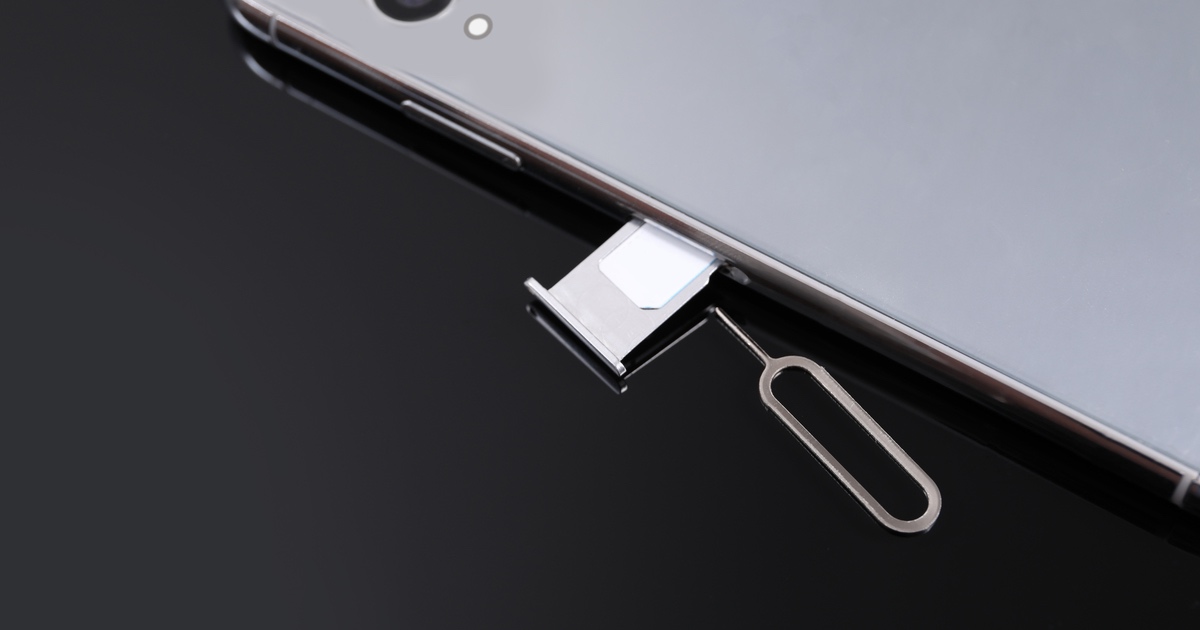
- Insert SIM Card: Once the contacts are exported, power off your feature phone and remove the SIM card. Insert the SIM card into your iPhone, ensuring that it is compatible with the iPhone model you have.
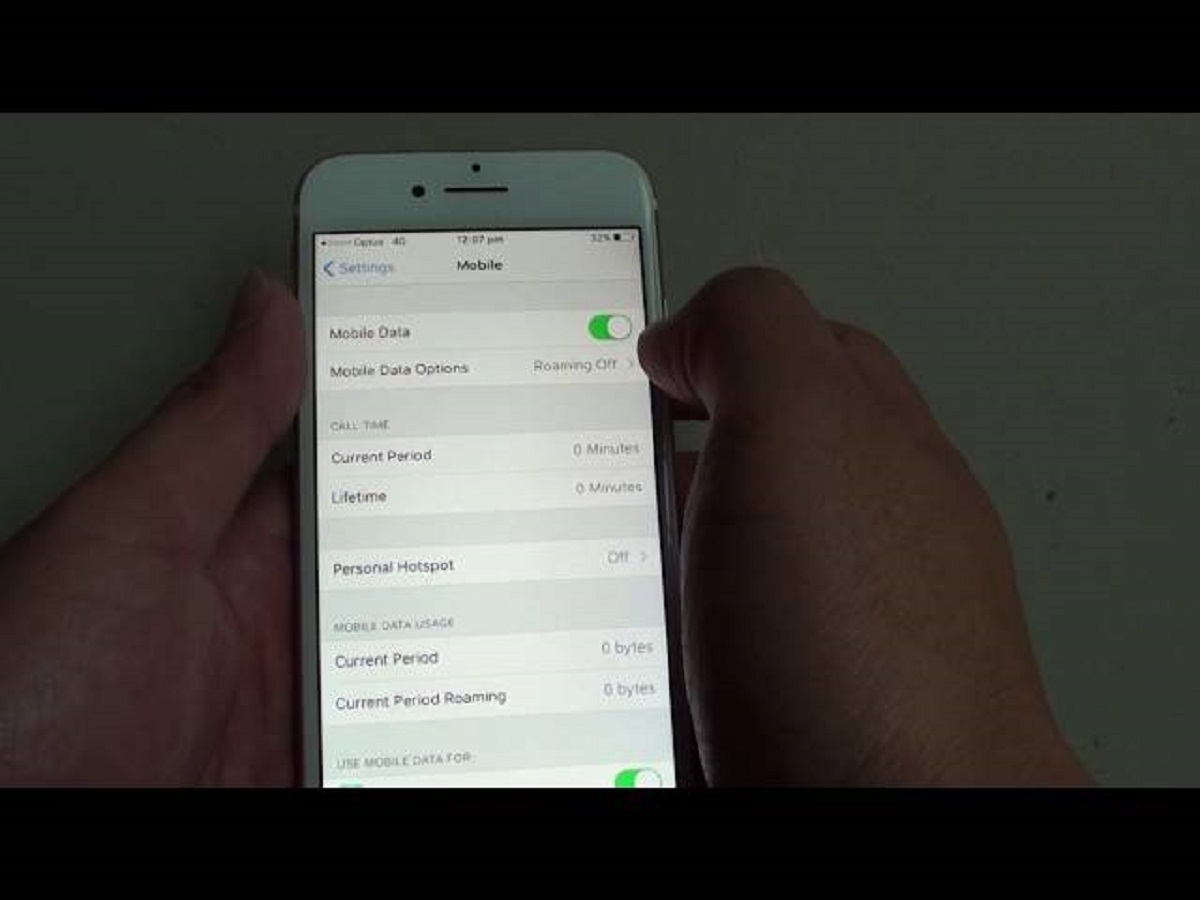
- Import Contacts: Turn on your iPhone and navigate to the Settings app. Tap on “Contacts” and then select “Import SIM Contacts.” Your iPhone will begin importing the contacts from the SIM card to your device’s internal storage.
- Review and Organize: After the import process is complete, review your contacts to ensure that all the information has been transferred accurately. You may need to organize and merge duplicate contacts, which can be done directly on your iPhone.
Using a SIM card for transferring contacts is an efficient method, especially if you have a large number of contacts stored on your feature phone. However, it’s important to note that SIM cards have limitations in terms of storage capacity, and not all contact details may be transferred, such as email addresses, notes, or additional fields.
Additionally, some newer feature phones and iPhones may use different SIM card sizes, so you may need an adapter or a new SIM card to fit the iPhone’s SIM card slot. Despite these considerations, the SIM card method remains a popular choice due to its simplicity and accessibility.
Using a Third-Party App
Transferring contacts from a feature phone to an iPhone can also be accomplished using third-party apps, offering a convenient alternative to traditional methods. These apps are designed to facilitate the seamless migration of contacts across different platforms, making the transition to your new iPhone effortless. Here’s a guide to using a third-party app for transferring your contacts:
- Choose a Compatible App: Explore the App Store on your iPhone to find a third-party contact transfer app that is compatible with both your feature phone and iPhone. Look for apps with positive reviews and a user-friendly interface.
- Install and Launch the App: Download and install the chosen app on your iPhone. Follow the app’s instructions to launch it and initiate the contact transfer process.
- Connect Your Feature Phone: Depending on the app, you may need to connect your feature phone to your iPhone using a USB cable, Bluetooth, or a Wi-Fi connection. The app will guide you through the necessary steps to establish the connection.
- Initiate the Transfer: Once the connection is established, follow the app’s prompts to initiate the transfer of contacts from your feature phone to your iPhone. The app will handle the data transfer process, ensuring that your contacts are seamlessly migrated to your iPhone’s address book.
- Verify and Organize: After the transfer is complete, verify that all your contacts have been successfully transferred to your iPhone. Take this opportunity to organize and update any contact information as needed, ensuring that your address book is up to date.
Using a third-party app offers a modern and user-friendly approach to transferring contacts, especially for individuals who prefer a guided and intuitive process. These apps often provide additional features, such as contact deduplication, backup options, and support for various contact formats, enhancing the overall transfer experience.
It’s important to select a reputable app from the App Store to ensure the security and integrity of your contact data. Additionally, some third-party apps may require a one-time purchase or offer in-app upgrades for advanced features, so be mindful of any associated costs.
With the right third-party app, you can streamline the transfer process and enjoy a seamless transition of your contacts from your feature phone to your new iPhone.
Using iCloud
Utilizing iCloud provides a seamless and integrated method for transferring contacts from a feature phone to an iPhone. iCloud serves as Apple’s cloud storage and synchronization service, allowing you to effortlessly migrate your contacts while leveraging the full capabilities of your iPhone. Here’s a comprehensive guide to using iCloud for contact transfer:
- Set Up iCloud on Your iPhone: If you haven’t already set up iCloud on your iPhone, navigate to the Settings app, tap on your Apple ID, and select “iCloud.” Enable the “Contacts” option to ensure that your contacts are synced with iCloud.
- Export Contacts from Your Feature Phone: Depending on your feature phone model, look for an option to export contacts to a compatible format, such as a VCF (vCard) file. This process may vary, so consult your feature phone’s user manual for specific instructions.
- Import Contacts to iCloud: Using a computer or another device with internet access, navigate to the iCloud website and sign in with your Apple ID. Select the “Contacts” option and import the contacts file (VCF format) that you exported from your feature phone. This will upload your contacts to iCloud.
- Sync Contacts on Your iPhone: On your iPhone, ensure that iCloud syncing is enabled for contacts. Navigate to the Settings app, tap on your Apple ID, select “iCloud,” and toggle the “Contacts” option to enable syncing. Your contacts from iCloud will now be seamlessly integrated into your iPhone’s address book.
- Review and Update: After the sync process is complete, review your contacts on your iPhone to ensure that all the information has been transferred accurately. Take this opportunity to update any contact details and organize your address book according to your preferences.
Using iCloud for contact transfer offers a comprehensive and efficient solution, seamlessly integrating your contacts into your iPhone’s ecosystem. By leveraging iCloud’s synchronization capabilities, you can ensure that your contacts are always up to date across all your Apple devices, providing a seamless user experience.
It’s important to have a stable internet connection during the export and import processes to ensure the successful transfer of your contacts to iCloud. Additionally, iCloud provides a secure platform for storing and syncing your contact data, offering peace of mind regarding data integrity and accessibility.
With iCloud, you can embrace the full potential of your iPhone’s features while effortlessly transferring and managing your contacts, setting the stage for a seamless transition to your new device.
Conclusion
Transferring contacts from a feature phone to an iPhone is a pivotal step when upgrading to a new device. Whether you opt for the traditional method of using a SIM card, the modern convenience of a third-party app, or the seamless integration offered by iCloud, each approach presents unique advantages to suit your preferences and technical comfort level.
By exploring the various methods outlined in this guide, you can make an informed decision and seamlessly migrate your contacts to your new iPhone. The simplicity and accessibility of using a SIM card, the user-friendly approach of a third-party app, and the seamless integration provided by iCloud offer versatile solutions to meet your specific needs.
When considering the best method for transferring your contacts, it’s essential to weigh factors such as the number of contacts, the compatibility of your feature phone, and your familiarity with technology. Whether you prioritize a direct and traditional transfer, a guided and modern approach, or seamless synchronization across your Apple devices, the options available cater to a diverse range of preferences.
Ultimately, the process of moving your contacts to your new iPhone marks the beginning of an exciting journey with enhanced features and functionalities. Embracing the seamless transfer of your contacts ensures that you can fully leverage the capabilities of your iPhone while staying connected with your network.
With the guidance provided in this comprehensive overview, you are empowered to make an informed decision and seamlessly transfer your contacts to your new iPhone, setting the stage for a smooth and efficient transition to your upgraded device.