Introduction
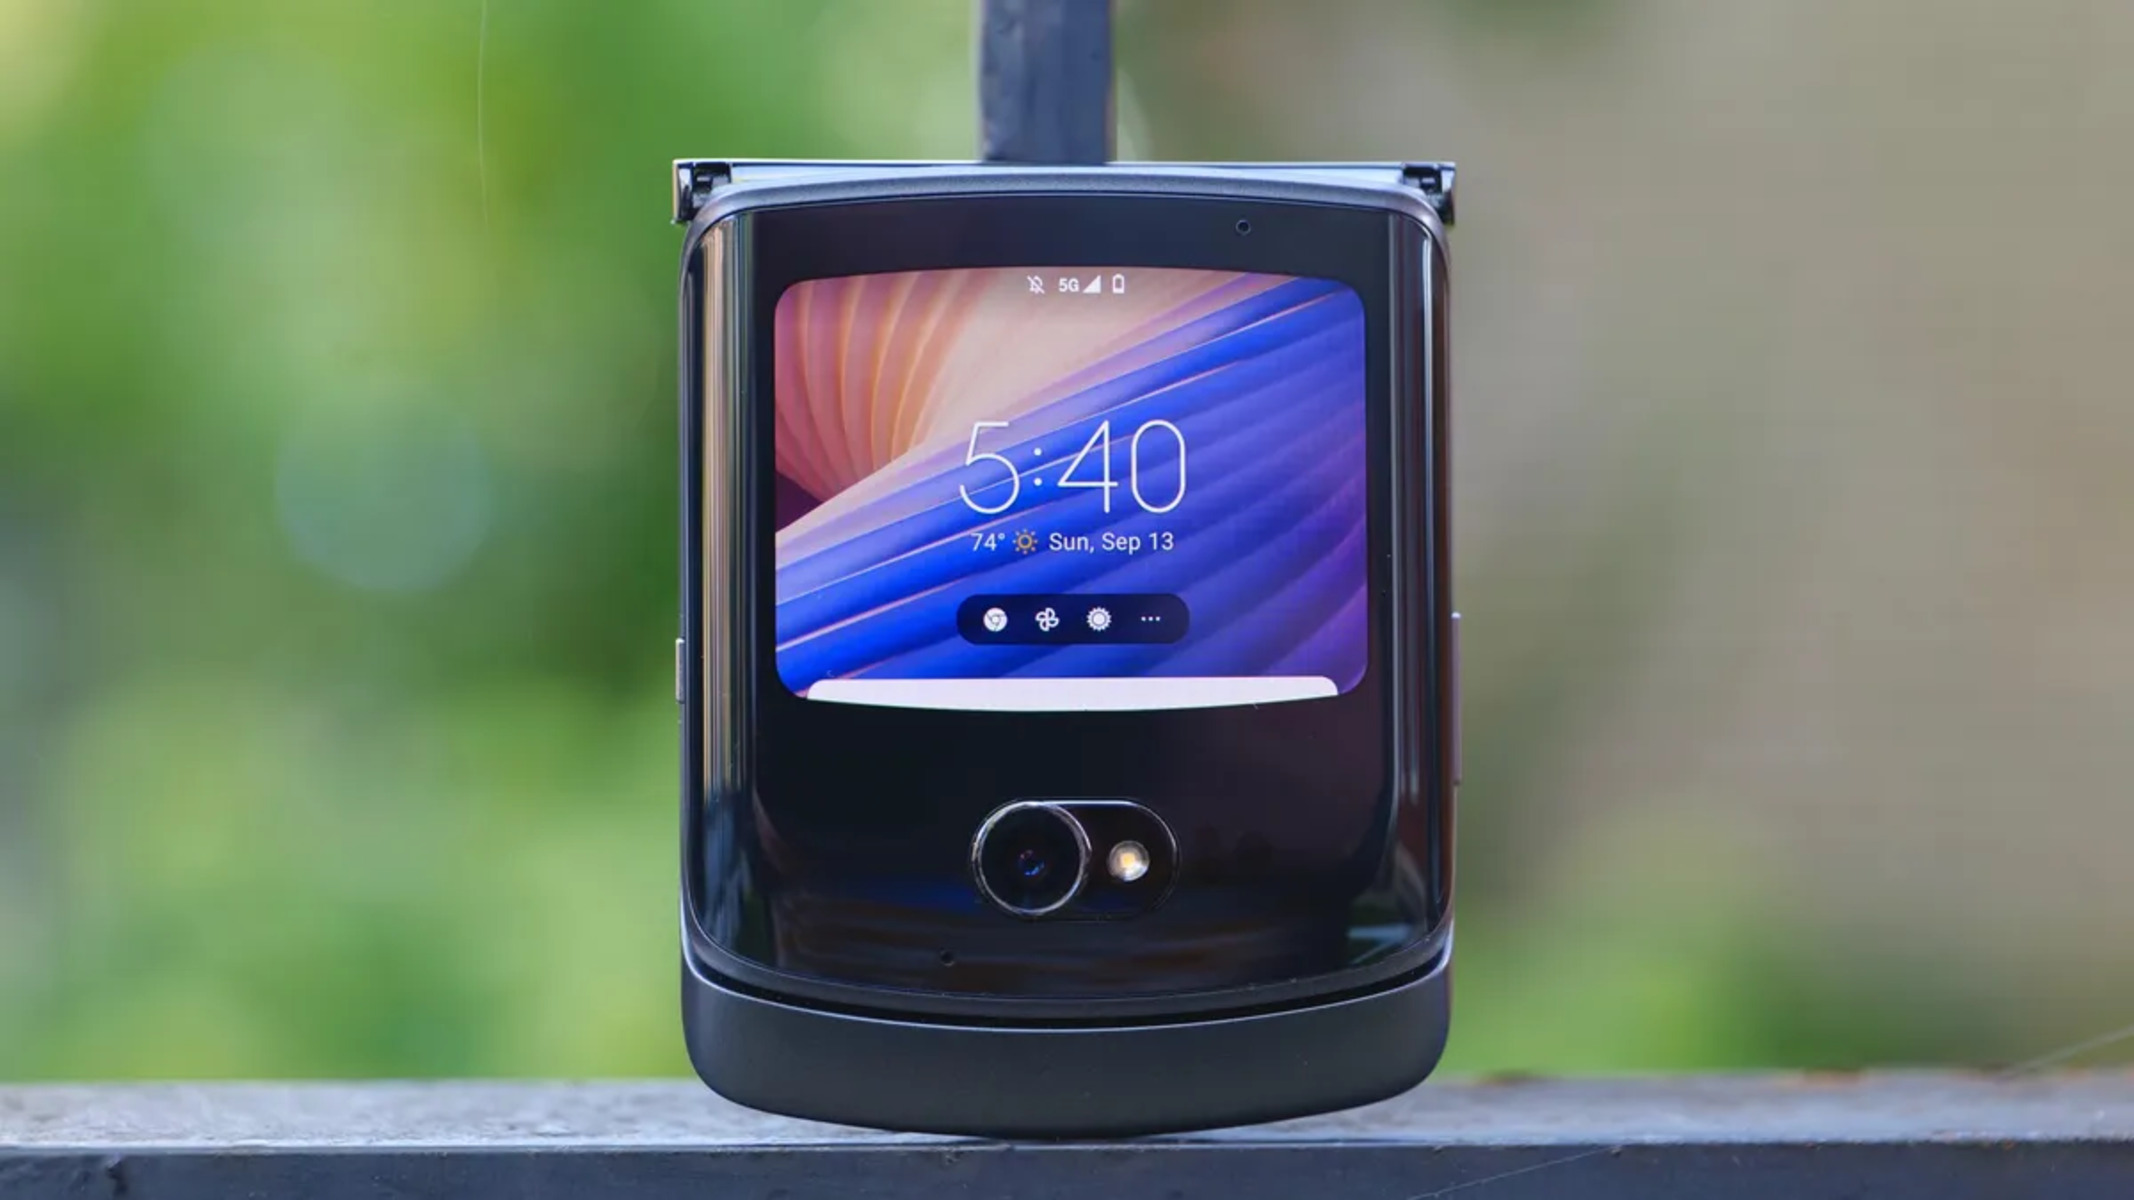
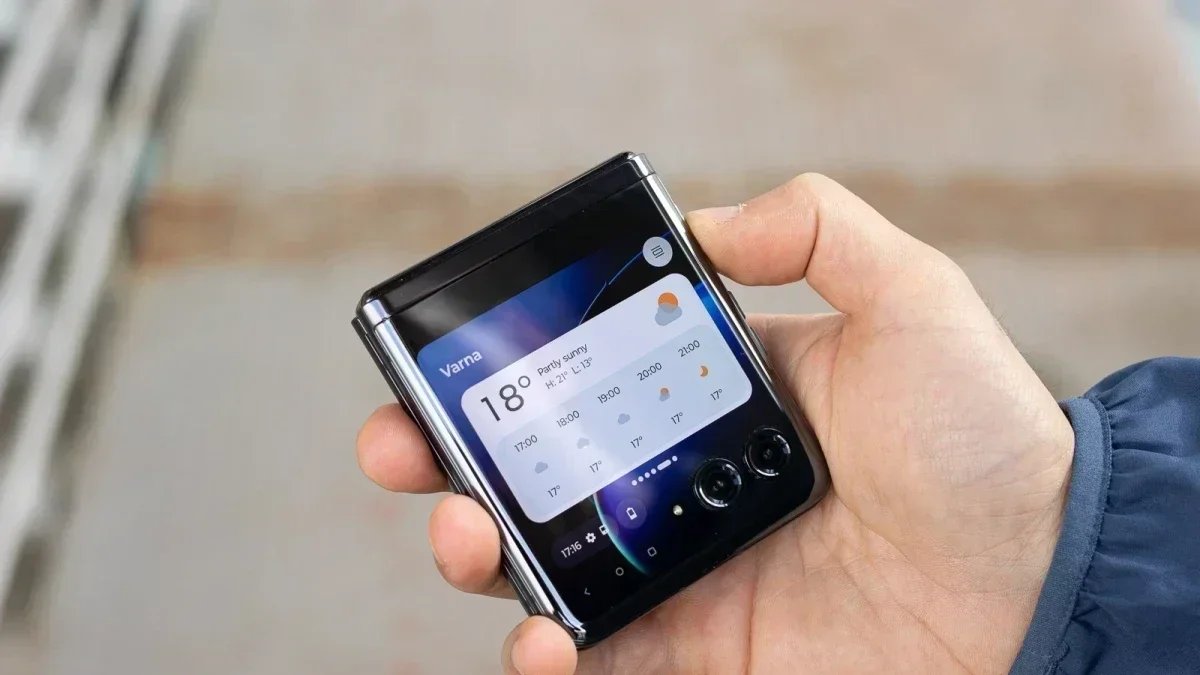
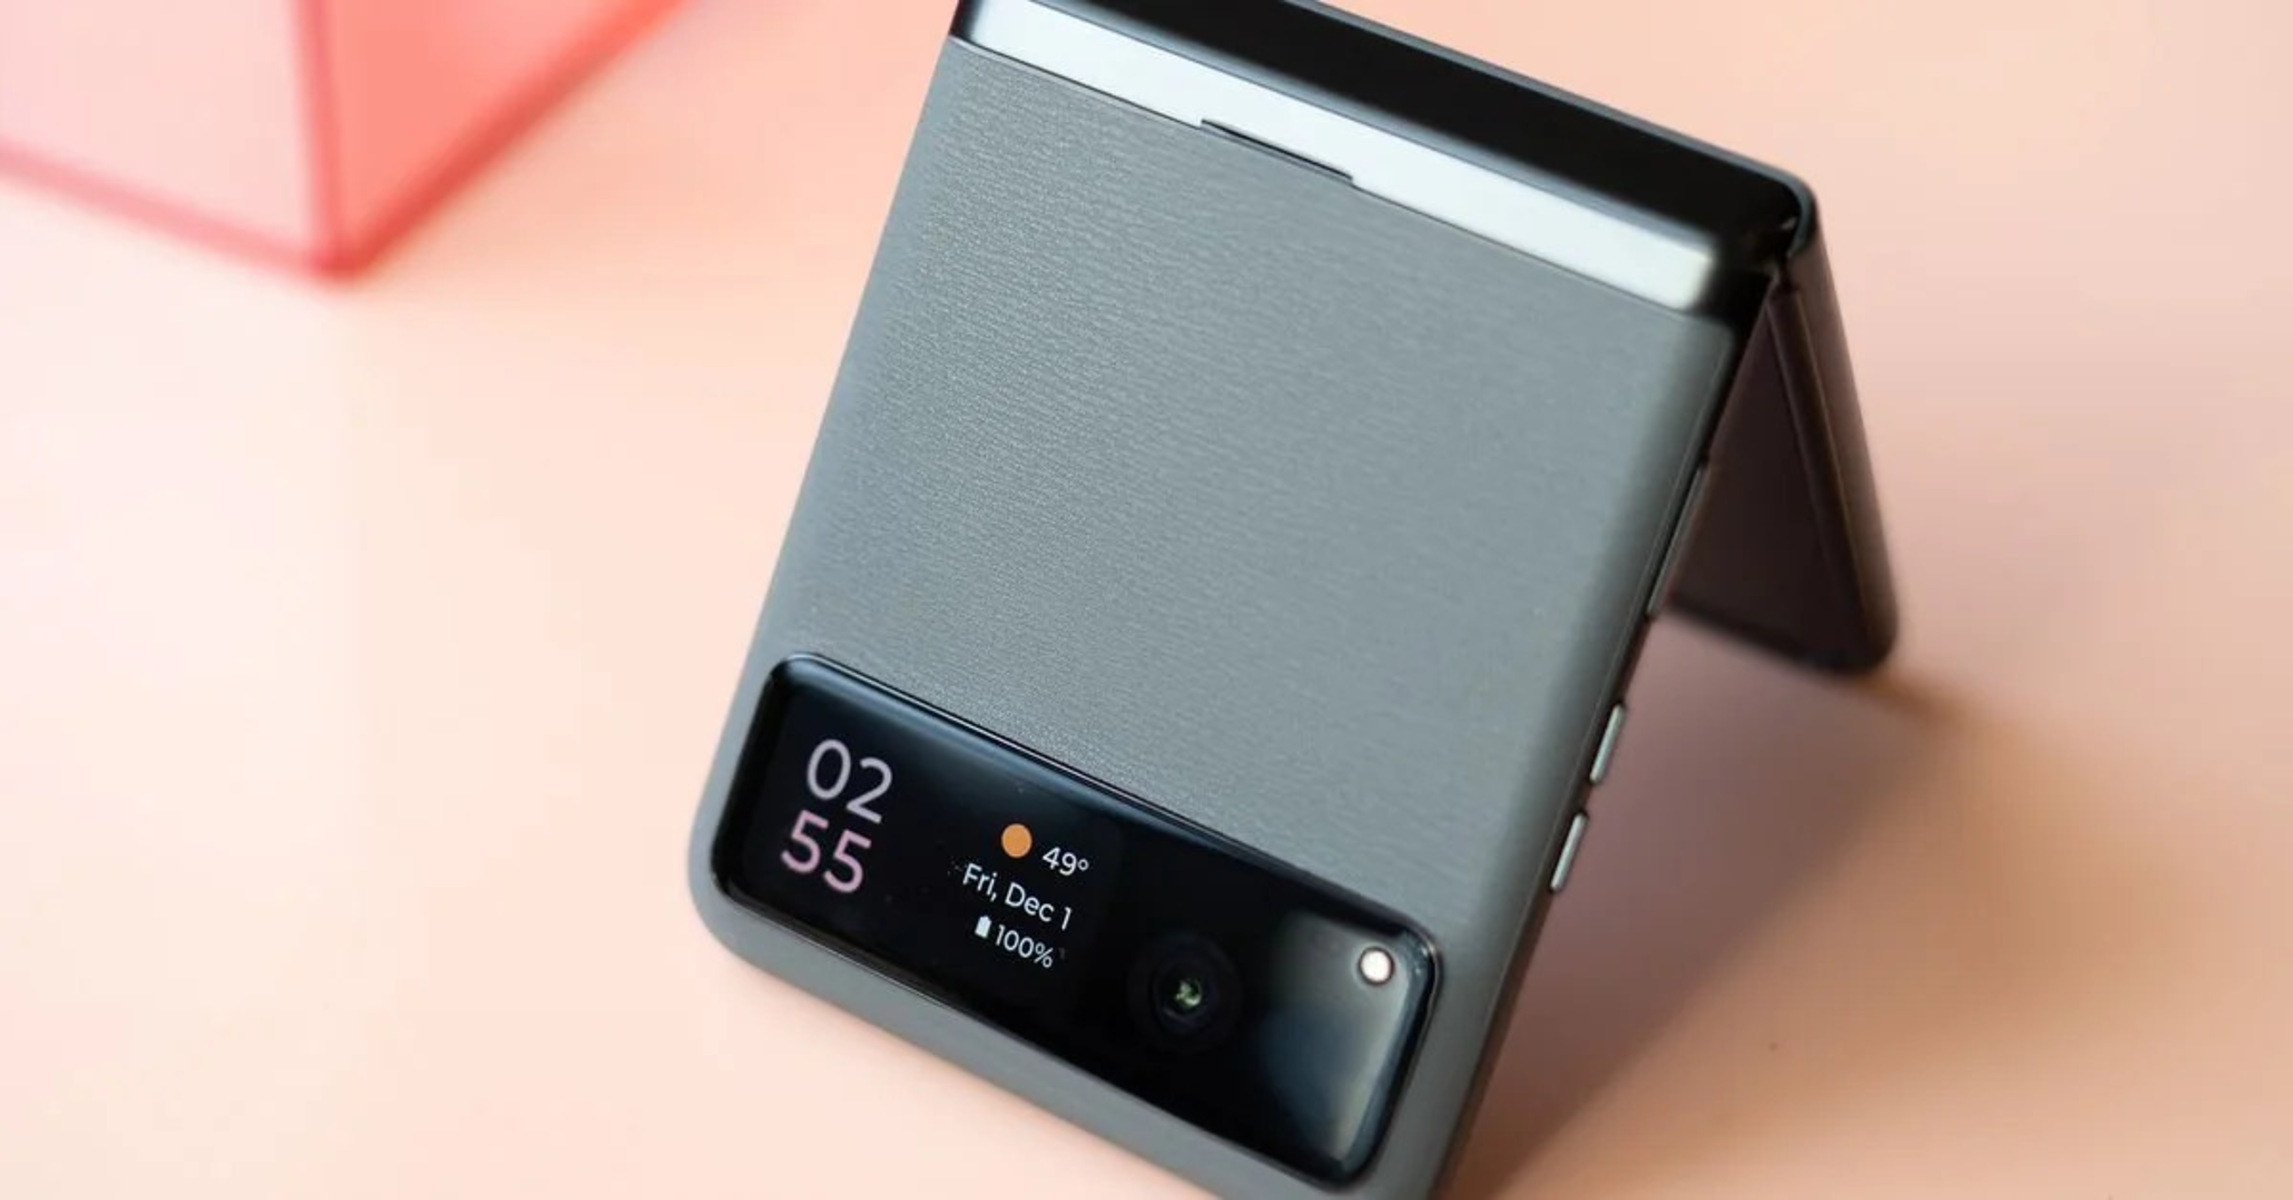
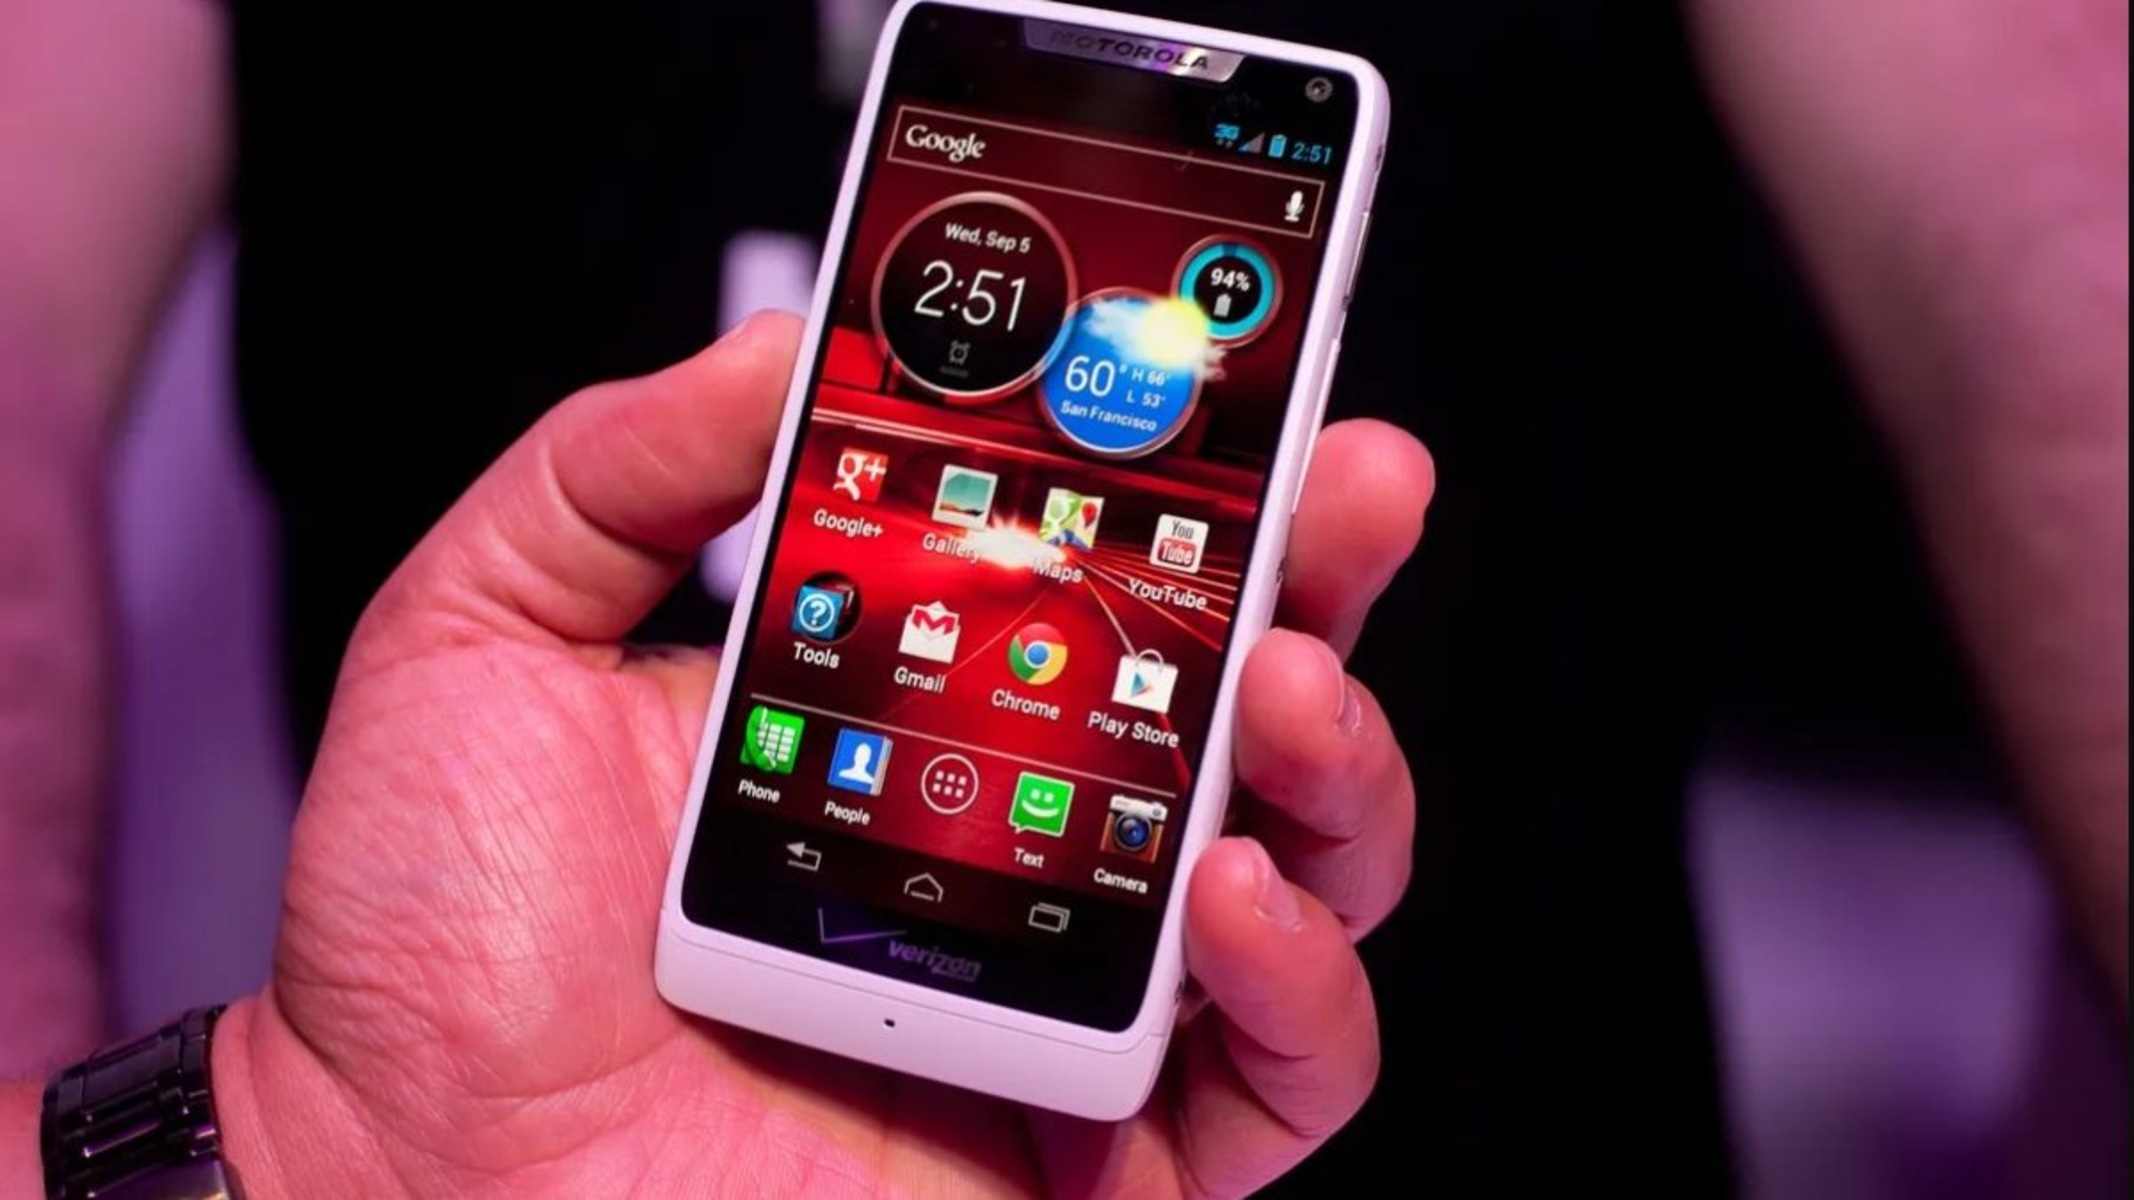
The Motorola Razr, with its sleek design and powerful features, has garnered a dedicated fan base since its release. However, for users seeking to elevate their device's capabilities, flashing custom ROMs can unlock a world of possibilities. By delving into the process of unlocking the bootloader, installing custom recovery, and flashing custom ROMs, users can personalize their Razr to suit their unique preferences and needs.
Flashing custom ROMs offers a myriad of benefits, including enhanced performance, extended battery life, and access to the latest Android updates. Moreover, custom ROMs often feature a range of customization options, allowing users to tailor their device's interface, features, and functionality to their liking. This level of customization empowers users to break free from the constraints of stock firmware and experience their Razr in an entirely new light.
In this comprehensive guide, we will walk you through the step-by-step process of preparing your device for custom ROM flashing, unlocking the bootloader, installing custom recovery, and flashing custom ROMs. Additionally, we will provide troubleshooting tips to address common issues that may arise during the flashing process. By the end of this guide, you will have the knowledge and confidence to embark on your custom ROM flashing journey with your Motorola Razr.
Let's dive into the exciting world of custom ROMs and unleash the full potential of your Motorola Razr!
Preparing Your Device
Before embarking on the exhilarating journey of flashing custom ROMs, it is crucial to adequately prepare your Motorola Razr. This preparatory phase lays the foundation for a seamless and successful custom ROM flashing experience. Here's a comprehensive breakdown of the essential steps to prepare your device:
-
Backup Your Data: Prior to initiating any modifications to your device, it is imperative to safeguard your personal data. This includes contacts, photos, videos, documents, and any other files stored on your device. Utilize cloud storage services or transfer your data to a computer to ensure it remains secure throughout the flashing process.
-
Charge Your Device: To prevent any interruptions during the flashing process, ensure that your Motorola Razr is sufficiently charged. A minimum battery level of 50% is recommended to mitigate the risk of the device powering off unexpectedly, which could potentially lead to complications during the flashing procedure.
-
Enable USB Debugging: Access the Developer Options in your device's settings and enable USB debugging. This facilitates a seamless connection between your Razr and the computer, allowing for the smooth transfer of files and commands during the flashing process.
-
Install Necessary Drivers: To establish a stable connection between your Razr and the computer, it is essential to install the appropriate USB drivers. These drivers enable the computer to recognize and communicate with your device effectively, laying the groundwork for a successful flashing endeavor.
-
Research and Select Custom ROM: Take the time to research and select a custom ROM that aligns with your preferences and requirements. Consider factors such as performance enhancements, additional features, and compatibility with your device. Ensure that the chosen custom ROM is specifically designed for the Motorola Razr to avoid compatibility issues.
By meticulously attending to these preparatory steps, you will set the stage for a smooth and successful custom ROM flashing experience. With your data securely backed up, the device adequately charged, and the necessary settings configured, you are now primed to delve into the exhilarating process of unlocking the bootloader and installing custom recovery on your Motorola Razr.
Unlocking the Bootloader
Unlocking the bootloader is a pivotal step in the custom ROM flashing process, as it grants users the freedom to install custom recovery and flash custom ROMs on their Motorola Razr. However, it is important to note that unlocking the bootloader will void the device's warranty and may result in the loss of data. With this in mind, proceed with caution and ensure that you have backed up all essential data before proceeding.
To initiate the bootloader unlocking process, follow these steps:
-
Enable Developer Options: Access the Settings menu on your Razr and navigate to the About Phone section. Locate the Build Number and tap it repeatedly until you see a message confirming that Developer Options have been enabled.
-
Access Developer Options: Return to the main Settings menu and select Developer Options. Within this menu, enable the OEM unlocking option. This step is crucial, as it allows the bootloader to be unlocked.
-
Power Off Your Device: Power off your Razr to prepare for the bootloader unlocking procedure.
-
Boot into Fastboot Mode: Press and hold the Volume Down button and the Power button simultaneously until the Fastboot Mode screen appears.
-
Connect Your Device to the Computer: Use a USB cable to establish a connection between your Razr and the computer.
-
Launch ADB and Fastboot: Ensure that the necessary ADB and Fastboot tools are installed on your computer. Open a command prompt or terminal window and navigate to the directory where these tools are located.
-
Verify Device Connection: In the command prompt or terminal window, enter the command "fastboot devices" to confirm that your Razr is successfully recognized by the computer.
-
Unlock the Bootloader: Execute the command "fastboot oem unlock" to initiate the bootloader unlocking process. Follow the on-screen instructions to confirm the action and unlock the bootloader.
-
Reboot Your Device: Once the bootloader unlocking process is complete, reboot your Razr by entering the command "fastboot reboot."
It is important to exercise caution and follow the instructions meticulously during the bootloader unlocking process. Any deviation from the prescribed steps may lead to unintended consequences. Upon successfully unlocking the bootloader, your Motorola Razr will be primed for the next phase of the custom ROM flashing journey: installing custom recovery.
By unlocking the bootloader, users gain the freedom to explore the full potential of their Razr by installing custom recovery and flashing custom ROMs, thereby personalizing their device to suit their unique preferences and requirements.
Installing Custom Recovery
After successfully unlocking the bootloader of your Motorola Razr, the next crucial step in the custom ROM flashing process is installing custom recovery. Custom recovery, such as TWRP (Team Win Recovery Project), serves as a powerful tool that enables users to create full device backups, flash custom ROMs, and perform system-level modifications with unparalleled flexibility and control.
To install custom recovery on your Razr, follow these detailed steps:
-
Download the Custom Recovery Image: Begin by downloading the appropriate custom recovery image for your Motorola Razr. Ensure that the custom recovery image is specifically designed for your device model to avoid compatibility issues.
-
Enable USB Debugging: Access the Developer Options in your device's settings and enable USB debugging. This setting is essential for establishing a seamless connection between your Razr and the computer during the custom recovery installation process.
-
Connect Your Device to the Computer: Use a USB cable to connect your Razr to the computer. This connection will facilitate the transfer of files and commands necessary for installing custom recovery.
-
Transfer the Custom Recovery Image: Copy the downloaded custom recovery image to the directory where the ADB and Fastboot tools are located on your computer. This ensures easy access to the custom recovery image during the installation process.
-
Boot into Fastboot Mode: Power off your Razr and then boot it into Fastboot Mode by pressing and holding the Volume Down button and the Power button simultaneously.
-
Open a Command Prompt or Terminal Window: Navigate to the directory where the ADB and Fastboot tools are located and open a command prompt or terminal window.
-
Flash the Custom Recovery Image: In the command prompt or terminal window, enter the command to flash the custom recovery image onto your Razr. The command typically follows the format "fastboot flash recovery [recovery_image_filename.img]".
-
Reboot into Custom Recovery: Once the custom recovery image is successfully flashed, reboot your Razr into custom recovery mode by entering the command "fastboot boot [recovery_image_filename.img]".
By following these meticulous steps, you will successfully install custom recovery on your Motorola Razr, paving the way for the final phase of the custom ROM flashing process: flashing custom ROMs. Custom recovery empowers users to take full control of their device's software, enabling seamless backups, system modifications, and the installation of custom ROMs with unparalleled ease and flexibility.
Flashing Custom ROMs
Flashing custom ROMs is the pinnacle of the custom ROM flashing journey, offering users the opportunity to breathe new life into their Motorola Razr by installing a tailored firmware that aligns with their preferences and requirements. This transformative process unlocks a realm of possibilities, including performance enhancements, feature customization, and access to the latest Android updates. By following the detailed steps outlined below, users can embark on the exhilarating process of flashing custom ROMs onto their Razr, ushering in a new era of personalized functionality and user experience.
Step-by-Step Guide to Flashing Custom ROMs:
-
Download the Custom ROM: Begin by selecting a reputable source to download the custom ROM of your choice. Ensure that the custom ROM is specifically designed for the Motorola Razr to guarantee compatibility and optimal performance.
-
Transfer the Custom ROM to Your Device: Connect your Razr to the computer via a USB cable and transfer the downloaded custom ROM file to the device's internal storage or SD card. This facilitates easy access to the custom ROM during the flashing process.
-
Boot into Custom Recovery: Power off your Razr and boot it into custom recovery mode. This is typically achieved by pressing a specific combination of hardware buttons, such as the Volume Down and Power buttons, depending on the custom recovery installed on your device.
-
Create a Backup: Before proceeding with the custom ROM flashing process, it is advisable to create a full backup of your device's current state using the custom recovery's backup feature. This ensures that you have a safety net in case of any unforeseen issues during the flashing procedure.
-
Wipe Data and Cache: Within the custom recovery interface, navigate to the "Wipe" or "Format" option and perform a factory reset, wiping the device's data and cache partitions. This step is crucial to ensure a clean slate for the installation of the custom ROM.
-
Flash the Custom ROM: Navigate to the "Install" or "Flash" option within the custom recovery interface and select the custom ROM file that was transferred to your device. Follow the on-screen prompts to initiate the flashing process, allowing the custom ROM to be installed onto your Razr.
-
Reboot Your Device: Once the custom ROM flashing process is complete, reboot your Razr from within the custom recovery interface. Your device will now boot into the newly installed custom ROM, ushering in a fresh and personalized user experience.
By meticulously following these steps, users can seamlessly flash custom ROMs onto their Motorola Razr, unlocking a world of customization, performance enhancements, and feature-rich experiences. The installation of a custom ROM empowers users to break free from the constraints of stock firmware, enabling them to tailor their device to their unique preferences and needs.
This marks the culmination of the custom ROM flashing journey, where users can revel in the newfound capabilities and personalized functionality of their Motorola Razr, courtesy of the custom ROM of their choice.
Troubleshooting and Tips
Embarking on the journey of custom ROM flashing for your Motorola Razr can be an exhilarating experience, but it's not without its potential challenges. To ensure a smooth and successful custom ROM flashing process, it's essential to be equipped with troubleshooting strategies and valuable tips that can address common issues and enhance the overall flashing experience. Here are some insightful troubleshooting tips and valuable recommendations to guide you through the custom ROM flashing journey:
Ensure Compatibility:
Before initiating the custom ROM flashing process, verify the compatibility of the custom ROM with your specific Motorola Razr model. Using an incompatible custom ROM can lead to critical issues, including device instability and functionality disruptions. Always double-check the compatibility of the custom ROM to avoid potential complications.
Backup Your Data:
Creating a comprehensive backup of your device's data cannot be emphasized enough. In the event of unforeseen issues during the custom ROM flashing process, having a backup ensures that your essential data remains secure. Utilize the backup features within custom recovery to create a complete device backup before proceeding with the flashing process.
Research and Follow Instructions:
Thoroughly research the custom ROM flashing process for your Motorola Razr and ensure that you follow the instructions provided by reputable sources. Deviating from prescribed procedures can lead to adverse outcomes, so it's crucial to adhere to reliable guides and instructions to minimize the risk of complications.
Addressing Boot Loop Issues:
If your device enters a boot loop or fails to boot after flashing a custom ROM, attempt to boot into custom recovery and perform a factory reset. This can often resolve boot loop issues caused by incompatible or improperly flashed custom ROMs. Always ensure that the custom ROM is specifically designed for your device model to mitigate the risk of boot loop occurrences.
Battery Optimization:
After flashing a custom ROM, monitor the device's battery performance and optimize battery settings as needed. Custom ROMs may offer unique power management features that can enhance battery life, but it's essential to fine-tune these settings to achieve optimal performance and longevity.
Community Support and Forums:
Engage with the vibrant community of custom ROM enthusiasts and Motorola Razr users through dedicated forums and support channels. These platforms provide valuable insights, troubleshooting advice, and community-driven solutions to common issues encountered during the custom ROM flashing process.
By integrating these troubleshooting strategies and valuable tips into your custom ROM flashing journey, you can navigate potential challenges with confidence and elevate the overall experience. Embracing a meticulous approach, staying informed, and leveraging community support can empower you to unlock the full potential of your Motorola Razr through the seamless installation of custom ROMs.
Conclusion
In conclusion, the process of flashing custom ROMs onto your Motorola Razr represents a transformative journey that empowers users to unlock the full potential of their devices. By meticulously preparing the device, unlocking the bootloader, installing custom recovery, and ultimately flashing custom ROMs, users can personalize their Razr to align with their unique preferences and requirements.
The allure of custom ROMs lies in their ability to breathe new life into devices, offering enhanced performance, extended battery life, and a wealth of customization options. Through the installation of custom ROMs, users can break free from the confines of stock firmware and embrace a tailored user experience that reflects their individuality.
The journey of custom ROM flashing is not without its challenges, but with thorough preparation, adherence to best practices, and a keen understanding of troubleshooting strategies, users can navigate the process with confidence. It is essential to prioritize data backup, verify compatibility, and seek community support to ensure a smooth and successful custom ROM flashing experience.
As users immerse themselves in the world of custom ROMs, they gain a deeper understanding of the intricate software ecosystem that underpins their devices. This hands-on approach fosters a sense of empowerment and ownership, allowing users to take control of their device's software and explore a myriad of possibilities.
Ultimately, the process of flashing custom ROMs onto the Motorola Razr transcends mere technical modifications; it represents a journey of self-expression, personalization, and discovery. It enables users to craft a device experience that resonates with their individuality, preferences, and aspirations.
With the knowledge and insights gained from this comprehensive guide, users are poised to embark on their custom ROM flashing journey with confidence, equipped with the tools and understanding necessary to elevate their Motorola Razr to new heights of performance and personalization.
As the custom ROM flashing journey unfolds, users are invited to embrace the boundless potential of their Motorola Razr, harnessing the power of custom ROMs to craft a device experience that is truly their own.


