Introduction
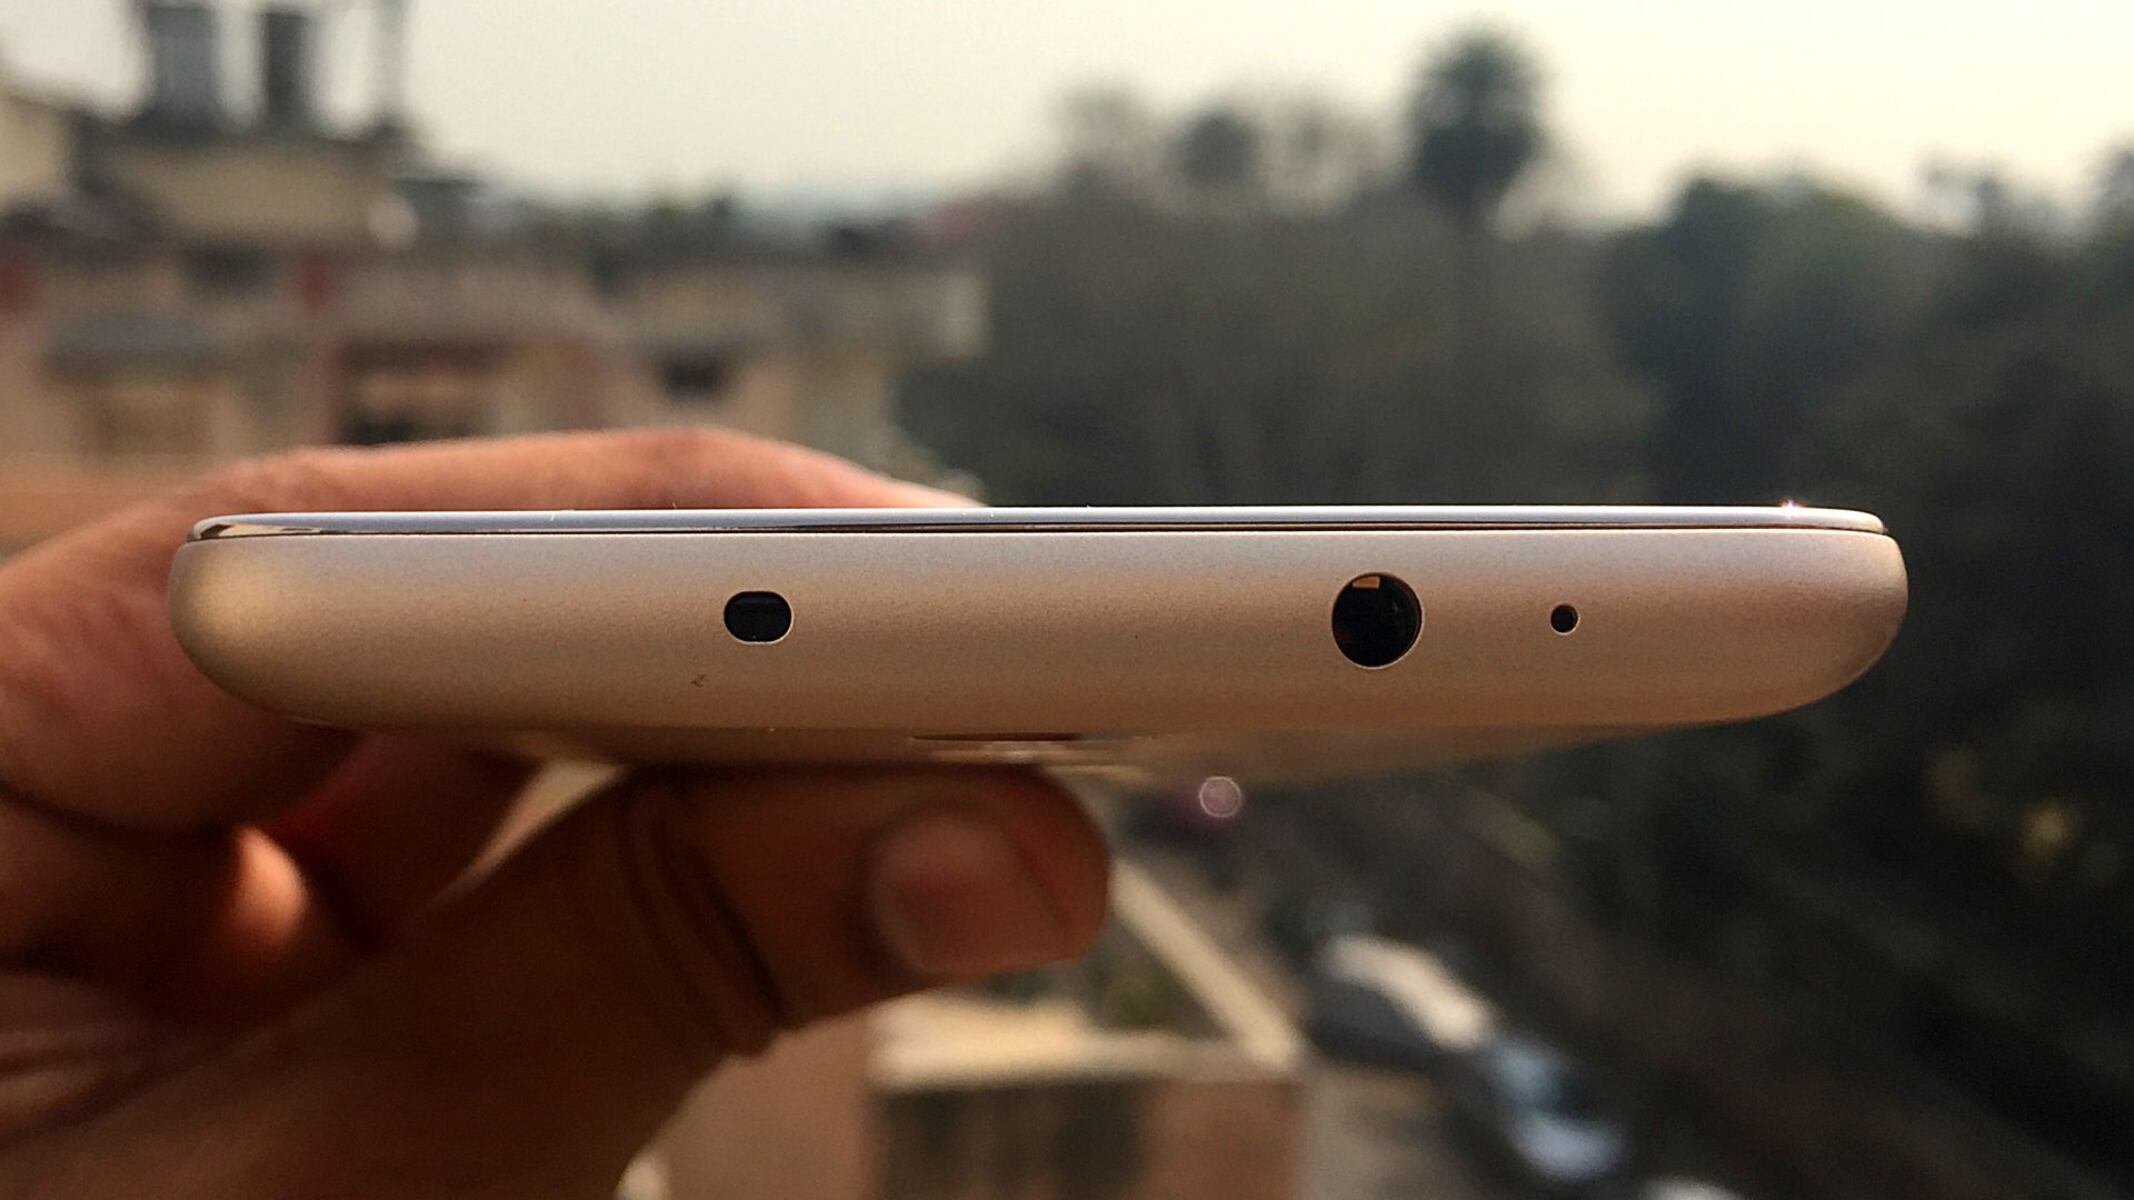
The Redmi Note 3 is a popular and feature-packed smartphone that offers a seamless user experience. As a tech-savvy individual, you may want to explore the advanced settings and customization options that are typically hidden from regular users. This is where the Developer Options come into play. By accessing and enabling Developer Options on your Redmi Note 3, you can unlock a plethora of advanced settings and debugging tools that are invaluable for developers and tech enthusiasts.
In this article, we will guide you through the process of accessing and enabling Developer Options on your Redmi Note 3. Additionally, we will delve into the significance of USB debugging and how you can leverage the Developer Options for advanced settings to enhance your overall user experience. Whether you are a seasoned developer or simply curious about the hidden capabilities of your device, understanding and utilizing the Developer Options can open up a world of possibilities for optimizing and customizing your Redmi Note 3.
So, let's embark on this journey to uncover the hidden potential of your Redmi Note 3 by enabling the Developer Options and exploring the advanced features that await you.
Accessing Developer Options on Redmi Note 3
Accessing the Developer Options on your Redmi Note 3 is a straightforward process, albeit a bit hidden to prevent accidental access by regular users. Follow the steps below to unlock the Developer Options and gain access to a treasure trove of advanced settings and debugging tools.
-
Open Settings: Begin by unlocking your Redmi Note 3 and navigating to the "Settings" app. This can usually be found on the home screen or in the app drawer.
-
About Phone: Scroll down in the Settings menu and look for the "About phone" option. Tap on it to reveal detailed information about your device.
-
MIUI Version: Within the "About phone" section, locate the "MIUI version" or "Build number" entry. This is the key to unlocking the Developer Options.
-
Tap Multiple Times: Now, here comes the fun part. Tap on the "MIUI version" or "Build number" entry multiple times in quick succession. You will typically need to tap it 7 times, although the exact number may vary. As you do this, you will see a message indicating that you are "X steps away from being a developer."
-
Developer Options Unlocked: After tapping the "MIUI version" or "Build number" the requisite number of times, you will see a prompt informing you that the Developer Options have been unlocked.
-
Access Developer Options: Now, go back to the main Settings menu. You should now see a new entry labeled "Additional settings" or "Developer options." Tap on this to access the hidden realm of advanced settings and tools.
Congratulations! You have successfully accessed the Developer Options on your Redmi Note 3. This opens up a world of possibilities for customizing and optimizing your device to suit your specific needs and preferences. From here, you can explore various advanced settings, USB debugging, and other developer-centric features that are typically concealed from regular users.
By following these simple steps, you have unveiled the Developer Options on your Redmi Note 3, empowering yourself to delve into the depths of advanced customization and optimization that were previously hidden from view. Now that you have gained access to the Developer Options, it's time to explore the myriad of possibilities that await you.
Enabling USB Debugging
Enabling USB debugging is a crucial aspect of the Developer Options, especially for developers and tech enthusiasts who need to interact with their Redmi Note 3 through a computer for various purposes such as app development, debugging, and advanced troubleshooting. By enabling USB debugging, you grant your computer permission to communicate with your device at a deeper level, allowing for the transfer of data, debugging of applications, and accessing certain privileged commands.
Here's how you can enable USB debugging on your Redmi Note 3:
-
Access Developer Options: As outlined in the previous section, you need to access the Developer Options on your Redmi Note 3. Once you have unlocked the Developer Options, navigate to the main Settings menu and tap on "Additional settings" or "Developer options" to enter the realm of advanced settings and tools.
-
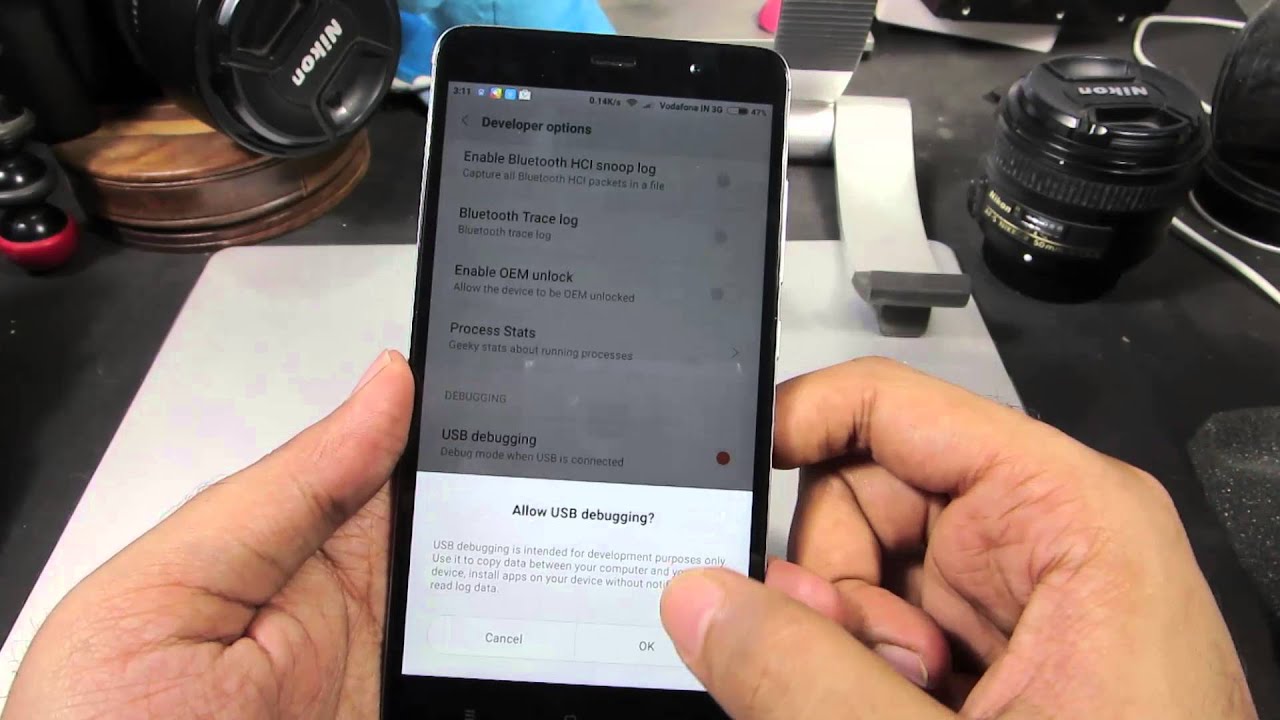
Locate USB Debugging: Within the Developer Options menu, scroll down until you find the "USB debugging" option. It is usually located under the "Debugging" section.
-
Enable USB Debugging: Tap on the "USB debugging" option to enable it. You will be prompted with a confirmation dialog informing you about the potential risks of enabling USB debugging. Simply tap "OK" to proceed.
-
Grant Permission: After enabling USB debugging, you may be prompted to grant permission for your computer to access your Redmi Note 3. This is a security measure to ensure that only trusted computers can interact with your device.
-
Connect to Computer: With USB debugging enabled, you can now connect your Redmi Note 3 to your computer using a USB cable. Upon connecting, you may be prompted to allow USB debugging from the connected computer. Simply grant the permission to establish the connection.
Once USB debugging is enabled and the necessary permissions are granted, your Redmi Note 3 is ready to communicate with your computer at an advanced level. This opens up a myriad of possibilities, including but not limited to:
-
App Development: If you are an app developer, USB debugging allows you to test and debug your applications directly on your Redmi Note 3 from your computer.
-
Data Transfer: With USB debugging enabled, you can efficiently transfer files, media, and other data between your Redmi Note 3 and your computer.
-
Advanced Troubleshooting: For advanced users, USB debugging provides access to privileged commands and debugging tools that can aid in troubleshooting and optimizing the performance of your device.
By following the simple steps to enable USB debugging, you have unlocked a powerful capability that bridges the gap between your Redmi Note 3 and your computer, enabling seamless communication and advanced interaction. Whether you are a developer, a tech enthusiast, or simply someone who wants to harness the full potential of your device, USB debugging is a valuable tool that enhances the versatility and functionality of your Redmi Note 3.
Using Developer Options for Advanced Settings
Accessing the Developer Options on your Redmi Note 3 unlocks a realm of advanced settings and tools that are typically concealed from regular users. These settings cater to developers, tech enthusiasts, and power users who seek to customize, optimize, and delve deeper into the capabilities of their device. Let's explore the myriad of advanced settings and features that you can leverage within the Developer Options to enhance your overall user experience.
1. Tweak Animation Settings
Within the Developer Options, you can fine-tune the animation settings of your Redmi Note 3. By adjusting the animation scale, transition, and duration, you can customize the visual experience of navigating through the user interface. Whether you prefer faster animations for a snappier feel or slower animations for a more deliberate interaction, the ability to tweak animation settings allows you to personalize the responsiveness of your device to suit your preferences.
2. Force GPU Rendering
Enabling the "Force GPU rendering" option within the Developer Options can potentially enhance the graphical performance of your Redmi Note 3. By offloading certain rendering tasks to the device's GPU (Graphics Processing Unit), you may experience smoother graphics rendering in certain applications and user interface elements. This can lead to improved visual fluidity and responsiveness, especially in graphics-intensive scenarios such as gaming and multimedia playback.
3. Limit Background Processes
For users who prioritize multitasking and resource management, the Developer Options offer the ability to limit the number of background processes running on your Redmi Note 3. By adjusting the background process limit, you can exert greater control over the allocation of system resources, potentially optimizing the device's performance and battery efficiency based on your usage patterns and preferences.
4. Enable Pointer Location
The "Pointer location" feature within the Developer Options provides a visual overlay that displays the exact coordinates of your touch input on the screen. This can be particularly useful for developers and testers who need to precisely analyze touch interactions, gestures, and input accuracy within applications. By enabling pointer location, you gain insight into the spatial coordinates of your touch input, facilitating detailed analysis and optimization of touch-based interactions.
5. Explore Additional Debugging Tools
Beyond the aforementioned settings, the Developer Options house a plethora of additional debugging tools and advanced settings that cater to developers and power users. From USB configuration options to advanced Wi-Fi settings and Bluetooth customization, the Developer Options serve as a gateway to a wide array of features that enable fine-grained control and optimization of your Redmi Note 3.
By leveraging the advanced settings within the Developer Options, you can tailor the behavior, performance, and visual aspects of your Redmi Note 3 to align with your specific preferences and usage patterns. Whether you are a developer seeking to optimize app performance or a tech enthusiast looking to fine-tune the behavior of your device, the Developer Options offer a playground of customization and optimization that empowers you to unlock the full potential of your Redmi Note 3.