Introduction
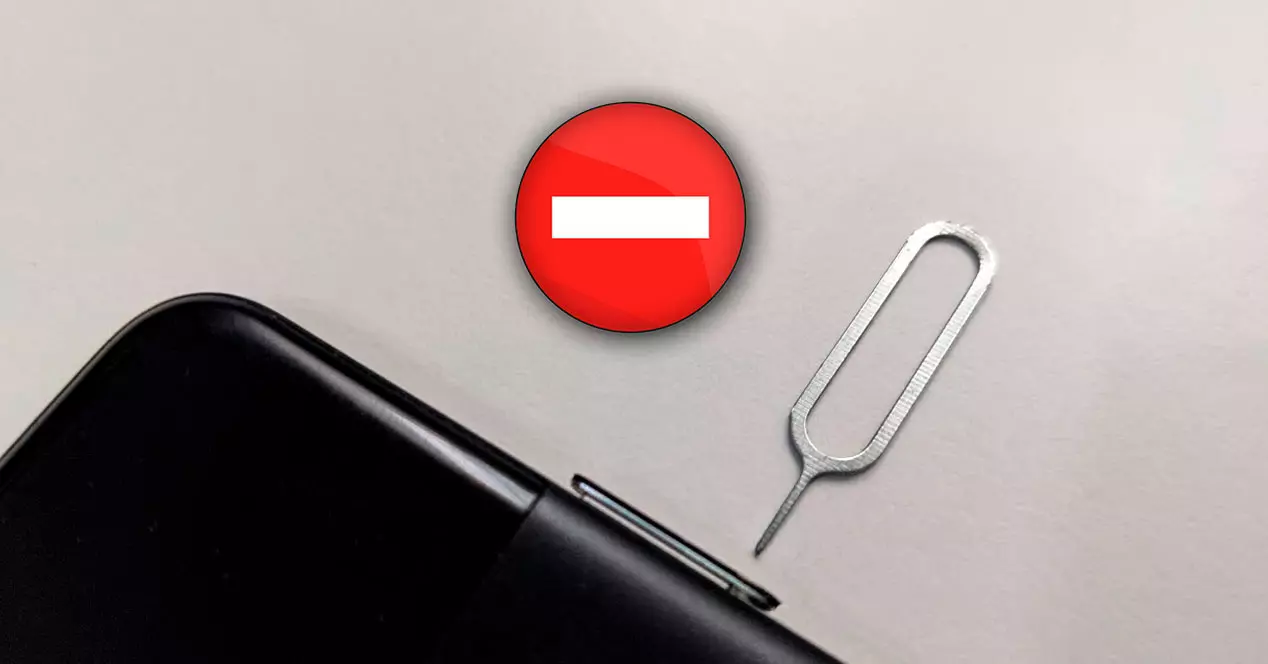
Dealing with a stuck SIM card can be a frustrating experience for mobile device users. Whether it's due to a new SIM card not fitting properly or an existing one getting jammed, this issue can disrupt your ability to make calls, send texts, or access mobile data. However, with the right approach, resolving this problem can be relatively straightforward. By following a few essential steps, you can safely address a stuck SIM card and restore your device's functionality.
It's important to approach this situation calmly and methodically. Rushing the process or applying excessive force can potentially damage the SIM card or the device itself. Therefore, taking the time to understand the steps involved and executing them carefully is crucial for a successful outcome. Whether you're a seasoned mobile device user or encountering this issue for the first time, the following guide will walk you through the necessary actions to address a stuck SIM card effectively.
By following the steps outlined in this guide, you can regain control of your mobile device's connectivity and ensure that your SIM card is properly seated and functioning as intended. With a clear understanding of the process ahead, you'll be well-equipped to tackle this issue with confidence and precision. Let's delve into the essential steps for addressing a stuck SIM card and restoring seamless functionality to your mobile device.
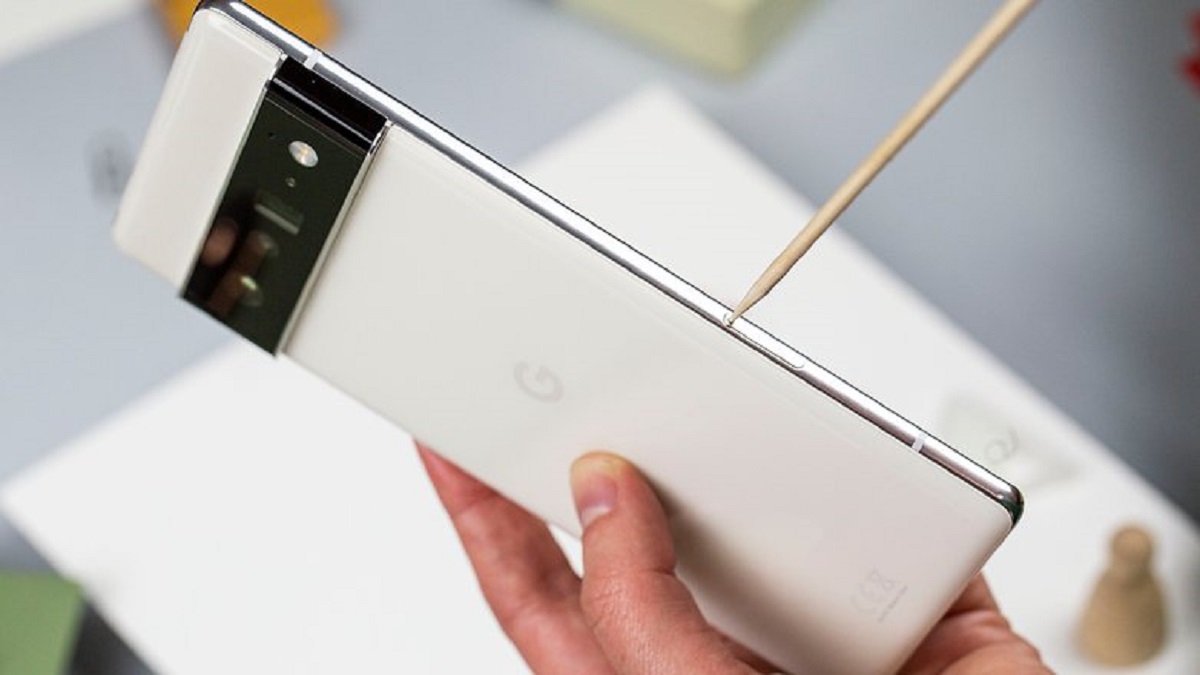
Step 1: Power Off Your Device
Before addressing a stuck SIM card, the first crucial step is to power off your mobile device. This action is essential to ensure the safety of both the device and the SIM card during the troubleshooting process. By powering off the device, you minimize the risk of causing any damage to the SIM card or the device's internal components while attempting to resolve the issue.
To power off your device, locate the power button, typically located on the side or top of the device. Press and hold the power button until the shutdown prompt appears on the screen. Follow the on-screen instructions to power off the device completely. If your device has a removable battery, you can also power it off by carefully removing the battery.
By powering off your device, you create a safe environment to proceed with addressing the stuck SIM card. This step also prevents any potential damage that could occur if the device were to remain powered on during the SIM card troubleshooting process. Once the device is powered off, you can move on to the next step with the assurance that you are taking the necessary precautions to safeguard your device and SIM card.
Ensuring that the device is completely powered off is crucial, as it allows you to proceed with the subsequent steps without the risk of causing any disruption to the device's operation. With the device powered off, you can confidently move on to the next step in the process of addressing a stuck SIM card and restoring seamless functionality to your mobile device.
By following this initial step and powering off your device, you lay the groundwork for a safe and effective troubleshooting process. With the device safely powered down, you are now ready to move on to the next step in resolving the issue of a stuck SIM card.
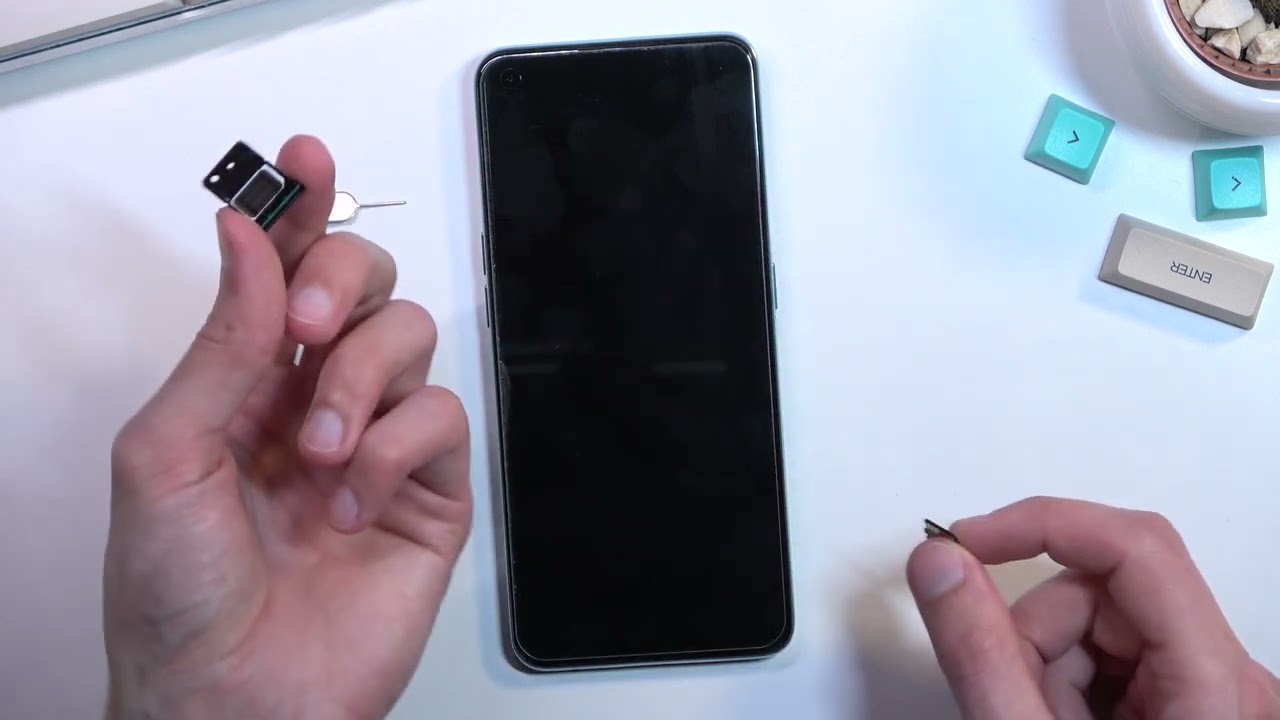
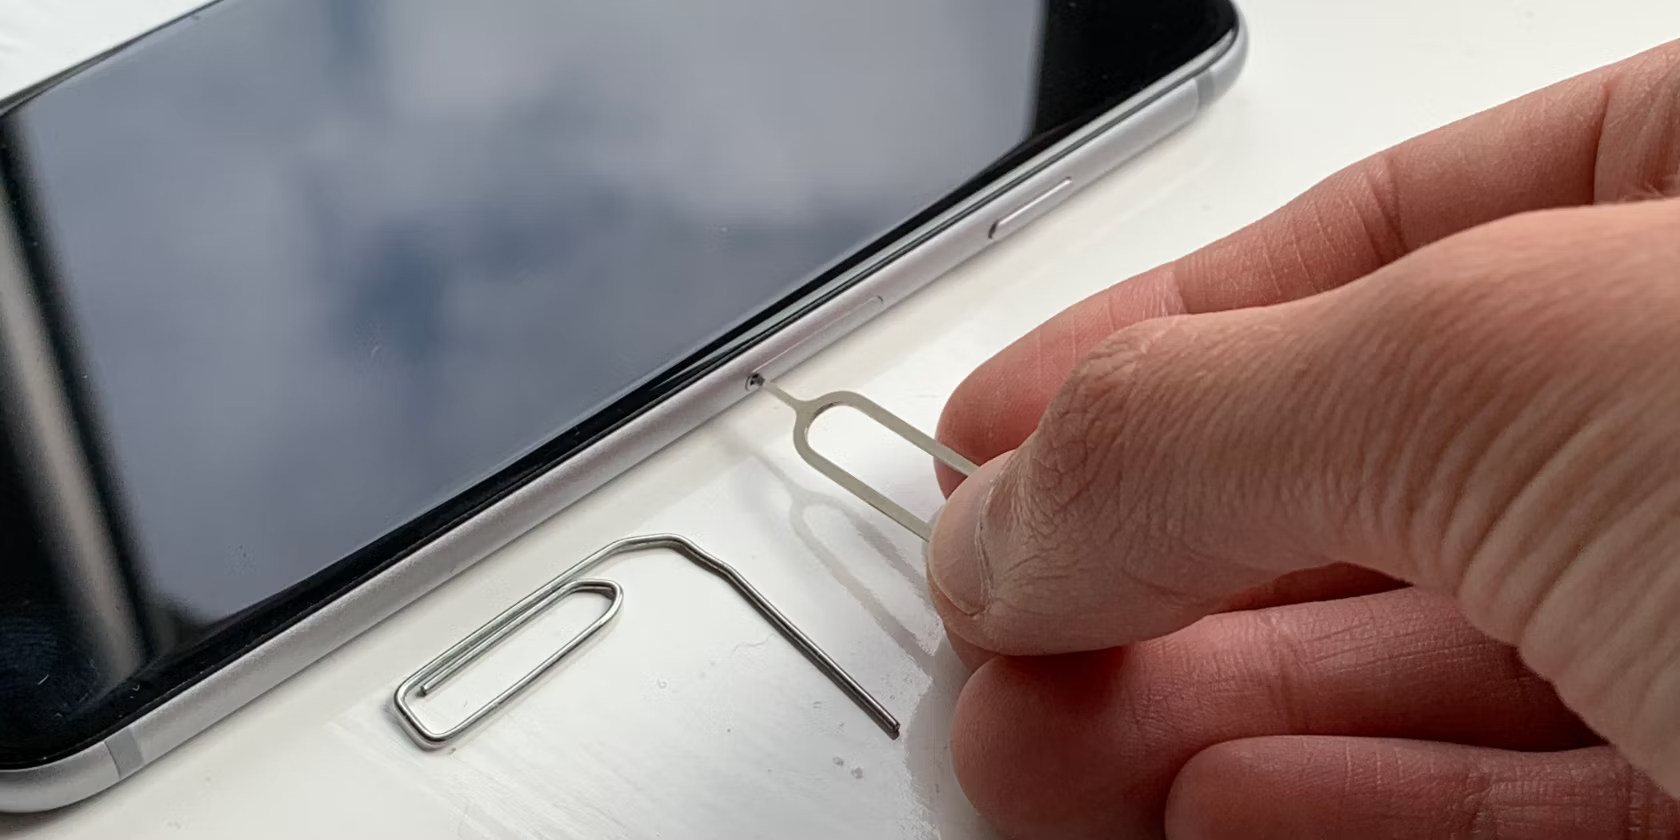
Step 2: Eject the SIM Tray
Ejecting the SIM tray is a crucial step in addressing a stuck SIM card. The SIM tray, typically located on the side of the device, holds the SIM card securely in place. By carefully ejecting the tray, you can access the SIM card and assess its position within the slot. Here's how to proceed with this essential step:
-
Locate the SIM Tray: Depending on your device model, the SIM tray may be located on the side or top of the device. It is usually identifiable by a small pinhole or a tiny indentation. Take a moment to identify the precise location of the SIM tray on your device.
-
Use the Ejection Tool: Many devices come with a specialized tool designed for ejecting the SIM tray. If your device includes this tool, carefully insert it into the pinhole or indentation on the SIM tray. Apply gentle pressure to release the tray from its slot. If you don't have the specialized tool, a small paperclip can also be used, ensuring that it is straightened out to fit into the pinhole.
-
Remove the SIM Tray: Once the tray is partially ejected, carefully pull it out from the device. Take note of the orientation of the SIM card within the tray to ensure proper reinsertion later in the process. Place the tray and SIM card on a clean, flat surface, making sure to avoid any dust or debris that may interfere with the inspection.
By following these steps, you can safely eject the SIM tray and access the SIM card without causing any damage to the device or the card itself. This careful approach sets the stage for the subsequent steps in addressing a stuck SIM card effectively.
Ejecting the SIM tray provides you with the opportunity to inspect the SIM card and the slot within the device. This visual assessment is essential for identifying any potential issues that may be causing the SIM card to be stuck. With the SIM tray and card in hand, you are now ready to move on to the next steps in the troubleshooting process.
By carefully following the steps to eject the SIM tray, you pave the way for a thorough examination of the SIM card and its positioning within the device. This hands-on approach is instrumental in determining the best course of action for resolving the issue of a stuck SIM card.
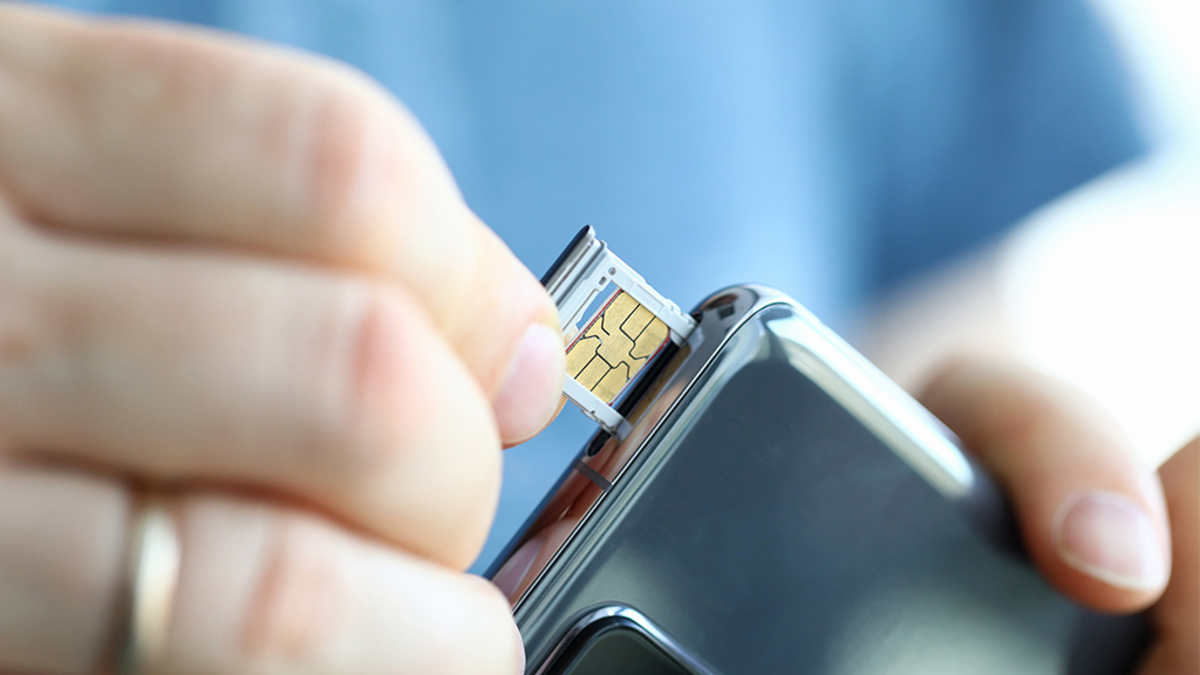
Step 3: Inspect the SIM Card
After successfully ejecting the SIM tray and removing the SIM card, it's time to closely inspect the card for any visible damage or irregularities. This step is crucial in identifying potential issues that may have caused the SIM card to become stuck. Here's how to proceed with inspecting the SIM card:
-
Check for Physical Damage: Carefully examine the SIM card for any signs of physical damage, such as cracks, bends, or scratches. These issues can hinder the card's proper insertion and may have contributed to it becoming stuck in the first place. If you notice any visible damage, it's important to handle the card with care to prevent further deterioration.
-
Verify Correct Orientation: Ensure that the SIM card is oriented correctly within the tray. Most SIM cards have a notched corner that aligns with a corresponding notch in the tray, indicating the correct positioning. If the card is inserted incorrectly, it may not seat properly and could potentially become stuck.
-
Inspect the Metal Contacts: Take a close look at the metal contacts on the SIM card. These contacts should be clean and free from any debris or corrosion that could interfere with the card's functionality. If you notice any buildup or discoloration on the contacts, gently wipe them with a soft, dry cloth to remove any contaminants.
-
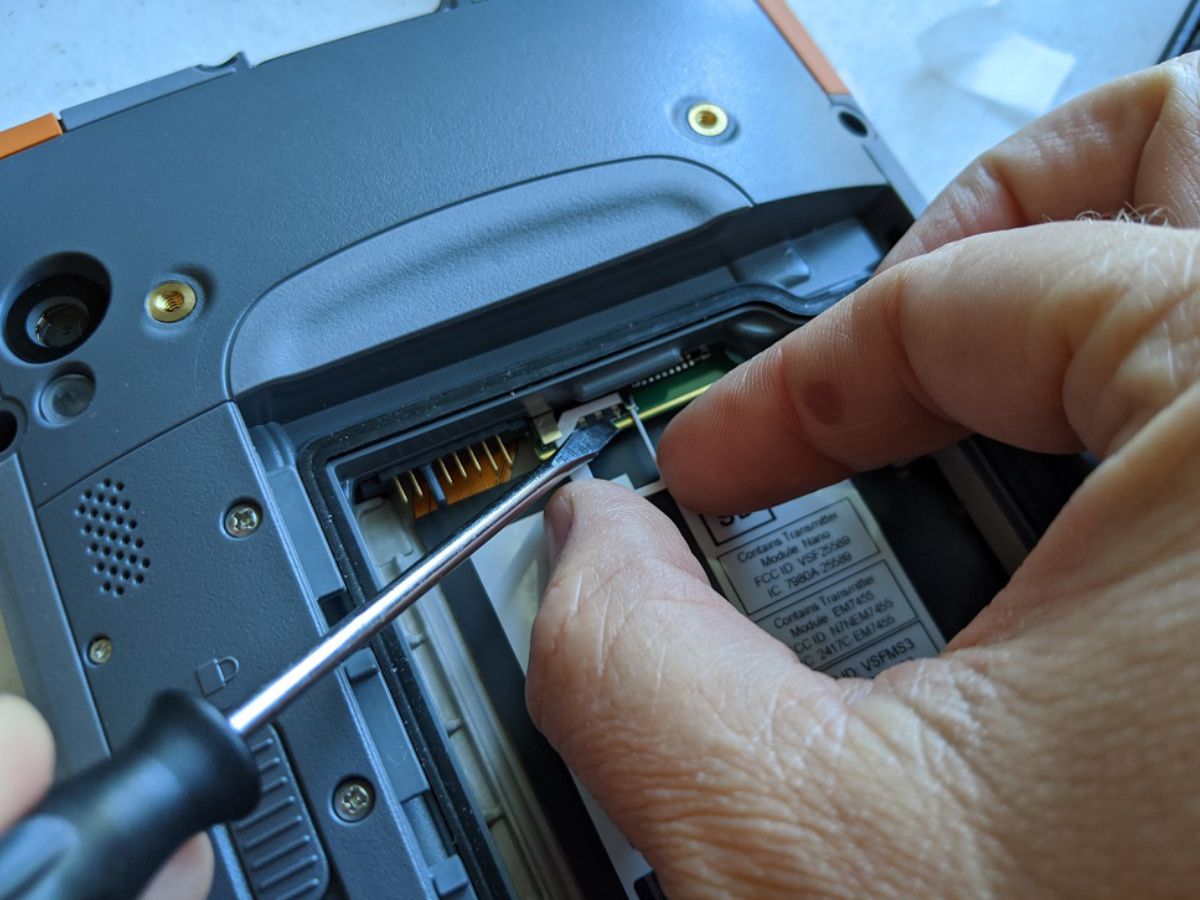
Examine the Tray and Slot: While the SIM card is removed, take a moment to inspect the SIM tray and the slot within the device where the tray is inserted. Look for any obstructions, debris, or damage that may have prevented the SIM card from seating properly. Clearing any foreign objects or debris from the tray and slot is essential for ensuring a smooth reinsertion of the SIM card.
By thoroughly inspecting the SIM card and related components, you can gain valuable insights into the potential causes of the stuck SIM card. This visual assessment sets the stage for the subsequent steps in addressing the issue effectively. With a clear understanding of the SIM card's condition and positioning, you are now ready to proceed with the next steps in the troubleshooting process.
Step 4: Clean the SIM Card and Slot
After inspecting the SIM card and identifying any potential issues, the next crucial step is to clean both the SIM card and the slot within the device where the SIM tray is inserted. This cleaning process is essential for ensuring that the SIM card makes proper contact and is securely seated within the device, thereby preventing future issues with it becoming stuck. Here's how to proceed with cleaning the SIM card and slot:
-
Cleaning the SIM Card:
- Use a soft, dry cloth to gently wipe the SIM card's metal contacts, removing any dust, debris, or residue that may have accumulated. It's important to handle the card with care to avoid causing any damage to the contacts or the card itself.
- If the metal contacts appear to have stubborn residue or corrosion, a small amount of isopropyl alcohol can be applied to the cloth to aid in cleaning. Ensure that the alcohol is applied sparingly and that the card is completely dry before reinserting it into the device.
-
Cleaning the SIM Slot and Tray:
- Inspect the SIM slot within the device for any foreign objects, debris, or visible damage. Using a can of compressed air or a soft brush, carefully remove any dust or particles that may be present within the slot. It's important to perform this step gently to avoid causing damage to the device.
- Similarly, inspect the SIM tray for any debris or residue, and gently clean it using a soft, dry cloth. Ensure that the tray is completely dry before reinserting the SIM card.
By meticulously cleaning both the SIM card and the slot, you create an optimal environment for the SIM card to be reinserted securely. This cleaning process removes any potential barriers that may have hindered the card's proper seating and ensures that the metal contacts make reliable connections within the device. With the SIM card and slot now cleaned and prepped, you are ready to proceed with reinserting the SIM card and restoring functionality to your mobile device.
Cleaning the SIM card and slot is a critical step in addressing a stuck SIM card, as it sets the stage for the successful reseating of the card within the device. By following these cleaning procedures diligently, you can effectively prepare the SIM card and the device for the final steps in resolving the issue and regaining seamless connectivity.
Step 5: Reinsert the SIM Card
With the SIM card and slot now cleaned and prepped, the next crucial step in addressing a stuck SIM card is to carefully reinsert the SIM card into the device. This process involves ensuring that the SIM card is properly aligned and securely seated within the tray before reinserting it into the device. Here's how to proceed with reinserting the SIM card:
-
Align the SIM Card: Before reinserting the SIM card, verify that it is oriented correctly within the SIM tray. Most SIM cards have a notched corner that aligns with a corresponding notch in the tray, indicating the correct positioning. Ensuring proper alignment is essential for the card to seat securely within the device.
-
Gently Insert the SIM Card: With the SIM card correctly aligned, carefully place it back into the SIM tray, taking care to avoid applying excessive force. The card should slide smoothly into the tray without encountering any resistance. If you encounter significant resistance, double-check the orientation of the card to ensure it is positioned correctly.
-
Secure the SIM Tray: Once the SIM card is seated within the tray, carefully reinsert the tray back into the device, ensuring that it fits snugly into the slot. Apply gentle pressure to ensure that the tray is securely in place without forcing it. It's important to handle the tray and card delicately to avoid causing any damage during the reinsertion process.
By following these steps, you can effectively reinsert the SIM card into the device, setting the stage for the final step in resolving the issue of a stuck SIM card.
Reinserting the SIM card is a critical stage in the troubleshooting process, as it ensures that the card is securely positioned within the device, allowing it to make reliable connections and restore seamless functionality. With the SIM card successfully reinserted, you are now ready to proceed with the final step in addressing the issue and regaining control of your mobile device's connectivity.
This careful and methodical approach to reinserting the SIM card sets the stage for a successful resolution to the issue at hand. With the card securely in place, you are now prepared to move on to the final step and restore seamless functionality to your mobile device.
Step 6: Power On Your Device
With the SIM card securely reinserted into the device, the final crucial step in addressing a stuck SIM card is to power on your mobile device. This step marks the culmination of the troubleshooting process and allows you to verify that the SIM card is functioning as intended within the device. Here's how to proceed with powering on your device:
-
Press the Power Button: Locate the power button on your device and press it to initiate the power-up sequence. Depending on the device model, the power button is typically located on the side or top of the device. Apply gentle pressure to activate the device, ensuring that the SIM card is given the opportunity to establish connections upon powering on.
-
Observe the Startup Process: As the device powers on, observe the startup process to ensure that the SIM card is recognized and that the device establishes connectivity. Look for indicators such as network signal bars or a notification confirming the SIM card's activation. It's important to allow the device an adequate amount of time to initialize and establish connections upon powering on.
-
Verify Connectivity: Once the device has powered on, verify that you have access to mobile network services, including the ability to make calls, send texts, and access mobile data. Check for any error messages or notifications related to the SIM card, ensuring that the device operates seamlessly following the troubleshooting process.
By following these steps, you can effectively power on your device and confirm that the SIM card is functioning properly. This final stage in the troubleshooting process allows you to validate the successful resolution of the stuck SIM card issue and ensures that your mobile device's connectivity is fully restored.
Powering on your device marks the culmination of the troubleshooting process, providing you with the assurance that the SIM card is securely seated and functioning as intended. By carefully observing the device's startup and verifying connectivity, you can confirm that the issue of a stuck SIM card has been effectively addressed, allowing you to resume normal usage of your mobile device without any disruptions.
This methodical and comprehensive approach to powering on your device serves as the final validation of the successful resolution to the issue at hand. With the SIM card securely in place and the device powered on, you can now enjoy seamless connectivity and uninterrupted usage of your mobile device.
Conclusion
In conclusion, addressing a stuck SIM card requires a methodical and careful approach to ensure the safe resolution of the issue. By following the essential steps outlined in this guide, you can effectively navigate the process of troubleshooting a stuck SIM card and restoring seamless functionality to your mobile device.
The initial step of powering off the device sets the stage for a safe and controlled environment in which to address the stuck SIM card. By ensuring that the device is completely powered off, you minimize the risk of causing any damage to the SIM card or the device's internal components during the troubleshooting process.
Ejecting the SIM tray allows for a visual inspection of the SIM card and the slot within the device. This step provides valuable insights into the positioning and condition of the SIM card, laying the groundwork for the subsequent steps in addressing the issue effectively.
Thoroughly inspecting the SIM card and cleaning both the card and the slot are crucial steps in preparing for the successful reinsertion of the SIM card. By identifying and addressing any potential issues, you create an optimal environment for the SIM card to make reliable connections within the device.
Reinserting the SIM card with care and precision ensures that it is securely positioned within the device, allowing for the restoration of seamless functionality. This final step marks the culmination of the troubleshooting process, setting the stage for the successful resolution of the stuck SIM card issue.
Powering on the device serves as the ultimate validation of the successful resolution, allowing you to confirm that the SIM card is functioning as intended within the device. By carefully observing the startup process and verifying connectivity, you can confidently resume normal usage of your mobile device without any disruptions.
In essence, addressing a stuck SIM card is a step-by-step process that requires attention to detail and a cautious approach. By following the essential steps outlined in this guide, you can effectively navigate this troubleshooting process and ensure that your mobile device's connectivity is fully restored. With a clear understanding of the necessary actions and a methodical approach, you can address a stuck SIM card with confidence and precision, allowing you to enjoy uninterrupted usage of your mobile device.