Introduction
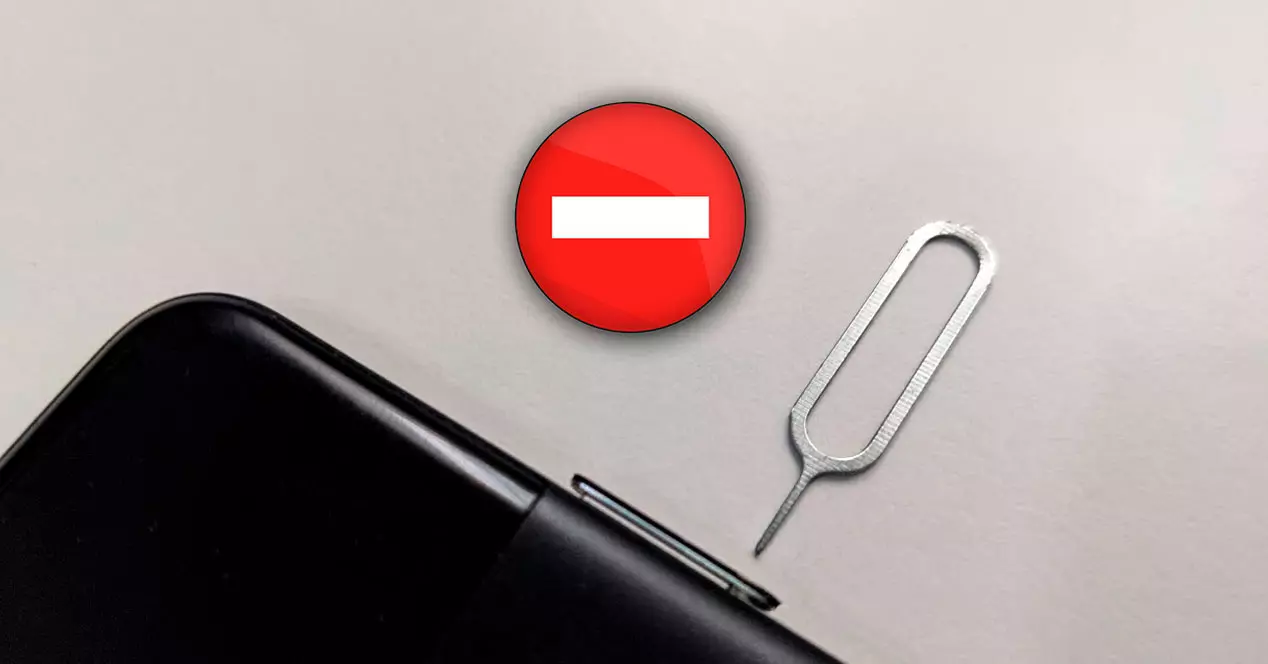
Welcome to our guide on how to remove a stuck SIM card from a tablet. If you’re experiencing difficulties trying to extract the SIM card from your tablet, you’ve come to the right place. A SIM card is a vital component that allows your tablet to connect to a cellular network, enabling you to make calls, send text messages, and access mobile data.
Over time, SIM cards may become stuck due to a variety of reasons, such as improper insertion or a defective SIM card slot. It can be frustrating when you need to change or replace your SIM card but find it stuck inside your tablet.
Don’t worry, though – we have put together this step-by-step guide to help you safely remove a stuck SIM card from your tablet. Following these instructions will ensure that you can retrieve your SIM card without causing any damage to your device.
Please note that different tablet models may have unique SIM card slot designs, so it’s important to consult your tablet’s user manual or manufacturer’s instructions if you encounter any difficulties during the process.
Step 1: Gather Necessary Tools
Prior to attempting to remove the stuck SIM card from your tablet, you will need to gather a few essential tools. These tools will assist you in safely extracting the SIM card without causing any damage to your device. Here’s what you’ll need:
- A SIM card ejector tool: This is a small, metal pin-like tool that comes with most smartphones and tablets. It is specifically designed to eject SIM cards from their slots. If you don’t have a SIM card ejector tool, you can alternatively use a straightened paperclip or a thin needle.
- Tweezers: A pair of fine-tipped tweezers will enable you to have a better grip on the SIM card for extraction. Make sure the tweezers are clean and free from any dirt or debris.
- A soft cloth: It’s important to have a soft, lint-free cloth on hand to wipe any dust or residue that may be present on the SIM card or inside the slot. This will help prevent any damage to the SIM card or interference with the connection.
By having these tools ready, you’ll be well-prepared to tackle the task of removing the stuck SIM card from your tablet. Now that you have everything you need, let’s move on to the next step.
Step 2: Power Off the Tablet
Before attempting to remove the stuck SIM card from your tablet, it’s important to power off the device. This will ensure your safety and prevent any potential damage to the tablet’s internal components.
To power off your tablet, locate the power button. This button is usually positioned on the side or top edge of the device. Press and hold the power button until the power options menu appears on the screen.
Next, tap on the “Power off” or “Shut down” option in the menu. Your tablet will now begin the shutdown process. Wait for a few moments until the screen goes completely dark, indicating that the device is powered off.
It’s essential to power off the tablet because attempting to remove the SIM card while the device is still powered on can be risky. Not only can it cause damage to the SIM card itself, but it can also result in potential harm to the tablet’s internal circuitry.
Once your tablet is powered off, you can proceed to the next step of the SIM card removal process. We’ll guide you through the following steps to ensure a successful extraction without any complications.
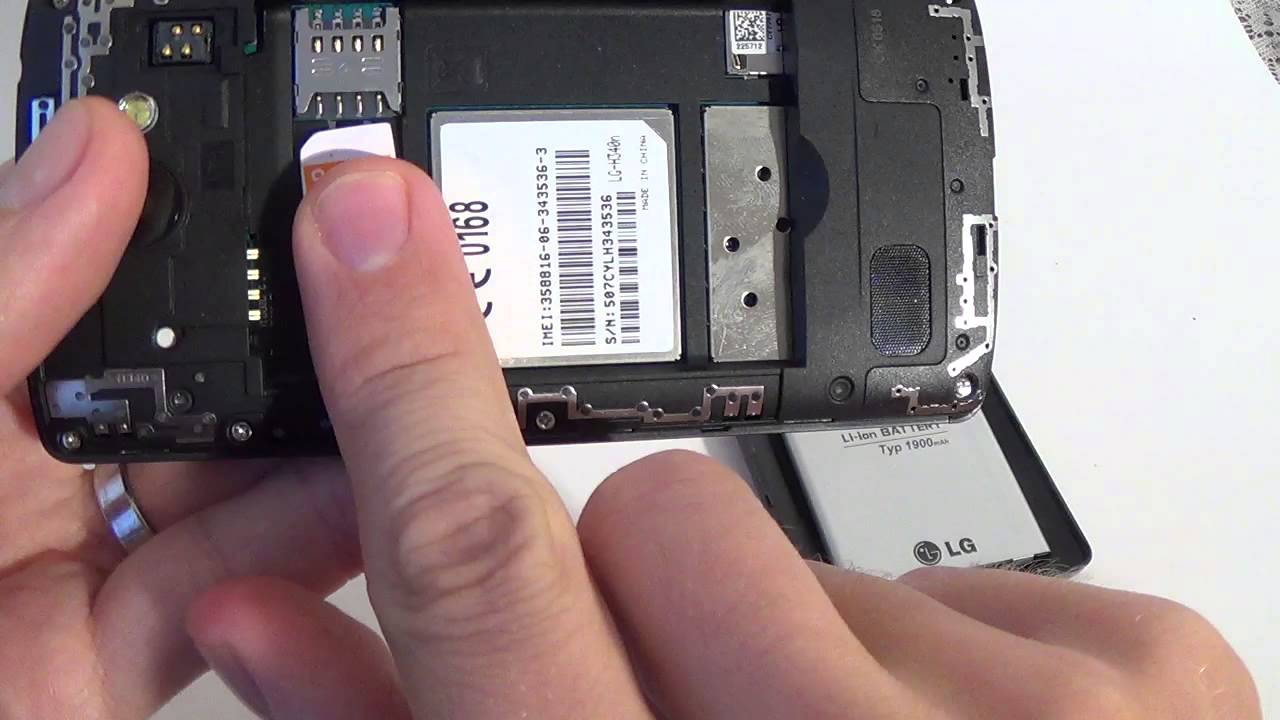
Step 3: Locate the SIM Card Slot
After powering off your tablet, the next step is to locate the SIM card slot. The location of the SIM card slot can vary depending on the make and model of your tablet. Generally, you will find it on the side or back of the device.
Look for a small, rectangular or oval-shaped tray or slot. It may be covered by a small flap or indicated by a SIM card icon. Some tablets may have a combined SIM card and memory card slot, so make sure you identify the correct slot for the SIM card.
If you’re having trouble locating the SIM card slot, it’s recommended to refer to your tablet’s user manual or visit the manufacturer’s website for specific instructions. They will provide you with accurate information on where to find the SIM card slot on your particular tablet model.
Once you have found the SIM card slot, take a moment to familiarize yourself with its design. Look for any additional features such as a small pinhole or groove, which will be used to eject the SIM card from its slot later on.
Now that you have located the SIM card slot, it’s time to move on to the next step and prepare for the SIM card removal process.
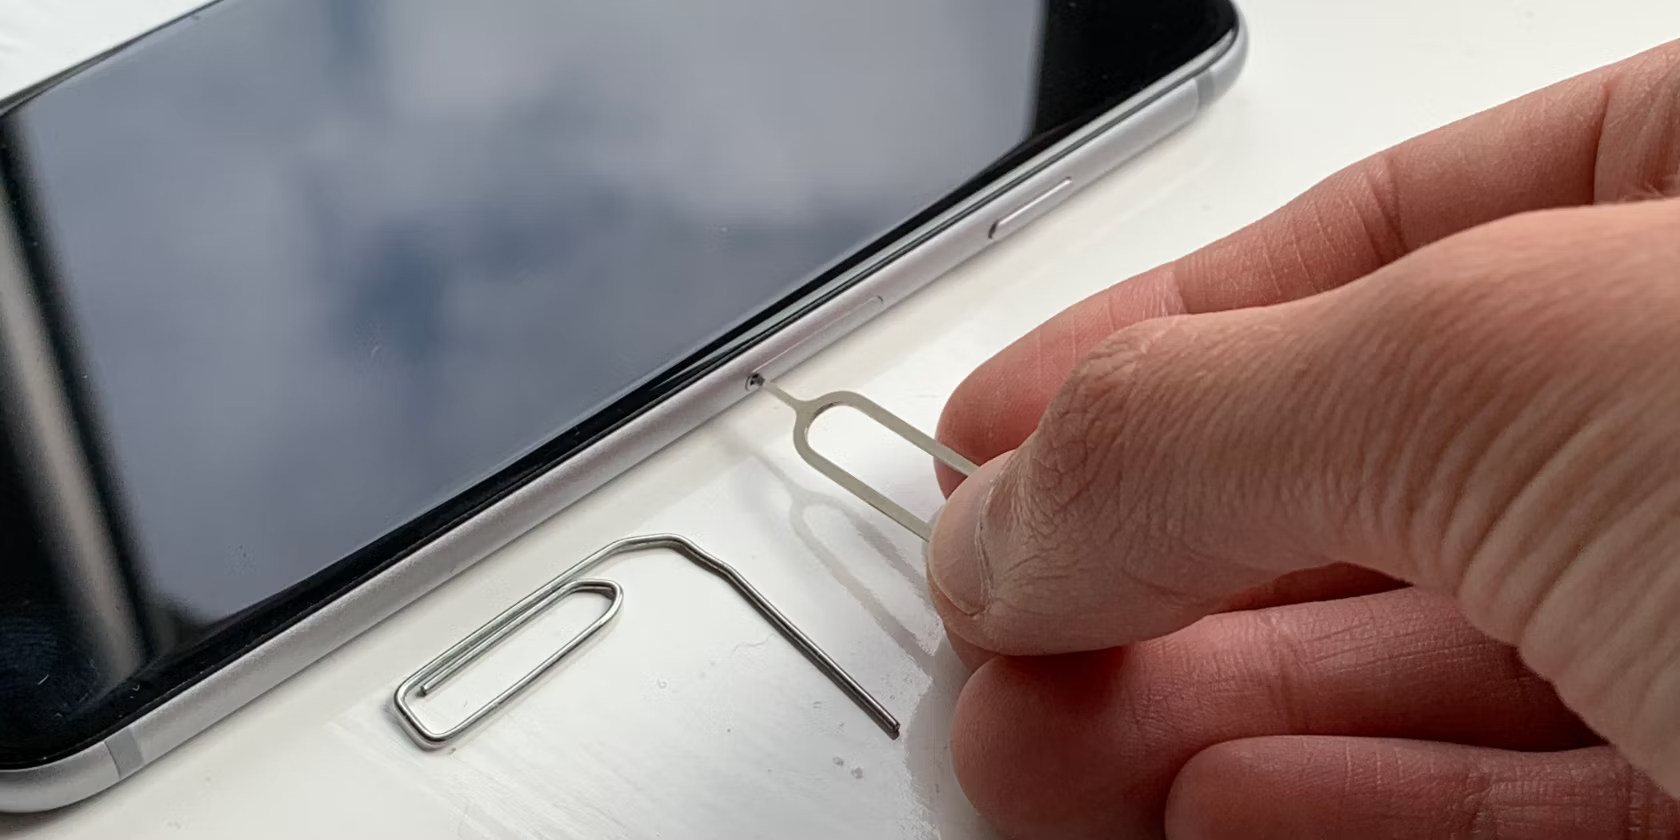
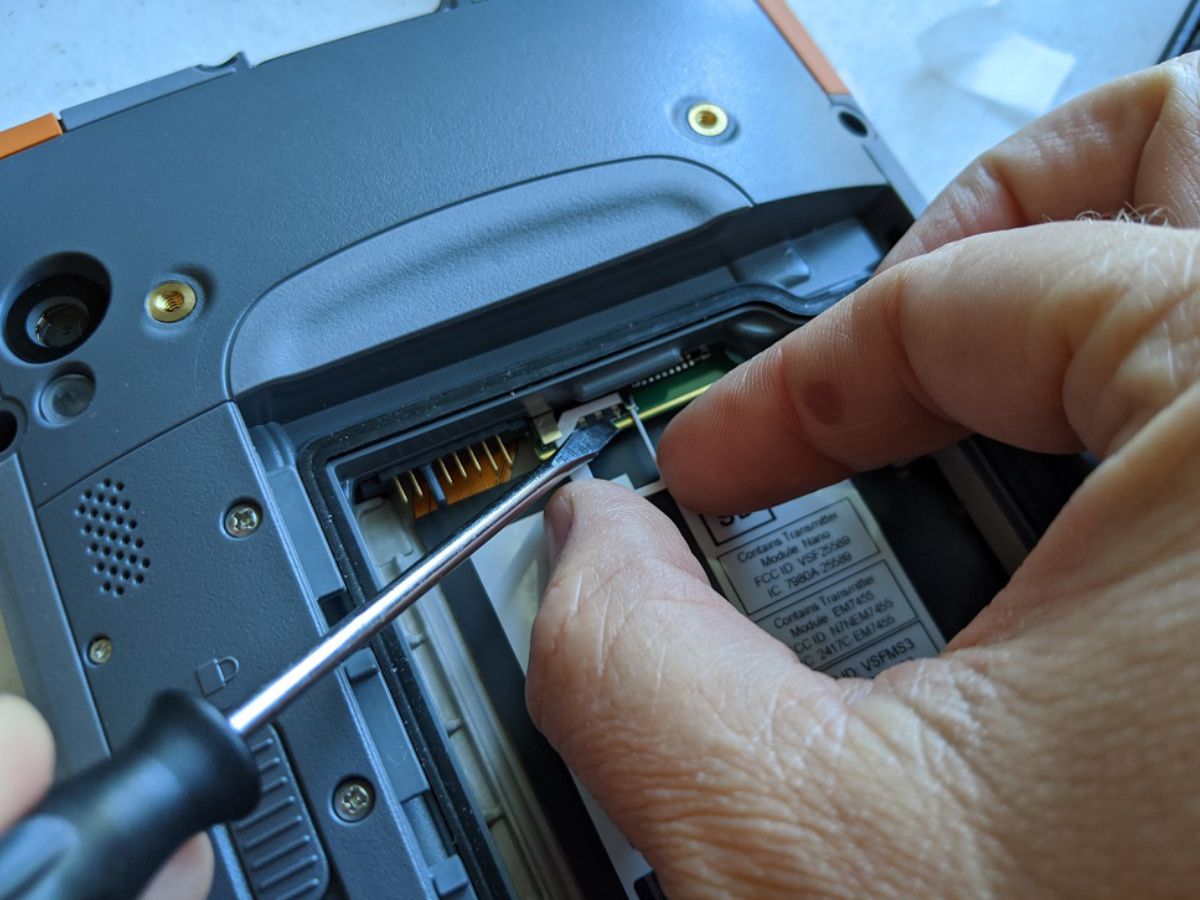
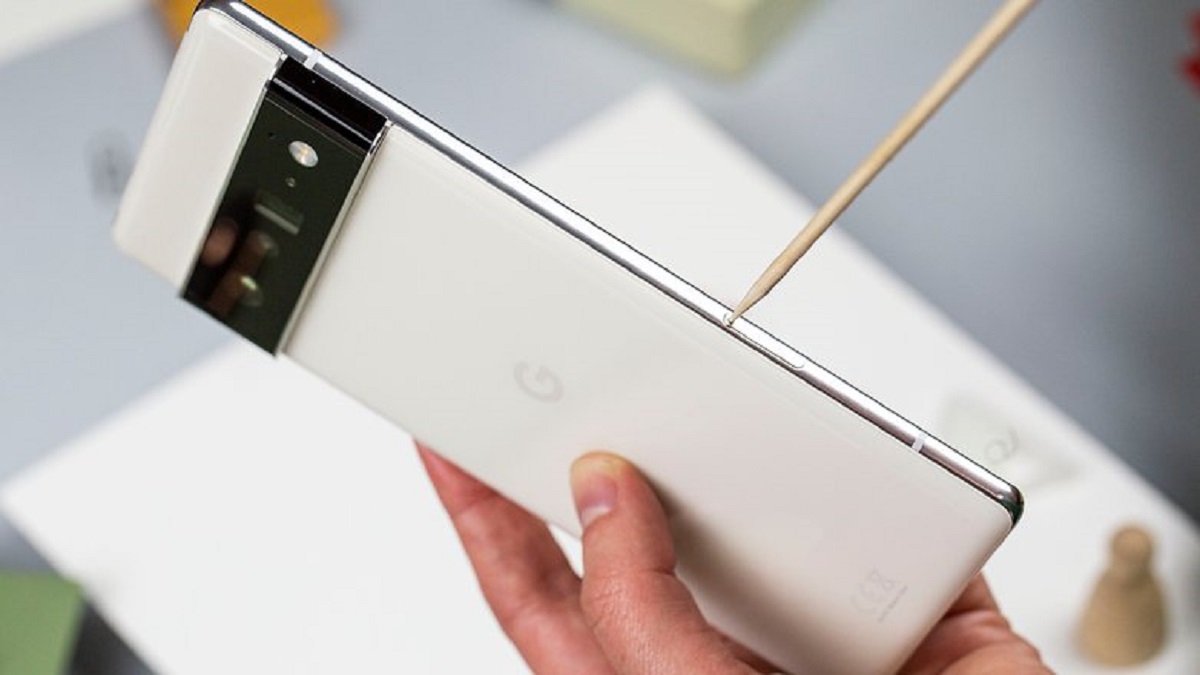
Step 4: Use a SIM Card Ejector Tool
Now that you have located the SIM card slot on your tablet, it’s time to use a SIM card ejector tool to remove the stuck SIM card. This tool is designed to safely eject the SIM card without causing any damage to the slot or the card itself. If you don’t have a SIM card ejector tool, you can use a straightened paperclip or a thin needle as an alternative.
Take the SIM card ejector tool and insert it into the small pinhole or groove on or near the SIM card slot. Apply gentle pressure until you feel the tool make contact with the internal mechanism.
Once you have made contact, press down firmly and the SIM card tray should pop out slightly. Be careful not to apply too much force, as this can damage the SIM card slot. If the tray is not ejecting, double-check that you are using the correct tool and the correct entry point.
Once the tray is partially ejected, remove the SIM card ejector tool and use your fingers to carefully pull out the tray. Take your time and be gentle to avoid any accidental damage.
If you don’t have an ejector tool or a paperclip, you can try using the edge of a thin needle. Simply press it into the pinhole and apply gentle pressure to eject the tray. However, exercise caution to avoid scratching the surface around the SIM card slot.
Now that you have successfully accessed the SIM card tray, you can proceed to the next step to safely remove the stuck SIM card from your tablet.
Step 5: Apply Gentle Pressure
Once you have the SIM card tray partially ejected from the tablet, it’s time to carefully remove the stuck SIM card. To do this, you will need to apply gentle pressure to release the SIM card from its position in the tray.
Start by examining the orientation of the SIM card inside the tray. Note the position of the metal contacts on the card and align them with the corresponding area in the tray. This ensures that the SIM card is properly inserted when you reinsert it into the tablet later.
With one hand holding the tray, use your other hand to apply gentle pressure to the SIM card. Use your thumb or index finger to press down lightly on the edges of the card. Avoid touching the metal contacts to prevent any potential damage.
As you apply pressure, you may feel a slight resistance as the SIM card dislodges from its position. It’s important to be patient and avoid using excessive force, as this can cause the SIM card to break or damage the SIM card slot.
If the SIM card is still firmly stuck, try gently wiggling it back and forth to loosen it. Be careful not to bend or twist the SIM card, as this can result in permanent damage.
Continue applying gentle pressure and wiggling the SIM card until it is completely detached from the tray. Once the SIM card is loose, carefully lift it out of the tray, taking care not to drop it or touch the contacts.
Now that you have successfully removed the stuck SIM card from the tray, you can move on to the next step and complete the SIM card removal process.
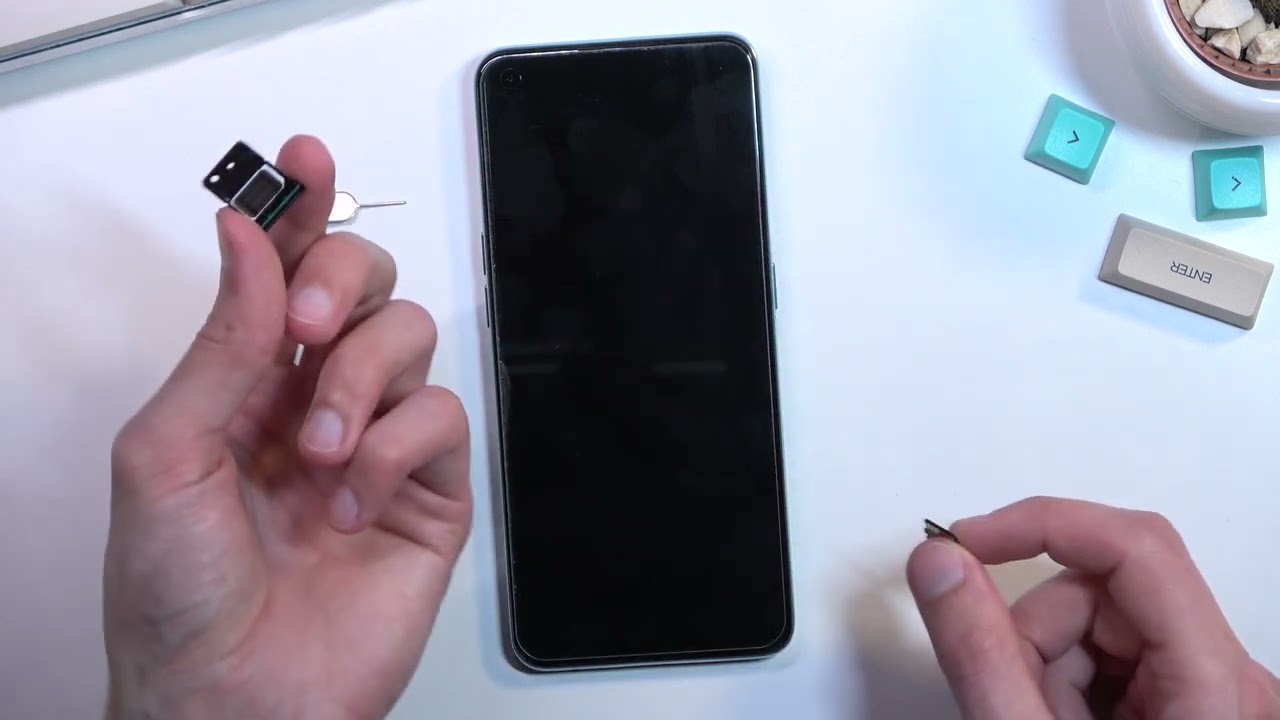
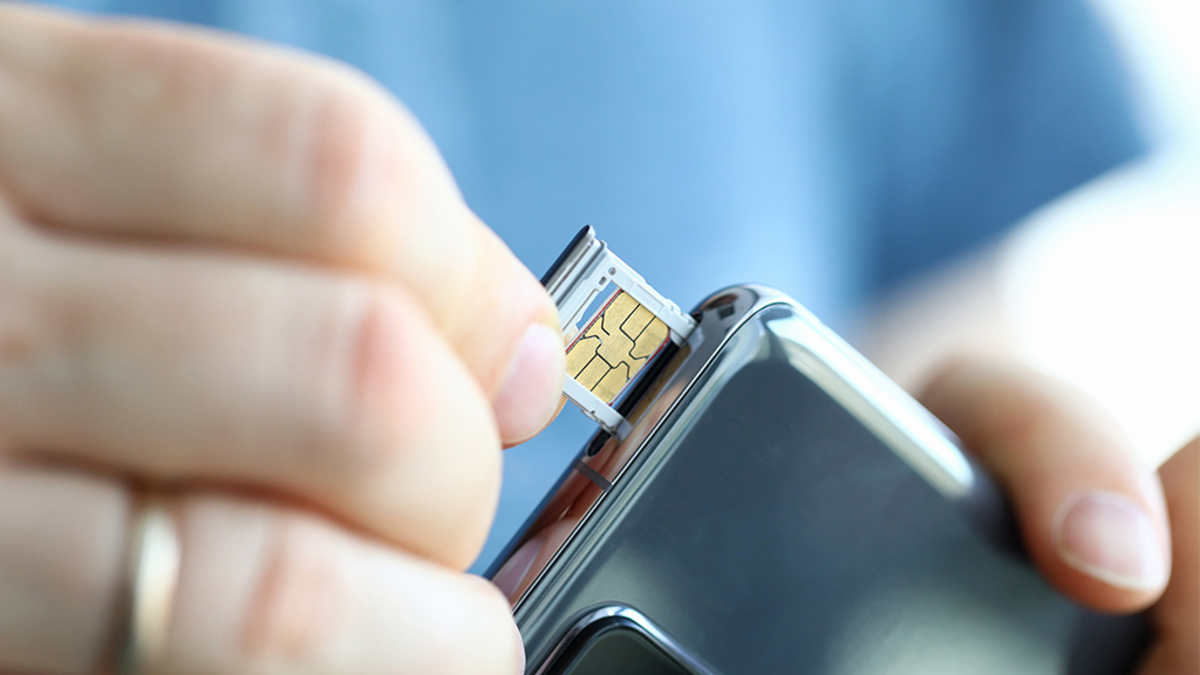
Step 6: Remove the SIM Card
Now that you have successfully detached the stuck SIM card from the tray, it’s time to remove it from the tablet completely. Follow these steps to ensure a safe and proper removal:
- Take a moment to inspect the SIM card for any visible damage. Look for any scratches, bends, or other signs of wear that may affect its functionality. If the SIM card appears to be damaged, it may need to be replaced.
- Using your fingers or a pair of fine-tipped tweezers, gently grasp the edges of the SIM card. Be careful not to touch the gold-colored contacts on the back of the card, as this can interfere with its performance.
- Slowly and carefully lift the SIM card out of the tray. Be sure to keep a firm grip on the card to prevent it from slipping and potentially getting stuck again.
- Once the SIM card is free from the tray, set it aside on a clean, dry surface. Avoid placing it on any rough or dirty surfaces that may scratch or contaminate it.
At this point, the stuck SIM card has been successfully removed from your tablet. Take a moment to examine the SIM card slot and ensure that there are no remaining fragments or debris. Use a soft cloth to clean the slot if necessary, ensuring that it is free from any dust or particles.
If you plan on inserting a new SIM card into your tablet, ensure that it is the appropriate size and type for your device. Refer to the tablet’s user manual or contact your mobile service provider for guidance on compatible SIM cards.
Now that you have completed the SIM card removal process, you can proceed to the final step: powering on your tablet.
Step 7: Power On the Tablet
With the stuck SIM card successfully removed from your tablet and the SIM card slot inspected and cleaned, it’s time to power on your device. Follow these steps to ensure a smooth and successful power-up:
- Carefully reinsert the SIM card tray back into the slot. Make sure the tray is aligned properly and fully inserted. Take care not to insert it upside down or force it into the slot, as this can cause damage.
- Once the SIM card tray is securely in place, locate the power button of your tablet. Press and hold this button until you see the device’s logo or the screen turns on. Then release the button.
- Wait patiently for the tablet to power up and boot to the home screen. This process may take a few moments, depending on the device’s specifications and any updates that need to be installed.
- Once the tablet has powered on, check the top corner of the screen or the status bar to verify if the device has recognized the newly inserted SIM card. You should see a signal icon or network indicator indicating that the tablet is connected to a cellular network.
If you do not see any indication of a network connection, double-check that the SIM card is properly inserted, the tray is securely closed, and that your tablet is within range of a cellular network. If the issue persists, it may be necessary to contact your mobile service provider for further assistance.
Congratulations! You have successfully removed a stuck SIM card from your tablet and powered it back on. Your device should now be ready to use with a functioning SIM card.
Remember to keep the extracted SIM card in a safe place, as you may need it for future use or as a backup. If you no longer need the SIM card, consider disposing of it properly according to your local electronic waste guidelines.
Conclusion
Removing a stuck SIM card from your tablet can be a frustrating experience, but with the right tools and careful steps, it is possible to safely extract it without causing any damage. By following the step-by-step guide outlined in this article, you can successfully remove a stuck SIM card from your tablet and restore its functionality.
Remember to gather the necessary tools, power off your tablet, locate the SIM card slot, use a SIM card ejector tool or alternative, apply gentle pressure to release the SIM card, remove the SIM card from the tray, and power on your tablet again.
If you encounter any difficulties during the process, always consult your tablet’s user manual or reach out to the manufacturer for specific instructions. It is crucial to handle your tablet and SIM card with care to prevent any accidental damage.
By successfully removing the stuck SIM card, you can now use your tablet to make calls, send messages, and access mobile data as intended. Remember to properly dispose of any unused or damaged SIM cards according to electronic waste guidelines in your area.
We hope this guide has been helpful in resolving the issue of a stuck SIM card on your tablet. Should you require any additional assistance, feel free to reach out to your mobile service provider or consult a professional technician.
Thank you for reading, and best of luck in your SIM card removal process!