Introduction
Welcome to the world of Venmo, the popular mobile payment app that allows you to easily send and receive money from friends and family. Whether you’re splitting the bill at a restaurant, paying your share of the rent, or sending a birthday gift, Venmo makes it simple and convenient to handle your financial transactions.
With Venmo, you can link your bank account, credit card, or debit card to make secure and instant payments directly from your smartphone. Gone are the days of digging through your wallet for cash or waiting for checks to clear. Venmo takes the hassle out of money transfers, making it a must-have app for anyone looking for a seamless payment solution.
In this step-by-step guide, we will walk you through the process of setting up your own Venmo account and getting started with this versatile payment platform. From downloading the app to understanding key features like privacy settings and transaction history, we’ll cover everything you need to know to make the most of your Venmo experience.
So, whether you’re a seasoned Venmo user or brand new to the app, let’s dive in and explore the ins and outs of setting up your Venmo account and enjoying the benefits of fast, easy, and secure peer-to-peer transactions.
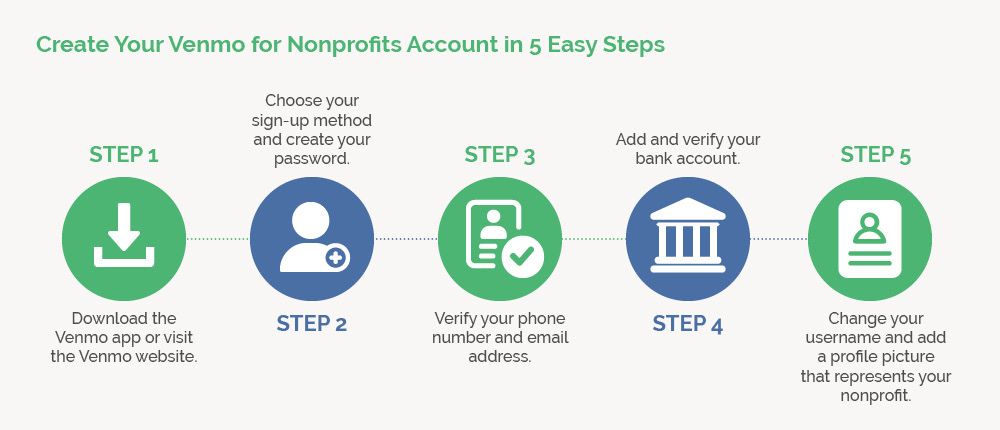
Step 1: Downloading the Venmo App
The first step in setting up your Venmo account is to download the Venmo app onto your smartphone. Currently, Venmo is available for both iOS and Android devices, so you can easily find and download it from your app store.
To download the app, simply open your app store and search for “Venmo”. Once you find the official Venmo app, tap on the “Install” or “Get” button to begin the downloading process.
Once the app is downloaded and installed on your device, tap on the Venmo icon to open the app.
For new users, you will be greeted with a welcome screen introducing you to the app’s features. Tap on the “Sign Up” button to proceed with creating a new Venmo account.
If you already have a Venmo account, tap on the “Log In” button and enter your login credentials to access your existing account.
It’s important to note that Venmo requires user authentication using either your phone number or email address. Make sure you have access to a valid phone number and email address before proceeding with the setup process.
By following these steps and downloading the Venmo app on your smartphone, you’re on your way to joining millions of users who enjoy the convenience of Venmo’s secure and hassle-free payment system.
Step 2: Creating a Venmo Account
Creating a Venmo account is a simple and straightforward process. Once you have downloaded the Venmo app on your smartphone, follow these steps to set up your account:
- Open the Venmo app on your device and tap on the “Sign Up” button.
- Choose whether you want to sign up using your phone number or email address. Enter the required information and tap on the “Next” button.
- Create a secure password for your Venmo account. Make sure to choose a password that is unique and not easily guessable. Tap on the “Next” button when you’re done.
- Add your first and last name. This name will be associated with your Venmo profile and will be visible to your friends and contacts on the app. Tap on the “Next” button to proceed.
- Next, you will have the option to add your profile picture. You can either take a new photo using your device’s camera or choose an existing photo from your gallery. Your profile picture is a great way for your contacts to recognize you on Venmo. Tap on the “Done” button when you’re finished.
- Finally, you will be asked to enable notifications for Venmo. Notifications will keep you informed about your transactions, friend requests, and other important updates. Choose your notification preferences and tap on the “Next” button.
That’s it! Your Venmo account is now created and ready to use. You will be taken to the home screen of the app, where you can explore the various features and settings of Venmo.
Remember to keep your login credentials secure and confidential to protect your Venmo account from unauthorized access. Additionally, you can enable two-factor authentication for an extra layer of security.
Now that you have successfully created your Venmo account, it’s time to move on to the next step: verifying your phone number and email address.
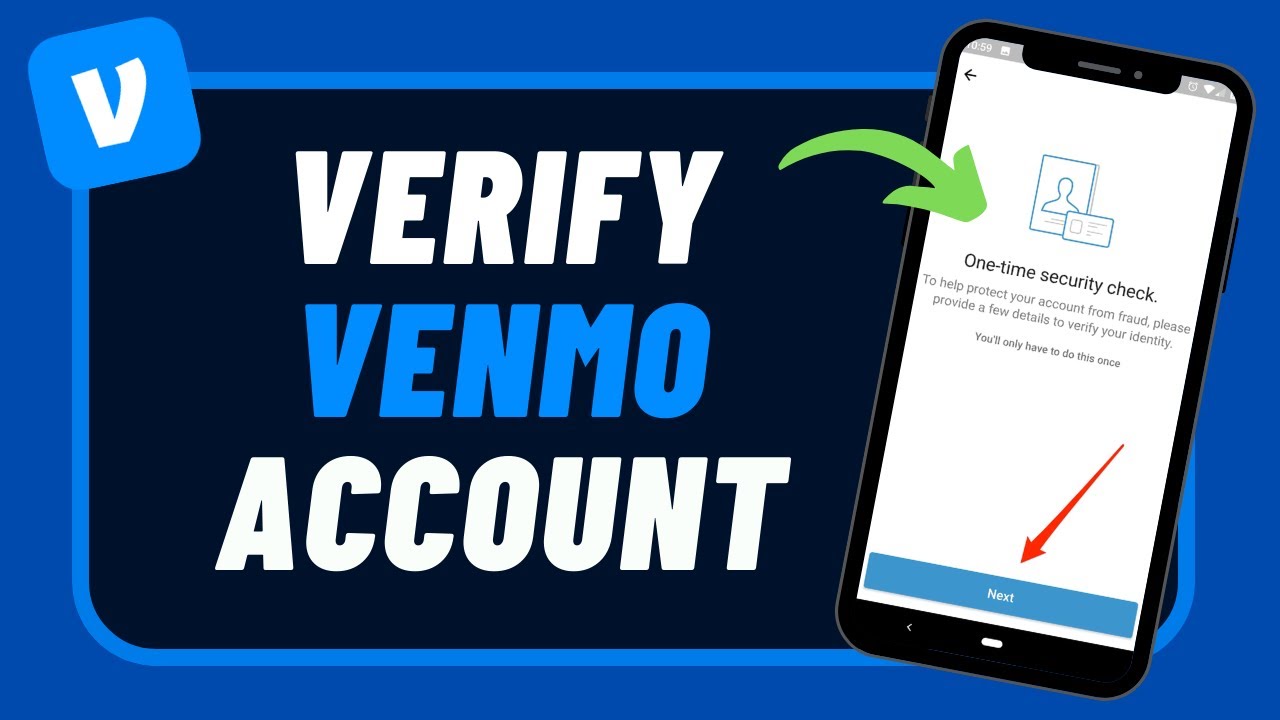
Step 3: Verifying Your Phone Number and Email Address
Before you can fully utilize the features of Venmo, it is essential to verify your phone number and email address. This is an important step to ensure the security and functionality of your Venmo account.
Follow these instructions to verify your phone number and email address on Venmo:
- After creating your Venmo account, the app will prompt you to verify your phone number. Tap on the “Verify Phone” button to proceed.
- You will receive a verification code via SMS on your registered phone number. Enter the code into the app when prompted. If you do not receive the code within a few minutes, you can request to resend it.
- Next, Venmo will ask you to verify your email address. Tap on the “Verify Email” button to continue.
- Check your email inbox for a verification email from Venmo. Open the email and click on the verification link provided. If you don’t see the email in your inbox, remember to check your spam or junk folder.
- Once you click on the verification link, you will be redirected to the Venmo app, indicating that your email address has been successfully verified.
Verifying your phone number and email address helps to secure your Venmo account and ensures that you receive important notifications and updates regarding your transactions. It also allows you to reset your password in case you forget it in the future.
If you encounter any issues during the verification process, make sure the phone number and email address you provided are correct. If problems persist, you can contact Venmo customer support for further assistance.
With your phone number and email address verified, you are now ready to move on to the next step: adding a payment method to your Venmo account.
Step 4: Adding a Payment Method to Your Venmo Account
Now that your Venmo account is set up and verified, it’s time to add a payment method. This will allow you to seamlessly send and receive money through the Venmo app. Here’s how to add a payment method:
- Open the Venmo app on your smartphone and tap on the menu icon, typically located in the top-left corner of the screen.
- From the menu, select “Settings” to access your account settings.
- In the settings menu, tap on “Payment Methods” or “Add Bank or Card” to add a new payment method.
- You will be presented with several options to add a payment method, including linking a bank account, debit card, or credit card. Choose the option that suits you best.
- If you choose to link a bank account, you will need to provide your bank account details, such as the account number and routing number. Venmo will securely link your bank account to your Venmo profile.
- If you prefer to link a debit or credit card, enter the card information including the card number, expiration date, and CVV code. Venmo will securely link your card to your Venmo profile.
- Once you have entered the necessary information, tap on the “Add” or “Link” button to proceed.
- For security purposes, Venmo may ask you to verify the payment method. This can be done via text message, email, or other authentication methods. Follow the on-screen instructions to complete the verification process.
- Once the payment method is successfully linked, you will see it listed under the “Payment Methods” section in your Venmo account settings.
Adding a payment method to your Venmo account allows you to easily make payments and receive funds from other Venmo users. It’s important to link a payment method that you feel comfortable using and that aligns with your financial needs.
Remember to keep your payment method information secure and routinely monitor your transactions for any unauthorized activity. If you ever need to update or change your payment method, you can do so in the Venmo app settings.
With a payment method successfully added, you are now ready to start using Venmo to send and receive money. The next step will guide you through setting up your Venmo profile to personalize your account further.
Step 5: Setting Up Your Venmo Profile
Your Venmo profile is a great way to personalize your account and make it more recognizable to your friends and contacts. By setting up your Venmo profile, you can add important details and customize your settings. Here’s how to set up your Venmo profile:
- Open the Venmo app on your smartphone and tap on the menu icon, typically located in the top-left corner of the screen.
- From the menu, select “Profile” to access your profile settings.
- In the profile settings, you will find options to add your profile picture, display name, username, and a short bio.
- Tap on “Add/Change Picture” to upload a profile picture. You can choose a photo from your device’s gallery or take a new picture using the app.
- Next, tap on “Edit” or “Change” next to your display name to update it. Choose a name that you want to be known as on Venmo.
- Under the display name, you can also set a username. Your username is a unique identifier for your Venmo account, and it will be visible to your friends and contacts. Choose a username that is easy to remember and represents you well.
- Below the username, there is an option to add a short bio about yourself. This is an opportunity to share a little bit about who you are or add a fun message for your contacts to see.
- Once you have made the desired changes to your profile, tap on the “Done” or “Save” button to apply the updates.
Setting up your Venmo profile allows other users to easily recognize you and ensures that your contacts can connect and interact with you on the platform. It adds a personal touch to your transactions and enhances the overall user experience.
Remember to choose a profile picture and display name that you are comfortable with and that truly reflect your identity. It’s also worth considering any privacy preferences you may have and adjusting your visibility settings accordingly.
With your Venmo profile set up, you are now ready to move on to the next step: understanding Venmo privacy settings.
Step 6: Understanding Venmo Privacy Settings
Privacy is an important aspect of any online platform, and Venmo provides a range of privacy settings to help you control the visibility of your transactions and personal information. Understanding and configuring these privacy settings will allow you to have more control over your Venmo activity. Here’s how to navigate Venmo’s privacy settings:
- Open the Venmo app on your smartphone and tap on the menu icon, usually located in the top-left corner of the screen.
- From the menu, select “Settings” to access your account settings.
- In the settings menu, you will find various options, including “Privacy”. Tap on “Privacy” to access your privacy settings.
- Within the privacy settings, you can customize who can see your transactions, friends list, and public profile details.
- By default, your Venmo transactions are set to “Public”, meaning that anyone on Venmo can see them. If you prefer more privacy, you can change the visibility of your transactions to “Friends” or “Private”.
- Additionally, you can choose whether to display your friends list on your public profile or keep it hidden. This setting allows you to control who can see your connections on Venmo.
- Lastly, you can review and adjust the visibility of your public profile details, such as your display name, username, and bio. You can choose to make these details visible to “Public”, “Friends”, or “Private”.
- Once you have made the desired privacy settings, tap on the “Done” or “Save” button to apply the changes.
Understanding and utilizing Venmo’s privacy settings ensures that you have control over the visibility of your transactions and personal information. It’s important to review and adjust these settings based on your comfort level and privacy preferences.
Keep in mind that while adjusting your privacy settings can limit the visibility of your information, Venmo transactions with your friends will still be visible to them, regardless of your privacy preferences.
By taking the time to understand and configure Venmo’s privacy settings, you can ensure that your financial activity remains secure, private, and within your desired level of visibility.
Now that you are familiar with Venmo’s privacy settings, let’s move on to the next step: sending and receiving money with Venmo.
Step 7: Sending and Receiving Money with Venmo
One of the primary reasons people use Venmo is to easily send and receive money from friends, family, and other contacts. With Venmo, you can quickly and securely transfer funds with just a few taps on your smartphone. Here’s how to send and receive money with Venmo:
- Open the Venmo app on your smartphone and log in to your account if you haven’t already done so.
- On the home screen, you will see a textbox labeled “Pay or Request.” To send money, enter the username, email address, or phone number of the recipient in this textbox.
- Next, enter the amount you wish to send and add a brief description or note about the transaction (optional).
- Choose whether the transaction is a payment or a request by tapping on the respective button.
- If you’re sending money, you can also select the privacy settings for the transaction. By default, transactions are set to “Public.” However, you can change it to “Friends” or “Private” for more privacy.
- Once you have entered all the necessary information, tap on the “Pay” or “Request” button to initiate the transaction.
- If you’re sending money, the transaction will be processed immediately, and the recipient will be notified of the funds received. If you’re requesting money, the recipient will receive a notification prompting them to pay the requested amount.
- To receive money, simply provide your Venmo username, email address, or phone number to the sender. They can then follow the same steps mentioned above to initiate the payment to you.
- Once a transaction is completed, you can view it in your transaction history, which keeps a record of all your Venmo activities.
It’s important to note that Venmo transactions are typically free when using a linked bank account or debit card. However, there may be fees involved when using a credit card or certain types of transactions.
Make sure to review and confirm the details of your transactions before completing them to ensure accuracy. Additionally, only send or receive money from trusted individuals to avoid any potential scams or fraudulent activities.
By following these simple steps, you can quickly and securely send and receive money with Venmo, making it a convenient payment solution for various occasions.
Now that you’re familiar with sending and receiving money on Venmo, let’s move on to the next step: adding friends and contacts on Venmo.
Step 8: Adding Friends and Contacts on Venmo
Venmo is not only a payment platform, but it also allows you to connect and interact with friends and contacts. Adding friends on Venmo is a great way to easily send and request money from people you regularly transact with. Here’s how to add friends and contacts on Venmo:
- Open the Venmo app on your smartphone and log in to your account if you haven’t already done so.
- On the home screen, tap on the menu icon, typically located in the top-left corner of the screen.
- From the menu, select “Friends” to access your friends list and manage your contacts.
- In the Friends section, you will see a search bar where you can enter the name or username of the person you want to add as a friend. Alternatively, you can tap on the “Add Friends” button to access more options.
- If you know the person’s username, you can directly search for them using the username. If you’re not sure about their username, you can import your contacts from your device’s address book or connect to your Facebook account to find friends who are also on Venmo.
- Once you have found the friend or contact you want to add, tap on their name to view their profile.
- On their profile, you will see an “Add Friend” button. Tap on this button to send a friend request to the person.
- The person will receive a notification about your friend request. Once they accept the request, you will be connected on Venmo and can easily send and request money from each other.
- You can view your friends and contacts in the Friends section of the app. From here, you can manage your friends list, remove friends, or search for new friends.
Adding friends on Venmo not only allows for quick money transfers, but it also enables you to easily split bills, pay shared expenses, and keep track of transactions with your close circle.
Remember to only add friends and contacts that you trust and have a legitimate connection with. Be cautious when adding strangers or unfamiliar individuals to avoid potential scams or fraudulent activities.
With your friends and contacts added on Venmo, you can now enjoy the convenience and ease of transactions with those you frequently interact with.
The next step will guide you through managing your Venmo transactions and history, so let’s move on to Step 9.
Step 9: Managing Your Venmo Transactions and History
As you use Venmo to send and receive money, it’s important to be able to manage and keep track of your transactions and transaction history. Venmo provides various tools and features to help you easily manage your financial activities. Here’s how to manage your Venmo transactions and history:
- Open the Venmo app on your smartphone and log in to your account if you haven’t already done so.
- On the home screen, you will see your Venmo balance and a feed of your recent transactions.
- To view your complete transaction history, tap on the menu icon, usually located in the top-left corner of the screen.
- From the menu, select “Transactions” or “Activity” to access your transaction history.
- In the transaction history, you can search for specific transactions using keywords, names, or amounts. This is useful when you need to find a particular transaction or reference a past payment.
- You can also filter your transaction history by various categories such as payments, requests, charges, or Venmo card transactions. This allows you to easily organize and analyze your financial activities.
- Tap on any transaction to view more details, including the date, time, participants, and any associated notes or descriptions.
- If needed, you can dispute a transaction by tapping on the transaction and selecting the “Dispute” option. This is useful if there are any issues or discrepancies with a payment.
- In addition to managing your transactions, you can also view and track your Venmo balance, including any pending transactions or refunds.
- Lastly, remember to periodically review your transaction history and monitor your account for any unauthorized or suspicious activities. If you notice any suspicious transactions, be sure to report them to Venmo customer support immediately.
Managing your Venmo transactions and history enables you to stay organized, track your financial activities, and have a clear record of all your payments and transfers.
It’s a good practice to review your transaction history regularly and ensure that all transactions are accurate. This will help you maintain control over your financial activities and identify any potential issues in a timely manner.
With the tools and features provided by Venmo, managing your transactions and staying on top of your financial history has never been easier.
The next step will cover additional features and settings on Venmo, so let’s proceed to Step 10.
Step 10: Exploring Additional Features and Settings on Venmo
Venmo offers a range of additional features and settings that can enhance your overall experience and make managing your finances even easier. By exploring these features and settings, you can customize your Venmo experience and tailor it to your specific needs. Here are some of the additional features and settings you can explore on Venmo:
- Splitting Bills: If you often share expenses with friends or family members, you can use the “Split Bill” feature on Venmo. It allows you to divide the cost of a bill and request your share from the other participants.
- Integration with Merchants: Venmo has partnered with various merchants, allowing you to make purchases directly through the app. Look for the “Pay with Venmo” option when shopping online to take advantage of this feature.
- Receipts and Transaction Details: Venmo keeps a record of each transaction, allowing you to view details such as the date, time, and participants. You can also obtain receipts for your transactions and download them for your records.
- Notifications: Customize your notification settings to receive alerts for various activities, such as payments, requests, and friend requests. Make sure to enable notifications that are relevant to your needs, ensuring you stay informed about your Venmo account.
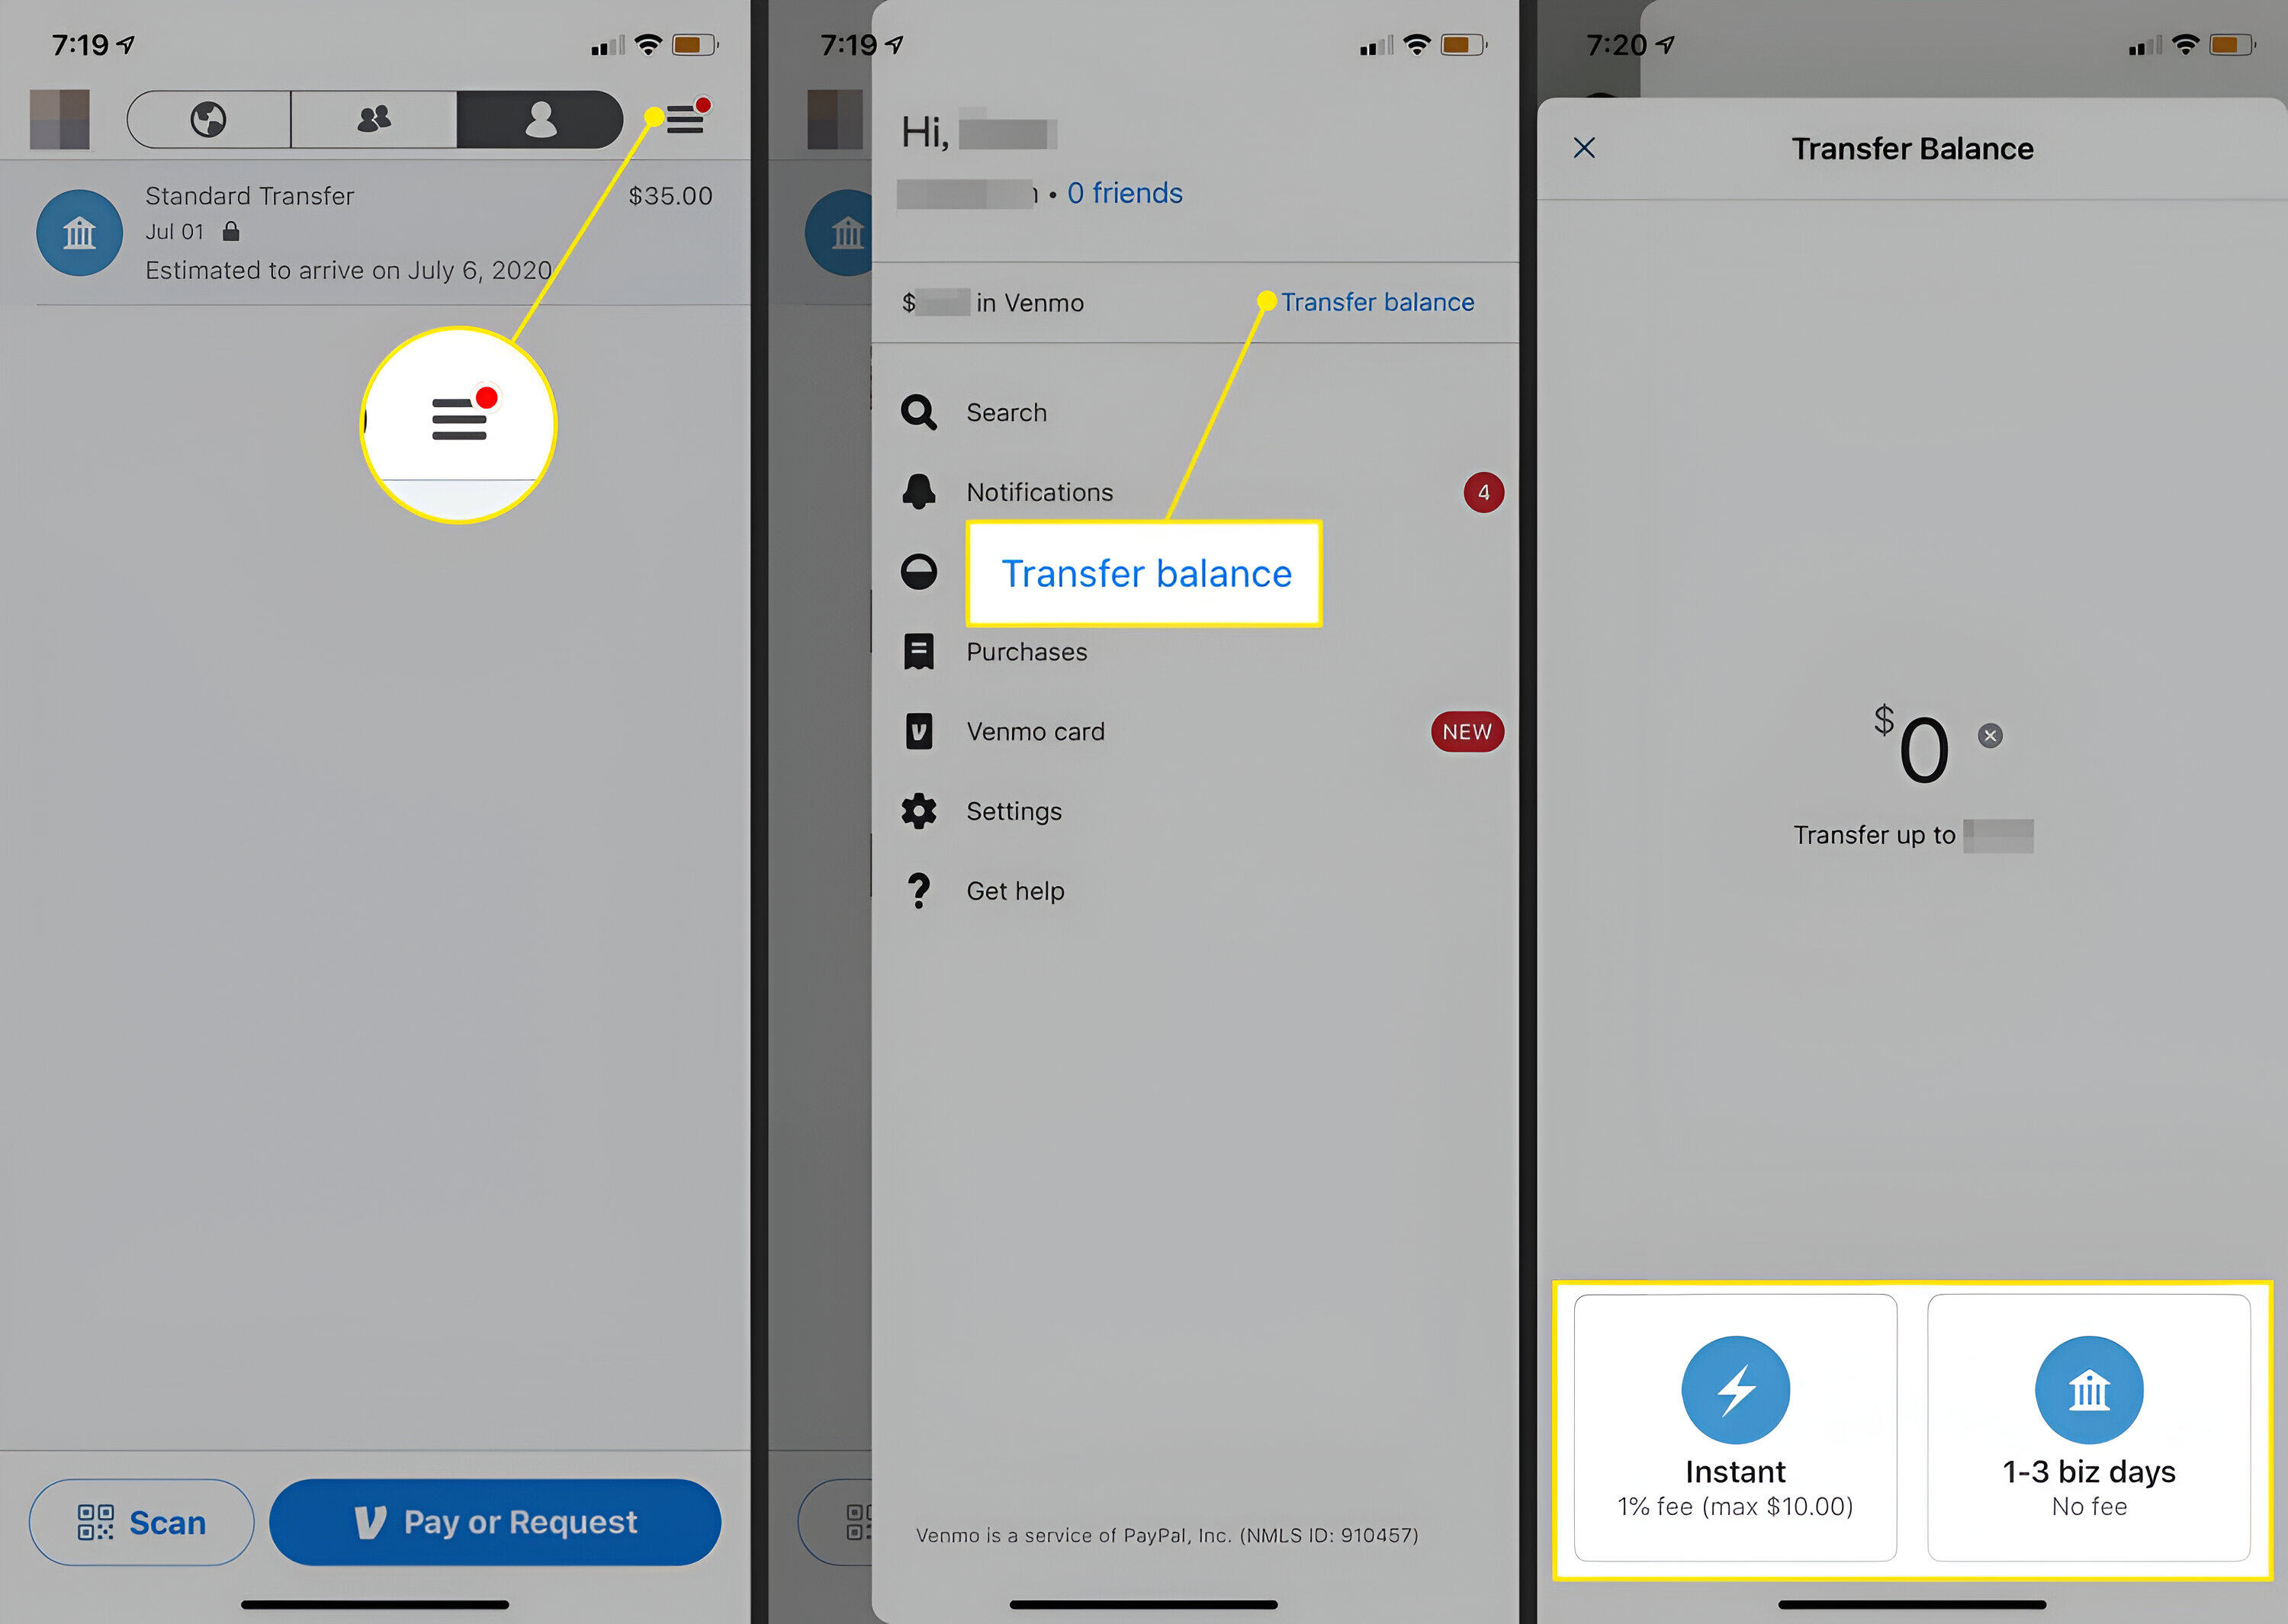
- Bank Account Transfers: Link your bank account to Venmo and transfer funds between your Venmo balance and bank account seamlessly. This feature provides flexibility in managing your finances and accessing your funds.
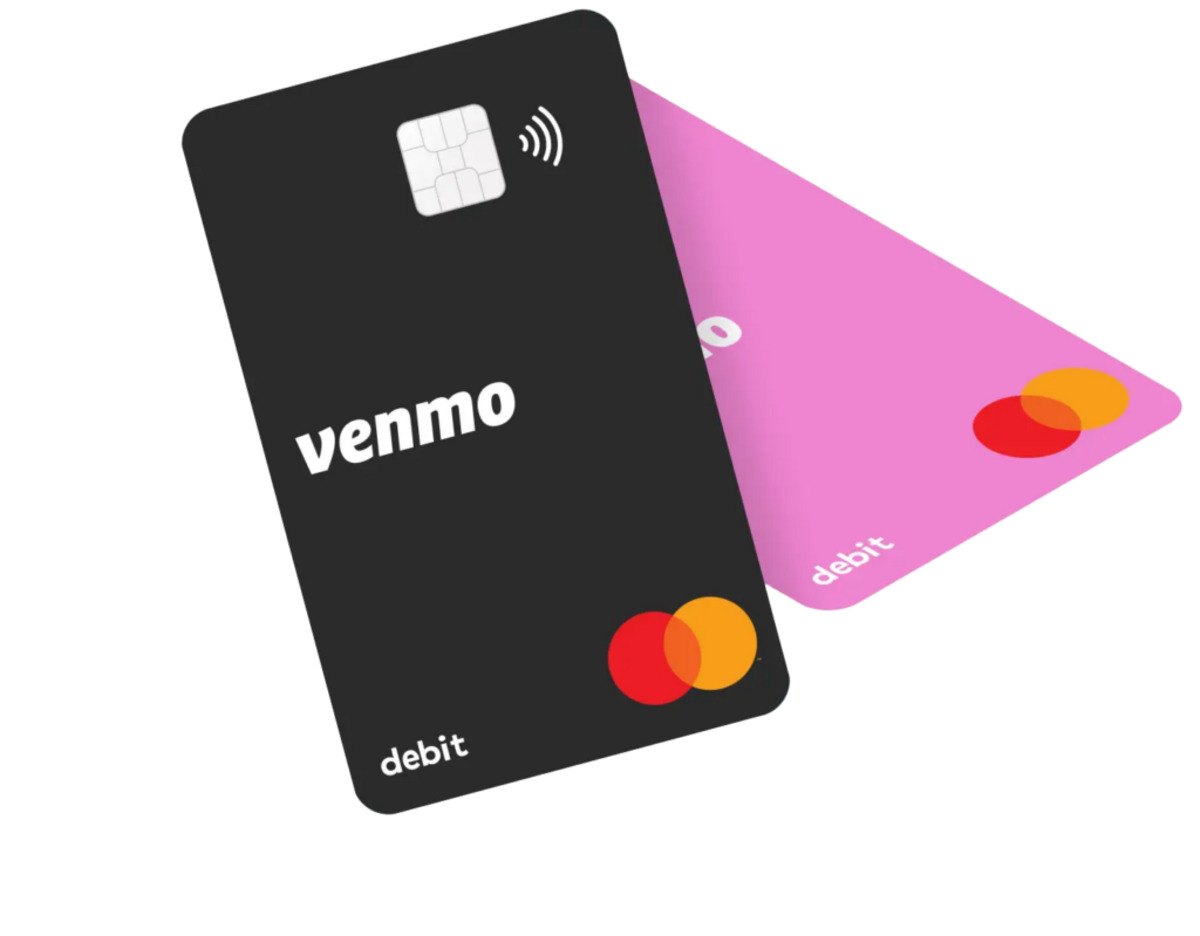
- Venmo Card: Consider getting a Venmo card, a debit card linked to your Venmo account. You can use it to make purchases or withdraw cash from ATMs, giving you easy access to your Venmo balance wherever you go.
- Security Settings: Enhance the security of your Venmo account by enabling features such as two-factor authentication or setting up a PIN code for the app. These settings provide an added layer of protection for your financial transactions.
- Privacy Options: Explore and review your privacy settings periodically to ensure that they align with your preferences. Adjusting your privacy settings allows you to control the visibility of your transactions and personal information.
By exploring these additional features and settings, you can make the most of your Venmo experience and take advantage of the tools provided to simplify your financial transactions and management.
Remember to always stay updated with the latest app version to benefit from new features and enhancements that Venmo periodically releases.
Now that you have explored the additional features and settings, you have a comprehensive understanding of how to use Venmo to its fullest potential.
Conclusion
Congratulations! You have successfully learned how to set up and use Venmo, the popular mobile payment app that simplifies sending and receiving money. By following the step-by-step guide in this article, you have mastered the process of creating a Venmo account, verifying your phone number and email address, adding a payment method, setting up your Venmo profile, understanding privacy settings, sending and receiving money, adding friends and contacts, managing transactions and history, and exploring additional features and settings.
Venmo offers a convenient and secure way to handle your financial transactions, whether you are splitting the bill with friends at a restaurant, pitching in for group gifts, or paying your share of the rent. With its user-friendly interface and a range of features, Venmo makes it simple to keep track of your financial activities and interact with friends and contacts.
As you continue to use Venmo, remember to prioritize security by setting strong passwords, regularly reviewing your transaction history, and enabling additional security measures like two-factor authentication. Stay vigilant and report any suspicious activities to Venmo customer support.
Whether you’re a new user or an existing Venmo enthusiast, keep exploring the app’s features and settings to further enhance your experience. From splitting bills and integrating with merchants to managing notifications and adjusting privacy options, there is always something new to discover on Venmo.
Now that you have the knowledge and skills to utilize Venmo effectively, enjoy the seamless and hassle-free money transfers that Venmo offers. Simplify your financial transactions and stay connected with your friends and contacts through this versatile mobile payment app.
Happy Venmo-ing!