Introduction
Welcome to our guide on how to register for Zelle, the popular digital payments platform. In this article, we will walk you through the simple steps to get started with Zelle and begin sending and receiving money with ease. Whether you need to split a bill, pay rent, or send money to a friend or family member, Zelle provides a fast and secure way to make transactions directly from your bank account.
With the increasing reliance on digital payments, Zelle has emerged as one of the most convenient and widely used platforms in the United States. It allows users to transfer money quickly and smoothly, eliminating the need for cash or checks. Whether you are new to Zelle or just need a refresher, this step-by-step guide will ensure you are up and running in no time.
To register for Zelle, you’ll need a bank account with one of the participating banks or credit unions. Once you have chosen your financial institution, you can download the Zelle app on your smartphone and follow the registration process. We will cover each step in detail and provide helpful tips along the way to make the process as straightforward as possible.
Don’t worry if you are not tech-savvy – Zelle’s user-friendly interface makes it easy for anyone to set up an account. Plus, our guide will provide clear instructions and explanations to ensure a seamless registration experience. So, let’s get started and unlock the convenience of Zelle for all your money transfer needs!
What is Zelle?
Zelle is a digital payments platform that enables users to send and receive money directly from their bank accounts. Launched in 2017, Zelle connects over 1000 banks and credit unions in the United States, making it one of the most widely adopted person-to-person payment solutions.
Unlike other payment apps, Zelle allows instant bank-to-bank transfers, eliminating the need for cash or checks. Whether you want to split a dinner bill with friends, send money to a family member, or pay your share of the rent, Zelle provides a convenient and secure way to transfer funds.
One of the biggest advantages of using Zelle is its speed. Traditional methods of money transfer, such as writing a check or withdrawing cash, can be time-consuming and inconvenient. With Zelle, funds can be transferred within minutes, providing a quick and seamless experience for both the sender and the recipient.
Zelle’s user-friendly interface and integration with banking apps make it easy to manage your financial transactions. You don’t have to rely on third-party apps or worry about inputting bank account details repeatedly. Once you register for Zelle, the app securely links to your bank account, and you can access it directly from your banking app or the standalone Zelle app.
Security is a top priority for Zelle. It uses advanced encryption technology to protect your financial data and employs strict verification processes to ensure that only authorized users can access and send money from their accounts. Zelle also offers fraud protection policies, providing you with added peace of mind while using the platform.
Furthermore, Zelle’s widespread adoption by banks and credit unions means that you can easily connect with friends and family who have accounts at different financial institutions. There is no need for both parties to have the same banking app or be members of the same credit union – as long as both parties have Zelle, funds can be transferred seamlessly between them.
In summary, Zelle is a fast, secure, and user-friendly digital payments platform that allows you to send and receive money directly from your bank account. Its widespread availability and integration with various financial institutions make it a convenient solution for individuals and businesses alike.
Step 1: Choose a Bank or Credit Union
The first step to registering for Zelle is to choose a bank or credit union that offers Zelle as a service. Zelle is partnered with numerous financial institutions across the United States, so the chances are high that your bank or credit union already supports Zelle. You can check the list of participating banks on the Zelle website or contact your bank directly to confirm if they offer Zelle.
If your current bank does not support Zelle, you have a couple of options. You can either open an account with a participating bank or credit union that offers Zelle, or you can consider opening an account with a digital bank that supports Zelle transactions. These online banks often provide a seamless Zelle registration process, allowing you to quickly get started with Zelle without leaving the comfort of your home.
When selecting a bank or credit union, consider factors such as their reputation, customer service, account fees, and the convenience of their mobile banking app. It’s important to choose a financial institution that meets your banking needs and provides a secure and reliable platform for managing your finances.
Once you have chosen a bank or credit union, make sure to open an account with them if you don’t have one already. You may need to provide some basic personal information and identification documents during the account opening process, as per the bank’s requirements.
Remember, Zelle works seamlessly within the existing banking infrastructure, so make sure to choose a financial institution that suits your needs and offers the Zelle service. Having a bank account is a fundamental requirement to register for Zelle and enjoy the benefits of hassle-free money transfers.
Step 2: Download the App
After choosing a bank or credit union that supports Zelle, the next step is to download the Zelle app on your mobile device. The Zelle app is available for both iOS and Android platforms and can be easily downloaded from the respective app stores.
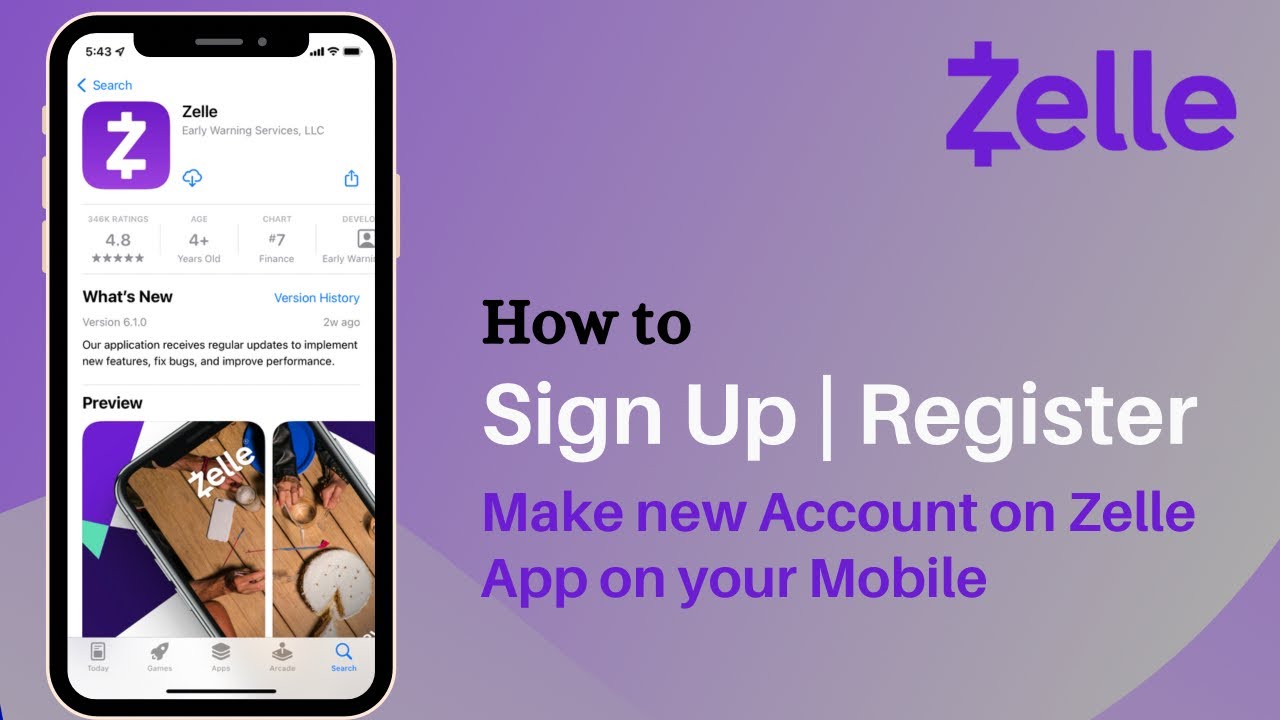
To download the Zelle app, open the App Store (for iOS users) or the Google Play Store (for Android users) on your smartphone. Search for “Zelle” in the search bar, and you should see the official Zelle app listed among the search results. Make sure to download the app developed by “Early Warning Services, LLC,” as it is the official provider of Zelle.
Once you find the Zelle app, tap on the “Install” or “Get” button to begin the download process. Depending on your internet connection speed, the app should download and install within a few moments.
It’s important to note that some banks also allow you to access Zelle directly from their mobile banking app, eliminating the need to download the standalone Zelle app. In such cases, you can simply log in to your bank’s app and navigate to the Zelle section to access the features and services provided by Zelle. If your bank offers this integration, look for the Zelle option within your banking app.
Once the Zelle app is downloaded and installed on your device, you are ready to move on to the next step of the registration process. Keep your device handy as you will need it to create a Zelle account and complete the necessary verification steps.
Downloading the Zelle app is a crucial step as it provides access to the Zelle platform, allowing you to send and receive money conveniently. The app’s user-friendly interface ensures a seamless experience, making it easy to manage your Zelle transactions directly from your smartphone.
Step 3: Sign Up
Once you have downloaded the Zelle app or accessed Zelle through your banking app, it’s time to sign up for a Zelle account. The sign-up process is straightforward and typically requires you to provide your basic personal information.
To begin, open the Zelle app on your mobile device or navigate to the Zelle section within your banking app. Look for the “Sign Up” or “Get Started” button, and tap on it to initiate the registration process.
The first step of the sign-up process is to provide your email address or mobile phone number. Zelle uses this information to link your account and facilitate communication between users. Make sure to enter a valid email address or phone number that you have access to, as you will need to verify it later in the process.
Next, create a strong and unique password for your Zelle account. It’s important to choose a password that is not easily guessable, combining a mix of uppercase and lowercase letters, numbers, and special characters. This will help ensure the security of your Zelle account and protect your financial information.
After creating a password, read and accept the terms and conditions of using Zelle. It’s important to review these terms to understand your rights and responsibilities as a Zelle user.
Once you have provided the necessary information and accepted the terms and conditions, you will receive a verification code via email or text message, depending on the information you provided during sign-up. Enter the verification code into the app when prompted to validate your contact information.
Upon successful verification, you will be prompted to create a profile. This includes providing your name, which will be associated with your Zelle account and displayed to others when you send or receive money. You may also have the option to upload a profile picture, although this step is typically optional.
Finally, review the information you have provided to ensure its accuracy and submit your registration. Congratulations! You are now officially signed up for Zelle and one step closer to enjoying the convenience of seamless money transfers.
Signing up for Zelle is a simple and intuitive process that allows you to create an account and start using the platform to send and receive money. Make sure to provide accurate information during the sign-up process to ensure smooth transactions and maintain the security of your Zelle account.
Step 4: Verify Your Identity
Once you have signed up for a Zelle account, the next step is to verify your identity. Identity verification is an important security measure that helps protect your account from unauthorized access and ensures the integrity of the Zelle platform.
Verification methods may vary depending on the financial institution you are using and the information you provided during the sign-up process. However, most commonly, identity verification involves linking your bank account to your Zelle account.
To verify your identity, you will need to provide your bank account information, including the account number and routing number. This information is typically found on a personal check or in your online banking portal.
Once you have entered your bank account information, Zelle will initiate a secure process to verify the authenticity of your account. This verification process may take a few moments, during which Zelle will confirm the ownership of the account and ensure that it belongs to you.
In some cases, Zelle may require additional information to complete the identity verification process. This may include providing personal identification documents, such as a driver’s license, passport, or Social Security number. These additional verification steps are put in place to ensure the security of your account and prevent fraudulent activity.
It’s important to note that your personal information is handled with the utmost confidentiality and stored securely by Zelle. The company follows industry best practices to protect your data and adhere to privacy regulations.
Once your identity is verified successfully, you will receive a confirmation from Zelle. This confirmation indicates that you are now eligible to start sending and receiving money through Zelle.
Verifying your identity is a crucial step in the registration process, as it helps protect your account and prevents unauthorized individuals from accessing your funds. By providing accurate and authentic information, you contribute to the overall security and reliability of the Zelle platform.
Step 5: Link Your Bank Account
Now that your identity has been verified, it’s time to link your bank account to your Zelle account. Linking your bank account allows you to seamlessly send and receive money through Zelle directly from your bank account.
To link your bank account, open the Zelle app or navigate to the Zelle section within your banking app. Look for the option to link or add your bank account, and tap on it to proceed.
In most cases, you will be asked to provide your bank account details, including the account number and routing number. This information can usually be found on a personal check or in your online banking portal. Make sure to enter the information accurately to ensure a successful link.
After entering your bank account information, Zelle will initiate a secure process to verify the link. This may involve a micro-deposit method, where Zelle deposits small amounts into your bank account (typically under a dollar) and asks you to confirm the exact amounts deposited. This verification ensures that the bank account you provided belongs to you and facilitates the smooth transfer of funds.
Once your bank account is successfully linked and verified, you will receive a confirmation from Zelle. This confirmation indicates that your bank account is now integrated with your Zelle account, enabling you to send and receive money through Zelle directly from your bank.
It’s essential to note that linking your bank account to your Zelle account is secure and encrypted. Zelle prioritizes the protection of your financial information and follows stringent security measures to ensure the integrity of the platform.
By linking your bank account to Zelle, you can enjoy the convenience of instant money transfers directly from your bank account, eliminating the need for cash or checks. It streamlines the payment process and allows you to easily manage your funds.
Ensure that you have accurate bank account information during the linking process to ensure successful transactions and avoid any disruptions in the future.
Step 6: Choose a Security Code
Choosing a security code is an important step in ensuring the security of your Zelle account. A security code adds an extra layer of protection to your account and helps prevent unauthorized access.
After linking your bank account, Zelle will prompt you to choose a security code. This code will be used as an additional verification method when accessing your Zelle account or initiating transactions.
When selecting a security code, it’s crucial to choose a code that is not easily guessable and is unique to you. Avoid using obvious codes like your birthdate or sequential numbers. Instead, opt for a combination of letters, numbers, and special characters that is difficult for others to guess.
Take the time to create a strong security code and ensure that you can remember it. Avoid writing it down or sharing it with others to maintain the integrity of your account.
The security code you choose will be required whenever you log in to your Zelle account or perform certain actions, such as initiating transfers or changing account settings. This added security measure helps protect your account from unauthorized access, ensuring that only you can manage your Zelle transactions.
It’s important to note that Zelle does not store or have access to your security code. This means that if you forget your security code, you may need to reset it through the account recovery process provided by Zelle. Make sure to follow the instructions provided by Zelle to regain access to your account in such cases.
By choosing a security code, you contribute to the overall security and privacy of your Zelle account. It provides peace of mind, knowing that your account is protected and reduces the risk of unauthorized activity.
Remember to keep your security code confidential and avoid sharing it with anyone. This will help ensure the safety and integrity of your account and maintain the security of your financial transactions.
Step 7: Set Up Zelle
Now that you have completed the necessary steps to register for Zelle, it’s time to set up your account and customize your Zelle experience.
When setting up Zelle, you will have the opportunity to configure various settings that align with your preferences and needs. These settings may include choosing how you want to receive notifications, setting preferred payment limits, and enabling additional security features.
To begin setting up Zelle, open the Zelle app or navigate to the Zelle section within your banking app. Look for the “Settings” or “Account Settings” option and tap on it.
Within the settings menu, you will find various options to customize your Zelle account. This may include options such as:
- Notification Preferences: Choose how you want to receive notifications for payments, account updates, or security alerts. You can typically select email, text message, or push notifications.
- Payment Limits: Set your preferred payment limits to ensure that your transactions align with your financial needs and security preferences.
- Additional Security Features: Enable any additional security features offered by Zelle, such as biometric authentication (e.g., fingerprint or facial recognition) or two-factor authentication for added protection.
- Profile Customization: Customize your Zelle profile by adding or updating your profile picture, contact information, or display name.
Take the time to explore the settings options and adjust them according to your preferences. These settings allow you to personalize and optimize your Zelle experience, ensuring that it aligns with your specific requirements.
Once you have set up your Zelle account preferences, make sure to review and save any changes you have made. This ensures that your settings are applied and ready for use.
Setting up Zelle allows you to tailor the platform to meet your needs and preferences. By customizing your Zelle account, you can optimize your experience and ensure that your Zelle transactions align with your desired settings.
Remember to periodically review your settings and make any necessary updates or changes. This will help you maintain control over your account and enhance the security of your Zelle transactions.
Conclusion
Congratulations! You have successfully completed the registration process for Zelle, the convenient and secure digital payments platform that enables you to send and receive money with ease. By following the simple steps outlined in this guide, you have unlocked a world of efficient and instant money transfers directly from your bank account.
Through the registration process, you learned the importance of selecting a bank or credit union that supports Zelle and downloaded the Zelle app or accessed it through your banking app. You signed up for a Zelle account, verified your identity, and linked your bank account to facilitate seamless transactions.
Furthermore, you took the necessary step to choose a strong security code and set up Zelle to align with your preferences and requirements. By customizing your Zelle account, you can enjoy a personalized experience that ensures hassle-free and secure money transfers.
Zelle offers numerous advantages, such as instant bank-to-bank transfers, a user-friendly interface, and wide availability across participating banks and credit unions in the United States. It eliminates the need for cash or checks and streamlines the process of sending and receiving money.
Remember to keep your Zelle account information confidential and follow the best practices for online security. Regularly review and update your settings to ensure your account remains secure and optimized for your needs.
With your Zelle account set up, you are ready to enjoy the convenience and efficiency of this digital payment solution. Whether you need to split a bill, send money to friends or family, or pay rent, Zelle makes it quick and easy.
Thank you for following this guide on how to register for Zelle. We hope you find Zelle to be a valuable tool for your financial transactions. Embrace the power of digital payments and experience the seamless convenience of Zelle!