Introduction
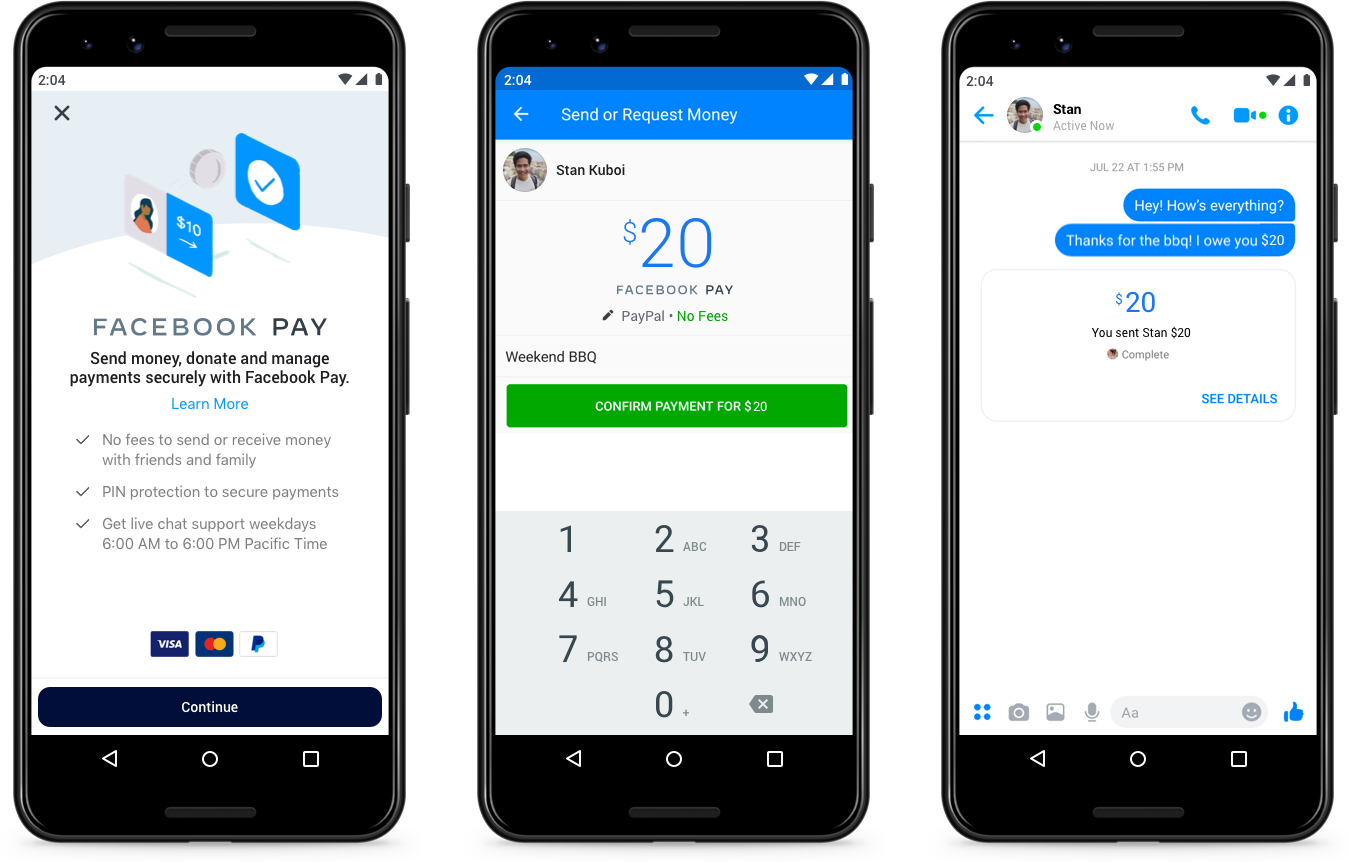
Facebook Pay is a convenient feature that allows users to make payments and purchases within the Facebook platform. Whether you use it for buying products, subscribing to services, or donating to fundraisers, keeping track of your Facebook Pay records can be helpful for various reasons. From monitoring your expenses to managing your subscriptions, having access to your payment history is essential.
In this article, we will guide you through the process of locating your Facebook Pay records. We will show you step by step how to access your payment history, understand the payment details, and even print or download your records for future reference. So, whether you want to keep track of your spending, reconcile your transactions, or simply need proof of purchase, follow along to learn how to locate your Facebook Pay records easily.
Please note that this guide applies to both the Facebook website and the Facebook mobile app. The steps may vary slightly depending on the device and the version of the app you are using. However, the overall process remains the same, so you should be able to find your payment records regardless of your platform.
Before we dive into the steps, make sure you have your Facebook account credentials ready. You will need to log in to your account to access the necessary settings and payment details. Once you are prepared, let’s start the journey to discover your Facebook Pay records!
Step 1: Accessing Facebook settings
To locate your Facebook Pay records, the first step is to access the settings menu on your Facebook account. Here’s how you can do it:
- Open the Facebook website or launch the Facebook mobile app on your device.
- Log in to your account using your username and password.
- Once you are logged in, locate the menu icon, which is typically represented by three horizontal lines or dots. On the website, you can find it at the top-right corner of the screen. On the mobile app, it’s usually located at the bottom-right corner.
- Tap or click on the menu icon to open the options menu.
- Scroll down the menu until you find the “Settings & Privacy” section. On the website, it may be labeled as “Settings” directly. Tap or click on it to proceed.
- In the settings menu, you will find a variety of options related to your Facebook account. Look for the “Payments” or “Facebook Pay” option. The exact placement may vary depending on the version of Facebook you are using. Tap or click on it to access the payment settings.
By following these steps, you should now be in the Facebook settings menu, specifically in the payment section. This is where you will find all the relevant options to manage your Facebook Pay records. In the next step, we will explore how to find the payment history within this settings section.
Step 2: Finding the Payments section
Now that you have accessed the Facebook settings menu, the next step is to locate the Payments section. Follow these instructions:
- Within the settings menu, look for the “Payments” tab or option. It may be labeled as “Facebook Pay” or something similar.
- Once you find the Payments section, click on it to enter the payment settings.
- Within the Payments section, you should see various options related to your payment methods, transactions, and settings.
On the website, the Payments section may be located in the left sidebar or in a separate tab within the settings menu. On the mobile app, it may be accessible by scrolling down within the settings menu.
Once you have successfully found the Payments section, you are one step closer to locating your Facebook Pay records. In the next step, we will dive into the process of finding and accessing your payment history within this section.
Step 3: Locating payment history
Now that you have reached the Payments section within the Facebook settings, the next step is to locate your payment history. Follow these steps:
- Within the Payments section, look for the option labeled “Payment History” or “Transactions”. Tap or click on it to access your payment records.
- Once you enter the Payment History or Transactions page, you will see a list of all your past transactions made through Facebook Pay.
- The list may include details such as the transaction date, recipient or description, payment method used, and the amount paid.
- Scroll through the list to view your payment history. Depending on your activity, you may need to navigate through multiple pages to see all your transactions.
- If you want to filter the transactions based on a specific period or search for a particular transaction, look for any search or filter options provided on the page. This will allow you to narrow down the results and locate the desired payment records more easily.
By following these steps, you should now be able to locate your payment history within the Facebook Payments section. In the next step, we will explore how to understand the payment details and what information is provided for each transaction.
Step 4: Understanding payment details
Once you have accessed your payment history within the Facebook Payments section, it’s important to understand the payment details associated with each transaction. Here’s what you need to know:
- The transaction date: This indicates the date when the payment was made.
- Recipient or description: This provides information about the recipient of the payment or a brief description of the transaction.
- Payment method: This indicates the payment method you used for the transaction, whether it’s a credit card, debit card, or any other linked payment method.
- Amount paid: This specifies the amount of money you paid for the transaction.
Understanding these payment details can help you track your expenses, reconcile your transactions, and verify the accuracy of your records. You can use this information for budgeting purposes or to keep a record of your financial activities on Facebook.
If you have any questions or concerns about a specific transaction, you may want to reach out to the recipient or consult with Facebook’s support team for further assistance. They can provide more information or help resolve any payment-related issues you may encounter.
In the next step, we will explore how to print or download your payment records for future reference.
Step 5: Printing or downloading payment records
After locating and understanding your payment details in the Facebook Payments section, you may want to have a physical or digital copy of your payment records for future reference or record-keeping purposes. Here’s how you can print or download your payment records:
- On the Payment History or Transactions page, look for options related to printing or downloading your payment records.
- If there is a “Print” button available, you can simply click on it to generate a printer-friendly version of your payment history. Make sure your printer is connected and ready to print.
- If there is a “Download” button or a similar option, click on it to download your payment records as a digital file. You may be prompted to select a location on your device where you want to save the file.
- Once the printing or downloading process is complete, you will have the option to review and organize your payment records according to your preference.
Having a physical or digital copy of your payment records can be useful for personal record-keeping, financial documentation, or sharing with relevant parties if necessary.
Remember to store your payment records in a secure location, whether it’s a physical folder or a dedicated folder on your computer or cloud storage. This will ensure easy access to your records whenever you need them. Additionally, it is a good practice to regularly back up your digital files to avoid any accidental loss or deletion.
With these steps, you have successfully learned how to locate, understand, and print or download your Facebook Pay records. Now you can easily keep track of your transactions and have a record of your financial activities within the Facebook platform.
Finally, we encourage you to regularly review your payment history and reconcile your transactions to ensure accuracy and identify any discrepancies. This will help you maintain control over your finances and make informed decisions about your future payments on Facebook.
Conclusion
Locating your Facebook Pay records is a straightforward process that can be done through the Facebook settings. By following the steps outlined in this article, you can easily access your payment history, understand the payment details, and even print or download your records for future reference.
Having access to your Facebook Pay records is beneficial for various reasons. It allows you to monitor your expenses, reconcile your transactions, and keep a record of your financial activities within the Facebook platform. Whether you need to track your spending, manage subscriptions, or simply have proof of purchase, locating your payment records is a valuable tool.
Remember to regularly review your payment history, understand the details of each transaction, and keep your records organized and secure. This will help you stay on top of your finances and make informed decisions about your future payments on Facebook.
Now that you know how to locate your Facebook Pay records, take a moment to access your settings and explore your payment history. Familiarize yourself with the various options and features available to manage your transactions effectively. Should you have any questions or concerns, don’t hesitate to reach out to Facebook’s support team for assistance.
By staying informed and proactive in managing your Facebook Pay records, you can have better control over your financial activities within the Facebook platform. Enjoy the convenience and peace of mind that comes with keeping track of your transactions!


