Introduction
Welcome to our guide on how to link Zelle to your bank account. Zelle is a popular digital payment platform that allows you to send and receive money with ease. By linking your bank account to Zelle, you can enjoy the convenience of instant money transfers directly from your phone.
With Zelle, you no longer have to worry about carrying cash or writing checks. Whether you need to split a bill with friends, pay your share of rent, or simply send money to a family member, Zelle has got you covered. The best part is that Zelle is supported by many major banks, making it accessible to a large number of users.
In this guide, we will walk you through the step-by-step process of linking your bank account to Zelle. We’ll start with downloading the Zelle app, creating an account, and then proceed to link your bank account for seamless transactions. By the end of this guide, you’ll be ready to use Zelle confidently and enjoy the convenience it brings.
So, if you’re ready to simplify your payment experience, let’s get started with the first step: downloading the Zelle app. Remember, by linking your bank account with Zelle, you unlock a world of easy money transfers at your fingertips.
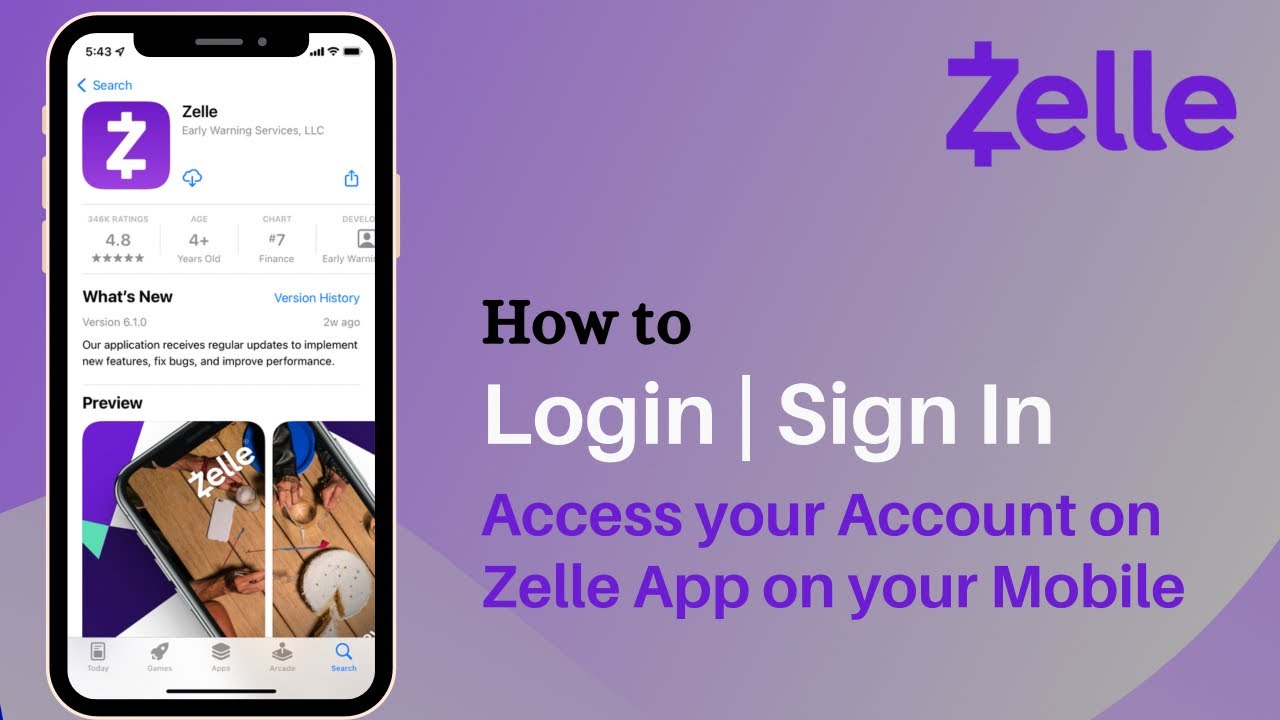
Step 1: Download the Zelle App
The first step in linking your bank account to Zelle is to download the Zelle app. You can find the app on both the Apple App Store and Google Play Store. Simply open your preferred app store and search for “Zelle”. Look for the official Zelle app and tap on the “Install” or “Download” button to begin the download process.
Once the app has finished downloading, tap on the Zelle icon to open it. You will be greeted with a welcome screen that provides an overview of the app’s features and benefits. Take a moment to read through the information and then tap on the “Get Started” or “Sign Up” button to proceed.
If you already have an account with Zelle, you can sign in using your existing credentials. Otherwise, you will need to create a new account. To create a new account, you will be asked to provide your email address or mobile phone number. Choose the option that is most convenient for you and enter the required information.
After providing your email or mobile number, you will receive a verification code. Enter this code into the app to verify your account. Once your account is verified, you will be prompted to set a password. Make sure to choose a strong, unique password to protect your account.
Congratulations! You have successfully downloaded the Zelle app and created your account. In the next step, we will guide you through linking your bank account to Zelle for effortless money transfers. So let’s move on to step 2: creating a Zelle account.
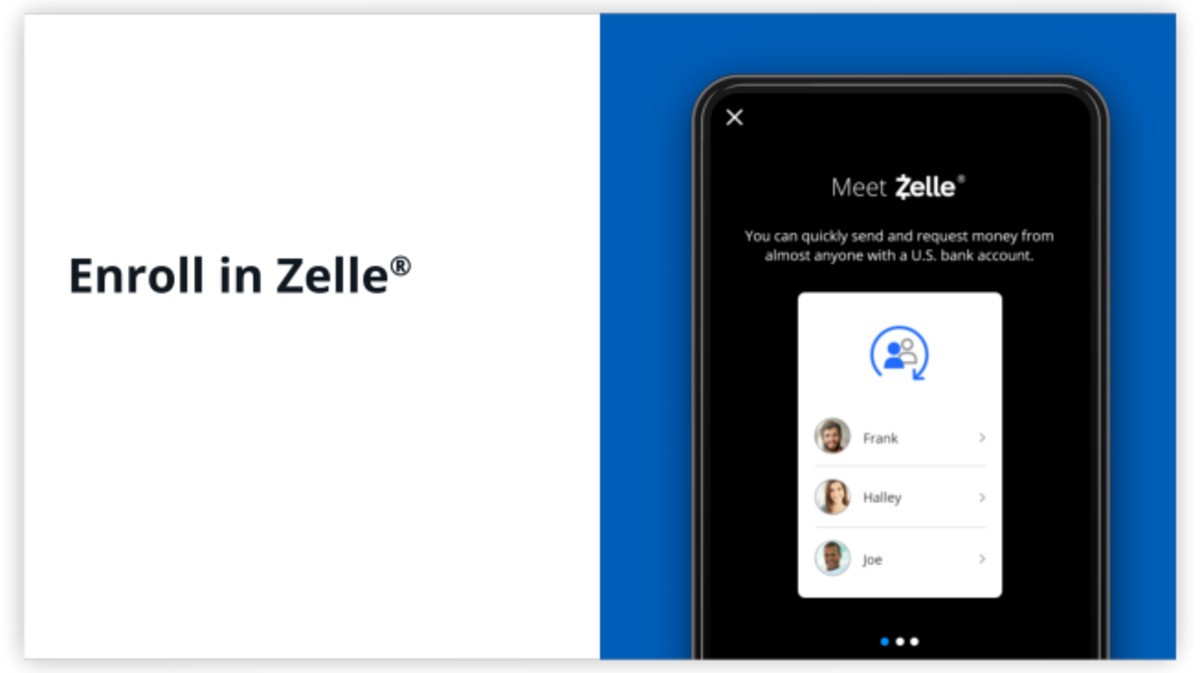
Step 2: Create a Zelle Account
Once you have downloaded and opened the Zelle app, it’s time to create your Zelle account. This step is crucial as it will allow you to link your bank account and start using Zelle for convenient money transfers.
To create your Zelle account, you will need to provide some basic information. The app will prompt you to enter your name, email address or mobile number, and a password. Make sure to use a strong and secure password to protect your account. Once you’ve filled in the required details, click on the “Continue” or “Next” button.
The next screen will ask you to verify your email or phone number. Zelle will send a verification code to the email address or mobile number you provided. Retrieve the code from your inbox or message app, and enter it into the Zelle app to verify your account. This step ensures the security and integrity of your Zelle account.
After verifying your account, Zelle may prompt you to add additional personal details, such as your address and date of birth. Providing these details is optional, but it can help Zelle enhance and personalize your user experience.
Once you’ve completed the account setup process, you will be taken to the Zelle homepage or dashboard. This is where you can access all the features and functionalities of the Zelle app. Take a moment to familiarize yourself with the layout and options available.
Congratulations! You have successfully created your Zelle account. In the next step, we will guide you through the process of linking your bank account to Zelle so you can start sending and receiving money seamlessly. Let’s move on to step 3: linking your bank account.
Step 3: Link Your Bank Account
Now that you have created your Zelle account, it’s time to link your bank account. This will enable you to securely transfer funds between your bank and Zelle, making it quick and easy to send and receive money.
To link your bank account, navigate to the settings or profile section of the Zelle app. Look for an option like “Link Bank Account” or “Add Bank Account” and click on it. You may be prompted to enter your Zelle account password or use a biometric authentication method to ensure the security of your account.
Next, you will be asked to select your bank from a list of supported institutions. Zelle works with many major banks, so there’s a good chance your bank will be on the list. Scroll through or search for your bank and tap on it to proceed.
After selecting your bank, you will need to provide your bank account details. This typically includes your account number and routing number, which can usually be found on your checks or through your online banking portal. Enter the required information accurately to ensure a successful connection between Zelle and your bank account.
Once you have entered your bank account details, Zelle will verify your information. This is done to ensure the security and validity of the bank account you are linking. In some cases, Zelle may require additional verification steps, such as sending a verification code to your phone or email. Follow the instructions provided to complete the verification process.
After successfully verifying your bank account, you will receive a confirmation message indicating that your bank account has been linked to your Zelle account. At this point, you are ready to start using Zelle for convenient and secure money transfers.
Congratulations! You have successfully linked your bank account to Zelle. In the next step, we will guide you through the process of verifying your bank account to ensure seamless transactions. Let’s move on to step 4: verifying your bank account.
Step 4: Verify Your Bank Account
Once you have successfully linked your bank account to Zelle, the next step is to verify your bank account. Verifying your bank account is an important security measure that ensures the legitimacy of your account and helps prevent fraudulent activities.
To verify your bank account, Zelle may require you to initiate a small transaction. This transaction is usually a transfer of a few cents or dollars from your Zelle account to your linked bank account. The purpose of this transaction is to verify that you have access to the bank account you linked.
To initiate the verification process, navigate to the settings or profile section of the Zelle app. Look for an option like “Verify Bank Account” or “Confirm Bank Account” and click on it. Follow the instructions provided to authorize the small transaction from Zelle to your bank account.
Once the transaction is initiated, it may take a couple of business days for the funds to appear in your bank account. During this time, it’s important to monitor your bank account activity. Once you see the transaction from Zelle, take note of the amount transferred.
Return to the Zelle app and navigate back to the verification section. Enter the exact amount that was transferred to your bank account to confirm that you have access to the account. Double-check the amount to ensure accuracy before submitting it in the app.
After successfully verifying the amount, Zelle will confirm that your bank account is verified and ready for seamless transactions. You will receive a confirmation message indicating that your bank account verification is complete.
Congratulations! You have successfully verified your bank account with Zelle. In the next step, we will guide you through using Zelle to start sending and receiving money. Let’s move on to step 5: using Zelle.
Step 5: Start Using Zelle
Now that you have linked and verified your bank account with Zelle, you are ready to start using the platform for seamless money transfers. Whether you need to pay a friend back for lunch or send money to a family member, Zelle makes it quick and easy to send and receive funds.
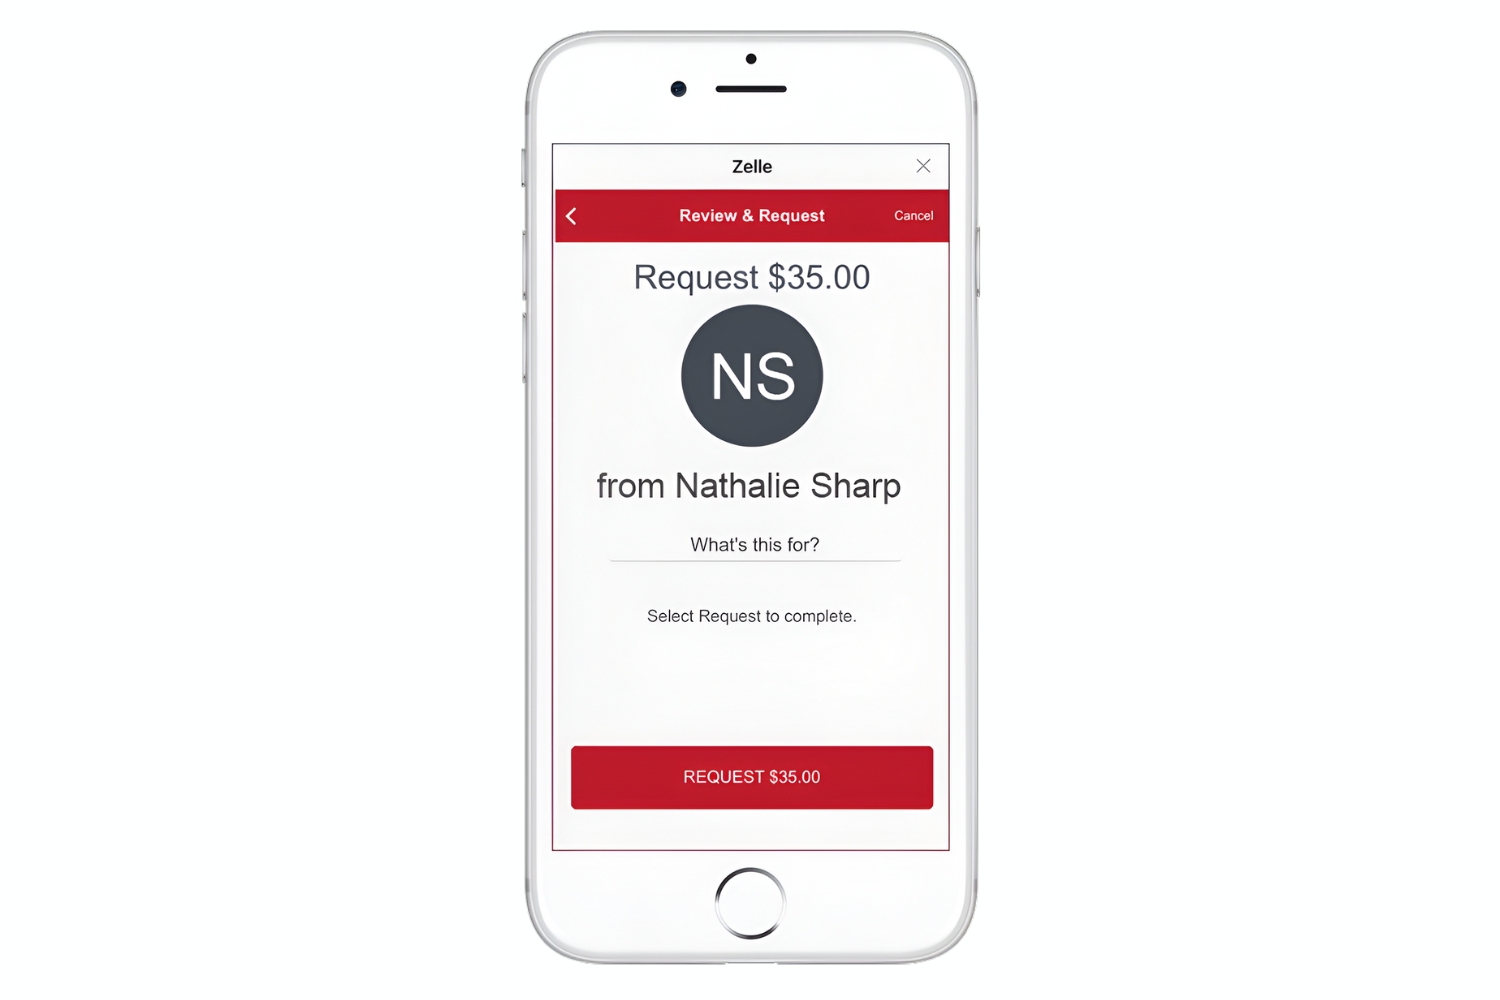
To use Zelle, open the Zelle app on your mobile device. You will be greeted with the home screen or dashboard, where you can access all the features and options available. From here, you can send money, request money, view your transaction history, and manage your settings.
To send money using Zelle, simply tap on the “Send” or “Pay” option. You will be prompted to enter the recipient’s email address or mobile number. Make sure to double-check the recipient’s contact information to ensure the transfer goes to the correct individual.
Next, enter the amount you wish to send. You may have the option to add a note or memo to accompany the transaction, such as a reason for the payment. This step is optional but can help provide context to the receiver.
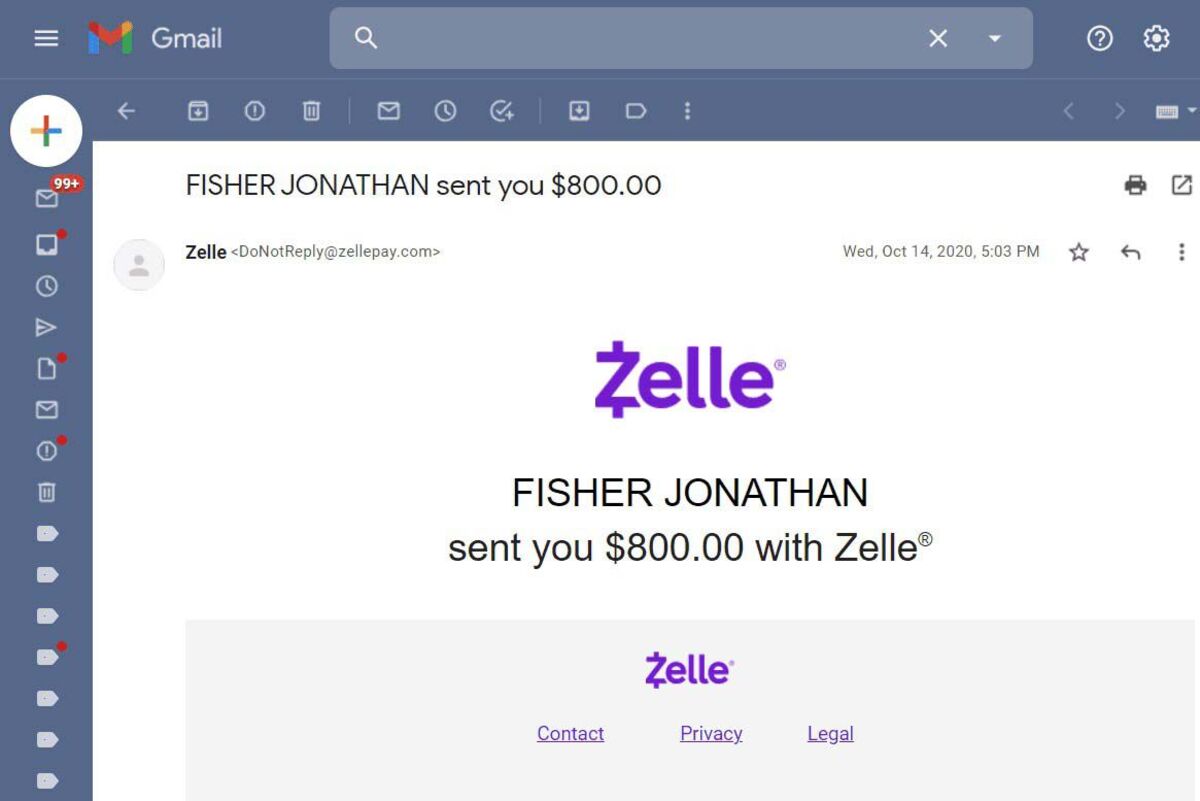
Review the details of the transaction to make sure everything is accurate. Once you are satisfied, confirm the transfer. The recipient will receive a notification that you have sent them money through Zelle, and the funds will be deposited into their bank account.
To receive money via Zelle, simply provide your registered email address or mobile number to the sender. They can then initiate the transfer from their Zelle app to your Zelle account. The funds will be deposited into your linked bank account, making it easy to access and use the received funds.
Keep in mind that Zelle is designed for domestic transactions within the United States. Fees may apply depending on your bank and the type of transaction. It’s always a good idea to review the terms and conditions of your specific bank and Zelle usage.
Congratulations! You are now equipped with the knowledge to start using Zelle for seamless money transfers. Remember to use Zelle responsibly and securely to protect your financial information. Enjoy the convenience and ease of sending and receiving money with Zelle!
Conclusion
In this guide, we have walked you through the step-by-step process of linking your bank account to Zelle. By following these simple steps, you can enjoy the convenience and ease of sending and receiving money with Zelle, right from your mobile device.
We started by downloading the Zelle app and creating a Zelle account. From there, we guided you through the process of linking your bank account to Zelle, ensuring a secure connection between your bank and Zelle.
Next, we discussed the importance of verifying your bank account to prevent unauthorized access and fraudulent activities. The verification process adds an extra layer of security to your transactions, giving you peace of mind when using Zelle.
Finally, we explored how to start using Zelle for seamless money transfers. Whether you need to send money to friends, family, or pay for goods and services, Zelle makes it quick and convenient to transfer funds at your fingertips.
Remember to use Zelle responsibly and securely. Double-check the recipient’s contact information and transaction details before confirming any transfers. Regularly monitor your bank account activity to ensure accuracy and detect any unauthorized transactions.
Now that you are familiar with the process, take advantage of the benefits Zelle offers. Say goodbye to traditional payment methods like cash or checks and embrace the speed and convenience of digital money transfers with Zelle.
So, what are you waiting for? Download the Zelle app, link your bank account, and start enjoying the hassle-free experience of sending and receiving money with Zelle today!