Introduction
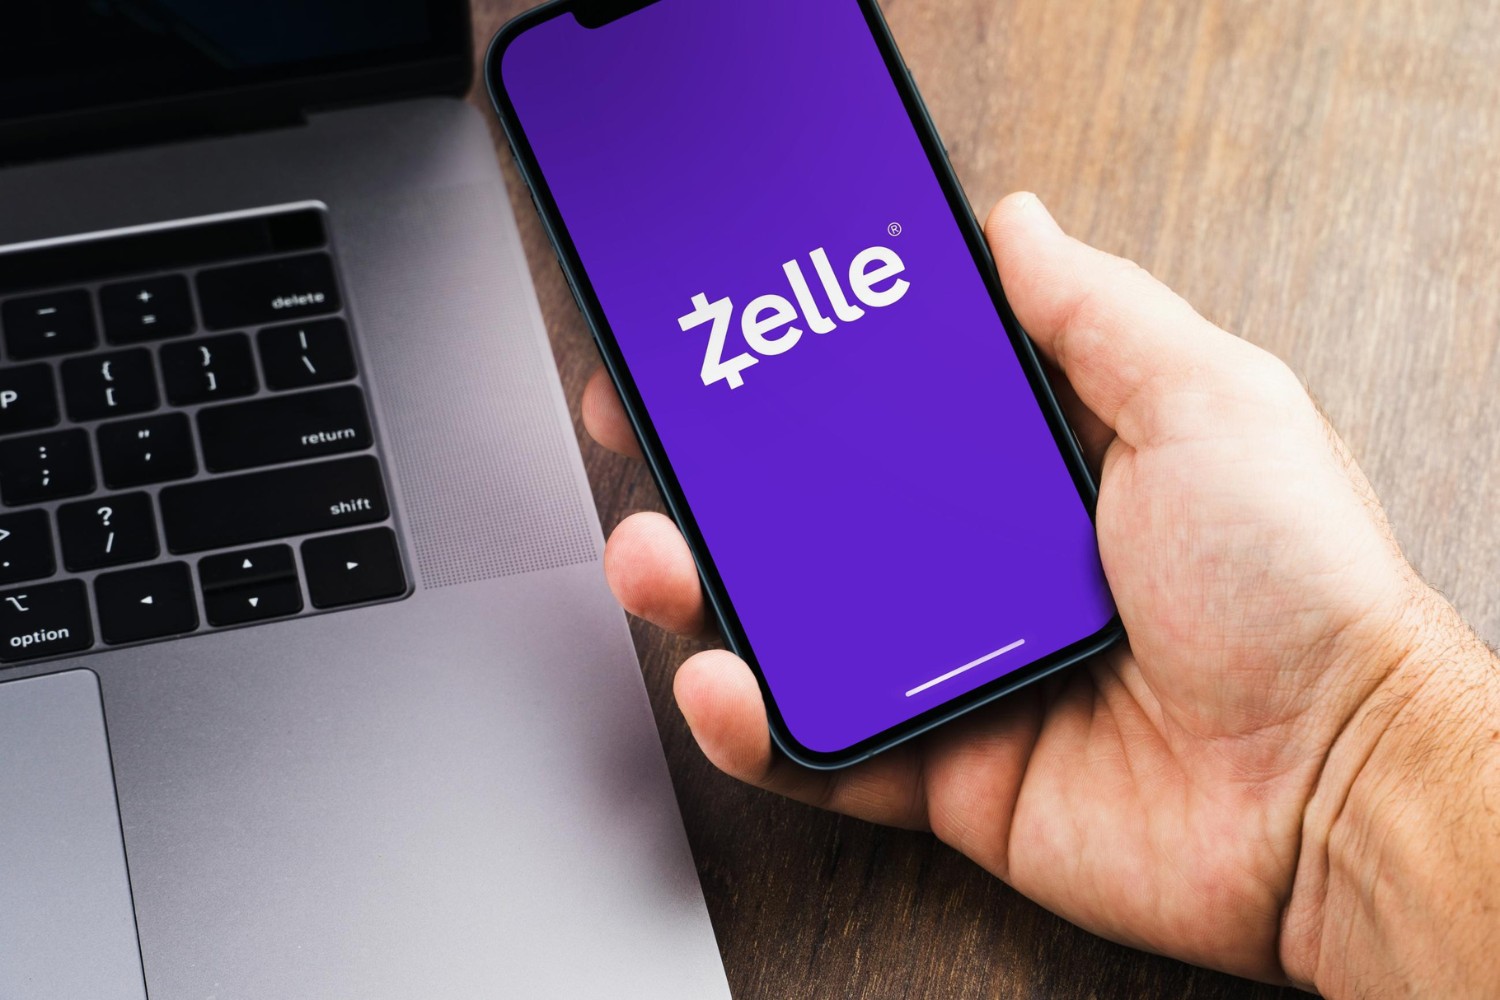
Welcome to the step-by-step guide on how to set up Zelle with Suncoast Credit Union. Zelle is a convenient and secure way to send and receive money digitally. By linking your bank account with Zelle, you can easily transfer funds to friends, family, or anyone in your contact list.
Suncoast Credit Union offers its members the ability to connect their accounts with Zelle through the Suncoast Credit Union mobile app. With Zelle, you can send money to anyone with a U.S. bank account and an email address or mobile phone number, making it a great option for splitting bills, sending birthday cash, or reimbursing a friend for dinner.
Setting up Zelle with Suncoast Credit Union is a quick and straightforward process that can be completed in just a few simple steps. In this guide, we will walk you through each step, from downloading the mobile app to sending your first payment using Zelle.
So, let’s get started and learn how you can easily set up Zelle with Suncoast Credit Union to enjoy the convenience and speed of digital money transfers.
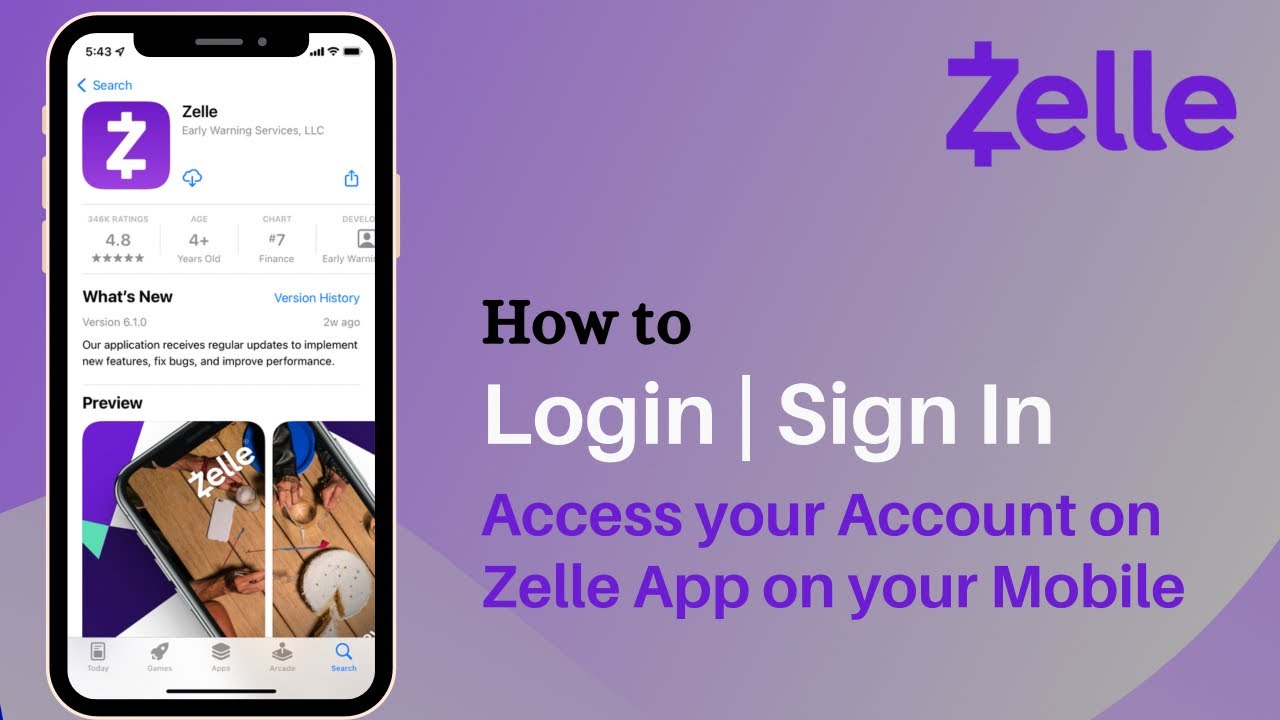
Step 1: Download the Suncoast Credit Union Mobile App
The first step in setting up Zelle with Suncoast Credit Union is to download their mobile app. The app is available for both iOS and Android devices and can be found in the respective app stores.
To download the app, open the App Store on your iPhone or the Google Play Store on your Android device. Search for “Suncoast Credit Union” and look for the official app developed by Suncoast Schools Federal Credit Union. Tap on the “Install” or “Get” button to initiate the download.
Once the download is complete, open the app on your device.
If you are a Suncoast Credit Union member, you will need to log in using your online banking credentials. If you are not yet a member, you can still download the app and follow the instructions to join the credit union.
After logging in, you will have access to the Suncoast Credit Union mobile banking features, including the ability to link your bank account to Zelle for money transfers.
The Suncoast Credit Union mobile app provides a user-friendly interface with intuitive navigation, making it easy for users to manage their accounts and perform various banking activities.
In the next step, we will guide you through the process of logging in to the mobile app. So let’s move on to step 2.
Step 2: Log in to the Mobile App
Now that you have downloaded the Suncoast Credit Union mobile app, the next step is to log in to your account. Logging in will give you access to the full functionality of the app, including setting up Zelle for money transfers.
Open the Suncoast Credit Union mobile app on your device and locate the login screen. Enter your username and password in the provided fields. If you don’t have an existing account, you can follow the prompts to sign up and create one.
Once you have entered your login credentials, tap on the “Log In” button to proceed.
After successful login, you will have access to your Suncoast Credit Union account information, including your balances, transaction history, and other features like bill pay and account transfers.
Take a moment to familiarize yourself with the app’s navigation and layout. Explore the various tabs and options available to manage your finances effectively.
Now that you are logged in and ready to go, it’s time to move on to the next step: linking your bank account to Zelle. Continue reading to learn how to set up Zelle with Suncoast Credit Union.
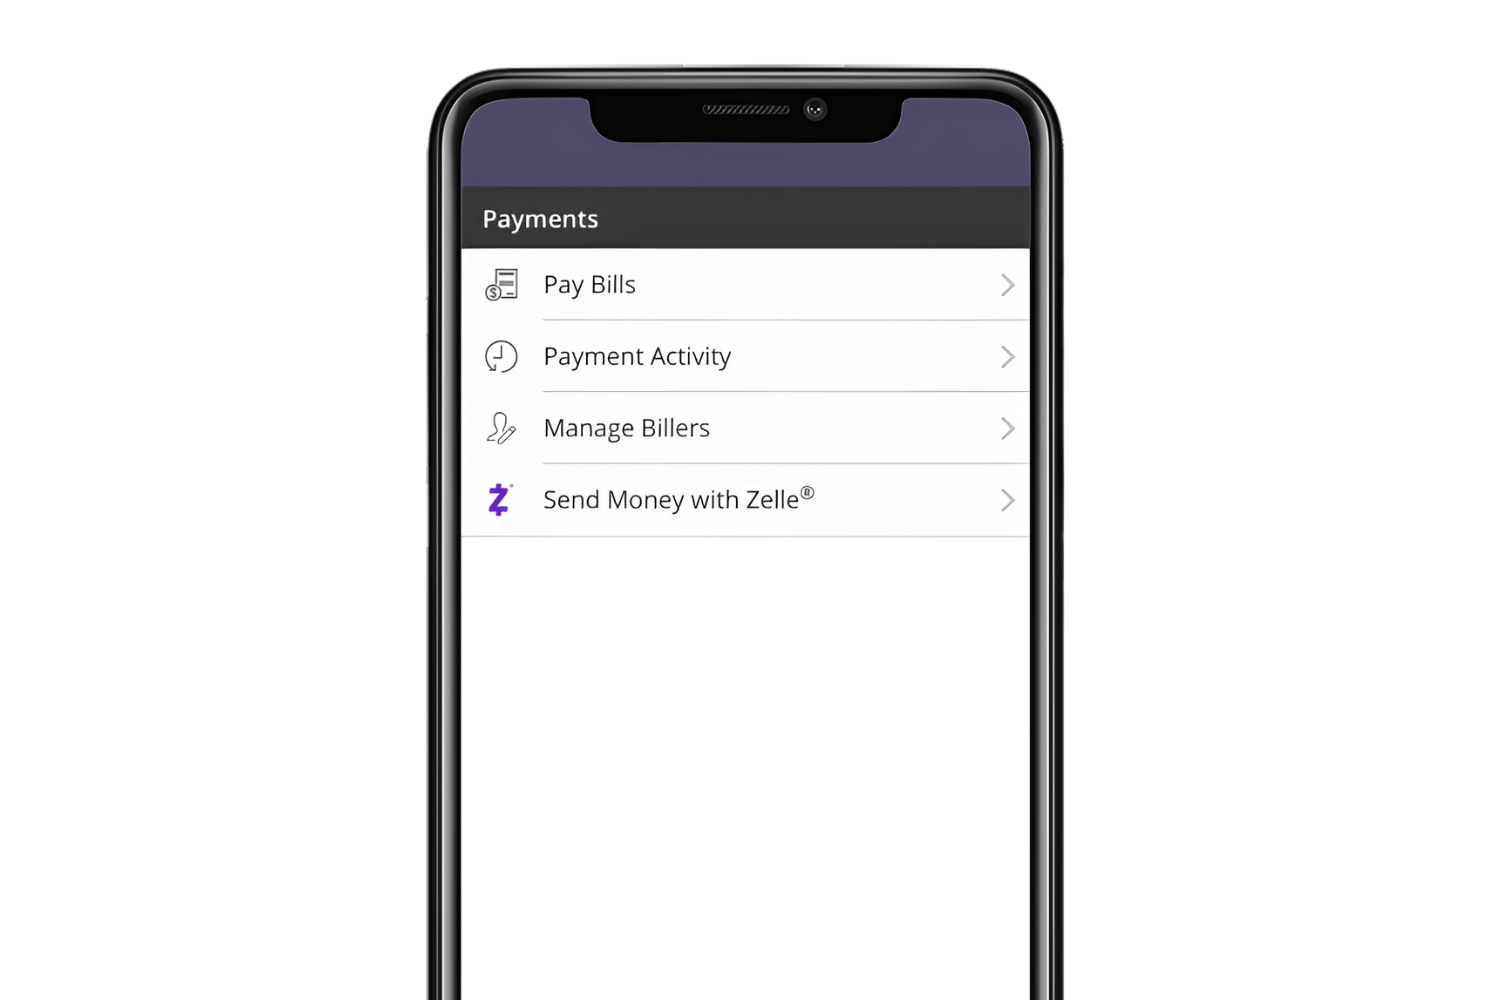
Step 3: Link Your Bank Account to Zelle
Now that you are logged in to the Suncoast Credit Union mobile app, it’s time to link your bank account to Zelle. By doing so, you will be able to send and receive money conveniently using Zelle’s digital payment platform.
To link your bank account, navigate to the Zelle settings within the Suncoast Credit Union mobile app. Look for the “Zelle” tab or option in the app’s menu or sidebar.
Once you have accessed the Zelle settings, you will see an option to “Link Bank Account” or “Add Bank Account.” Tap on this option to begin the linking process.
Next, you will be prompted to provide the necessary information to verify and link your bank account. This may include your account number, routing number, and other identifying details. Ensure that you enter the correct information to avoid any issues with linking your account.
After entering the required information, tap on the “Link Bank Account” or “Submit” button to initiate the verification process.
Depending on the bank and verification method, you may receive a verification code via email, SMS, or through your bank’s online banking portal. Follow the instructions provided to verify your account and complete the linking process.
Once your bank account has been successfully linked to Zelle, you will receive a confirmation message or notification in the app. This confirms that you can now use Zelle to send and receive money directly from your Suncoast Credit Union account.
With your bank account linked to Zelle, you are ready to move on to the next step: setting up your Zelle profile. This will ensure that recipients can easily identify and receive your payments. Keep reading to find out how to complete this step.
Step 4: Set Up Your Zelle Profile
After linking your bank account to Zelle with Suncoast Credit Union, the next step is to set up your Zelle profile. Your Zelle profile will include your name and contact information, making it easier for others to identify and receive your payments.
To set up your Zelle profile, navigate to the Zelle settings within the Suncoast Credit Union mobile app. Look for the “Profile” or “My Profile” option.
Once you have accessed your Zelle profile settings, you will be prompted to provide your name and contact details. Enter your full name as you would like it to appear to others when they receive a payment from you.
Depending on the options available, you may also have the opportunity to add or update your email address and mobile phone number associated with your Zelle profile. Make sure to enter the most up-to-date and accurate information to avoid any issues with your Zelle transactions.
Additionally, you may have the option to add a profile picture or avatar to further personalize your Zelle profile. While this step is optional, it can help recipients recognize your profile and payments more easily.
Once you have entered and verified your information, save your settings or tap on the “Done” button to complete the setup of your Zelle profile.
Now that your Zelle profile is set up, you can move on to the next step: adding recipients to your Zelle contacts. This will allow you to send money to your friends, family, or anyone in your contact list effortlessly. Continue reading to learn how to complete this step.
Step 5: Add Recipients to Your Zelle Contacts
Now that you have your Zelle profile set up, it’s time to add recipients to your Zelle contacts. Adding recipients to your contacts will make it easy for you to send money to them using Zelle.
To add a recipient to your Zelle contacts, go to the Zelle section in the Suncoast Credit Union mobile app. Look for the “Contacts” or “Add Recipient” option.
Once you have accessed your Zelle contacts, you will have the option to manually enter the recipient’s email address or mobile phone number. Alternatively, you can choose to import contacts from your device’s address book or select recipients from a list of previous transactions.
To manually add a recipient, enter their email address or mobile phone number in the designated field. Make sure to double-check the information for accuracy.
If you choose to import contacts from your device’s address book, the app will prompt you to grant access to your contacts. Follow the instructions provided to import the desired contacts into your Zelle contacts list.
Once you have added a recipient to your Zelle contact list, you can assign them a name or nickname for easy reference. This way, you can quickly select the recipient when initiating a payment through Zelle.
Repeat the process to add all the recipients you frequently send money to, such as family members, friends, or trusted individuals.
By adding recipients to your Zelle contacts, you streamline the process of sending money through Zelle. You can easily select the recipient from your contact list and send payments without the need to manually enter their information each time.
Now that your Zelle contacts are set up, it’s time for the final step: sending money with Zelle. Stay with us as we guide you through the process in the next step.
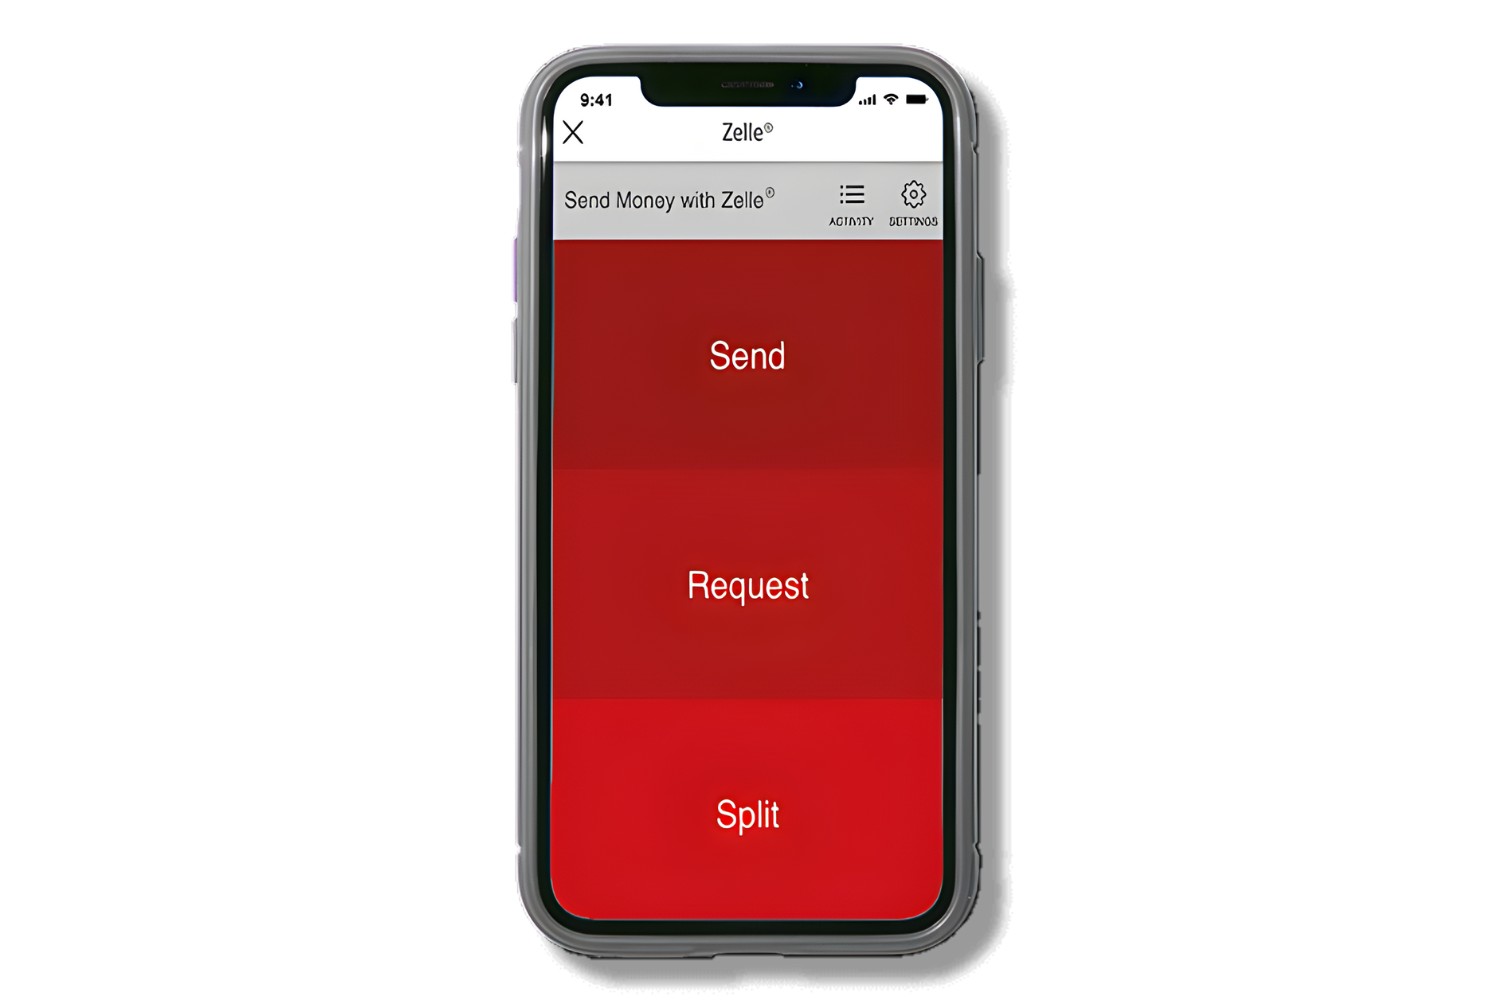
Step 6: Send Money with Zelle
Now that you have set up your Zelle profile and added recipients to your contacts list, you are ready to send money with Zelle. Sending money with Zelle is a quick and straightforward process that can be done directly from the Suncoast Credit Union mobile app.
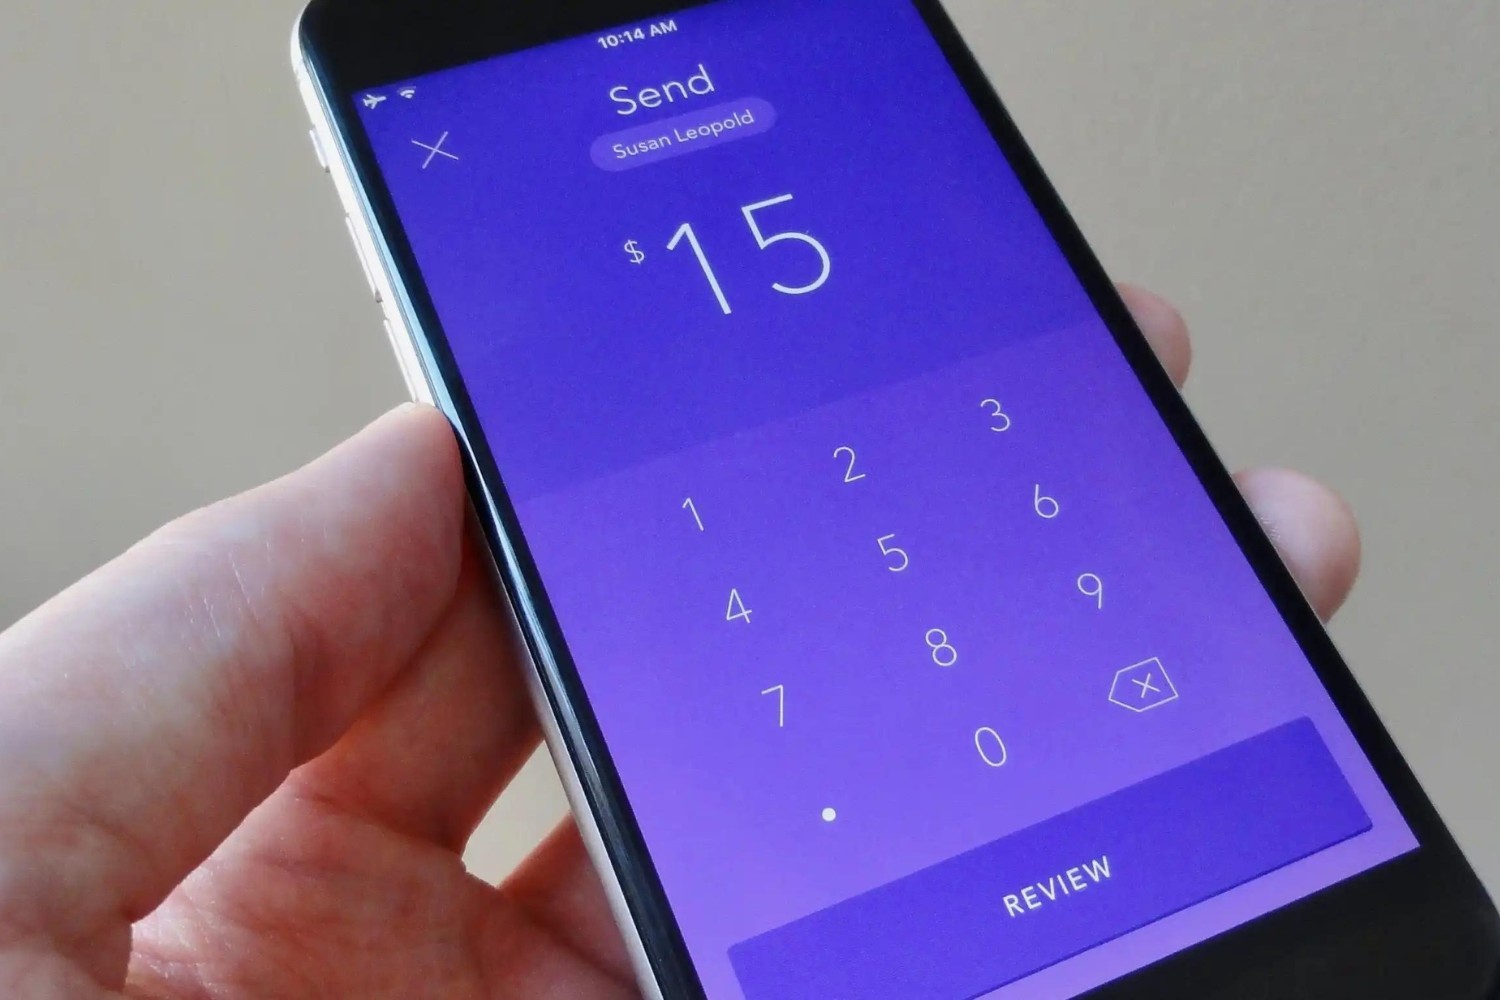
To send money with Zelle, open the Suncoast Credit Union mobile app and navigate to the Zelle section. Look for the “Send Money” or “Send” option.
Once you have accessed the send money feature, you will be prompted to select the recipient from your Zelle contacts list. Tap on the desired recipient’s name or nickname to proceed.
Next, enter the amount of money you wish to send. Make sure to double-check the amount for accuracy before proceeding.
Depending on the Zelle recipient’s preferences, you may have the option to add a memo or note to accompany the payment. This can be useful for providing additional context or instructions related to the transaction.
After reviewing all the details, including the recipient and amount, tap on the “Send” or “Confirm” button to initiate the money transfer.
Once the transaction is processed, you and the recipient will receive notifications confirming the successful transfer of funds. The money is typically transferred instantly, making Zelle a convenient way to send money without the delays associated with traditional methods.
It’s important to note that both the sender and the recipient must have a bank account linked to Zelle to complete the transaction. If the recipient is not yet enrolled with Zelle, they will receive instructions on how to sign up and claim the funds you have sent.
Congratulations! You have successfully sent money with Zelle through Suncoast Credit Union. Enjoy the convenience of quick and secure digital transactions with Zelle.
With the completion of this final step, you have now fully set up Zelle with Suncoast Credit Union. You can now send and receive money effortlessly, allowing for seamless financial transactions.
Thank you for following this step-by-step guide. We hope it has been helpful in assisting you with setting up Zelle with Suncoast Credit Union. If you have any further questions or need additional support, don’t hesitate to reach out to Suncoast Credit Union’s customer service.
Conclusion
Congratulations on completing the step-by-step guide on how to set up Zelle with Suncoast Credit Union. You have now gained the ability to send and receive money conveniently using Zelle’s digital payment platform.
Throughout this guide, we covered the essential steps involved in setting up Zelle with Suncoast Credit Union. Starting from downloading the mobile app to linking your bank account, setting up your Zelle profile, adding recipients to your contacts, and finally, sending money with Zelle.
Zelle provides a hassle-free way to transfer funds digitally, allowing you to effortlessly split bills, send birthday cash, or reimburse friends for various expenses. With Suncoast Credit Union, you can enjoy the added convenience of accessing Zelle through their mobile app.
Remember to always double-check the recipient’s information and the amount before sending money through Zelle. Additionally, ensure that both the sender and recipient have linked their bank accounts to Zelle to ensure smooth transactions.
If you encounter any issues or have questions regarding Zelle or the Suncoast Credit Union mobile app, don’t hesitate to reach out to Suncoast Credit Union’s customer service. They are available to assist you and provide any necessary support.
Thank you for following this guide, and we hope it has been helpful in simplifying the process of setting up Zelle with Suncoast Credit Union. Enjoy the convenience and speed of digital money transfers with Zelle!