Introduction
Welcome to our guide on how to delete your business Venmo account. Venmo has become a popular platform for businesses to securely and conveniently handle payments, but there may come a time when you no longer need your business account. Whether you’re closing your business, switching to a different payment platform, or simply no longer using Venmo for business transactions, deleting your account can help streamline your financial management.
However, it’s important to note that deleting your business Venmo account is a permanent action. Once you delete your account, you will no longer have access to any of your transaction history or other account information. Therefore, it’s crucial to make sure you have downloaded any necessary records or information before proceeding with the deletion process.
In this guide, we will walk you through the step-by-step process of deleting your business Venmo account. By following these instructions, you will be able to close your account and ensure the security of your business’s financial data.
Before we begin, please keep in mind that these instructions are specifically for deleting business Venmo accounts. If you have a personal Venmo account or if you need assistance with any other Venmo-related issues, please refer to Venmo’s official support documentation or contact their customer support for further assistance.
Step 1: Log in to your Venmo Account
The first step to deleting your business Venmo account is to log in to your account. Open a web browser and go to the Venmo website.
If you already have a Venmo account, enter your email address (or phone number) and password in the provided fields and click on the “Log In” button. Make sure to use the credentials associated with your business account.
If you don’t have a Venmo account, you will need to create one before proceeding with the deletion process. Simply click on the “Sign Up” button and follow the prompts to create a new account. Ensure that you sign up for a business account, not a personal one.
After logging in or creating your account, you will be directed to your account homepage. This is where you can manage your business transactions, view your account balance, and access various settings.
Now that you are logged in to your business Venmo account, you can proceed to the next step: accessing the account settings to delete your account.
Step 2: Go to Settings
Once you have logged in to your business Venmo account, the next step is to navigate to the account settings. The settings page is where you can make changes to your account preferences, manage security settings, and access the option to delete your account.
To go to the settings page, locate and click on the profile icon or your profile picture at the top right corner of the Venmo homepage. A dropdown menu will appear, presenting you with various options.
From the dropdown menu, select the “Settings” option. This will take you to the settings page, where you can customize your account settings to suit your preferences.
On the settings page, you will find several tabs or sections that allow you to manage different aspects of your Venmo account. These may include options such as “Profile”, “Notifications”, “Privacy”, and more.
For the purpose of deleting your account, you will need to access the “Account” section. Look for the “Account” tab or link in the settings menu, and click on it to proceed to the account settings page.
Now that you have successfully reached the account settings page, you are one step closer to deleting your business Venmo account. The next step will guide you through the process of closing your account permanently.
Step 3: Click on Account
After accessing the settings page of your business Venmo account, it’s time to navigate to the “Account” section. This is where you will find the option to delete your account permanently.
On the account settings page, look for the “Account” tab or link in the sidebar or menu. Click on it to proceed to the account management section.
Once you are in the “Account” section, you will be presented with various options and settings related to your Venmo account. This section allows you to manage your account information, review your connected bank accounts and cards, and more.
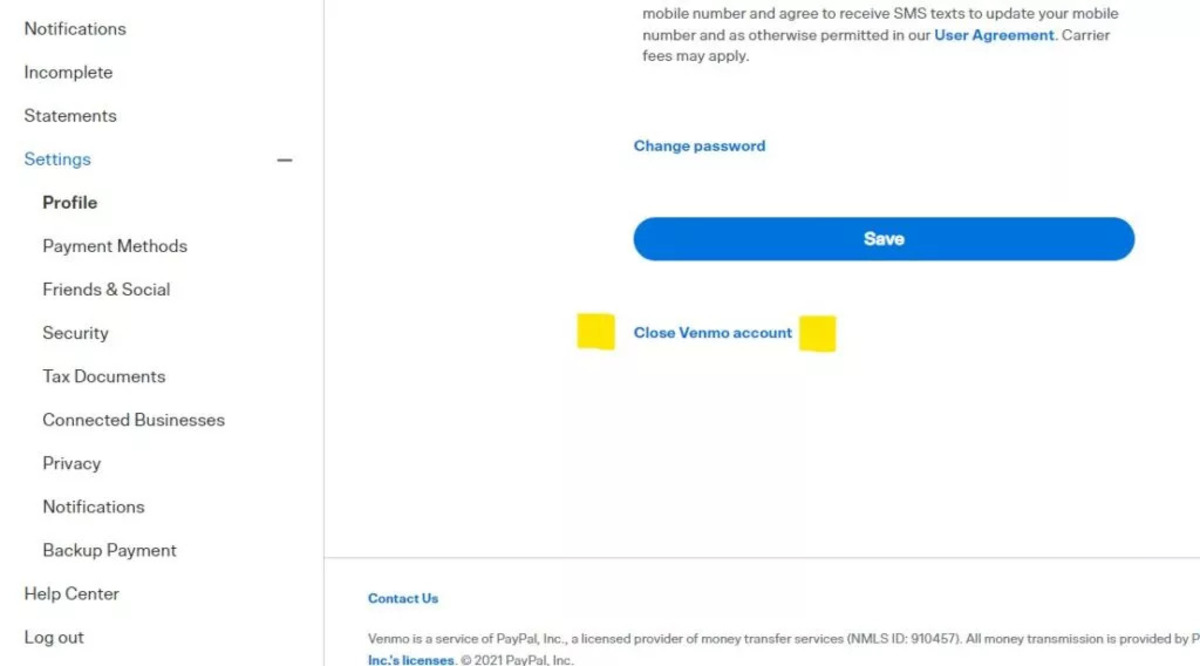
Scroll through the page until you find the section that specifically mentions “Closing Your Account” or “Delete Account.” The exact wording may vary, but it should be something similar.
Click on the relevant option to proceed with the account deletion process.
It’s important to note that deleting your account is a permanent action and cannot be undone. Before proceeding, make sure you have downloaded any important transaction history or other data that you may need in the future.
Take a moment to review any additional information or warnings provided by Venmo regarding the deletion of your account.
Once you are ready to proceed with the deletion, click on the appropriate confirmation button or link to continue.
Now that you have successfully reached the account deletion section, the next step will guide you through confirming the deletion of your business Venmo account.
Step 4: Select Close My Venmo Account
Now that you have navigated to the account deletion section, it’s time to proceed with closing your business Venmo account.
On the account deletion page, you will typically be presented with some information and instructions regarding the process.
Look for the option that specifically mentions “Close My Venmo Account” or “Delete Account”. This option is typically accompanied by a button or link that allows you to initiate the deletion process.
Before proceeding, Venmo may require you to confirm your identity and provide some additional information to verify that you are the authorized account holder. This is a security measure to ensure that accounts are not deleted without proper authorization.
Follow the provided instructions to complete the verification process. This may involve entering a verification code sent to your registered email address or phone number, providing answers to security questions, or any other form of authentication required by Venmo.
Once you have successfully verified your identity, you will be presented with the final confirmation to close your Venmo account.
Review the information and make sure that you fully understand the consequences of closing your account. Once deleted, all transaction history, connected bank accounts, and other account data will be permanently erased.
If you are certain about your decision, click on the “Close My Venmo Account” or “Delete Account” button to initiate the deletion process.
Now that you have selected the option to close your Venmo account, the next step will guide you through confirming the deletion to finalize the process.
Step 5: Confirm Deletion
After selecting the option to close your business Venmo account, you will be prompted to confirm the deletion. This step ensures that you are fully aware of the consequences and have made an informed decision.
On the confirmation page, you may see a summary of the information that will be permanently deleted once the account is closed. This may include transaction history, connected payment methods, and other account-related data.
Read through the information carefully, and if you are certain about closing your Venmo account, proceed to confirm the deletion.
Typically, you will need to click on a button or link that says “Confirm Deletion,” “Close Account,” or something similar.
At this point, Venmo may ask for some feedback regarding your decision to close your account. This feedback can help them improve their services, but providing it is optional. You can choose to provide feedback or skip this step if you prefer.
Once you have confirmed the deletion and provided any necessary feedback, Venmo will begin the process of permanently closing your account. This process is typically irreversible, so make sure you are certain about your decision.
It’s worth noting that while your account is being deleted, your business transactions and account information will no longer be accessible. However, it may take a short period of time for the deletion process to be completed fully.
Now that you have confirmed the deletion of your Venmo account, the next step will guide you through logging out of your account to ensure your information remains secure.
Step 6: Provide Feedback (Optional)
After confirming the deletion of your business Venmo account, you may have the option to provide feedback to Venmo regarding your decision. This step is entirely optional, but it can be helpful for Venmo to understand your reasons for closing the account and to improve their services based on user feedback.
If you choose to provide feedback, Venmo may present you with a form or a series of questions to gather your thoughts. The questions may ask about your overall experience with Venmo, any specific issues you encountered, or suggestions for improvement.
Take your time to provide thoughtful and constructive feedback, outlining any issues you faced or areas where you feel Venmo can make enhancements.
When expressing your feedback, it’s important to be honest, respectful, and concise. Explain your concerns or suggestions clearly, providing relevant details to help Venmo understand your perspective.
Keep in mind that your feedback can provide valuable insights to Venmo and contribute to the ongoing development and improvement of their platform.
If you prefer not to provide feedback, you can simply skip this step and proceed to the next one.
Now that you have the optional choice to provide feedback, the next step will guide you through logging out of your business Venmo account to ensure the security and privacy of your information.
Step 7: Logout of your Venmo Account
After completing the process of deleting your business Venmo account, it’s important to log out to ensure the security and privacy of your information. Logging out will also prevent unauthorized access to your account in the future.
To logout, locate the profile icon or your profile picture at the top right corner of the Venmo homepage.
Click on the icon or picture to open the dropdown menu.
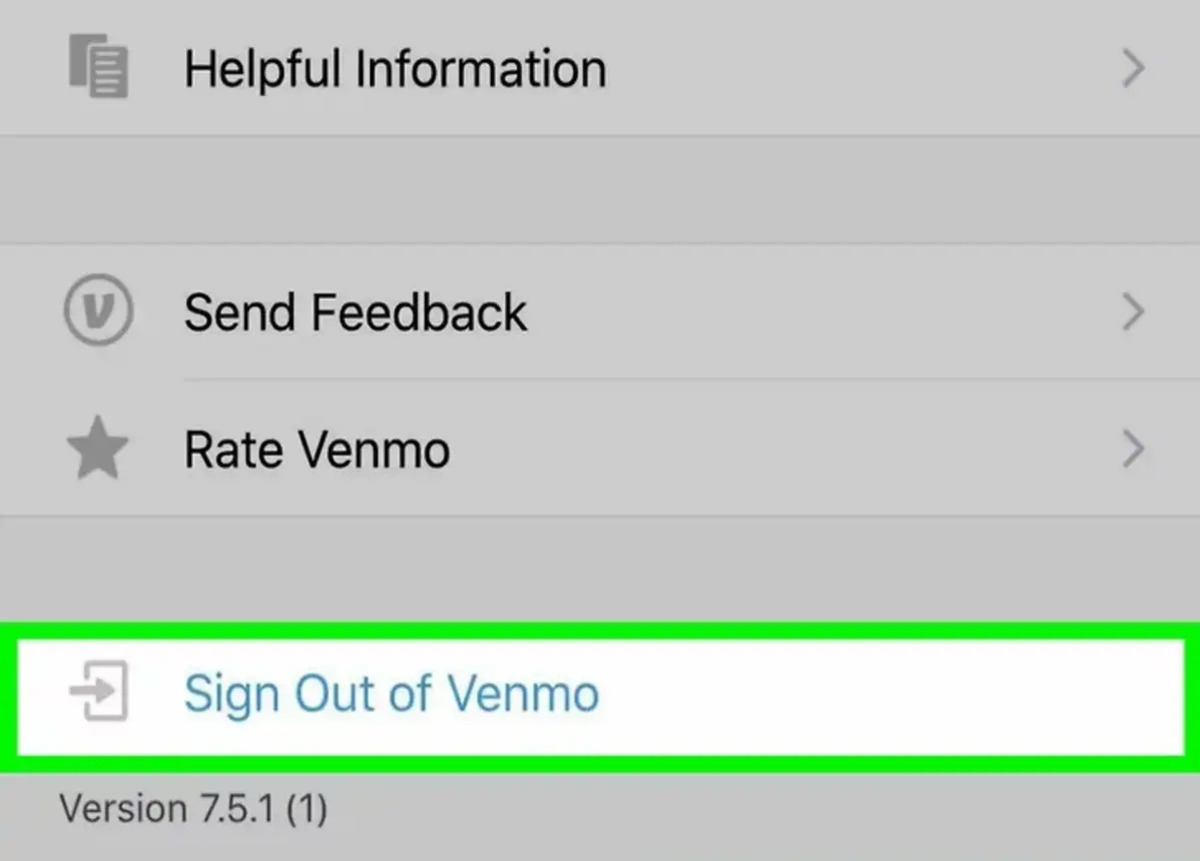
In the dropdown menu, you should see the option to “Logout” or “Sign Out.” Click on this option to log out of your Venmo account.
After clicking on the logout option, you will be signed out of your account and taken back to the Venmo homepage.
It’s always a good practice to clear your browsing history and cache after logging out of any online account, especially if you have used a shared or public device.
By logging out, you ensure that no one else can access your business Venmo account or view any sensitive information associated with it.
Now that you have successfully logged out of your business Venmo account, you have completed the entire process of deleting your account and securing your financial data.
Remember that once your account is deleted, all transaction history and other account information will be permanently removed, so make sure you have downloaded any important data before deleting your account.
If you have any further questions or need assistance, refer to Venmo’s official support documentation or contact their customer support for further guidance.
Congratulations! You have successfully deleted your business Venmo account and taken steps to protect your financial information.
Conclusion
Deleting your business Venmo account is a straightforward process that allows you to securely close your account and protect your financial information. In this guide, we provided you with a step-by-step walkthrough of the account deletion process.
We started by logging in to your Venmo account and accessing the settings page. From there, we guided you through the steps to click on the “Account” section and select the option to close your account. We then covered confirming the deletion, providing optional feedback, and logging out of your account.
It’s crucial to note that deleting your business Venmo account is irreversible. Take the time to review your decision and ensure you have downloaded any necessary transaction history or other important data before proceeding with the deletion.
By following these steps, you have successfully closed your business Venmo account, ensuring the security and privacy of your financial information.
If you ever decide to use Venmo for business transactions again, you can always create a new account and start fresh.
For any further assistance or inquiries regarding Venmo or related matters, we recommend referring to Venmo’s official support documentation or reaching out to their customer support team.
Thank you for using our guide, and we hope you found it helpful in deleting your business Venmo account. Remember to always prioritize the security of your financial data when managing online accounts.