Introduction
Welcome to the world of digital currencies! With the rise in popularity of Bitcoin, you might be wondering how to buy some for yourself. Look no further – in this guide, we will walk you through the process of buying Bitcoin on Venmo, a widely used peer-to-peer payment platform.
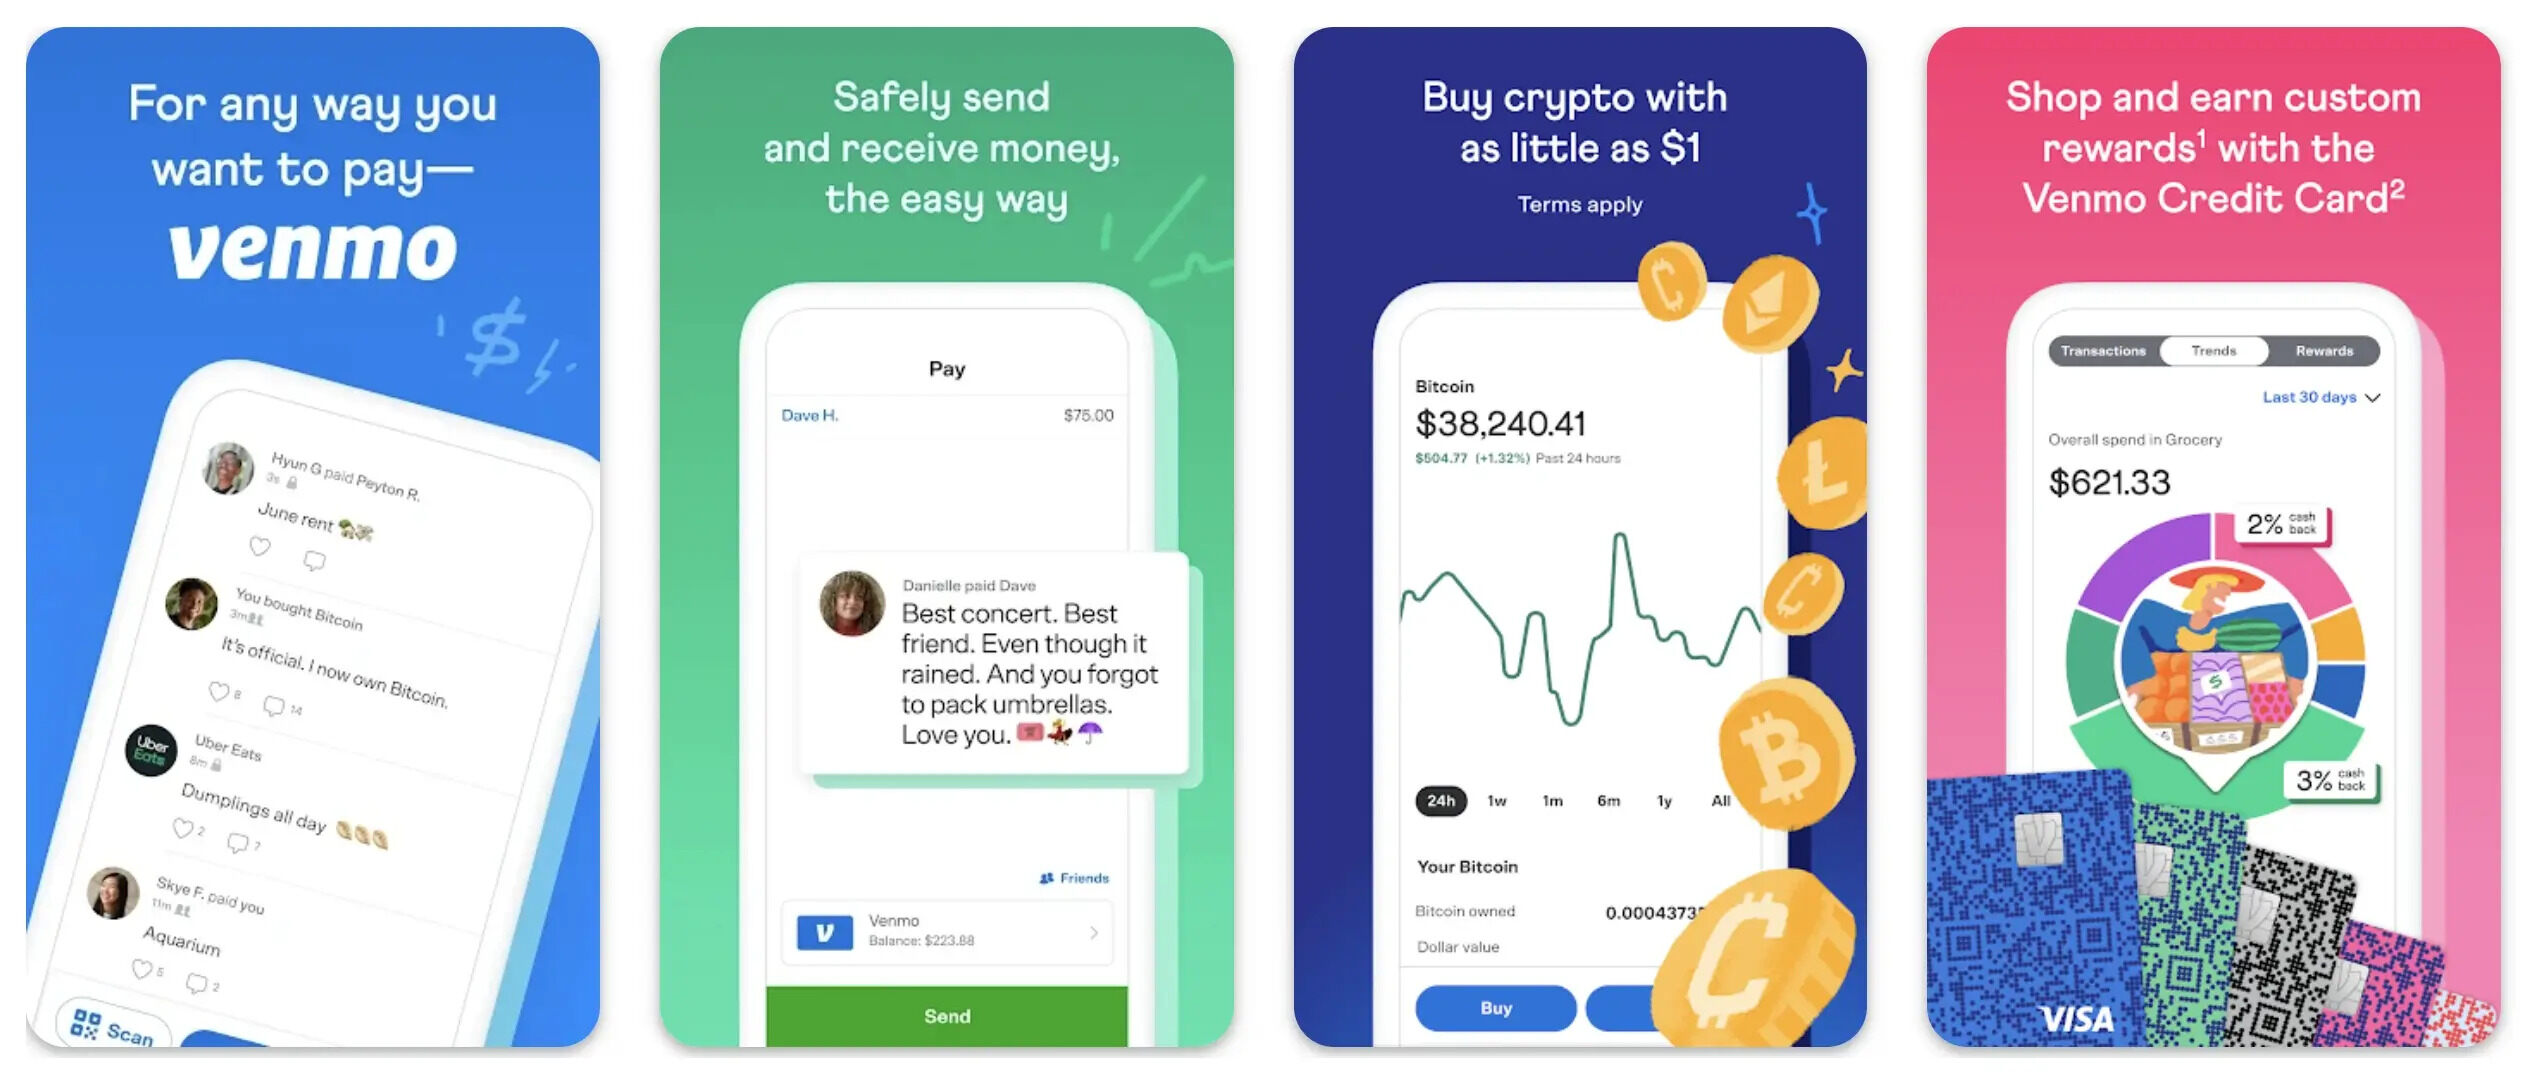
Bitcoin, often referred to as a cryptocurrency, is a decentralized digital currency that allows for secure and anonymous transactions. Venmo, on the other hand, is a popular payment app that enables users to send and receive money easily.
Buying Bitcoin on Venmo is a convenient option for individuals who are already familiar with the platform and want to diversify their investments by entering the exciting world of cryptocurrencies.
Before we dive into the step-by-step process of purchasing Bitcoin on Venmo, it’s important to note that the availability of this feature may vary depending on your geographic location. Make sure to check if the option to buy Bitcoin is available in your country or region.
Now, let’s get started on your journey to buying Bitcoin on Venmo!
Step 1: Set Up a Venmo Account
In order to buy Bitcoin on Venmo, you’ll need to have a Venmo account. If you already have one, you can skip this step and move on to the next. If not, here’s how you can set up a Venmo account:
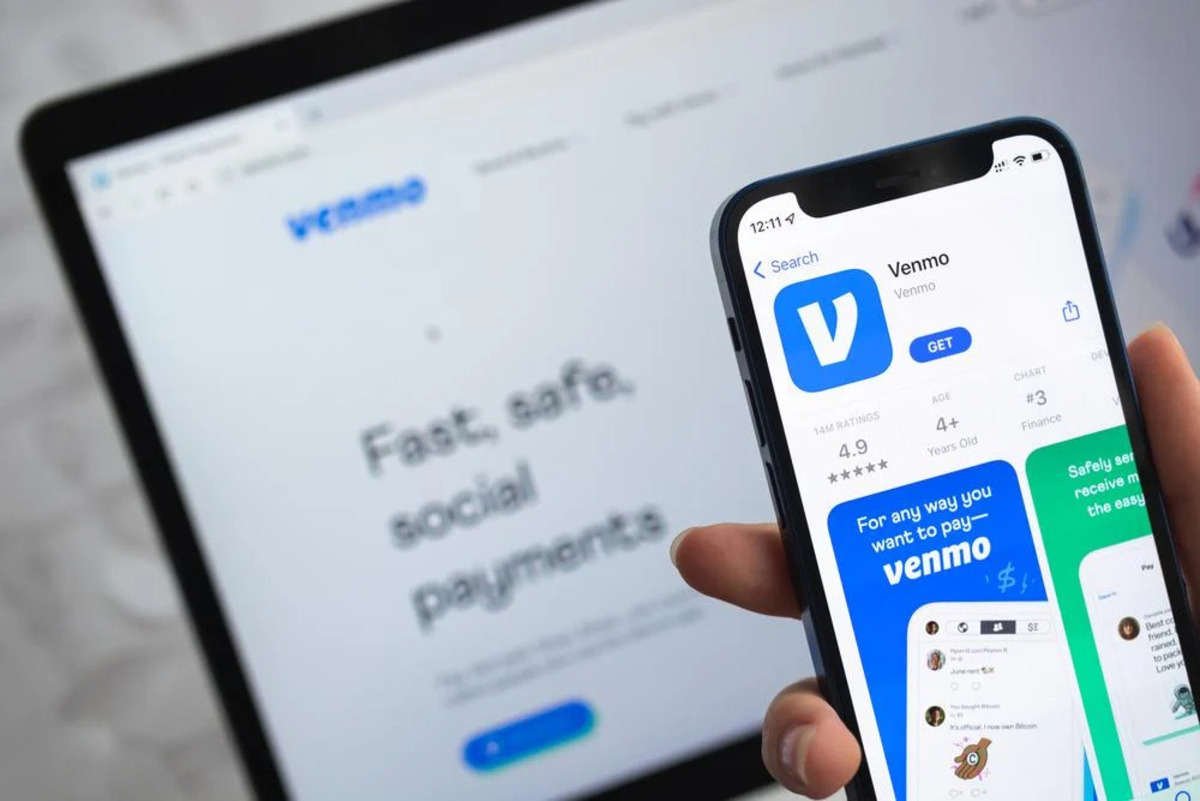
- Download the Venmo app: Venmo is available for both iOS and Android devices. Head to your app store and search for “Venmo.” Once you find the app, click on “Install” to download it to your device.
- Create your account: Once the app is installed, open it and click on “Sign Up.” You’ll have the option to sign up using your Facebook account or your email address. Choose the option that works best for you and follow the prompts to create your account.
- Verify your identity: In order to use the full functionality of Venmo, you’ll need to verify your identity. This is done by providing your full name, date of birth, and the last four digits of your Social Security number. Venmo takes privacy and security seriously, so you can rest assured that your information will be protected.
- Add a payment method: To be able to purchase Bitcoin on Venmo, you’ll need to link a bank account or debit card to your Venmo account. This payment method will be used to fund your Venmo account and make the Bitcoin purchase later on. Follow the instructions within the app to add your preferred payment method.
Once you’ve completed these steps, congratulations! You now have a Venmo account and are ready to move on to the next step of purchasing Bitcoin.
Step 2: Connect Your Bank Account or Debit Card
Now that you have a Venmo account set up, the next step is to connect your bank account or debit card. This will allow you to add funds to your Venmo account and make purchases, including buying Bitcoin. Here’s how you can connect your bank account or debit card:
- Open the Venmo app: Launch the Venmo app on your mobile device and sign in to your account.
- Tap on the menu icon: Look for the three horizontal lines in the top-left or bottom-right corner of the app, which will open the menu.
- Select “Settings”: Scroll down until you see the “Settings” option and tap on it.
- Choose “Payment Methods”: In the Settings menu, you’ll find an option called “Payment Methods.” Tap on it to proceed.
- Add your bank account or debit card: Within the Payment Methods section, you’ll have the option to add either a bank account or a debit card. Select the option that you prefer and follow the prompts to enter the required information.
- Verify your bank account or debit card: After adding your bank account or debit card information, Venmo will ask you to verify it. This is typically done by confirming small deposit amounts or authorizing a transaction.
Once your bank account or debit card is successfully linked to your Venmo account, you’re all set to move on to the next steps of buying Bitcoin on Venmo.
Step 3: Add Funds to Your Venmo Account
In order to buy Bitcoin on Venmo, you need to have funds in your Venmo account. Adding funds is a straightforward process. Here’s how you can do it:
- Open the Venmo app: Launch the Venmo app on your device and sign in to your account.
- Tap on the menu icon: Look for the three horizontal lines in the top-left or bottom-right corner of the app, and tap on it to open the menu.
- Select “Manage Balance”: Within the menu, you’ll find the “Manage Balance” option. Tap on it to proceed.
- Tap on “Add Money”: In the Manage Balance section, you’ll see the option to “Add Money.” Tap on it to initiate the process.
- Enter the amount: Specify the amount of money you want to add to your Venmo account. You can add funds either from your linked bank account or debit card.
- Confirm the transaction: Review the details of the transaction, including the amount and the linked funding source. If everything looks correct, tap on “Confirm” to proceed.
Depending on the method you choose for adding funds, the transaction may take a couple of business days to process. Once the funds are successfully added to your Venmo account, you can proceed to the next step of buying Bitcoin on Venmo.
Step 4: Locate and Choose a Reliable Bitcoin Seller
When buying Bitcoin on Venmo, it’s crucial to find a reliable and trustworthy Bitcoin seller. There are several options available, each with its own features and fees. Here are some ways to locate and choose a reliable Bitcoin seller:
- Research reputable exchanges: Look for well-known and established Bitcoin exchanges that offer the option to buy Bitcoin on Venmo. These exchanges have a track record of providing secure and reliable services to their users. Some popular exchanges include Coinbase, Gemini, and Kraken.
- Read reviews and user feedback: Before selecting a Bitcoin seller, take the time to read reviews and user feedback. Look for positive experiences, prompt customer support, and reliable transactions. This will give you an idea of the seller’s reputation and reliability.
- Compare fees: Different Bitcoin sellers may have varying fees for buying Bitcoin on Venmo. Compare the fees of several sellers to ensure you are getting a fair price. Keep in mind that lower fees may be attractive, but it’s equally important to consider the seller’s reputation and reliability.
- Check for additional features: Some Bitcoin sellers may offer additional features, such as enhanced security measures, trading tools, and educational resources. Consider these extra features when choosing a seller to enhance your Bitcoin buying experience.
Take your time to research and choose a Bitcoin seller that aligns with your needs and preferences. Remember, it’s essential to prioritize reliability and security when making your selection.
Once you have identified a reliable Bitcoin seller, you can proceed to the next step of initiating a purchase on Venmo.
Step 5: Initiate a Purchase on Venmo
Now that you have a Venmo account, funds in your account, and a reliable Bitcoin seller in mind, it’s time to initiate the purchase of Bitcoin on Venmo. Follow these steps to get started:
- Open the Venmo app: Launch the Venmo app on your mobile device and sign in to your account.
- Tap on the menu icon: Look for the three horizontal lines in the top-left or bottom-right corner of the app, and tap on it to open the menu.
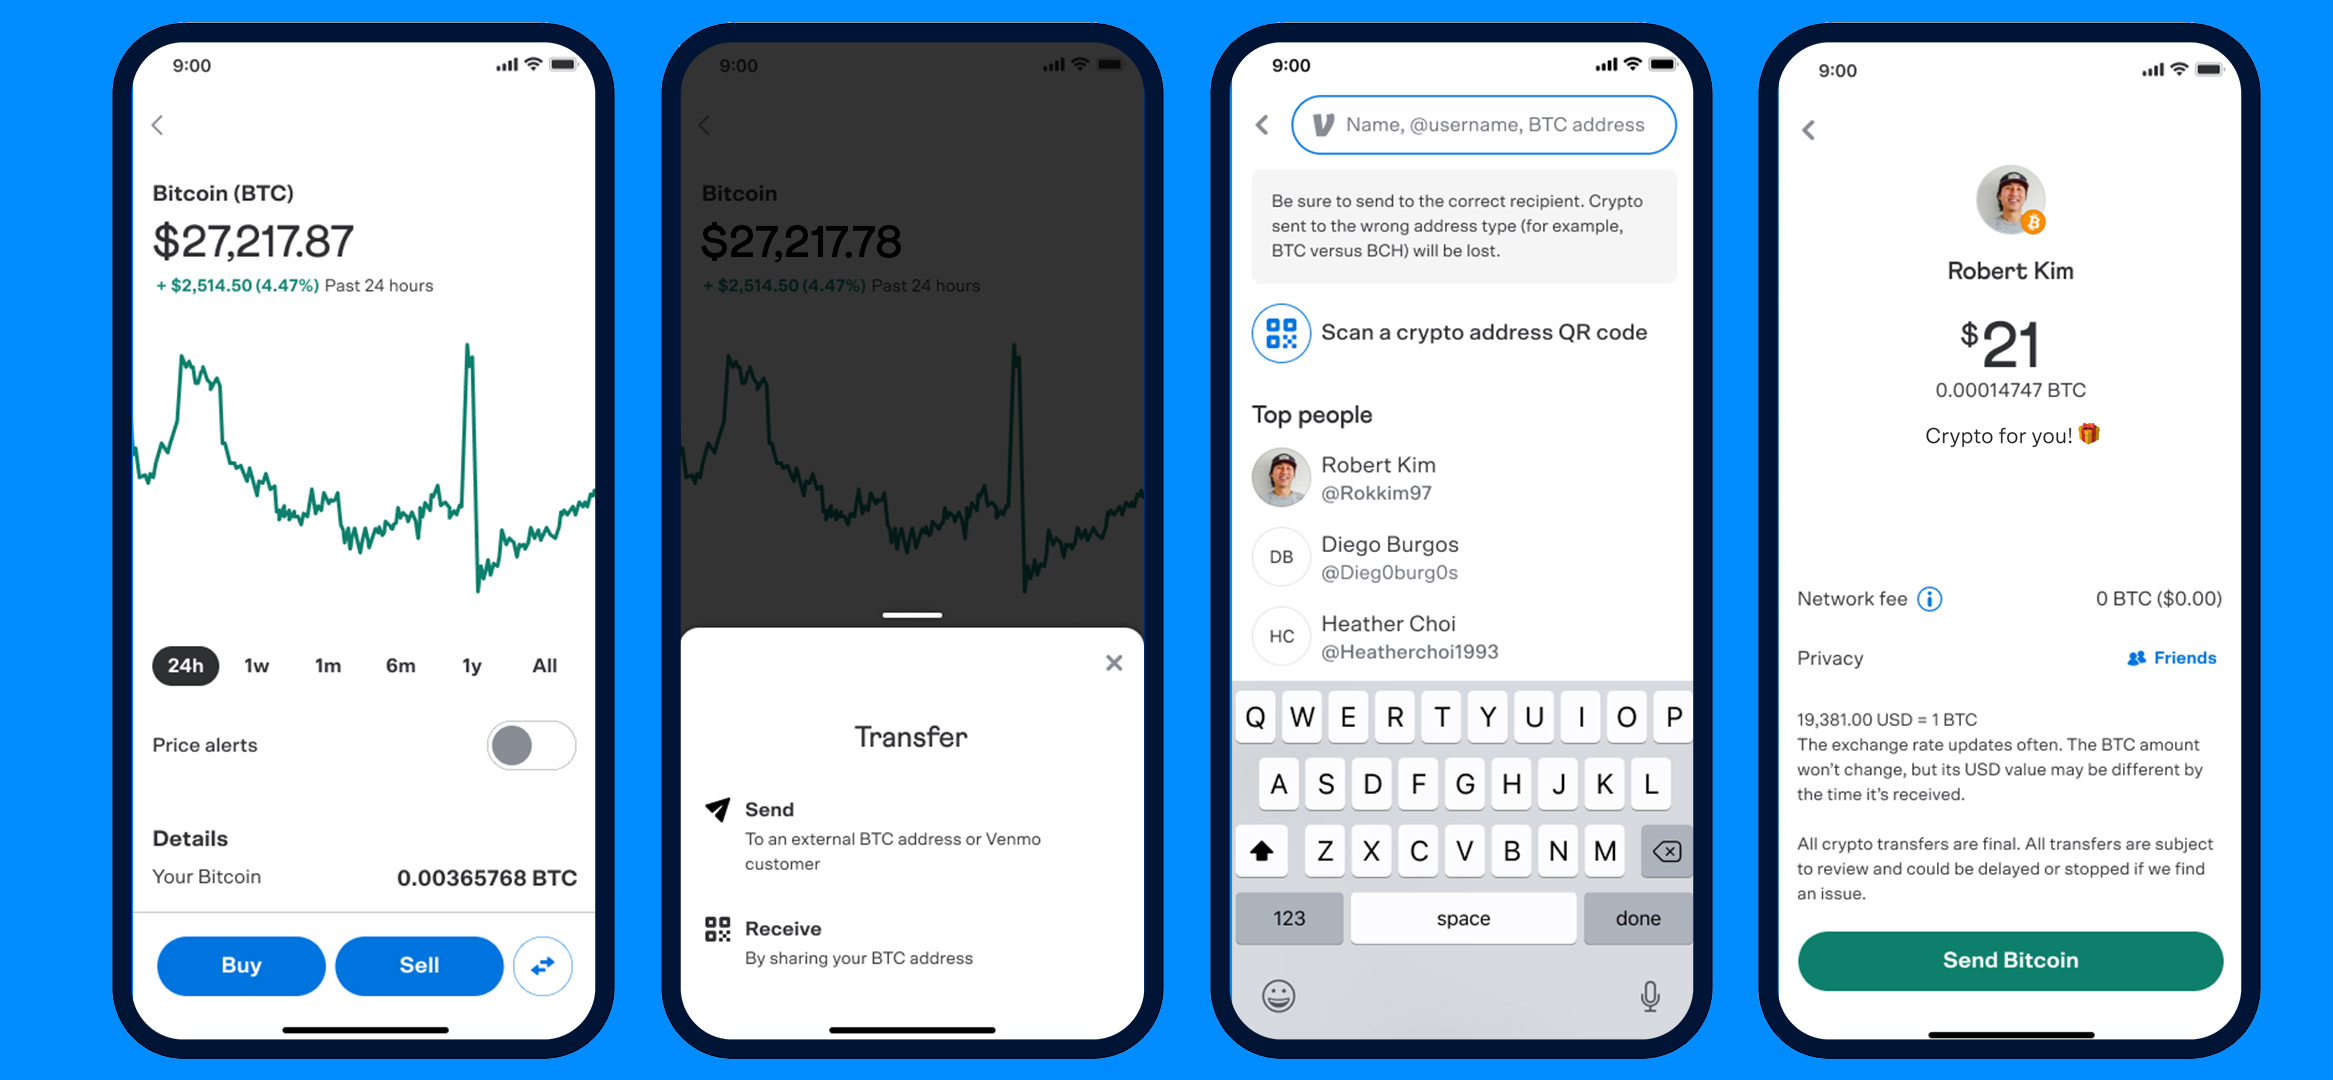
- Select “Crypto”: Within the menu, you’ll see an option called “Crypto.” Tap on it to proceed.
- Choose Bitcoin: In the Crypto section, you’ll find various cryptocurrencies available for purchase. Select Bitcoin from the list.
- Enter the amount: Specify the amount of Bitcoin you want to purchase. The amount can be in Bitcoin or in your local currency, depending on the options provided by the seller.
- Review the transaction details: Carefully review the transaction details, including the amount, fees, and any other relevant information provided by the Bitcoin seller.
- Confirm the transaction: If everything looks accurate, tap on “Buy Now” or a similar button to confirm the purchase.
After confirming the transaction, the seller will process your request. The time it takes for the Bitcoin to be delivered to your Venmo wallet may vary, so be sure to check the estimated timeframe provided by the seller. Once the Bitcoin is successfully added to your Venmo wallet, you can move on to the next step to secure your investment.
Congratulations! You’ve taken the important step of initiating a purchase on Venmo. Now, let’s proceed to the next step to confirm the transaction details.
Step 6: Confirm the Transaction Details
After initiating the purchase of Bitcoin on Venmo, it’s crucial to carefully review and confirm the transaction details before finalizing the process. Here’s how you can confirm the transaction details:
- Open the Venmo app: Launch the Venmo app on your mobile device and sign in to your account if you haven’t already.
- Tap on the menu icon: Look for the three horizontal lines in the top-left or bottom-right corner of the app, and tap on it to open the menu.
- Select “Crypto”: Within the menu, tap on the “Crypto” option.
- Choose Bitcoin: In the Crypto section, select Bitcoin from the list of available cryptocurrencies.
- View transaction details: You should see the transaction you initiated in the previous step. Tap on it to view the transaction details.
- Verify the amount and fees: Check that the amount of Bitcoin you purchased and the associated fees are correct. Ensure that they match your initial intent and the agreed-upon terms with the Bitcoin seller.
- Confirm the transaction: If everything looks accurate, tap on the “Confirm” or “Finalize” button to complete the transaction. This will confirm your purchase and finalize the transfer of Bitcoin to your Venmo wallet.
By confirming the transaction details, you are ensuring that there are no errors or discrepancies in the purchase. This step is crucial to safeguard your investment and ensure a seamless transaction process.
Once you have confirmed the transaction details and finalized the purchase, you can proceed to the next step of receiving Bitcoin in your Venmo wallet.
Step 7: Receive Bitcoin in Your Venmo Wallet
After confirming the transaction details, it’s time to receive the purchased Bitcoin in your Venmo wallet. Here’s how you can complete this step:
- Open the Venmo app: Launch the Venmo app on your mobile device and sign in to your account if you haven’t already.
- Tap on the menu icon: Look for the three horizontal lines in the top-left or bottom-right corner of the app, and tap on it to open the menu.
- Select “Crypto”: Within the menu, tap on the “Crypto” option.
- Choose Bitcoin: In the Crypto section, select Bitcoin from the list of available cryptocurrencies.
- View your Venmo wallet: You should now see your Venmo wallet, which displays the current balance of Bitcoin you own.
- Verify Bitcoin balance: Confirm that the purchased Bitcoin amount is reflected in your Venmo wallet. It may take a few moments for the transaction to be processed and for the Bitcoin to appear in your wallet.
Once the Bitcoin is successfully received in your Venmo wallet, you can use it for various purposes, such as making purchases or securely storing it as an investment. Be sure to take precautions to protect your Bitcoin and keep your login credentials secure.
Congratulations! You’ve successfully completed the process of buying Bitcoin on Venmo and have received it in your Venmo wallet.
Now, let’s move on to the final step to ensure the security of your Bitcoin investment.
Step 8: Secure Your Bitcoin Investment
Now that you have purchased Bitcoin and it is stored in your Venmo wallet, it is essential to take steps to secure your investment. Here are some important guidelines to follow:
- Enable two-factor authentication (2FA): Turn on two-factor authentication for your Venmo account. This provides an extra layer of security by requiring a verification code in addition to your login credentials.
- Use a strong, unique password: Create a strong and unique password for your Venmo account. Avoid using common phrases or easily guessable passwords.
- Keep your login credentials secure: Avoid sharing your Venmo login credentials with anyone and be cautious of phishing attempts or suspicious emails that may target your account.
- Consider using a hardware wallet: To further enhance the security of your Bitcoin investment, you may want to consider using a hardware wallet. A hardware wallet is a physical device that securely stores your private keys offline, minimizing the risk of online hacks.
- Stay informed and be cautious: Stay updated with the latest security practices and be cautious of scams or fraudulent schemes related to Bitcoin. Be mindful of the information you share about your Bitcoin investment and exercise caution when interacting with new platforms or unknown individuals.
- Regularly monitor your account: Keep a close eye on the activity in your Venmo account and regularly monitor your Bitcoin holdings. Report any suspicious or unauthorized activity to Venmo’s customer support immediately.
By following these security measures, you can help protect your Bitcoin investment and minimize the risk of unauthorized access or loss. Remember, always prioritize the security of your digital assets.
With your Bitcoin investment now secure, you can enjoy the potential benefits and opportunities that come with participating in the world of cryptocurrencies.
Congratulations once again on successfully buying and securing Bitcoin on Venmo!
Conclusion
Buying Bitcoin on Venmo opens up a world of new possibilities in the realm of digital currencies. With the convenience of the Venmo platform and the potential rewards of investing in Bitcoin, you have taken an important step towards participating in the cryptocurrency market.
In this guide, we walked you through the step-by-step process of buying Bitcoin on Venmo. We covered setting up a Venmo account, connecting your bank account or debit card, adding funds to your Venmo account, locating and choosing a reliable Bitcoin seller, initiating a purchase on Venmo, confirming the transaction details, receiving Bitcoin in your Venmo wallet, and securing your Bitcoin investment.
While the process may initially seem daunting, following these steps ensures a seamless and secure experience. However, it is important to note that the cryptocurrency market is highly volatile, and investing in Bitcoin carries risks. It is crucial to do your own research, stay informed about market trends, and make informed decisions about your investments.
Remember to always prioritize security by enabling two-factor authentication, using strong passwords, and considering additional security measures such as hardware wallets. Stay vigilant, be cautious of scams, and regularly monitor your Venmo account and Bitcoin holdings.
Now that you have the tools and knowledge to buy Bitcoin on Venmo, it’s time to embark on your cryptocurrency journey. Take advantage of this exciting opportunity, but always approach it with a balanced mindset and a thorough understanding of the risks involved.
Good luck and happy investing!