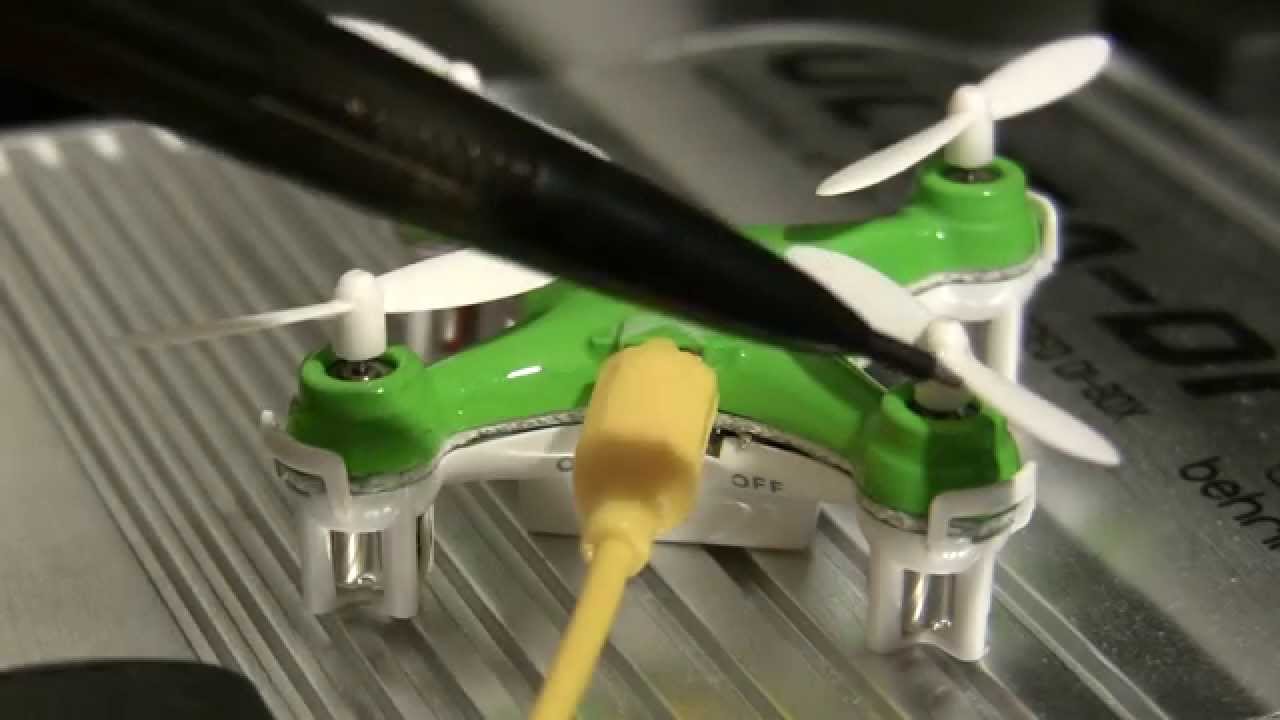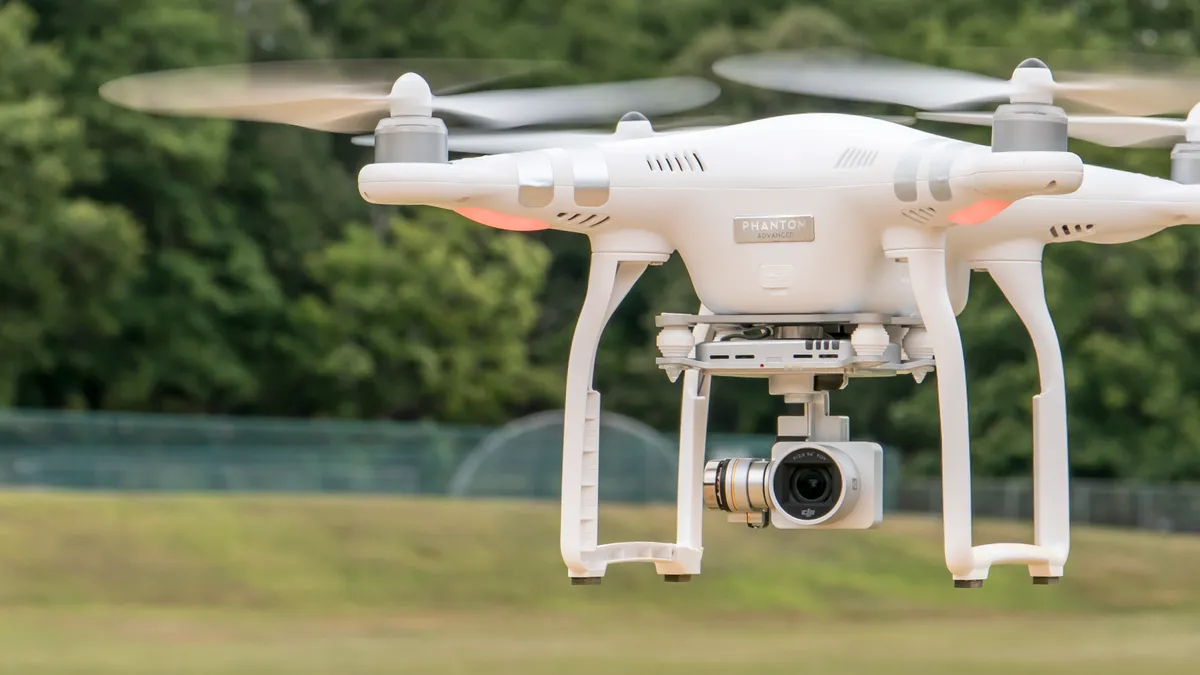
Drone Not Calibrated Properly
One possible reason why your drone won’t take off is that it is not calibrated properly. Calibrating the drone is a crucial step that ensures the sensors and internal components are correctly calibrated for optimal performance. When the drone is not calibrated, it may have difficulty maintaining stability and may even fail to take off at all.
To calibrate your drone, follow the instructions provided in the user manual or the manufacturer’s website. Typically, the calibration process involves placing the drone on a level surface and performing a series of movements or button presses to calibrate the gyroscope, accelerometer, and other sensors.
If you have recently made changes or modifications to your drone, such as replacing parts or upgrading firmware, it is essential to recalibrate it. Changes in hardware or software can affect the drone’s performance and stability, making calibration necessary.
Keep in mind that different drone models may have different calibration procedures. Be sure to consult the specific instructions for your drone to ensure proper calibration.
Additionally, it is a good practice to check the calibration status before each flight. Most modern drones have a calibration status indicator in their accompanying mobile app or on the remote controller. If the calibration status is not marked as “OK” or “calibrated,” you should perform the calibration process before attempting to fly.
By ensuring that your drone is properly calibrated, you can eliminate calibration-related issues that may hinder its ability to take off and operate smoothly.
GPS Signal Weak or Unavailable
Another possible reason why your drone won’t take off is a weak or unavailable GPS signal. Many drones rely on GPS technology for various functions, such as stabilizing the aircraft, maintaining position, and enabling intelligent flight modes. If the drone cannot establish a GPS connection or the signal is weak, it may prevent the drone from taking off.
To determine if the GPS signal is the issue, check the status indicator on your drone or the accompanying mobile app. If the GPS status is not marked as “connected” or “strong,” you may need to relocate your drone to an area with a clearer view of the sky, away from tall buildings or obstructions that can interfere with the signal.
Keep in mind that GPS signals can sometimes be disrupted by environmental factors such as dense forests, mountains, or urban areas with tall buildings. If you are flying in such areas, it is normal to experience occasional disruptions in GPS connectivity. In such cases, consider flying your drone using alternative flight modes that do not rely heavily on GPS, such as manual mode or altitude hold mode.
If you are consistently experiencing weak GPS signals or complete GPS signal loss, ensure that your drone’s GPS module and antenna are in good condition and properly installed. Check for any visible damages or loose connections that may affect the GPS performance.
It’s also worth considering updating the firmware of your drone and its remote controller. Sometimes, firmware updates can improve GPS performance and connectivity by providing better algorithms and signal processing.
Remember, strong and reliable GPS signal is crucial for safe and accurate drone operation. Always pay attention to the GPS status, and if necessary, take appropriate steps to improve the signal strength or find alternative flight modes that do not rely on GPS.
Battery Level Too Low
A common reason why your drone may not take off is that the battery level is too low. Drones rely on their batteries to power the motors, flight controllers, and various other electronic components. If the battery is not adequately charged, the drone may not have enough power to initiate takeoff or maintain stable flight.
Before attempting to fly your drone, always check the battery level. Most drones have battery indicators on the aircraft itself or in the accompanying mobile app. If the battery level is below a certain threshold (usually indicated by a warning or low battery alarm), the drone may restrict or prevent takeoff to avoid potential crashes due to power loss mid-flight.
To ensure that the battery level is not the issue, charge your drone’s battery fully before each flight. Follow the manufacturer’s recommendations for charging time and always use the designated charger to avoid any potential damage to the battery.
In addition to keeping the battery fully charged, it is essential to monitor the battery level during flight. Most drones provide real-time battery monitoring through the mobile app or remote controller. If you notice the battery level dropping significantly during flight, immediately land the drone to prevent it from crashing due to power loss.
It is also worth considering investing in spare batteries for your drone. Having extra batteries with you can allow for more extended flight sessions without the need to recharge in between flights.
Remember, maintaining a sufficient battery level is crucial for safe and uninterrupted drone flight. Always check the battery level before each flight, charge the battery fully, and monitor the battery level during flight to avoid any unwanted surprises.
Obstacle Detection and Avoidance Issues
If your drone won’t take off, it could be due to obstacle detection and avoidance issues. Many modern drones are equipped with obstacle detection sensors, such as infrared sensors or cameras, to detect and avoid obstacles during flight. These sensors help ensure the safety of the drone and prevent collisions with objects in its path.
Check if your drone’s obstacle detection functionality is enabled. Some drones have the option to disable obstacle detection, especially for experienced pilots who may want more control over their flight maneuvers. If obstacle detection is disabled, enable it and attempt to take off again.
Ensure that the obstacle detection sensors are clean and free from any obstructions. Dust, dirt, or debris can interfere with the sensors’ performance and cause inaccurate readings. Carefully clean the sensors according to the manufacturer’s instructions to maintain their effectiveness.
Keep in mind that obstacle detection sensors have limitations. They may not detect transparent objects, fine wires, or very small obstacles. Be cautious when flying in challenging environments with thin branches, power lines, or other potential hazards that may not be detected by the sensors.
If your drone has a visual obstacle avoidance system, make sure that the lighting conditions are appropriate for its operation. Low light or bright sunlight can affect the accuracy of the system. Adjust the drone’s position or the lighting conditions to ensure optimal obstacle detection and avoidance capabilities.
It is important to note that obstacle detection and avoidance systems are designed to assist pilots, not replace their responsibility to fly the drone safely. Always maintain situational awareness and be ready to take manual control if necessary.
If your drone continues to have obstacle detection and avoidance issues, consult the user manual or contact the manufacturer’s customer support for further assistance. They may provide troubleshooting steps specific to your drone model to resolve the issue.
By addressing obstacle detection and avoidance issues, you can ensure a safer and more confident flight experience with your drone.
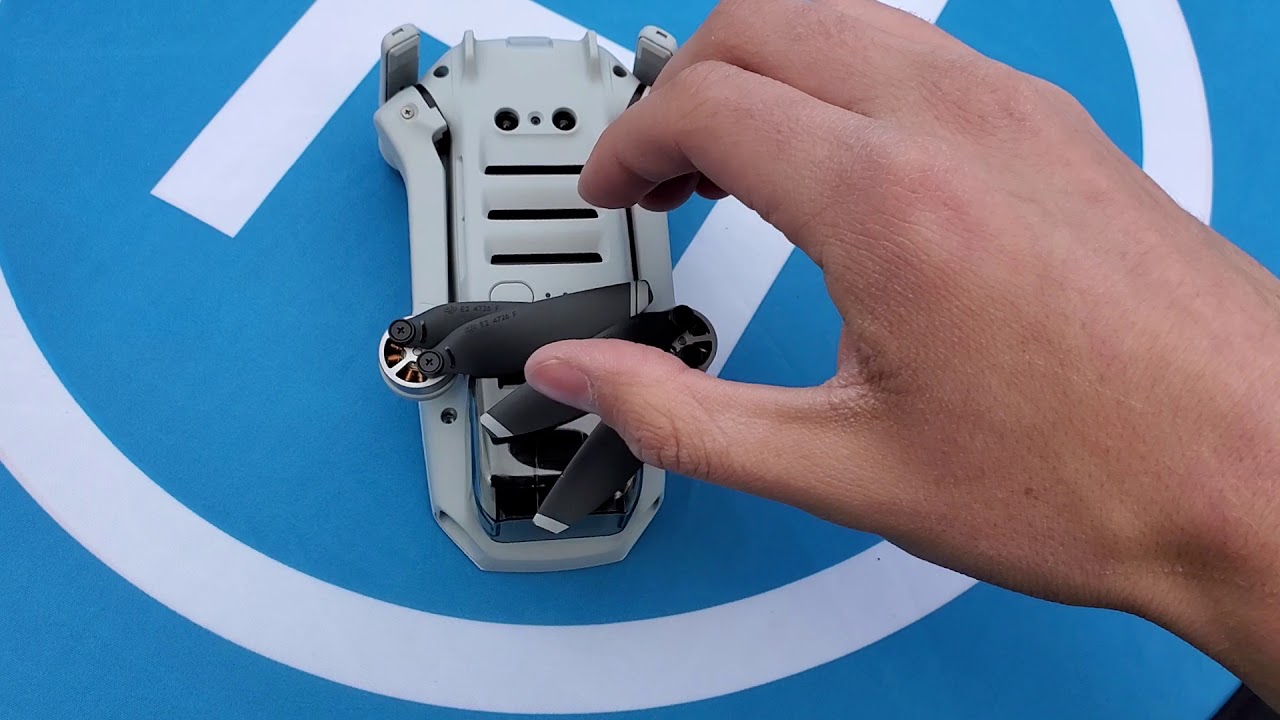
Motor or Propeller Malfunctions
If your drone is experiencing motor or propeller malfunctions, it may prevent the drone from taking off or result in unstable flight. The motors and propellers play a critical role in generating the thrust necessary for the drone to lift off and maintain controlled flight.
Inspect the motors and propellers for any visible damage or signs of wear and tear. Look for loose wires, bent propeller blades, or any obstructions that may interfere with their smooth operation. If you notice any issues, replace the damaged components with the proper replacements recommended by the drone manufacturer.
Ensure that the propellers are installed correctly and securely. Loose or incorrectly installed propellers can cause vibrations and imbalances, leading to erratic flight behavior or even motor failure. Follow the manufacturer’s instructions regarding propeller installation to ensure proper alignment and tension.
It is also important to check the motor connections. Ensure that all motor wires are securely connected to the flight controller or power distribution board. Loose connections or faulty wiring can result in motor malfunctions and hinder the drone from taking off.
If your drone has a motor or propeller calibration feature, perform the calibration procedure as instructed in the user manual. Calibration helps the flight controller properly interpret the motor and propeller input, ensuring balanced and synchronized performance.
Keep in mind that motors and propellers have a limited lifespan. Over time, they may wear out or become less efficient. If you notice a significant decrease in motor performance or frequent propeller issues, consider replacing them with new ones to maintain optimal flight performance.
Regular maintenance and inspection of the motors and propellers can help prevent malfunctions that may affect the drone’s ability to take off and fly smoothly. Always follow the manufacturer’s guidelines for maintenance and consult their customer support if you have any concerns or questions regarding the motors and propellers.
By addressing motor or propeller malfunctions, you can ensure safe and reliable flights with your drone.
Incorrect Flight Mode Selected
If your drone is not taking off, it may be because an incorrect flight mode is selected. Most drones offer different flight modes to accommodate various flying styles and skill levels. Each flight mode has specific settings and limitations that affect the drone’s behavior during flight.
Check the flight mode settings on your drone or in the accompanying mobile app or remote controller. Ensure that the appropriate flight mode is selected for your intended purpose. Common flight modes include GPS mode, sport mode, altitude hold mode, and manual mode.
If you are new to flying drones, it is recommended to start with the GPS mode or beginner mode. These modes offer enhanced stability, automatic altitude hold, and GPS-assisted positioning, making it easier for beginners to control the drone.
On the other hand, if you are an experienced pilot or want more agility and control over the drone’s movements, you can select sport mode or manual mode. These modes remove certain flight restrictions and allow for faster, more responsive maneuvers.
Ensure that you are familiar with the specific flight mode settings and limitations of your drone. Some drones may have additional flight modes and customizable settings that can be adjusted according to your preferences.
If you are certain that the correct flight mode is selected but the drone still won’t take off, try switching to a different flight mode and then back to the original mode. This may help reset any temporary software or control issues that may be preventing takeoff.
Always refer to the user manual or contact the manufacturer’s customer support if you are unsure about the appropriate flight mode settings or if you encounter any difficulties selecting the desired flight mode.
By ensuring that the correct flight mode is selected, you can optimize the drone’s performance and enjoy a more tailored flight experience that suits your needs.
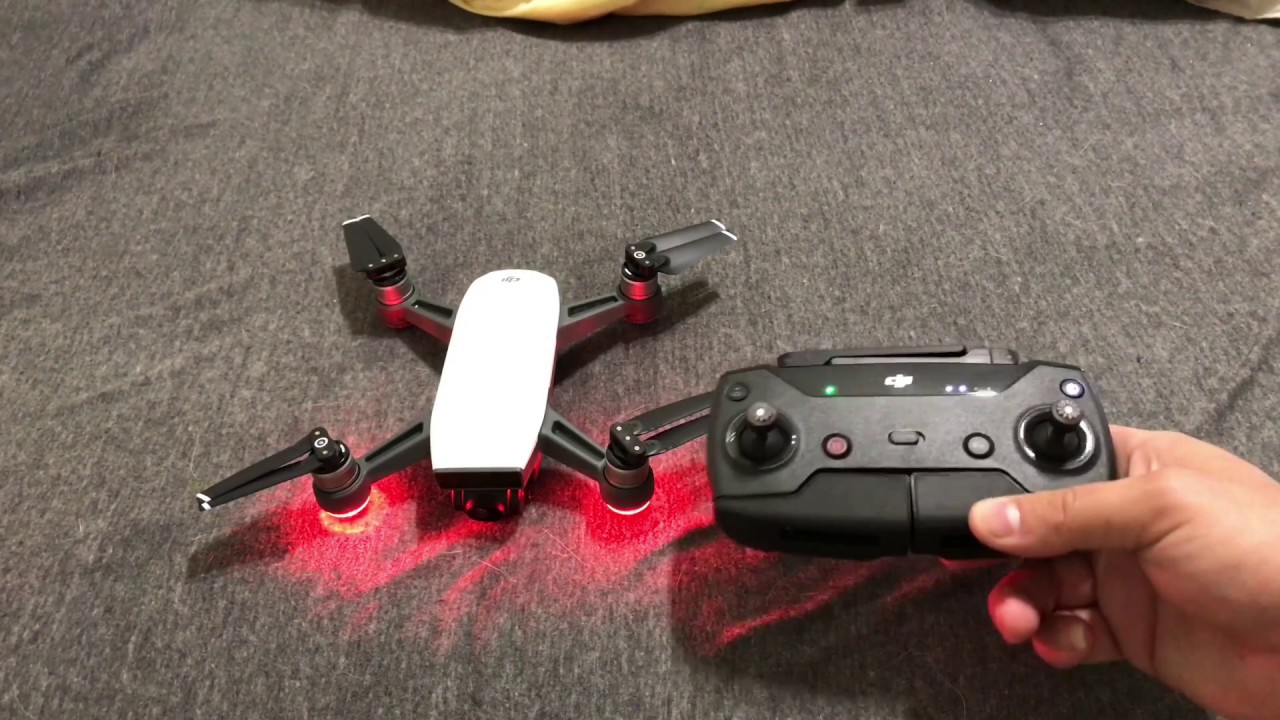
Controller or Remote Control Connection Problems
If your drone is not taking off, there may be controller or remote control connection problems. The controller or remote control serves as a vital link between the pilot and the drone, transmitting commands and receiving feedback from the aircraft.
First, check the connection between the controller and the drone. Ensure that the controller is properly paired and connected to the drone. Follow the manufacturer’s instructions on how to establish a secure and stable connection.
Verify that the controller batteries are sufficiently charged. Low battery power in the controller can result in a weak or unreliable connection with the drone. Replace the batteries if necessary and ensure they are inserted correctly.
Inspect the controller antennas for any damage or obstructions. Ensure that the antennas are straight and not bent. Bends or obstructions can weaken the signal transmission between the controller and the drone. If you notice any issues, contact the manufacturer for assistance or consider replacing the antennas.
If your drone uses a Wi-Fi or Bluetooth connection for remote control, check for any strong sources of interference nearby. Certain electronic devices or infrastructure, such as routers, power lines, or other wireless devices, can disrupt the connection between the controller and the drone. Try relocating to an area with less interference or adjust the Wi-Fi or Bluetooth settings on both the controller and the drone.
Sometimes, firmware updates for the drone or the controller can improve the connection stability and performance. Check if there are any available firmware updates and install them according to the manufacturer’s instructions.
If you have access to another controller or remote control, try using it to determine whether the issue lies with the original controller or the drone itself. If the drone responds to the alternate controller, it indicates a problem with the original controller, and you may need to contact the manufacturer’s customer support for further assistance.
If all else fails, thoroughly read the user manual or contact the manufacturer’s customer support for troubleshooting guidance specific to your drone model. They can provide you with further steps to diagnose and resolve controller or remote control connection problems.
By addressing controller or remote control connection problems, you can establish a stable and reliable connection with your drone, allowing for successful takeoffs and enjoyable flights.
Drone Firmware Outdated
If your drone is not taking off, it could be due to outdated firmware. Firmware is the software that operates and controls the various components and functionalities of the drone. Manufacturers often release firmware updates to address bugs, enhance performance, add new features, and improve safety.
Check if there are any available firmware updates for your drone. Visit the manufacturer’s website or check the mobile app associated with your drone for updates. Follow the provided instructions to download and install the latest firmware onto your drone.
Updating the firmware is a crucial step in ensuring optimal performance and compatibility with other components and accessories. It can address known issues, including those that may prevent the drone from taking off or cause instability during flight.
Before updating the firmware, ensure that your drone’s battery is sufficiently charged. A loss of power during the firmware update process can result in a corrupted firmware, potentially causing further issues with the drone’s performance. Follow the manufacturer’s recommended procedures for updating the firmware and ensure a stable power supply throughout the update process.
While updating the firmware, it is essential to avoid interrupting the process. Do not power off the drone or disconnect it from the computer or mobile device until the update is complete. Interruptions could lead to incomplete firmware installation or bricking the drone, rendering it inoperable.
If you have recently updated the firmware and are experiencing issues, check if there are any known issues with the latest firmware version. Consult the manufacturer’s website or support forums to see if there are any reported issues or workarounds. In some cases, rolling back to a previous firmware version may resolve the problem temporarily until a permanent fix is available.
Keep in mind that firmware updates are essential for the continued performance and safety of your drone. Regularly check for updates and ensure that your drone is running the latest firmware version recommended by the manufacturer.
If you are unsure about the firmware update process or encounter any difficulties, consult the user manual or contact the manufacturer’s customer support for guidance specific to your drone model.
By keeping your drone’s firmware up to date, you can eliminate potential software-related issues that may prevent takeoff and ensure a reliable and enjoyable flight experience.
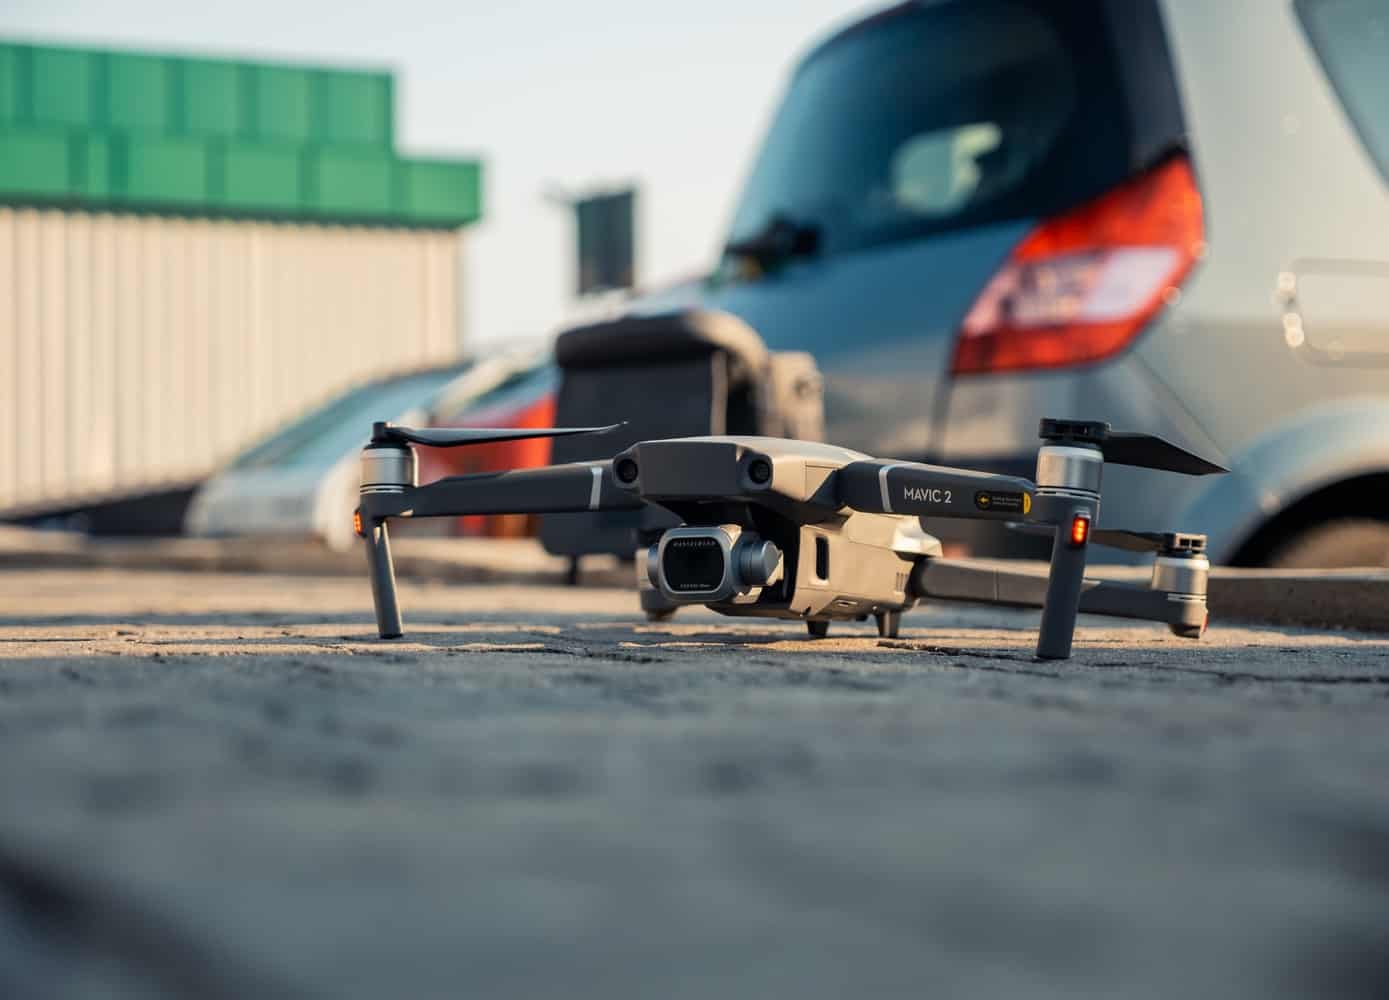
Weight Overload
If your drone is not taking off, it may be due to weight overload. Every drone has its own maximum weight capacity, which indicates the maximum amount of weight it can lift and fly safely. Exceeding this weight limit can put undue stress on the motors and other components, making it difficult or impossible for the drone to take off.
Check the weight of your drone, including any camera or additional equipment that you have attached to it. Ensure that the total weight does not exceed the maximum weight capacity specified by the manufacturer. If the weight is too high, remove any unnecessary accessories or consider using a lighter camera or equipment.
Balance is also important when it comes to weight distribution. Uneven weight distribution can affect stability and make it challenging for the drone to maintain controlled flight. Ensure that the weight is evenly distributed across the drone’s center of gravity.
Keep in mind that adding extra batteries for extended flight time can increase the overall weight of the drone. While having spare batteries is useful, make sure that the weight of the additional batteries is within the drone’s weight capacity to avoid overloading it.
If your drone has a payload capacity, which allows you to carry and deliver items, be mindful of the weight of the payload. Verify that the payload weight does not exceed the drone’s payload capacity to maintain safe and stable flight.
Always refer to the user manual or the manufacturer’s specifications for the weight limits of your drone. Exceeding the weight capacity can lead to motor overheating, shortened flight times, reduced maneuverability, and potential damage to the drone.
If you need to carry heavier equipment or payload, consider upgrading to a drone with a higher weight capacity or consult with a professional drone service provider who specializes in heavy-lift drones.
By ensuring that your drone is not overloaded, you can maintain its performance, stability, and ensure a safe takeoff and flight experience.
Environmental Conditions: Wind, Rain, or Cold Temperatures
The environmental conditions in which you are attempting to fly your drone can greatly impact its ability to take off and fly safely. Adverse weather conditions such as strong winds, rain, or extreme cold temperatures can pose significant challenges to the performance and stability of the drone.
Strong winds can make it difficult for the drone to maintain stability and control. As a general rule of thumb, it is recommended to avoid flying in winds exceeding the drone’s maximum wind resistance specified by the manufacturer. If you find yourself in windy conditions, it is best to wait for calmer weather or find a more sheltered location for flying.
Rain or moisture can damage vital electronic components of the drone, such as the motors, flight controller, and battery. Unless your drone is specifically designed for waterproof capabilities, it is advised to avoid flying in rainy conditions. Even a small amount of moisture can have detrimental effects on the drone’s performance and may even cause a complete failure.
Cold temperatures can also affect the flight performance of the drone. Cold weather can reduce the battery’s ability to deliver power, leading to shorter flight times. In extreme cold conditions, the drone’s motors and other components may also struggle to operate efficiently. It is recommended to check the manufacturer’s guidelines for temperature limits and ensure that you are within the safe operating range before attempting to fly in cold weather.
Paying attention to weather forecasts and environmental conditions is crucial for safe drone operation. Always check for any weather advisories or warnings before heading out to fly. If the conditions are unfavorable, it is best to postpone the flight until the weather improves.
Additionally, consider using weather apps or websites that provide real-time weather updates specifically for drone pilots. These resources offer detailed information on wind speed, precipitation, and temperature, helping you make informed decisions about whether it is suitable for flying your drone.
Remember, prioritizing safety and adhering to the manufacturer’s guidelines regarding weather and environmental conditions can help you avoid potential accidents, damage to your drone, and ensure a successful and enjoyable flight experience.
Troubleshooting Tips and Tricks
If your drone is not taking off, despite considering the factors mentioned above, here are some additional troubleshooting tips and tricks to help identify and resolve the issue:
- Check for any visible physical damages or loose connections on the drone. Inspect the frame, motors, propellers, and landing gear for any signs of wear and tear, and ensure all cables and connectors are securely attached.
- Perform a power cycle by turning off the drone and the remote controller, then turning them back on. This can help reset any temporary software or connection issues.
- Ensure that the remote control is properly calibrated. Check the user manual for instructions on how to calibrate the sticks, switches, and other controls to ensure accurate input commands.
- Inspect the landing gear and make sure it is clear of any debris or obstruction. Sometimes, objects or debris can get caught in the landing gear, preventing the drone from taking off.
- Check the memory card or storage on your drone. If it is full or nearly full, it may prevent the drone from taking off. Delete unnecessary files or replace the memory card with a larger capacity one.
- Ensure that the flight controller software is up to date. Check the manufacturer’s website for any available updates and follow the instructions for updating the flight controller firmware.
- If your drone has detachable or interchangeable parts, such as propellers or landing skids, double-check that they are properly installed according to the manufacturer’s guidelines. Incorrectly installed components can hinder takeoff and affect flight performance.
- If you have recently made any modifications or upgrades to your drone, such as installing a new camera or adding extra accessories, remove them temporarily to see if the drone can take off without them. This can help identify if the modifications are causing any issues.
- Ensure that there are no radio frequency interference sources nearby. Other electronic devices, Wi-Fi networks, or power lines can interfere with the drone’s communication and signal reception. Try to fly in an area with minimal interference.
- If you have exhausted all troubleshooting options and the drone still won’t take off, it may be necessary to contact the manufacturer’s customer support or take the drone to a professional repair service for further evaluation and assistance.
Remember, troubleshooting drone issues requires patience and a systematic approach. By following these tips and tricks, you can narrow down the possible causes and find a resolution to get your drone back in the air.