Introduction
When building a PC or performing upgrades, one crucial component that often gets overlooked is the power supply unit (PSU). The PSU is responsible for providing a steady and reliable power source to all the components in your system, ensuring smooth operation and preventing damage caused by power fluctuations.
Installing the PSU correctly is essential for optimal performance and safety. However, with various types of PSUs on the market, it can be confusing to determine the right way to insert them into your PC. In this article, we will guide you through the different considerations when inserting a PSU into your computer, helping you make the best decision for your setup.
Before we delve into the specifics, it’s important to note that the installation process may vary slightly depending on the case and PSU model you are using. Therefore, always refer to the user manual provided by the manufacturer for detailed instructions.
Now, let’s explore the key factors you need to consider when inserting a PSU into your PC.
Before You Start
Before diving into the PSU installation process, it’s essential to take a few preparatory steps to ensure a smooth and hassle-free experience. Here are some key considerations before you start:
1. Safety first: Before you begin any hardware installation, remember to turn off your PC and unplug the power cord from the wall outlet. This will prevent any accidental electrical shocks and protect your components from damage.
2. Check your case: Make sure your computer case is compatible with the PSU you plan to install. Some cases have specific PSU size or mounting requirements, so it’s crucial to verify compatibility to avoid any compatibility issues later on.
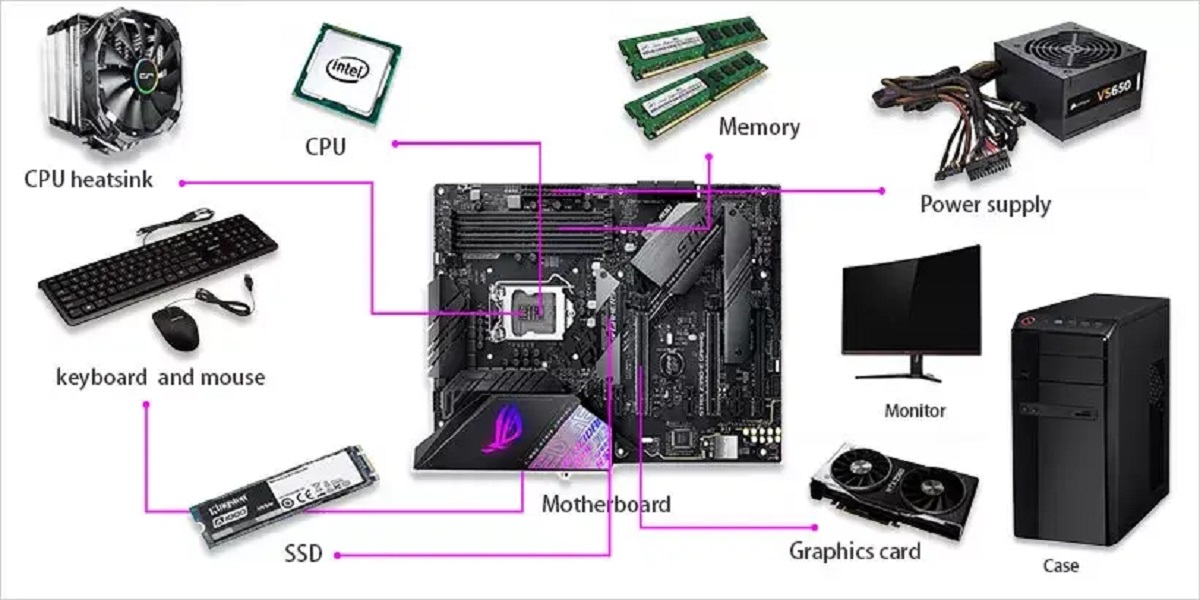
3. Assess your power requirements: Your power supply should have enough wattage to meet your system’s power demands. Consider the power requirements of your CPU, graphics card, and other components to determine the suitable wattage for your PSU. It’s always better to have some headroom for future upgrades.
4. Take inventory of your components: Before starting the installation, ensure you have all the necessary components, such as screws and cables that accompany the PSU. Double-check that you have the correct cables for your specific PSU model and your components’ power connectors.
5. Ground yourself: To prevent static electricity from damaging sensitive components, discharge any static buildup by touching a grounded object or wearing an anti-static wrist strap. This precaution is especially important when handling the PSU or any other internal components.
By taking these steps before you begin the installation process, you’ll set yourself up for a successful and safe PSU installation. Now, let’s move on to exploring the different types of PSUs available in the market and the factors to consider when inserting them into your PC.
Different Types of PSU
Before delving into the installation process, it’s essential to understand the various types of PSU available. Here are the most common types:
- ATX: The ATX (Advanced Technology Extended) is the most popular standard for power supplies. It is widely used and compatible with most modern PCs. ATX power supplies come in different form factors, including ATX12V and EPS12V, catering to different system requirements.
- SFX: SFX (Small Form Factor) power supplies are designed for compact cases where space is limited. They are smaller than ATX PSUs, making them ideal for small form factor builds or HTPCs (Home Theater PCs).
- TFX: TFX (Thin Form Factor) power supplies are even smaller than SFX PSUs and are primarily used in slim or low-profile cases. They are commonly found in small desktop systems and HTPCs.
- Modular: Modular power supplies offer flexibility in cable management by allowing you to detach and only use the necessary cables. This helps improve airflow and reduces clutter inside the case.
- Semi-Modular: Semi-modular power supplies have some permanently attached cables, such as the motherboard and CPU power connectors, while the peripheral cables are modular. They strike a balance between convenience and cost.
- Fully-Modular: Fully-modular power supplies give you complete control over cable management, as all cables are detachable. This provides the highest level of customization, but they tend to be more expensive.
Each type of PSU has its advantages and considerations, so it’s crucial to choose the one that best fits your specific requirements and PC build. Now, let’s explore the factors to consider when inserting a PSU into your PC.
Orientation of the PSU
The orientation of the PSU refers to how it is positioned inside the computer case. There are typically two main options: bottom-mounted or top-mounted.
Bottom-Mounted PSU: This is the most common orientation in modern PC cases. In this configuration, the PSU is installed at the bottom of the case, with its fan facing downwards. The benefit of this setup is that it allows the PSU to draw in cool air from outside the case, ensuring better cooling efficiency. Additionally, the PSU’s weight at the bottom helps stabilize the overall system.
Top-Mounted PSU: In some older cases or specific custom setups, the PSU may be installed at the top of the case, with its fan facing upwards. This configuration pulls in air from within the case and exhausts it out the back. While this orientation was more prevalent in the past, it has become less common due to potential heat buildup within the case. However, if your case has a dedicated PSU chamber or ventilation at the top, this orientation may still be suitable.
Choosing the correct orientation depends on your specific case design and airflow configuration. In most cases, bottom-mounted is the recommended orientation, as it ensures better cooling and helps avoid any potential heat-related issues. However, always refer to your case manual or manufacturer guidelines to determine the best orientation for your PSU.
Now that we’ve covered the orientation of the PSU, let’s move on to discussing the placement of the PSU fan.
Fan Placement
The fan placement of the PSU is another crucial consideration when inserting it into your PC. The fan’s position determines how effectively the PSU can cool itself and dissipate heat from the system.
Most power supplies have a built-in fan located at the rear or bottom of the unit. The fan’s primary purpose is to draw cool air into the PSU and expel hot air out of the case. There are two common configurations when it comes to PSU fan placement:
- Top-mounted fan: Some PSUs feature a fan at the top, facing towards the internal components of the case. This configuration is known as “intake from above” since the fan pulls in cool air from inside the case and exhausts it out the back. This setup can help with cooling the PSU, especially in cases with limited airflow.
- Bottom-mounted fan: The majority of PSUs have a fan at the bottom, facing towards the outside of the case. This configuration is called “exhaust from below” as the fan draws fresh air from the bottom of the case and expels it out the rear. This arrangement helps prevent the PSU from circulating hot air from within the case, ensuring efficient cooling.
In general, bottom-mounted fan placement is more common and recommended as it helps maintain better overall system cooling by pulling in cool air from outside the case. It also ensures that the PSU operates at lower temperatures, prolonging its lifespan. However, if your PC case has limited clearance at the bottom, or if you have a specific airflow configuration, a top-mounted fan PSU may be more suitable.
When installing the PSU, ensure that there is adequate clearance around the fan to allow for proper airflow. Avoid obstructing the fan with cables or other components, as this can disrupt the PSU’s cooling mechanism. Proper cable management is crucial to maintain optimal airflow and ensure efficient cooling throughout the system.
Now that we’ve covered the orientation of the PSU and its fan placement, let’s move on to discussing cable management considerations.
Cable Management
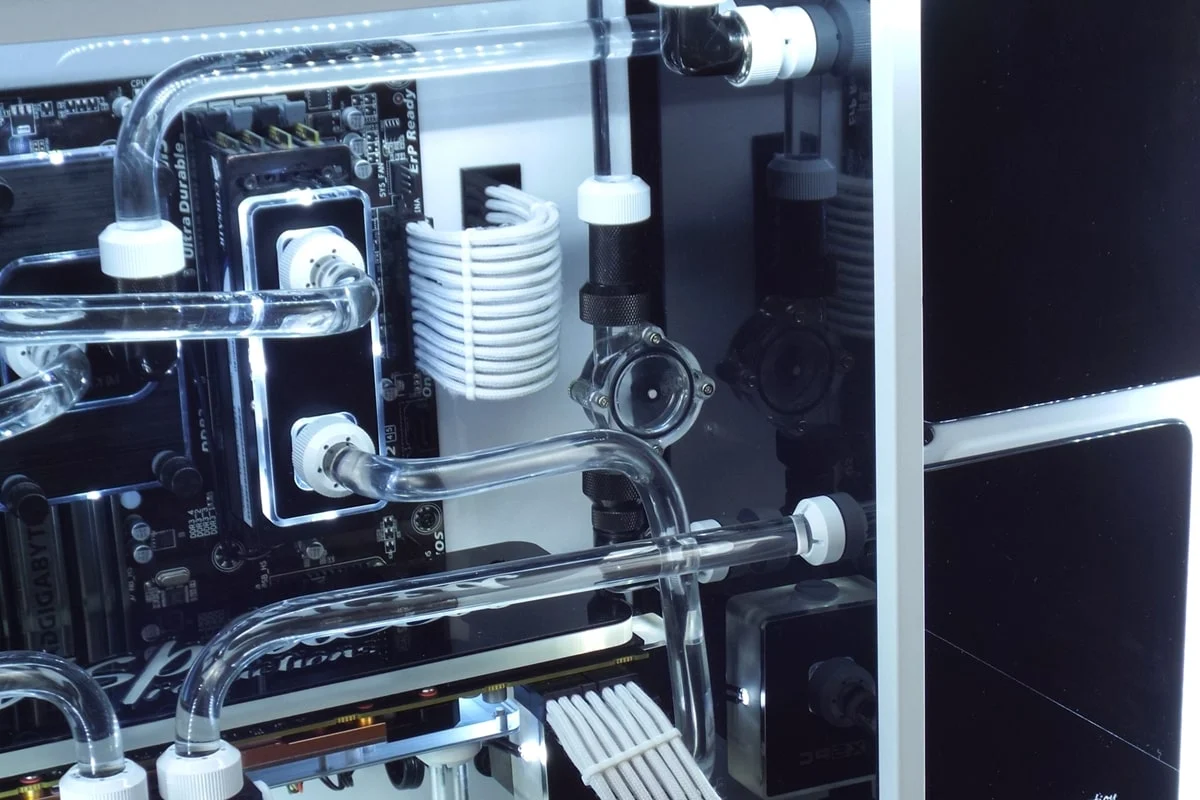
Cable management plays a significant role in maintaining proper airflow and ensuring an organized and tidy PC build. When inserting a PSU into your PC, it’s essential to consider how the cables will be routed and managed to optimize airflow and reduce clutter.
Here are some key points to keep in mind when it comes to cable management:
- Plan your cable routing: Before inserting the PSU, plan how you will route the cables. Consider the length and flexibility of the cables and position the PSU accordingly. Route cables away from areas where they may obstruct airflow, such as fans or other components.
- Use cable ties or Velcro straps: Secure and organize your cables using cable ties or Velcro straps. This helps keep them neat and prevents them from blocking airflow or tangling. Group cables together and secure them to the case, ensuring they are not loose or dangling.
- Avoid excessive cable lengths: If your PSU has modular cables, use only the necessary ones for your components. Excessive cable lengths can create unnecessary clutter and hinder airflow. Many PSUs come with cable management features, such as removable cable sleeves or compartments, to assist in achieving a clean and organized look.
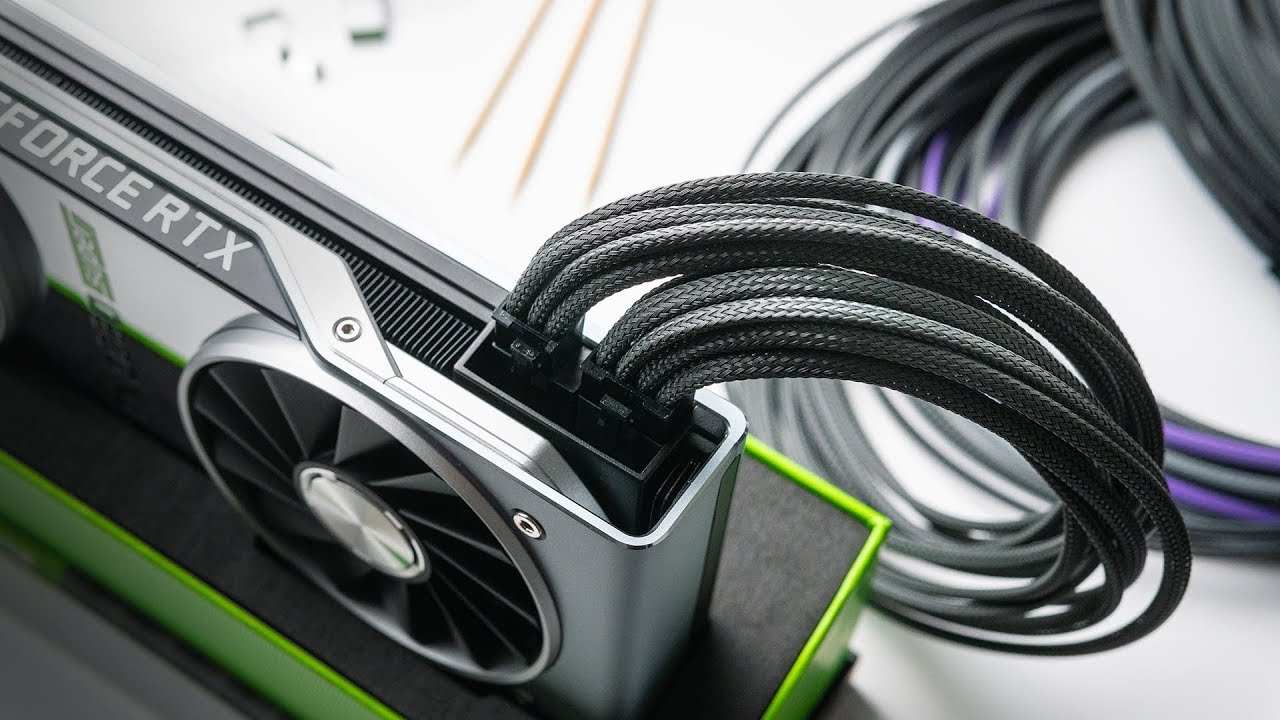
- Consider cable extensions: In some cases, you may need cable extensions to reach certain components. These extensions can help with cable management by reducing cable clutter and allowing for more flexibility in routing.
A well-executed cable management strategy not only improves airflow but also makes future maintenance and upgrades much more manageable. It also reduces the risk of accidental cable disconnections and helps improve the overall aesthetics of your PC build. Take your time to carefully route and secure the cables, paying attention to detail.
Now that we’ve tackled cable management, let’s move on to exploring clearance and compatibility considerations when inserting a PSU into your PC.
Clearance and Compatibility
When inserting a PSU into your PC, it’s vital to consider clearance and compatibility with other components and the case itself. Ensuring proper clearance and compatibility will prevent any potential issues or restrictions during the installation process.
Here are some key points to keep in mind:
- PSU Size: Check the dimensions of your PSU and compare them to the available space in your case. Ensure that the PSU will fit properly without any interference from other components, such as the CPU cooler or graphics card.
- Cable Length: Consider the length of the cables that come with your PSU. Ensure that they are long enough to reach all the necessary components and connectors in your system. Insufficient cable length may require the use of cable extensions or limit your options for cable routing.
- Mounting Holes: Verify that your case has the necessary mounting holes in the correct configuration to fit the PSU. Most cases support standard ATX PSU mounts, but some smaller form factor cases may have different mounting options or require adapters.
- Component Clearances: Take note of any potential clearance issues with other components. Make sure there is enough space between the PSU and other components, such as the CPU cooler or RAM modules. This will prevent any physical interference or overheating due to restricted airflow.
- Power Requirements: Ensure that the wattage of your chosen PSU is sufficient to power all your components. Be mindful of any future upgrades or additions that may increase power demands. It’s always a good idea to have some headroom in terms of power capacity.
By considering clearance and compatibility, you can avoid potential issues and ensure a smooth installation process. Take your time to measure and assess these factors before inserting the PSU into your PC.
Now that we’ve covered clearance and compatibility, let’s move on to discussing any PSU-specific considerations you should keep in mind.
PSU-Specific Considerations
When inserting a PSU into your PC, there are a few additional PSU-specific considerations that you should keep in mind. These factors can vary depending on the manufacturer and model of the PSU you are using. Here are some key points to consider:
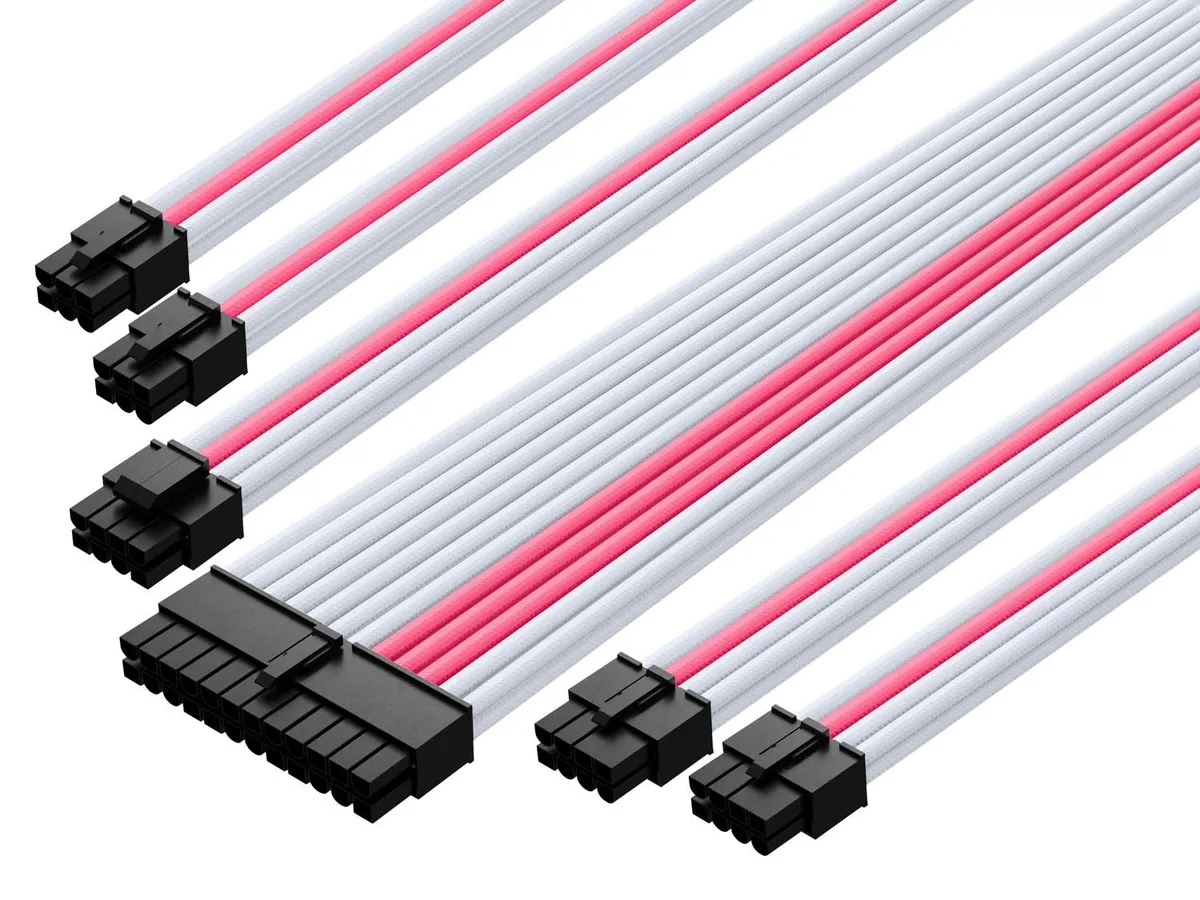
- Ports and Connectors: Take note of the different ports and connectors on your PSU. Ensure that they match the specific requirements of your components, such as the motherboard, graphics card, and storage devices. Check if any adapters or additional cables are needed.
- Efficiency Rating: Consider the efficiency rating of the PSU, typically indicated by the 80 Plus certification. Higher efficiency ratings mean that the PSU wastes less power as heat, resulting in lower energy consumption and reduced heat output. Opting for a PSU with a higher efficiency rating can help in maintaining a cooler and more energy-efficient system.
- Noise Level: Check the noise level specifications of the PSU. Some PSUs include features like fanless operation or zero RPM modes to minimize noise. If a quiet operation is important to you, look for PSUs specifically designed for reduced noise output.
- Modularity: Consider the level of modularity that best suits your needs. Modular PSUs allow you to detach and connect only the cables necessary for your system, improving cable management and airflow. On the other hand, non-modular PSUs come with fixed cables, which may result in less flexibility but potentially reduced cable clutter.
- Warranty: Be aware of the warranty period provided by the PSU manufacturer. A longer warranty signifies the confidence the manufacturer has in the quality and reliability of their PSU. It’s always a good idea to choose a PSU with a reliable warranty to protect your investment.
Considering these PSU-specific factors will help you make an informed decision when selecting and inserting a PSU into your PC. Review the specifications and features of your chosen PSU and ensure they align with your requirements and preferences.
Now that we’ve covered the different considerations when inserting a PSU into your PC, it’s time to wrap up our discussion.
Conclusion
When it comes to inserting a PSU into your PC, attention to detail and careful consideration of various factors can greatly affect the performance, cooling, and overall functionality of your computer. By adhering to the following guidelines, you can ensure a successful PSU installation:
- Consider the orientation of the PSU based on your case design and airflow requirements.
- Choose the appropriate fan placement to maximize cooling efficiency.
- Pay attention to cable management to optimize airflow and maintain a clean and organized build.
- Ensure proper clearance and compatibility with other components and the case itself.
- Take into account any PSU-specific considerations, such as ports and connectors, efficiency rating, noise level, modularity, and warranty.
Remember to consult your case and PSU manuals for specific instructions and compatibility information. Taking the time to understand and properly insert your PSU will result in a more efficient, reliable, and aesthetically pleasing PC build.
We hope this guide has provided you with valuable insights into the different considerations involved in inserting a PSU into your PC. By following these guidelines, you can ensure a successful installation and enjoy seamless power delivery to your components.